








![zkSync Airdrop Guide [Full Paymaster guide on zkSync]](https://i.ytimg.com/vi/7iDATf4PrdU/maxresdefault.jpg)




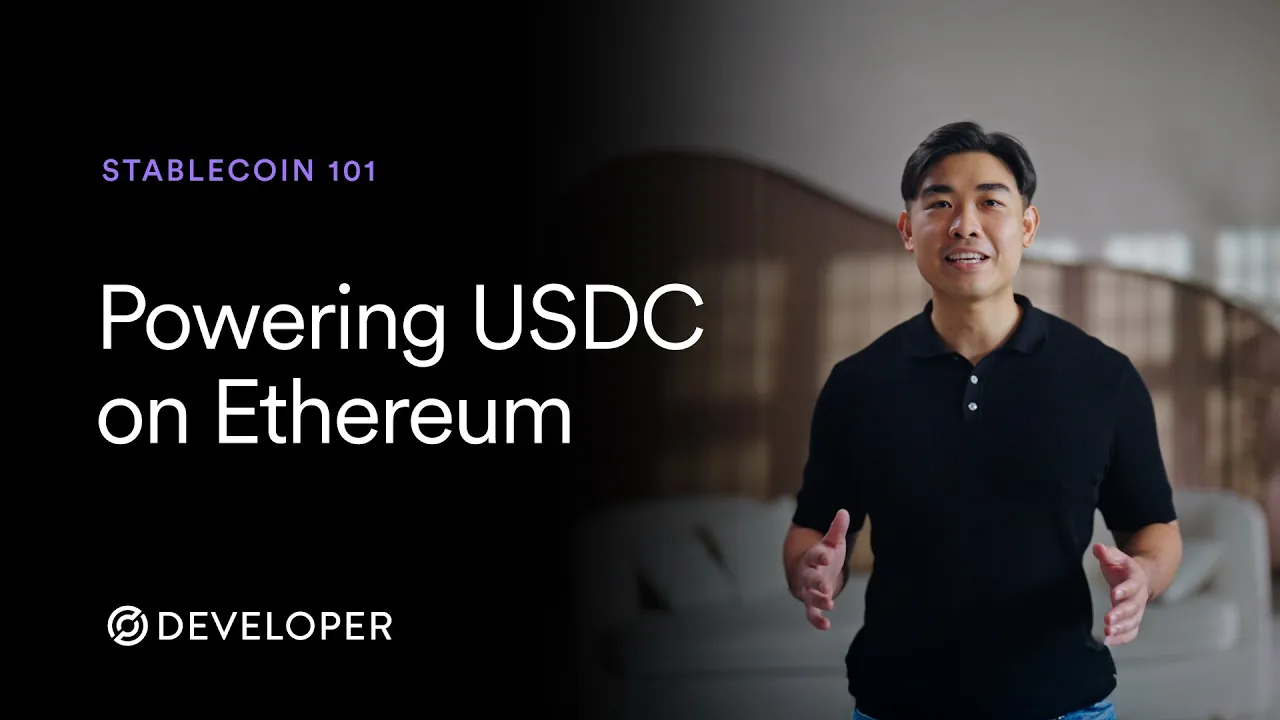
The Pectra upgrade (EIP-7702) enables Externally Owned Account (EOA) wallets to temporarily function as smart accounts for single transactions, allowing gas sponsorship where applications can pay network fees using USDC instead of native tokens like ETH. Circle Paymaster facilitates this by handling gas payments on behalf of users, enabling gas-free USDC transfers without requiring ETH in the wallet.
Enable Gasless USDC Payments with EIP-7702 and Circle Paymaster
Added:Fundamental understanding of the ERC-20 token standard, specifically how stablecoins like USDC function on EVM-compatible networks.
The basic mechanics of gas fees in Ethereum, including the user-experience challenges associated with requiring native tokens (like ETH) for transactions.
Core concepts of Account Abstraction (specifically ERC-4337) and how Paymasters function to sponsor or abstract transaction fees.
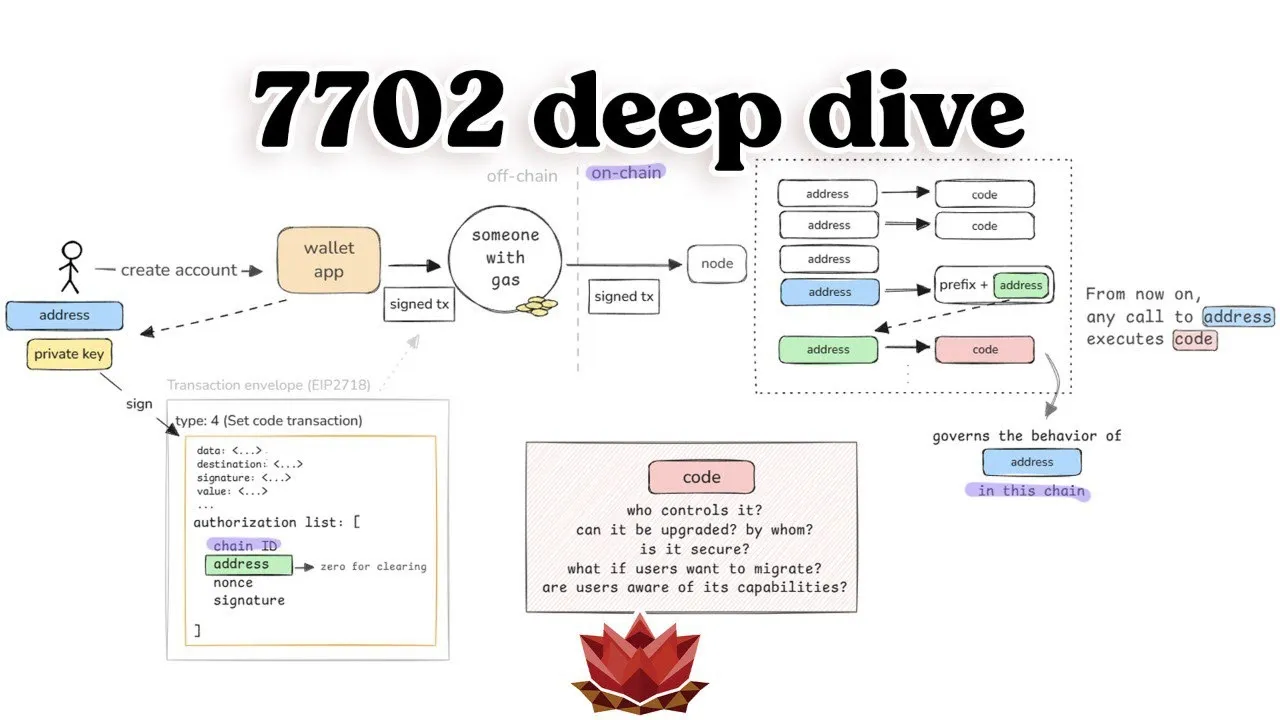
An introductory understanding of Ethereum Improvement Proposal (EIP) 7702, which allows Externally Owned Accounts (EOAs) to temporarily function as smart contract wallets.
Implementing advanced EIP-7702 workflows, such as batching multiple operations (e.g., 'approve' and 'transferFrom') into a single atomic transaction.
Designing and deploying custom Paymasters with specific sponsorship policies, such as allowing users to pay gas using ERC-20 tokens instead of native gas.
Integrating gasless transaction infrastructure with decentralized identity providers and social login SDKs to build frictionless Web3 onboarding funnels.
Analyzing the security implications of EIP-7702, specifically around authorization delegation, signature revocation, and front-running risks in mempools.
1.3K views28likes11:27Original Release: 2025-06-10
Network fees are one of the most persistent pain points in blockchain based payments. If you ever tried to send USDC and had to deal with gas fees, you'll know exactly what I mean. The reason is simple. The most common type of wallet on EVM compatible chains is called an externally own account or EOA.
EOA requires the blockchain's native token like E on Ethereum to pay for network fees. This means even if you have USDC in your wallet, you cannot move it unless you have some ETH to cover the fees. This changes with Ethereum's recent PCRA upgrade. Pectra combines the PR execution layer updates with the Electra consensus layer updates and ROS 11 Ethereum improvement proposals into a single release. Amongst those proposals, the most transformative for everyday users is EIP702.
EIP7702 lets an e-way wallet momentarily upgrade itself to a smart wallet for a single transaction. During that one-off upgrade, it can bundle several actions into one onchain transaction, apply spending controls just like how you would set an ATM withdrawal cap on your bank card, or use gas sponsorship where your application can either cover those network fees or have your users pay those fees in USDC. The last feature, gas sponsorship, is where circle pay master comes in. Circle Pay Master handles the Eve gas on behalf of your app or your users and settles the cost in USDC behind the scenes. From the users perspective, the wallet only needs to hold USDC and the transactions will work. In this video, I'll walk you through how to set up a PCRA upgraded eway wallet and send a gas-free USDC transfer using Cir Pay Master. Let's dive in. First thing first, open up a fresh terminal window. create a folder.
Go into that folder.
Then what you want to do now is to initialize a node project. So npm need y.
And then choose a code editor of a choice. In this case, I'm using visual studio code. And I'm just going to open it up.
Once you have it open, you can check the package.json file. And by default, it has a type called common.js. And you want to change that to module because if you want to use the modern import and export syntaxes, you will need to change that type to module.
So go ahead and make that change. And once done, you want to install a couple of dependencies. You want to install VM, you want to install um ethers as well as MV. So, mpm install VMv detis.
And while it is loading, let's go and create our environment variable file.
EMV file.
And in here, we want to paste a couple of variables. So, I'm just going to go copy this, paste it. And what you see here um from the bottom up you see the USC address the pay master version 8 address these are on arbitrum and that is our demo for today. The recipient address you can choose whoever you want to receive the USDC. Um for the purpose of this demo I am using an alternative that is provided by Foundry. Foundry has this CLI tool that uses this advanced encryption standard is this AES to wrap your your private key for secure storage and retrieval. So I am using an alternative for this demo. So if you want to do that what you need to do is to perform the command cast wallet import give it a name and call it wallet then interactive.
What they're asking now is for your private key. So, I'm going to grab my private key. Paste it. Put your own password. And you see that key store was saved successfully locally outside of your codebase. So, and this is the associated public address. This would differ from person to person. So, make sure that the absolute path is pointing correctly if you are using this alternative method provided by Foundry.
What I want to do next is to create an index.js file and import all the necessary dependencies.
So I'm just going to create create index JS file and import all the dependencies that I require for this um demo.
And what's next is I'm going to assign some constant variables just for better readability.
I'm going to show you what's next. So I'm using we are using arbitrum sopoleia you know the USCC address is as such then we're going to read um using ethers you know we're going to read the key store path and then we're using the VM library to wrap that private key so that we can actually use um that account. Now we want to also create a public client using the VM library and we do that also through VM. So we're passing in the chain arbitrum soaria the transport and then we're performing a asynchronous function to convert that eway wallet into the 7702 smart account.
So what's next is we want to put in the helper function just to check if your account has a minimum of one USDC to perform the transfer. So we are going to do that in here. You can see we are getting the contract which is the USCC contract and then we are calling the function balance of to see whether or not your balance the account that you have provided has at least one USDC here. If not go into our public faucet faucet.
To get free testnet USDC it's awesome.
What's next is we want to create a permit.js file.
One second. I'm just going to create a permit JS file. Paste it in here. Save it as well. So, permit.js actually uses this EIP2612 permit. And since USDC allowance is required for circle pay master to spend the USDC in your wallet, right, to pay for the fees, uh this signed permit can be used to set the pay master allowance without submitting a separate transaction. So past contents and we'll be using that contents very soon. So now let's grab our pay master contract, go back to our index.js GS file paste it in. Um we are getting the pay master address and you can see that we are setting the permit amount to be 10 USDC. We're assigning the permit and then we are encoding the pay master data and then we are returning um some of the data so that we could use it later on in our bundler functions.
So next we want to create a bundler client. For this example, yeah, we're using pimlo as our public bundler client to submit our user operation.
Go ahead and use that function create bundler client. You can see in our transport, we're using PIML code and we're using arbitrilla as our chain.
Next, we for 7702 smart accounts, right?
You need to sign an authorization to set before you can actually submit the user operation.
So paste it in here and we actually um signing the authorization here.
Then we going to use the bundler client to submit the user.
So we take that authorization that sign authorization um and then we pass it into the function called send user operation by the pimical bundler client and we return the hash and we just output the hash. So we're near the end.
So all you need to do to close the loop is to wait for the transaction hash the receipt. So you can actually use the function here where the bundle client can just wait for the user operation receipt and once done you can also output that that hash and then we end the loop. So go ahead and save it. Remember the address your public address. Grab that address. go into alfors.com paste it in fund the wallet um in this case I have already funded so what I'm going to do now is to fund manually once we have funded the USDC we can actually go ahead and start so I'm just going to do note indexjs And second balance off is return no data.
Second I need to I see the error. Um I was using the wrong test net address.
I'm going to go here because here is the most reliable. I'm going to copy the address for the token and then I will paste the address here and in here um what I'm going to do now is to do the function once more. Bugs happen all the time. So you can see now we have submitted a user operation hash and we have our transaction hash. So you can actually check it by copying the transaction hash. go into our visual support test and explorer.
Paste the hash and you can see that 16 seconds ago you have indeed moved an amount of USDC and there a small little fee that um has performed and you can go into your wallet. My address is actually let me go check it out again.
I'm going to check my address to see all the details on the token transfer. You can see I funded 10 USDC and I have moved um 0.1 USDC and you know there's a little bit of fees involved. This is all happened without actually having EH in your account. And that is how you can set up a PCRA upgraded EUA wallet and send a gas-free USDC transfer using Circa Pay Master. So, what's next? Try it yourself. Follow the quick start guide.
The link is in the description. Join our community on Discord, which is circ.com/isord.
And if this demo saved you even a little bit of gas, give it a like, share with your friends, and let me know what you'd like to see next. Thank you for watching, and happy building.
Up Next
36:12
Cryptography Fundamentals with Node.js Crypto Module
@BuildStuff
444 views•2025-03-21

52:00
Hybrid Key Establishment in Production: Post-Quantum Cryptography
@durumcrustulum
14.7K views•2025-08-27
64:25
Operational Security Essentials: A Guide for Hacktivists (OPSEC)
@hitbsecconf
157.4K views•2012-11-26

11:49
Understanding Ethereum: A Comprehensive Beginner's Overview
@99Bitcoins
3.1M views•2018-06-26
Related Study Plans & Knowledge Roadmaps
Structured learning paths in Blockchain & Crypto
blockchain-and-crypto
MPC Wallets: TSS, DKG & Secure Custody
01Foundations of Cryptography & Digital Signatures
02Secret Sharing & Introduction to MPC
03Distributed Key Generation (DKG)
+ 2 more learning modules
24h5 modules
Explore Roadmap
blockchain-and-crypto
ERC-4626: Yield Aggregators & Leverage
01Blockchain, Ethereum, and Solidity Foundations
02DeFi Primitives: Lending, Pools, and Yield Farming
03Mastering the ERC-4626 Tokenized Vault Standard
+ 3 more learning modules
35h6 modules
Explore Roadmap
blockchain-and-crypto
DePIN: IoT Registries, Proofs & Rewards
01Foundations of Blockchain & IoT
02Introduction to DePIN and the Flywheel Effect
03Designing IoT Device Registries & Secure Identity
+ 3 more learning modules
30h6 modules
Explore Roadmap
blockchain-and-crypto
Building EigenLayer AVS: Operators & Contracts
01Blockchain, Ethereum, and Smart Contract Basics
02Proof of Stake and Ethereum Staking
03Introduction to EigenLayer and Restaking
+ 3 more learning modules
24h6 modules
Explore Roadmap