

![Next.js Live Tutorial – Start Your Next.js Journey Here [Part-1]](https://i.ytimg.com/vi/12NDVrqybWc/maxresdefault.jpg)

















A decentralized voting DApp integrates smart contracts (Solidity) with a React/Next.js frontend, using Hardhat for local testing and deployment. The architecture includes: (1) Smart contracts managing voter/candidate registration, approval, voting, and election results with state variables for tracking votes and election periods; (2) Context management for wallet connection, network switching, and contract interaction; (3) IPFS via Pinata for storing candidate/voter documents; (4) Network configuration supporting multiple blockchains (Polygon, Binance, etc.). The system enables transparent, tamper-proof elections where voters can only vote once, and results are immutable on the blockchain.
Decentralized Voting DApp: Solidity, Next.js, & Hardhat
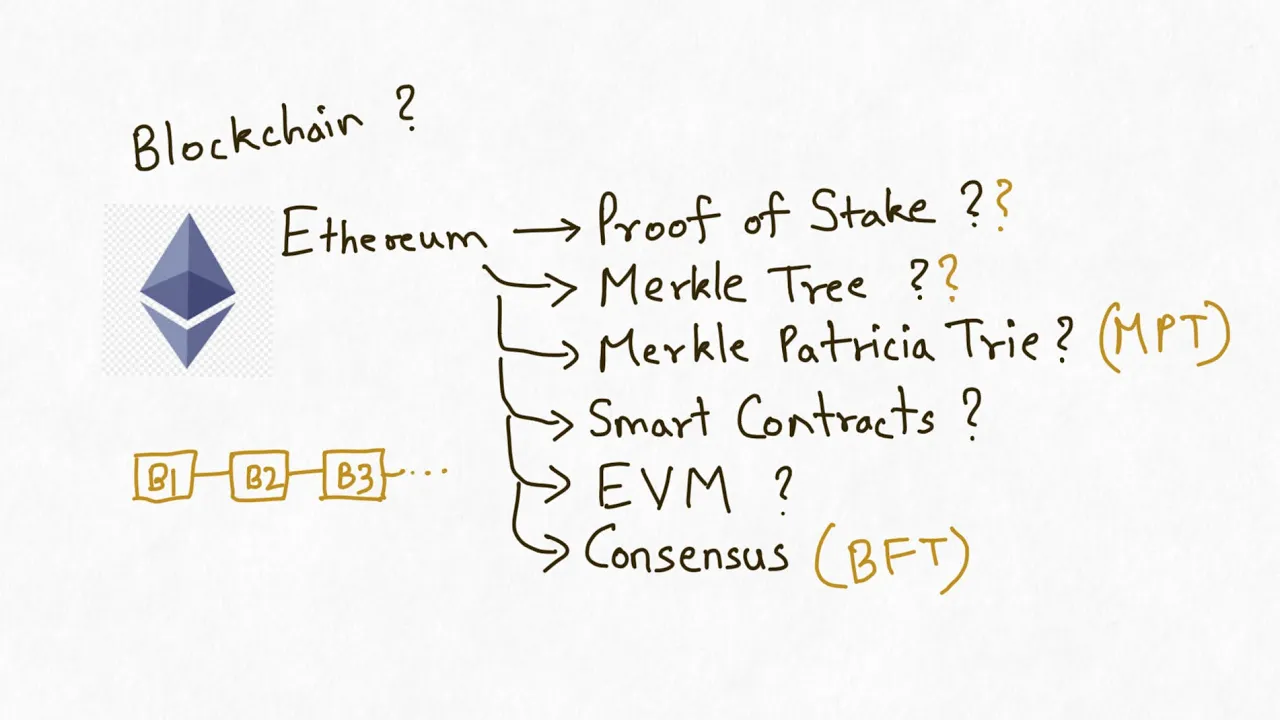
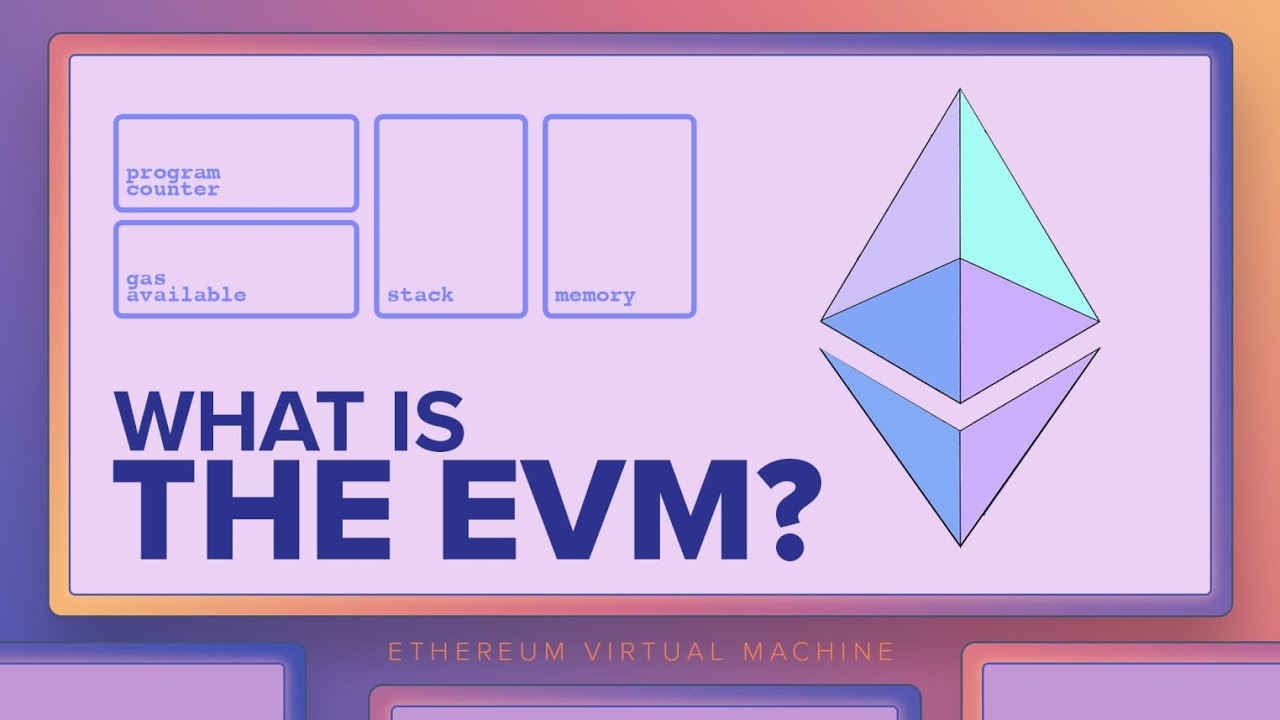
Added:Basic understanding of blockchain fundamentals, including transactions, gas fees, consensus mechanisms, and the Ethereum Virtual Machine (EVM).
Proficiency in JavaScript and React.js, as Next.js is a React-based framework used for building the frontend of the dApp.
Familiarity with basic programming concepts in Solidity, such as data types, functions, mappings, and state variables.
Comfort using the command-line interface (CLI) and package managers like npm or yarn to manage project dependencies.
Advanced smart contract security practices, including gas optimization, vulnerability mitigation (e.g., reentrancy attacks), and contract auditing.
Exploring governance protocols and decentralized autonomous organizations (DAOs), including quadratic voting and ERC-20 governance tokens.
Integrating Layer 2 scaling solutions (like Arbitrum, Optimism, or Polygon) to minimize gas fees for voters.
Utilizing decentralized storage solutions like IPFS or Arweave to store off-chain candidate proposals, bios, and images.
Implementing data indexing solutions like The Graph (Subgraphs) to efficiently query and display voting history and analytics on the frontend.
7.4K views155likes30:55Original Release: 2024-05-29
quick walk through of the entire project. So this is the two folder you will have when you will unzip the folder and when you open it voting dab new you will have this two folder. In the very first folder voting dab you will have the complete source code of the entire project. I'll take you through that and in this one voting template you will find that this is the premium template we are using in the project. So you will find all the pages we have in the template. That's all you will find. I'll give you the walk through of both the things. So let's first start with the project because that's the core feature of our application. So first you have to open this one and you have to get into this particular folder. So simply copy the name, open up your terminal and type c D and give the name and hit enter. So you are in this particular directory. Now let me give you a quick walk through that what exactly we have and what kind of folder and file structure we have designed. So I'm going to bring this down. So the very first thing we have is this artifact. So when you will compile the contract this artifact will get generated. So we not need this right now. So I'm going to simply delete this one. Need this one. We have to delete this cache as well. Then we have to come back to the component and let's try to understand the architecture we have designed. So if I open this one you can see we have a lot of components and all of these components are for different pages. So here we have the about us page. Here we have the blog page. Here we have blog detail page. Here we have career page. Here we have contact. Here we have customer education. This is the global. In that we have all the components. So we have the footer, we have the header and here we have some regular component which we are using in our entire application. So this is the cursor input loader popup preloader preview preview image scroll upload upload image. So this is the regular component we have which we have inside the global. Now here we have all the component for our homepage. So blog section, hero section, provider, testimonials, trust, vote, y vote.
That's all you will have. Then we have this legal docs. In that we have multiple components. We have market and that we have all the component for the market page. This is the market detail page. You can check that. Then we have the privacy. This is the privacy page.
This is the road map page. This is the support page. This is the team page. We have the team details page. We have the terms and condition. And in this index file we are importing all the component of different pages and that's all you will find. So this is the global one.
This is the homepage and here we have rest all the pages and that's what exactly we are importing here. Importing here. So you will find all the components for all the pages. So that's what you will find inside the component. That's the very first folder we have. Now let's come back to the second folder which is the context. And this one is a very important folder because all the logic all the interaction with the smart contract is going to be happen in this particular folder and we are using context management. So the very first thing we have is the AI. So when you will deploy the contract it's going to generate the AI which we need for interacting with our smart contract. So this is a huge AI which we going to create together. So I'm going to simply delete this one because I want to show you from everything from start. So let's start with the very first file constants. So click on that in that you will find all the configuration we have done for the networks and our contract interaction. So we are using this libraries. Then we have this API of our contract and this is the address of the owner because there are certain function we are restricting in the front end for owner only not for the user. So that's why I have taken this particular address and this particular address I have got from Harat because when you will deploy the contract hard will use this particular account. So hard give you 21 plus account and it's use this particular one the very first one for deploying the contract. So first we're going to test the contract locally.
After that we're going to deploy to the test network. So this is the honor address. Then we have the address of our contract and the API. And here we have done the network configuration. So if I open this one you will find that we have all the network. So you can define as many network as you want. So in this video I'm going to show you how you can test locally and we're going to deploy on polygon test network. So this is the latest one. So to configure a new network. So if I close all of this, you will see that we have all the different network we are using in our project. You can literally deploy to any network and you can interact with that particular blockchain. So we're going to test on this and we're going to test on this.
Mumbai is depreciated. You can go with the main network. You can go with the Binance. You can go with Binance main network and Sofali. So you can literally use any blockchain network. All you have to do is to provide this relevant information. You can call whatever you want to the name but you have to provide the chain ID the actual chain ID of that particular blockchain. You can call the name whatever name you can call because this name is going to reflect in the metam mask and here we have the currency. So you have to provide the name symbol and the decimal point and here you have to provide the RPC endpoint and you have to provide the specific block explorer which blockchain you are connecting. So these are the information you have to provide because these are the information we're going to add in the metamas when the user will not have that particular blockchain. So you can simply configure that and that's what we have here. Here we have this particular function called change network and here we are checking for a condition checking for the network. If there is no network we are throwing an error and the magic is happening here handle network switch. So all you have to do is to provide the element network name. So if we want to connect with the local host then that's the network we have to provide because I have already done the configuration here. So simply copy the name and that's what you have to provide. If you want to go with the main net or binance or polygon, all you have to do is copy copy the name and that's what you have to provide here. So where it is gone, that's what you have to provide here. So it will automatically connect to that specific network. So that's the configuration for the network. So let me close this one.
Now let's come back to the functionality. So here we have the very first function check if wallet connected. So in that simply we are calling this particular function. So it's going to check for the metamas if metamas exist then it's going to simply call this network check. So if the user is already connected with the our our network with the network which we have configured so it will continue normally otherwise it will allow the user to simply switch the network then they can interact with our smart contract. So that's the configuration we have. Then we have this particular function called connect wallet. It's the same thing we are calling the same method here we have now we have this fetch contract function and here we have this contract function.
So all we are doing we are using the web3 package and we are providing the address contract AI and the signer to get the contract object which we going to use to interact with our smart contract. So this is the entire context file. So I'm going to simply close this one come back to the context and here we are built all the functions. So there is tons of feature we have included in our voting tab. So it's a prime minister voting tab and there's a lot of feature we have. So we are using all of these packages. This is the import we have. We are using context management for state management. Here we have couple of state variables we have taken. So you can literally change the variable here and the entire data will change in our entire application. Here we have the state variable. So for the loader address and check vote. So this particular variable I have taken to check whether the user have given vote or not. Then we have this notifier. We are using this notification success notification error. So we're going to simply pass the message and it's going to reflect the message. Now comes the functionality. So here we have the entire functionality. So let me zoom out a bit to show you in a better way. So this is called register candidate and anybody can come and they can register themselves as a candidate. All they have to do is to provide all of this information. So we have this update candidate in that we are taking all of this data from the user and this is the actual data you have to provide if you want to sit in an election. So they're going to ask you name, nomination, form, affidate, criminal assistance. That's all you have to provide and we have the image and the PDF because we going to take the document in the PDF form as well and that's going to be attached in the front end so everybody can see. So this is the registered candidate in that we are checking whether all of this data is provided or not. If not then we have to throw the error message. Then we are simply calling our contract converting this entire data into a JSON format and then deploying to the IPFS. And here you have to provide your own API key and secret key from Pinata. You have to get your own API key and secret key from pinata and that's what you have to provide. I'll show you how you can get that. Then we are simply uploading it and then that's the information we are passing into our smart contract name and URL and then we are calling the transaction complete. So this is the register candidate function. We have same thing for the register voter. So they have to provide all of this dual if they want to register themselves as a voter. Then we are doing the same thing and here you have to provide your API key and secret key from pinata for uploading the data to the IPFS and then we are calling the contract and storing the data into that. So this one is for register voter. Now if I come back here here we have this approved candidate. So this particular smart contract is little bit different. So when the candidate and voter register themselves in our contract then the owner of the contract means those who conducting this election they have to verify the document. So that's why we have this particular function called approve candidate. So in that the owner will see all the documents which they have provided. They will see the PDF. If the creator of the election thinks that this is the legal candidate, so they can simply approve that and they will be selected for sitting in the election. So this is the approved function we have. Same for the voter. Same for the voter. We have to verify the document and then we have to allow them to give vote. So this is the approve function. Then we have reject candidate function and we have reject voter function. So if the users not provide the factual data the valid data so we can reject their nominations and we can give them option to simply re-upload the entire data and they can simply create another request for approval and that's the exact logic we have built here. This one is for candidate and this one is for voter. Now come back to the setting voting time. So this one is pretty dynamic. The owner of the contract means the creator of the election can set this timing of voting.
So we are taking the timing start time and end time and that's how we are simply passing into our contract. So only in that period of time the user can give vote. So this is the set period time. So now we have this particular function called update voter and update candidate. So if their document if their nomination get rejected so they can use this particular function to upload the entire document valid document and they they can request for reapproval. So this is the function they have in which they have to provide all of this detail and again here we have to simply provide your API key and secret key. So we can upload this data again to the blockchain IPFS. So this one is for voter update and here we have this candidate update candidate had also and here you have to also provide the API key and secret key which I will show you which I will show you how you can get it. So close this one. So this one is update. Now we have this change ownership. So if you think that you want to change the ownership of the contract, you can simply do that.
You can take the new owner address and that's what you have to pass into the function change owner function. We have this reset contract and this particular function will reset the entire data just like a new. So you can use this contract literally for multiple uses. So you have used this year or you want to use the same contract in different election, you can use that. It will reset the entire data into a smart contract and it make it fresh.
So that's the logic we have built for reset. Close this one. And here we have this give vote. So in that we need to take the address of the candidate and that's what we have to pass and the voter can conduct their vote. This is the function we have. And here we have all the reading function. So here we have this initial contract data in which we are reading all the information like what is the election time period and that's all we are converting and returning here. Then we have the next function called get candidate register.
In this we can able to get all the candidate who have registered themselves as a candidate for election. So that's all data we are reading and we are doing in proper format and that's what we are returning here. So this one is candidate read data. Then we have this voter. So all those who will register themselves as a voter that's all details we will find here. Then we have this next function called all voter voted. So those who will give their vote we're going to find their data right up here.
So they have registered themselves as a voter. So once they will give the vote we can able to get their details in this particular function. Then we have the highest voted candidate. So this will give us the current status of the election that which candidate has the highest vote. It will give this. Then we have the winner. So this will return once the election is over. This function will call and we can able to get the winner. Then we have this particular two function called get single voter and get single candidate in which you can pass the address of the candidate or you can pass the address of the voter and you can able to read all the documents which they have uploaded. So this is the entire function we have built in our context management and that's all functions and the variables are exporting here so we can utilize in our application. So this is our context management. I'm going to simply close this down. Now we can come back to the contracts and this is pretty huge contract we have coded in this particular project. So here we have taken all the important variable the owner of the address start time end time fter counter candidate counter here we have this three different stage. So when the user will create his account we are keeping that in pending after that we'll have the approval. If owner of the contract can reject their application so we are giving this reject. So we have this three different stage here we have all this information about the voter. So we are taking the address, name, IPFS, URL in which we have all the other details, register ID, status, has voted or the message. So this message will update when the application will approve or reject. And here we have the same thing for the candidate. Here we have all the arrays and the mapping for candidate and voter. So here we have this modifier which will check whether the function is called by owner or not.
And here we have this particular function modifier which will take the duration time whether the election is going on or stop. Here we have the constructor in that we are initializing voter count to one and candidate count to one and setting our setting the owner of the contract. So this is the constructor. Now we have the very first function called register. If I open this one in that we are taking this two information name and URL and that's what we are simply assigning and providing in our register voter. Same thing for the candidate.
Here we have the approval function. Here we have the approval candidate function.
Reject voter. Reject candidate. Set voting time. Here we have get register voter. Get all register candidate. Get all approval voters. Get all approval candidate. Get vote. Update voter. Update candidate.
Change honor. Reset contract. So this will reset the entire data within our contract. And here you can see we are resetting every single thing and deleting all the previous data. But this data will exist in the blockchain. It's only removing from the contract. Then we have the vote function. Then we have the get all voters who voted. Then we have get current voting status and the winner. So this is the huge contract we going to code together in the project.
Let me close this one. Now come back to the pages. So in that we have so many pages about all voter approved candidate approved voter candidate details candidate contact index legal docs owner privacy register candidate register voter map road map support terms and condition update update candidate update voter voter details voter that's so many pages we have and even we have more pages in the complete template which you can check so once you will get the final source code in that I'll provide you this template as well. Come back to the public. In that you will have the asset.
There we have all the asset and the CSS file. That's all you will find. You don't need to make any changes. So close this one. Now come back to the script.
So, so this is the entire script which allow us to deploy our contract. So we're going to test our contract locally and on the test network. So this is what we have here in the script. Close this one. Now come back to the style. Here we have the global CSS and here we have added some custom classes as per our branding. So that's all I have done which you can check. Close here. Then we have this utils. In that you will find that here we have these two function for converting time and we have this one short address. Close this one. Now come back to the hard accounts and here you will find all the 20 account which hard will provide you where you will test the contract locally. So I have already copy and pasted here for your convenience. So you can simply get it from here as well.
Here we have this hard config file. So first we're going to test on local host.
Then we're going to move to the test network and that's the configuration I have to done and that's the configuration I have done here. So if you want to deploy to any network all you have to do is to get the RPC URL of that particular network and provide your private key of your wallet which you want to use to deploy. So that's what you will have here. So now come back to the packages file and here we are using all of these important packages. So we are using XS, Ether, Nex.js, React, React DOM, drop zone, react icon, web3 models and here we have the toaster and form spare and here we are using hard and nomic foundation which is the most important package which allow us to test our contract locally. So this is the entire folder and file structure we have which we have coded and which we going to code in the project together. So you can see it's pretty huge. You have seen that what we have exactly in the final project code base. Now let me show you what is the requirement you need to have to run this particular project because when you will take the source code this is exactly what you will get. So before we actually install the packages and run the project we have to have couple of requirements. So we have to use this specific node node de node-v this is the node version I'm using and you have to use the exact node version because right now hard is not compatible with the latest node version. So the packages we are using like this hard is not compatible. So if you use any other version, it's going to create a problem.
It's going to unzip the entire package and it will install individually which create a lot of problem if you have the latest node version. So make sure to use this one. This one is very stable one at the moment. You have to also check the npm versions. Type npm d-v. So this is the version which I am using. If you don't know how to downgrade or upgrade to this particular version, make sure to watch this video and that I have explained that how you can downgrade or upgrade your node version. So this is the first thing you have to check. Now it's time to install all of these packages. So all you have to do is to simply type, let me zoom a bit and type npmi or install. Both will work fine.
Hit enter. This is going to install the entire packages we have in our project.
You can see we got our node modules. It will take a little bit time because all the packages are very slow um and very light in nature. So it will happen very quickly. So finally we have done the installation and we are getting some notification. So it's say 11 vulnerabilities moderate and here we have this npm audit fix but we don't want to run this command simply ignore this one because when you will run this command it's going to upgrade some of the package and that's going to create a problem. So simply clear your terminal because we have successfully installed the packages and here we got our node modules in that we have all the packages which our project rely on. So once we're done with that now you have to simply split your terminal close this one and you have to run your local node because we are using hard for testing our contract and we have already done the configuration here in the context file that first we have to test locally then we're going to move to the test network and that's what we have already done here local host so close this one bring it up and now we have to start our local node so simply type npx hard node code. Hit enter. This will start the internal node in your system and it will give you 20 plus account and you can use all of these 20 plus account locally to test your contract and you can import these account in your metam mask. So to import all you have to do is to simply copy the address and that's what you can simply import and by default when you will deploy your contract hard will use this very first account this very first account 2266 and that's what I have already given here.
So you can see 2266 because this is the account hard will use for deploying your contract. So this is the first thing make sure you have to keep this running. Don't stop it otherwise you cannot able to test the contract and deploy the contract locally. So once you're done with that close this one not close this one let it be open. Come back to the script. Go to deploy. And here we have this script which I have given. So we are testing locally. So we have to simply copy this one. Copy. And that's what we have to provide here. So this is the exact command you have to paste and hit enter.
It's going to compile the contract and it's going to give you the address. So here our contract got compiled successfully. If you come back here, here we have the artifact. Inside the artifact we have the contracts in that we have the AI of our contract. So simply drag and drop here in the context file. So we got the AI and that's what we are importing. If you come back here, here we have the AI. That's what we are importing. And one thing I want to tell you that if you make any changes in your contract even a spelling or even a small comma you have to provide the updated API. So when you will deploy the contract it's going to generate the AI and that's what you can simply drag and drop here. So first we got an AI. Now we have to come back here in the in the context constants and here we have to replace the addresses. So by default hard will generate the same address. You can see I got the same address. When you learn this command hard will generate the same address. This is exact address you will get. So simply copy the address and that's what you can simply provide here. Paste here. So we got our address.
Now everything is set. So simply type npm rundev. Hit enter. And here our application started on local 3000. You can simply copy that and you can come back to your browser. So I'll come back in my browser and I want to show you one thing. You can see that I have already done the configuration of my local host in my metam mask. But what if you don't have that configuration in your metam mask it's going to throw an error. So that's why we have done this automatic configuration in our codebase. So if the user don't have this configuration, it will automatically configure. So let me show you how it's worked. So what I will do, I'll simply provide my credential.
I'll say hit enter. Here I'm into the polygon network. Come back to the networks. And here you can see this local host is already configured. I'm going to simply delete it to show you that our configuration is working absolutely fine. Simply delete it. Right now we don't have this local host in our metam mask. If you want to configure, you can do it manually. So you can simply click here. You can come back in the network session. Click on this add network manually and you have to provide the exact details which we have here like name, go, currency, decimal point, RPC URL. You can provide it manually but we have to do in more advanced way and we want our application easily configure that. So our project is running you can.
Now let me show you how you can deploy to the test network. So open up your terminal and we have to stop our application from running. Stop the application from running. Close this one and I'm going to clear my terminal. So this time we have to deploy to the polygon test network. So we have already done the configuration here in the context. So all I have to do is to change the network. So I'll come back here. I'm going to simply copy this one and that's what I have to provide here.
So I'm going to simply close this one and provide here. So this time we are deploying to polygon test network.
That's the only thing you have to do here in the context and you have to replace the address with your address which the account you will use for deploying your contract. And here you have to provide the contract address which we going to do it. So I'm going to simply bring it up. Bring it up. I will come back here in the hard config file and here I have to provide my private key and I have to simply comment this one and this is the exact thing you have to do and bring it back. Bring it back.
If you want to deploy to any other network like mainet test net then you have to provide that respective RPC URL of that particular blockchain and you need to have couple of one in your account which you want to use for deployment. So this looks good. Now we are ready to deploy our contract but before we do we need to take our private key. So save it. Come back in the browser and click on the metamas and I'm going to use this particular account account number two because we cannot use the hard accounts for testing our contract on a test network actual test network. So I have already have this particular fund like I'm going to use this polygon. So I'll come back here.
I'm going to switch back to the polygon Mumbai. And if you don't have this polygon test network you don't need to worry about it. We already done the configuration here. It automatically going to add all of that. So come back in the browser and now we need to use this particular test network and I'm already having this much fund. In your case if you don't have fund you can use this particular website to get couple of free foret. So type polygon foret will take you here. Click on the very first link and all you have to do is to simply paste your wallet address. So I'm going to use the account number two. I'm going to simply copy this particular address and that's what I'm going to paste here.
So when you will come for the very first time it will tell you to join the discord server. So first you have to authorize then you have to join the discord server. After that you will get this particular option. So you have to pick this particular network. This is this symbol and here you have to paste your address. The transaction will fail because in the morning I have already transferred couple of Matty test Matty.
So the transaction will fail. So let's see here you can see the transaction will fail because I already have enough Matty for testing my contract. So that's why it's failed. But in your case you will get the Matty which you can use for testing your contract. Now I have to get my private key. So to get click here but before I get I can let me clear my MetaMask history otherwise my transaction is failed. Clear it and reload the page. I'm going to simply this is the platform which we're going to use to deploy our document to the IPFS blockchain. So make sure to login.
I'm going to say no thank you. I already have my account. So I will simply logged in. So here I'm back into my dashboard and here I will find all the document which I have uploaded in my recently in all the different API I have created. So all you have to do is to simply click on this API key and here you will find all the API key you have created. So I have tons of API key. To create a new one click on this new API key. You can call whatever you want. I say call it let's say let's say shi shah my buddy. And here I want to have a admin level access because I want to use all of this. Here you can set the limits. So I can you can the maximum limit you can set to th00and you cannot go beyond that because that's the maximum you can create on a free API key. Click on this generate and it's going to generate a key for you. So you can simply copy this one and you can come back here and that's what you have to update.
So you can simply come back here and here you have to simply update.
Paste here. Save it. Paste here. Okay. Let me bring it back. So simply paste here. Same thing you have to do with this one. Come back to the code and here you have to paste here. So this is the key you have to paste. So simply copy this one. Once you provide in one particular function, copy this one API key and come back here in the candidate and here you have to simply replace. So simply select this and paste here. This looks good. Let's do the same thing for the register voter. And you can simply come back here and you can simply paste here.
You can do the same thing with the register candidate. So I can simply select and paste here. If you get any error related to deployment then make sure you have to check your API key. If your API key is not valid, it's going to throw an error.
And when you will take the final source code, this is the new API key which I have created just now. It will be there.
So it will work for a few days because a lot of you going to create on this particular API key. So after it exhaust its limit then you have to replace your okay but if you get any error related to pinata because that's the error message you will find here like successful and when it will fail it will say registration fail. So when you will get in that kind of things then you have to simply replace your APK. So you have to same copy and you have to replace in two more places. So come back here in the component in that component you will find global and here we have this upload image and we have this upload. So click on this upload there you will find we have this particular function which upload the entire image to the IPFS. So that's the same thing we have to replace here provide and we have to upload this image as well. So we can simply come back here and we have to replace here as well. So let's open this one and that's what I have to do the replacement for the image. Got it? So I hope what are the things you have to do in these six places you have to replace the API key and secret key in that way everything would be fine. So if I come back to the context so we have done all the update.
So I hope you guys have understood that what exactly you have to do when you will get the final source code and how you have to do the setup. It looks pretty amazing. This is one of the project you have to include in your portfolio. It will help you to increase your understanding that what and how you can build this kind of application. It's a pretty huge contract we have written.
So this is what you will get in the final source code. And now let me show you that what exactly you will get in the template. So I'm going to open this one. I'm going to stop the application from running and I'm going to clear my terminal. And now I have to get out of this particular folder. So cd dot. Now I have to get into this particular one template one. Simply copy cd and I can paste this one. So right now I'm in this particular directory. Now I have to install the packages. Now you have to simply install. Type npm i and hit enter. It's going to install all the packages we have here in the packages and file. So close this one and just give some time here. We are getting this particular warning. It's telling us to use the latest version of node. So but we want to use the exactly the same one. Now we can simply clear our terminal and type npm run def. Here it started on local 3000. Now you can come back in the browser can execute that. And this is the template the pages you will get. That's all you can check from your end. So, that's the only thing from my end. Hope to see you in the next video. Have a wonderful day. Bye-bye.
Up Next

47:06
Privacy-Preserving Portfolio Management with FHE | Zama Demo
@zama_fhe
415 views•2025-10-30

52:00
Hybrid Key Establishment in Production: Post-Quantum Cryptography
@durumcrustulum
14.7K views•2025-08-27
64:25
Operational Security Essentials: A Guide for Hacktivists (OPSEC)
@hitbsecconf
157.4K views•2012-11-26

11:49
Understanding Ethereum: A Comprehensive Beginner's Overview
@99Bitcoins
3.1M views•2018-06-26
Related Study Plans & Knowledge Roadmaps
Structured learning paths in Blockchain & Crypto
blockchain-and-crypto
MPC Wallets: TSS, DKG & Secure Custody
01Foundations of Cryptography & Digital Signatures
02Secret Sharing & Introduction to MPC
03Distributed Key Generation (DKG)
+ 2 more learning modules
24h5 modules
Explore Roadmap
blockchain-and-crypto
ERC-4626: Yield Aggregators & Leverage
01Blockchain, Ethereum, and Solidity Foundations
02DeFi Primitives: Lending, Pools, and Yield Farming
03Mastering the ERC-4626 Tokenized Vault Standard
+ 3 more learning modules
35h6 modules
Explore Roadmap
blockchain-and-crypto
DePIN: IoT Registries, Proofs & Rewards
01Foundations of Blockchain & IoT
02Introduction to DePIN and the Flywheel Effect
03Designing IoT Device Registries & Secure Identity
+ 3 more learning modules
30h6 modules
Explore Roadmap
blockchain-and-crypto
Building EigenLayer AVS: Operators & Contracts
01Blockchain, Ethereum, and Smart Contract Basics
02Proof of Stake and Ethereum Staking
03Introduction to EigenLayer and Restaking
+ 3 more learning modules
24h6 modules
Explore Roadmap