









![GraphQL With React & Apollo [2] - React & Apollo Setup](https://i.ytimg.com/vi_webp/-XwkFm5a9lw/maxresdefault.webp)








This video tutorial demonstrates how to create, test, and publish a subgraph to The Graph's decentralized network using Subgraph Studio, Graph CLI, and Graph TypeScript library. The process involves connecting a MetaMask wallet, creating a subgraph project, defining a GraphQL schema with entities for tokens and users, configuring subgraph.yaml with smart contract ABI and event handlers, generating TypeScript types with codegen, implementing mapping functions to handle token events, deploying the subgraph using the deploy key, and publishing to test networks like Rinkeby while participating in signaling to become a curator.
Build and Publish a Subgraph: Subgraph Studio Tutorial
Added:Fundamental understanding of EVM-compatible blockchains, smart contracts, and how contract events are emitted.
Basic proficiency with TypeScript or AssemblyScript syntax, as mapping handlers are written in a TypeScript-like language.
Familiarity with GraphQL core concepts, specifically defining schemas and writing basic queries.
Familiarity with using the Command Line Interface (CLI) and package managers like npm or yarn.
Integrating published subgraphs into frontend decentralized applications (dApps) using React and Apollo Client.
Implementing advanced subgraph features such as dynamic data sources (templates), full-text search, and IPFS data indexing.
Deploying and migrating subgraphs to the decentralized Graph Network, including understanding curation, GRT billing, and indexer dynamics.
Optimizing subgraph performance, handling blockchain reorgs, and debugging mapping errors using graph-node logs.
19.8K views285likes11:56Original Release: 2021-07-08
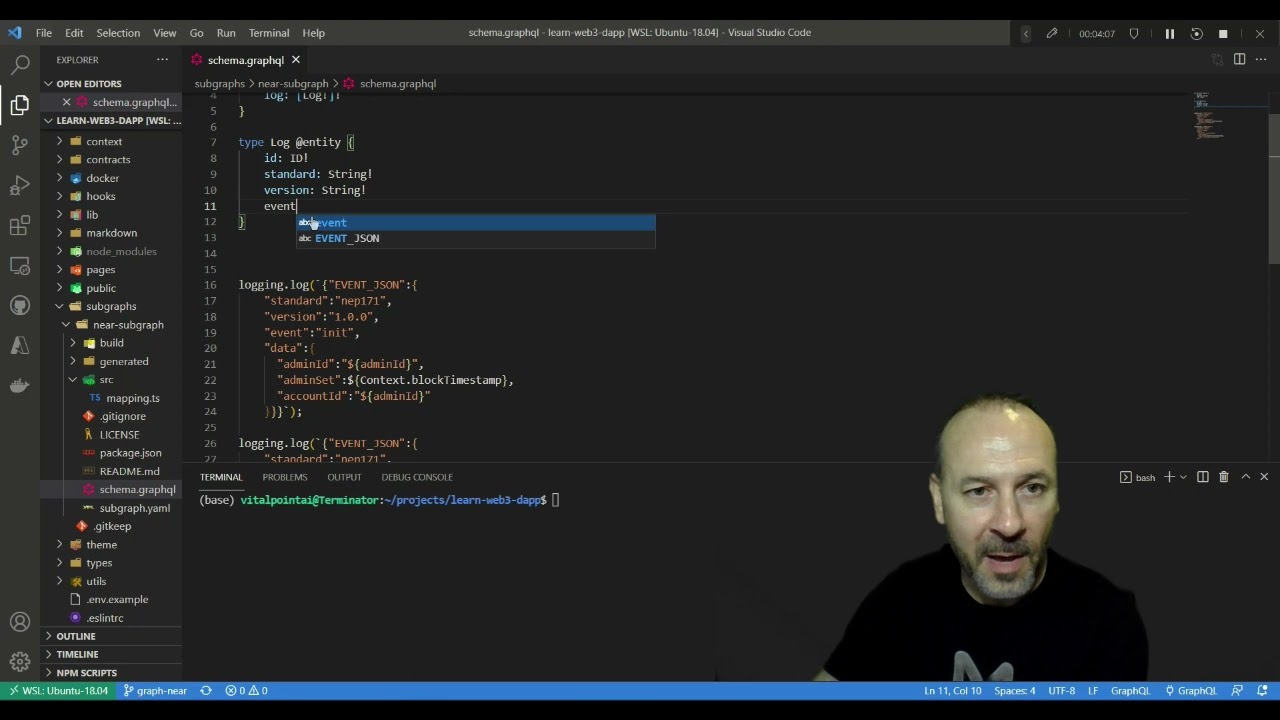
in this video you'll learn how to build and publish a subgraph to the graph explorer with subgraph studio the subgraph that we'll be building today will be indexing data from the zora smart contract zora is a popular nft marketplace to be successful in this guide you should have a metamask wallet installed as an extension to your web browser as well as nodejs installed locally on your machine to get started navigate to thegraph.com studio here you'll see a button to connect your wallet choose meta mask and then choose the address that you would like to authenticate with to create a sub graph click create a subgraph here give your subgraph a name and then click continue this view allows you to see information about your subgraph including the name the status the slug and the deployment key you can also edit metadata about the sub-graph including the description the source code url the website url and up to three categories now that the subgraph has been initialized in the studio open your terminal so we can start writing some code the first thing you'll need to do is install the graph cli globally using npm install g at graph protocol graph cli if the graph cli is installed successfully you should now have the graph binary to create a new subgraph you can use the graph init command here we'll pass in additional arguments for the contract name to index the contract events to set the product as subgraph studio and then set the from contract pacing in the contract address you can copy the contract address from the description below or visit slash docs.zora.com os slash dev and copy the media contract address for the subgraph name paste in the name of the subgraph that you created in subgraph studio you should now be able to choose the defaults for the rest of the options next change into the new directory and you should see all of the files that have been created for the subgraph boilerplate next let's go ahead and open the project in our text editor the first file that we will update is the graphql schema located at schema.graphql here we can delete the existing boilerplate code and create a new entity for a token type the token will have fields for id token id content uri metadata uri created at timestamp creator and owner the creator and owner will be of a user type that we'll create next the user type will have fields for id tokens owned and tokens created one-to-many relationships can be created using the derived from directive passing in the field of the parent type from which the relationship was derived save this file and open subgraph.yaml subgraph.yaml describes the main configuration for your sub graph in addition to some of the boilerplate code that we will see in this subgraph.yaml file the cli was also able to pull down the abis for this smart contract by passing in the index events flag boilerplate event handlers have also been created for us the first update that we'll make is setting the start block the start block is an optional setting that allows you to define from which block in the chain the data source will start indexing if no start block is defined the subgraph will index events starting from the genesis block next update the entities to be token and user to match the entities defined in our graphql schema finally the only two event handlers that we'll be using are token uri updated and transfer so we can delete all of the others in order to make working with smart contracts events and entities easy and type safe the graph cli can generate assembly script types from the subgraphs graphql schema and the contract abis included in the data sources to do so let's jump back to our terminal and run the codegen command when the codegen is complete you should see a file named schema.ts and a folder named token located in the generated folder the last thing we need to do is write our mappings to do so open src mapping.ts next we'll import references to the token uri updated and transfer events as well as a reference to the token contract from the code that was generated for us by the cli these imports will give us type safety as well as functions that will allow us to interact directly with the smart contract next we'll import the token in the user from the schema these imports will allow us to interact with the graph node the interactions that we'll be using are facilitated by the graph typescript library the graph typescript library gives us the following an api for working with smart contracts events blocks transactions and smart contract values a store api to load and save entities from and to the graph node store a log api to log and debug messages to the graph node output in the graph explorer and ipfs api to load files from ipfs a json api to parse json data a crypto api to use cryptographic functions and low level primitives to translate between different type systems such as ethereum json graphql and assembly script next we'll create our handle transfer function let's walk through what this function is doing we first try to load the token from the graph node by calling token.load passing in the token id if the token does not exist we create a new token setting the creator token id and created at time stamp from values passed in from the event next we call out to the token contract itself to get and set the content uri in the metadata uri here we set the token owner and then save the token to the store next we check to see if the user exists if they do not we go ahead and create a new user the handle token uri updated function updates the content uri of the token and then saves it back to the store now we're finished writing code and we can deploy and publish the subgraph to publish the subgraph we're going to need the deploy key to do so we can go back to our sub graph in the studio and copy the deploy key to our clipboard to configure the deploy key we can run graph auth dash dash studio and then paste in the deploy key when prompted to deploy we can run graph deploy dash dash studio passing in the name of our subgraph and a setting of version label once your subgraph has been deployed successfully it should show up in your subgraph studio dashboard and begin syncing in this view you should see the graphql playground as well as logs and details for the subgraph to test everything out we can run the example query given to us in the graphql playground we can also define our own queries by updating arguments and fields our subgraph is now ready to publish to the decentralized network to test how this works we can publish to the rinkeby network to do so i'll first update my network to be the rinkeby test network instead of the ethereum mainnet for rinkeby test tokens visit fawcett.rinkabee.io to publish your subgraph to rinkaby click publish choose rinkeby as the network and then click publish again once the subgraph is successfully deployed you should see links to view it both in the subgraph explorer as well as etherscan next click view subgraph and explorer here we can now test out signaling on our subgraph to test signaling on a subgraph you will need some test grt you can request test grt in the graph protocol discord in the testnet faucet channel once you've received your testnet grt click signal here enter the amount of grt that you would like to signal and then click approve once you've confirmed the amount click on signal to finalize signaling once signaling is successful you should see yourself show up as a curator
Up Next

53:41
The Graph Core Developers Call 30: Cross-Chain Subgraphs and Protocol Updates
@GraphProtocol
165 views•2024-05-29

52:00
Hybrid Key Establishment in Production: Post-Quantum Cryptography
@durumcrustulum
14.7K views•2025-08-27

24:25
Subgraph Indexing & Querying Optimization: 4 Best Practices
@GraphProtocol
289 views•2024-05-24

11:49
Understanding Ethereum: A Comprehensive Beginner's Overview
@99Bitcoins
3.1M views•2018-06-26
Related Study Plans & Knowledge Roadmaps
Structured learning paths in Blockchain & Crypto
blockchain-and-crypto
MPC Wallets: TSS, DKG & Secure Custody
01Foundations of Cryptography & Digital Signatures
02Secret Sharing & Introduction to MPC
03Distributed Key Generation (DKG)
+ 2 more learning modules
24h5 modules
Explore Roadmap
blockchain-and-crypto
ERC-4626: Yield Aggregators & Leverage
01Blockchain, Ethereum, and Solidity Foundations
02DeFi Primitives: Lending, Pools, and Yield Farming
03Mastering the ERC-4626 Tokenized Vault Standard
+ 3 more learning modules
35h6 modules
Explore Roadmap
blockchain-and-crypto
DePIN: IoT Registries, Proofs & Rewards
01Foundations of Blockchain & IoT
02Introduction to DePIN and the Flywheel Effect
03Designing IoT Device Registries & Secure Identity
+ 3 more learning modules
30h6 modules
Explore Roadmap
blockchain-and-crypto
Building EigenLayer AVS: Operators & Contracts
01Blockchain, Ethereum, and Smart Contract Basics
02Proof of Stake and Ethereum Staking
03Introduction to EigenLayer and Restaking
+ 3 more learning modules
24h6 modules
Explore Roadmap