





![[LIB] Inspire-se - Libras III](https://i.ytimg.com/vi/bRTa214nSvM/maxresdefault.jpg)

![[AO VIVO] TERMOS DA LIBRAS QUE VOCÊ PRECISA CONHECER - FELIPE SABARÁ](https://i.ytimg.com/vi/EcC1_yvvstc/hqdefault.jpg)
![[컴퓨터활용능력 1급 필기] 기출문제 풀이 - 2014년 2회 (1과목) 컴퓨터 일반](https://i.ytimg.com/vi/8nslA-0azKg/maxresdefault.jpg)







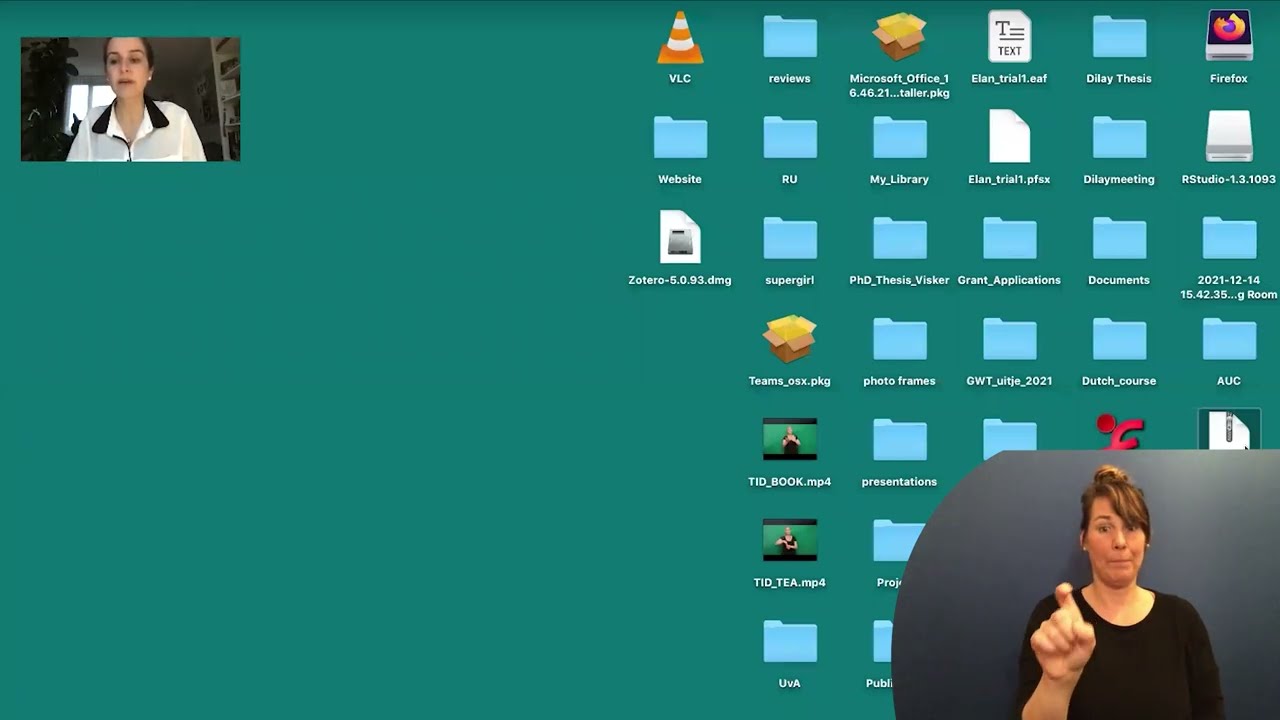




ELAN is free linguistic analysis software used for transcribing and annotating video data, particularly for sign language analysis. To begin, users create a new project by selecting File > New and locating their media file. Tiers are annotation layers that organize different types of linguistic information (such as gloss, English translation, participant, annotator, lexical categories, and non-manual markers), and users can add new tiers by clicking Tier > Add New Tier and naming each tier according to their analytical needs. Annotation involves selecting the appropriate tier, dragging the cursor to mark the start and end points of a sign or feature, typing the annotation in all caps following established glossing conventions, and pressing Command+Enter (Mac) or Control+Enter (PC) to confirm. Users can adjust playback speed, volume, and subtitle display order to facilitate accurate transcription.
ELAN Tutorial 1: Set Up Tiers and Annotate Sign Language Data
Added:okay Welcome to our Elan tutorial Elan is the software that we'll be using to do our linguistic analysis in this course EI 435 Linguistics of American Sign Language you will find Elan on the Internet it's free you can download it and you can download those PDF files that um the manual that comes with it I've also placed on blackboard this file that will allow you to get some quick insights into Elan it's a tutorial that's been done by a deaf person it's very simple there are lots of pictures explaining the um features of Elan and how to go about um doing your annotations setting up your tears and um manipulating the various features of Elan so make good use of this as you work through with your project okay okay let's get started you will also find on blackboard um the glossing conventions that I want you to use um pay particular attention to this file because this is what you're going to use to um put your glossing in Elan as you do your annotations and transcribe the data both for non-manual as well as the manual um signs that are used first you want to click on file new you need to locate the file that you want so in my case this file is on my hard drive find the file that I'm looking for you can either double click it or click once and then send it across there if we had already created an Eland file and set up our tiers and we simply wanted to use the same set of TI we could do that but in this case we're going to just have the media file and we're going to set up our chairs click okay and there you have your file now we want to set up the tiers what are these tiers the tiers are going to be used for you to do your annotations and that's going to be dependent on whether you're the perspective from which you're looking at the data what exactly do you want to analyz this data for are you looking to see more FES being used by this person are you are you checking in your language sample for lexical categories use of nouns and pronouns verbs adjectives do you want to see whether the student is using person is using classifiers or not are they using it correctly um are you checking for non-manual markers for use of space space referencing what exactly are you analyzing for syntax so to set up your tears you click on tier add new tier and then you need to type the name of a tier so let's say our tier is going to be gloss and this is going to be the tier where we putting all the glassing the participant the annotator so let's say Steven is doing The annotation then click add we want to have a second tier for English translation participant paon he's the person indiv video and then you have because you may have videos with more than one um person in your language sample Stephen is our annotator and let's click on close so there we have our teers what did I do wrong I did not add the other tier so to go back enter our tier again and the tier that we put in was English translation let's get back to participant annotator we must click on ADD let's add one more here let's add Lex iCal categories and we can shorten that up to Lex cat participant annotator click on ADD and maybe we can have one more for non manual markers now you may not need to put all of this in each time because you'll you'll be the one working on on your annotation but let's say I put you in groups and you're working in the same file and each person may be assigned a particular tier to work on then you would want to ensure that you have this information in the annotator the participant Etc especially if your file may may have your movie file may have more than one um participant let's click on ADD and then close now here have some things we can do let's say I wanted my lexical categories to come above my English translation click on lexical categories and I can drag it up and it goes above English translation these buttons are used to control the movie you can you can go to the beginning of the media one scroll view one second one frame before previous pixel you can play unless this was moving too fast what could you do you can adjust the speed by adjusting the controls or you can even speed it up even more so you can speed that up so let's leave it there you can adjust the volume how loud you want the volume to be since this has no sound doesn't really matter we can take this off and you can put subtitles you can say what order you want the subtitles in so I could put glass there I could put this one English translation I could put my lexical categories there and my non- manual mark there so I can see what are the annotations that I have put in let's try and do some annotation we can so we go to the beginning of the media media on the gloss so I'm on this tier I can drag my cursor and there when I get to the point where the sign starts so the sign first sign he says hello and and I can select exactly where I think that sign ends double click and Enter The annotation all in caps CU I want to follow my glossing convention then on the PC it would be control and enter on the Mac it's going to be command and enter so I'm using a Mac so command and enter and I have my first sign then I can go again until I want to get my next sign so the sign starts there so I want to get that there double click my command and enter or control and enter if you're on a PC then you move to the next sign where does the sign start sign for name name double click name command and enter and it's as easy as that so let's go again and we start right there and I'm going all the way down till the end of the name see sign side to go back right there we are double click finger spelling remember I'm using the convention how do I know this is the convention I want so I have command and enter I can I want you to keep referring back to your glossing conventions so I open up there and it tells me what I need to do if I have a finger spelling fing FS is the abbreviation for a finger spell word and it gives me example fs- boob and I can go and make my change now suppose I did something wrong they have a dash I want to follow the glassic convention because I don't want to lose any points so I can go back here double click click on my annotation take the backspace there put the dash and then I go command enter or command return if you are using a Mac control enter on the PC command enter on the mark and there I have that and I can continue he says okay so let's go there um so I want to start there name sign sign ends there click name and this is a compound sign yes name sign and I can go and that's the name set right there P command enter now what about English translation so I want to go from here right there or all the way down sentence ends there double click in there hello full stop okay this is not we don't all type in caps full stop my name what's going on okay is pulson full stop command and enter now made error what do I do double click erase the command and enter what about from here now I can go from there so let's try it again there double click my name sign is Miss English we're doing p is the sign p on the over over my eyes my right eye or this is my name [Music] sign okay so that's how we do our tears and now if we go back to the beginning we can press play and we can see all the glossing the text is appearing here along the way and the rest is left up to you so that brings an end to our first tutorial thank you very much
Up Next
Field Linguistics: Theory and Practice in Language Study
@Canguroenglish
11.2K views•2020-08-02
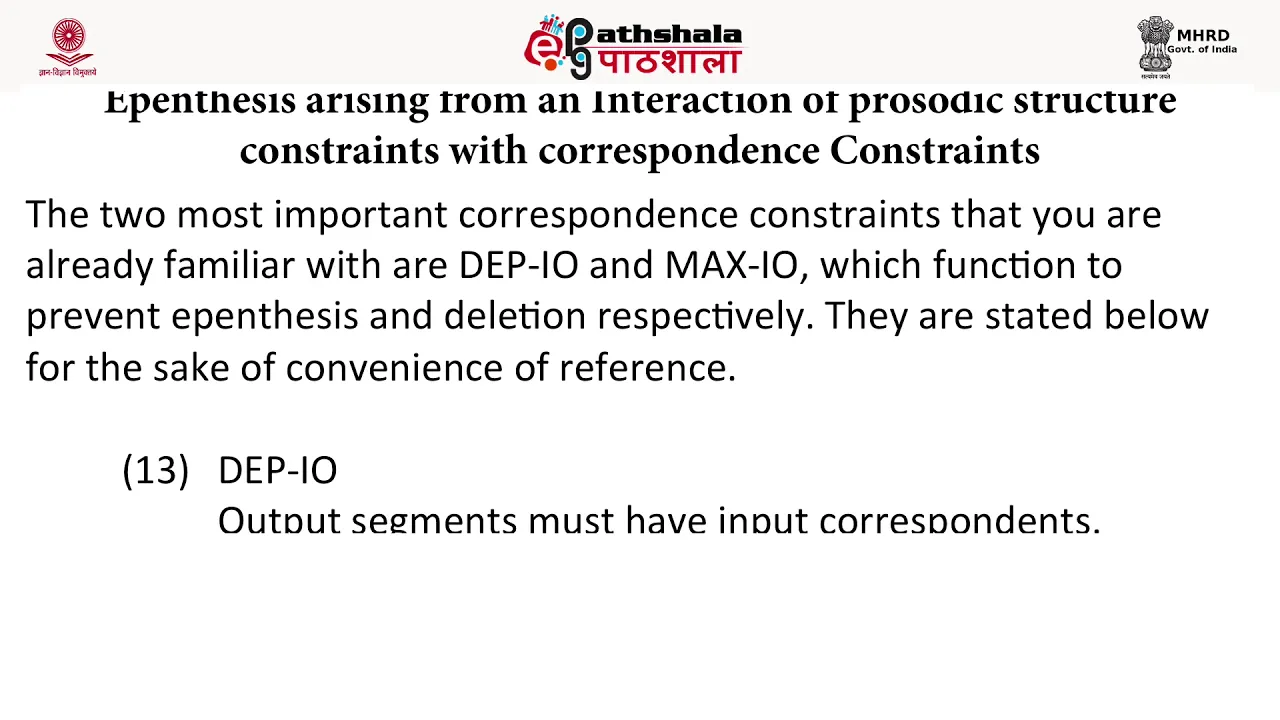
Constraint Interaction in Optimality Theory: Epenthesis & Deletion
@Vidyamitra
180 views•2018-08-20

Forensic Linguistics: How Language Solves Crimes | PBS
@pbsstoried
1M views•2024-01-25

Accent Expert Explains U.S. Regional Dialects | Part 1
@WIRED
9.3M views•2021-01-21
Related Study Plans & Knowledge Roadmaps
Structured learning paths in Linguistics