









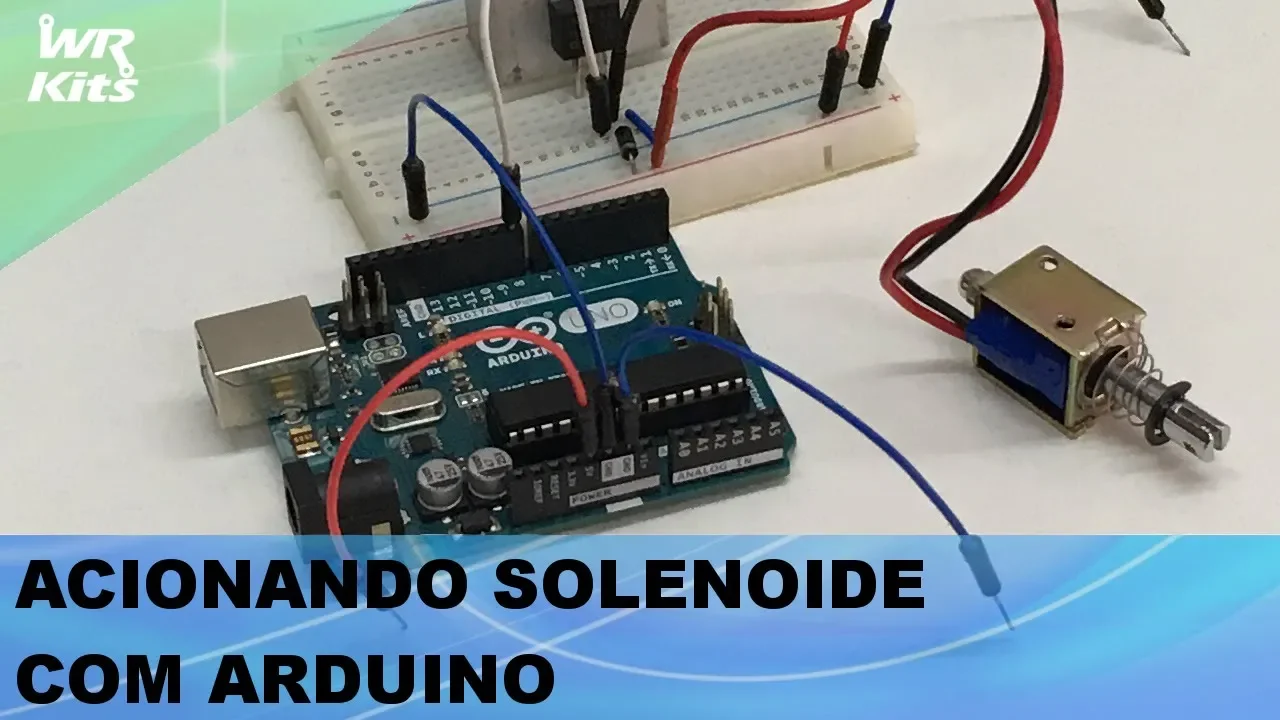


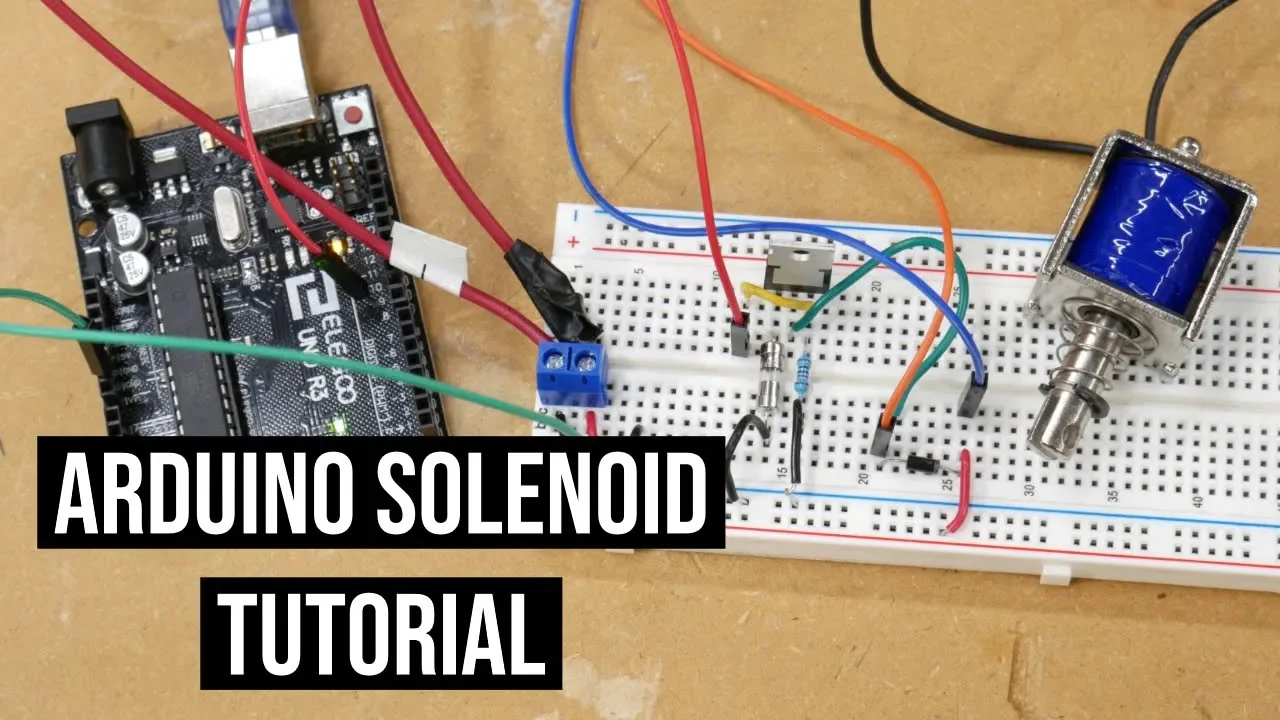












This video demonstrates how to achieve precise position control of pneumatic cylinders by using an Arduino microcontroller with a feedback potentiometer to measure cylinder position, combined with two solenoid valves and flow restrictors to maintain pressure in both sides of the cylinder and enable controlled movement in either direction.
Position Control of Pneumatic Actuators Using Arduino and Feedback Sensors
Added:Basic principles of pneumatics, including how pneumatic cylinders, compressed air supply, and solenoid valves function.
Fundamental Arduino programming and hardware interfacing, specifically working with digital outputs and reading analog inputs.
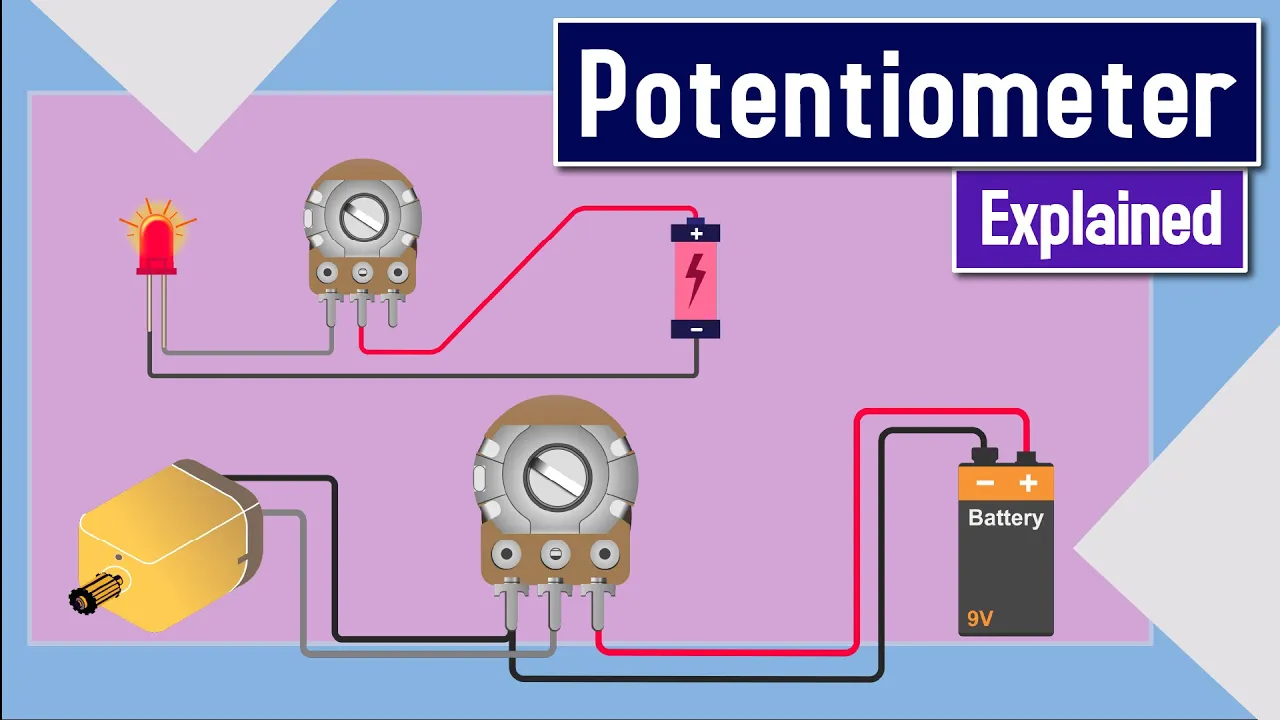
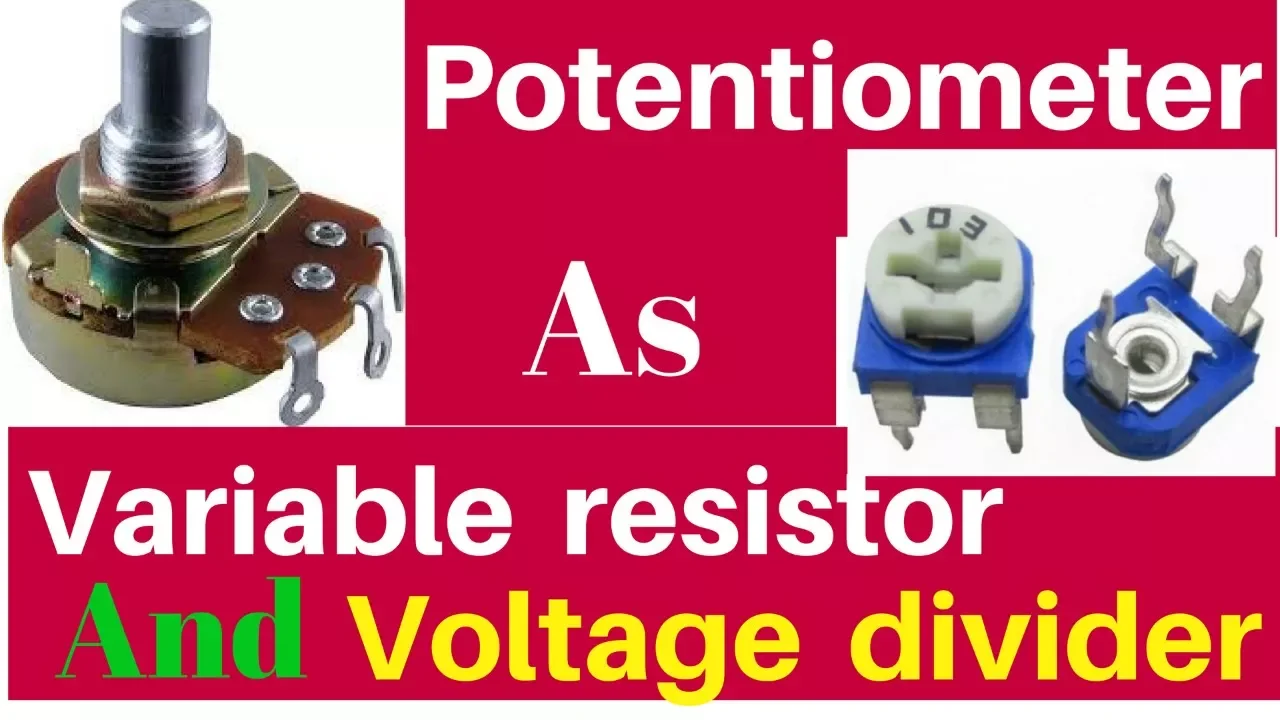
Understanding of voltage dividers and how potentiometers function as analog position sensors.
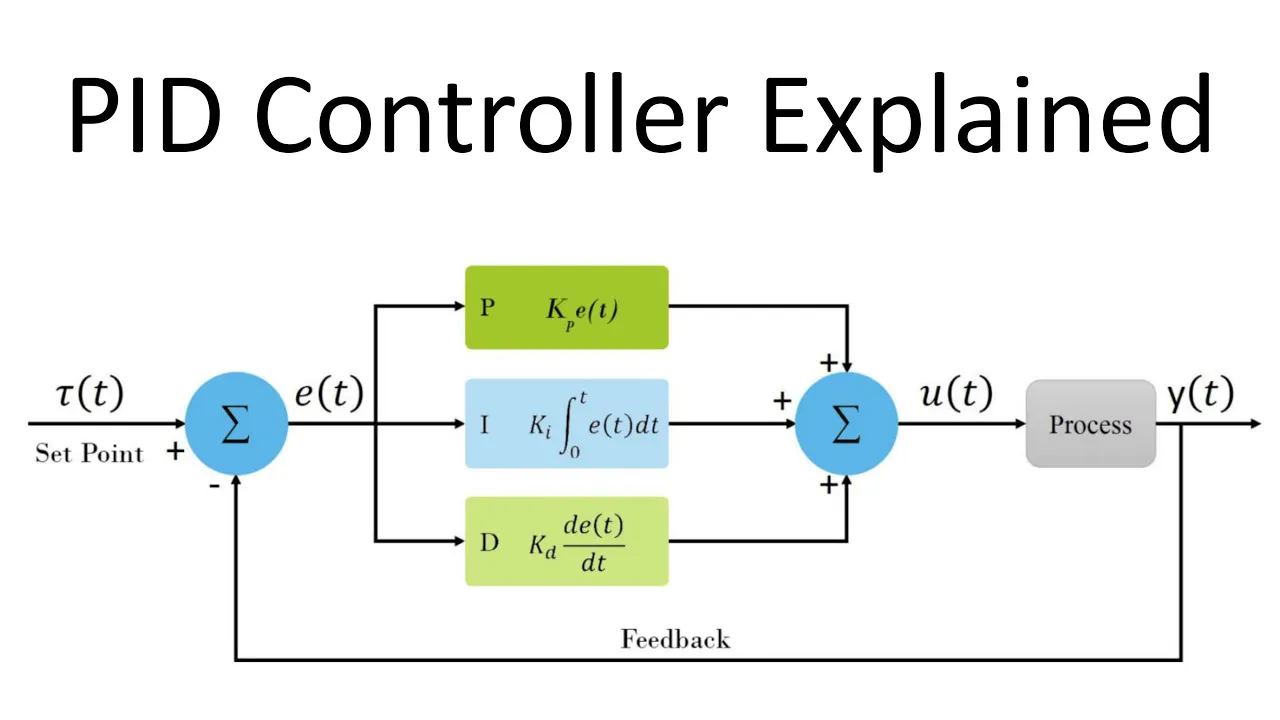
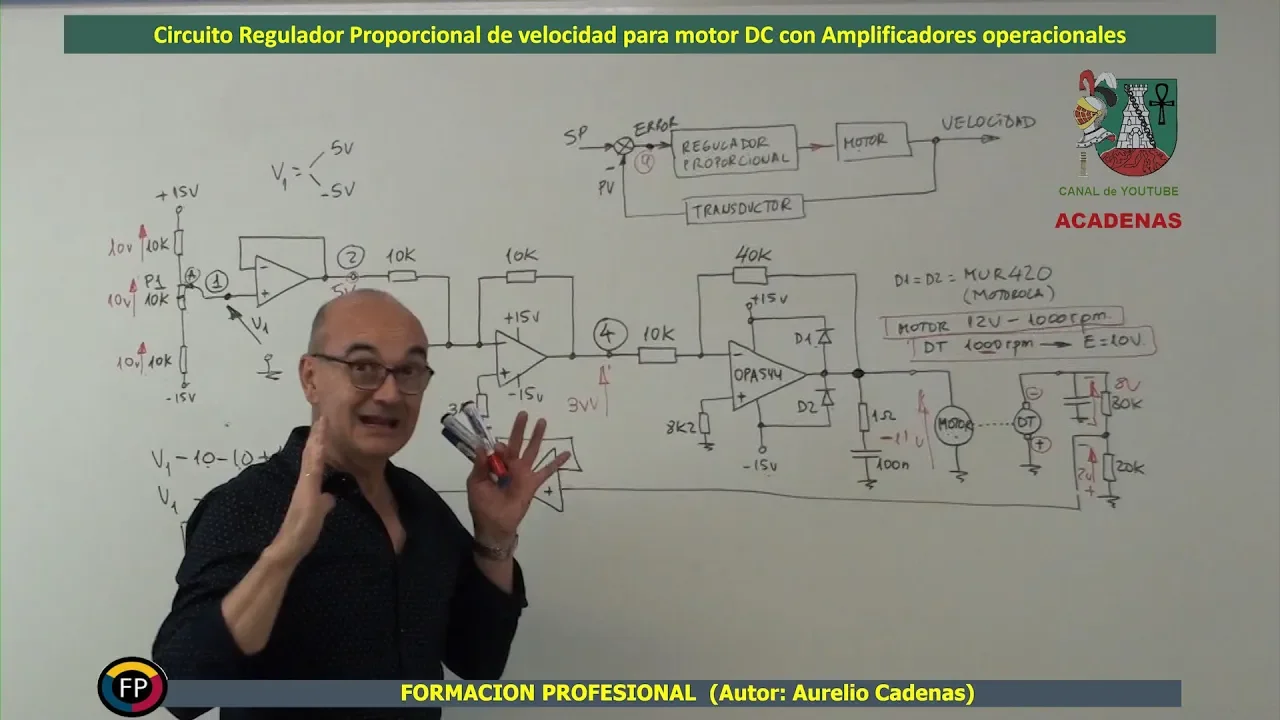
Basic concepts of closed-loop control systems, including the relationship between target setpoints, sensor feedback, and error signals.
Electronic switching components, such as transistors, MOSFETs, or relays, used to safely drive high-current solenoid coils from low-power microcontrollers.
Implementation of PID (Proportional-Integral-Derivative) control algorithms on Arduino to achieve smoother, more precise pneumatic positioning.
Using proportional pneumatic control valves instead of standard on/off solenoid valves for continuous, variable flow control.
Exploring industrial-grade position feedback sensors, such as LVDTs (Linear Variable Differential Transformers) or robust optical linear encoders.
Scaling up to industrial automation standards by transitioning control logic from Arduino to Programmable Logic Controllers (PLCs).
Analyzing the thermodynamics and non-linear dynamics of compressed air to model and compensate for pneumatic system delays.
198.1K views4.2Klikes15:27Original Release: 2019-01-29
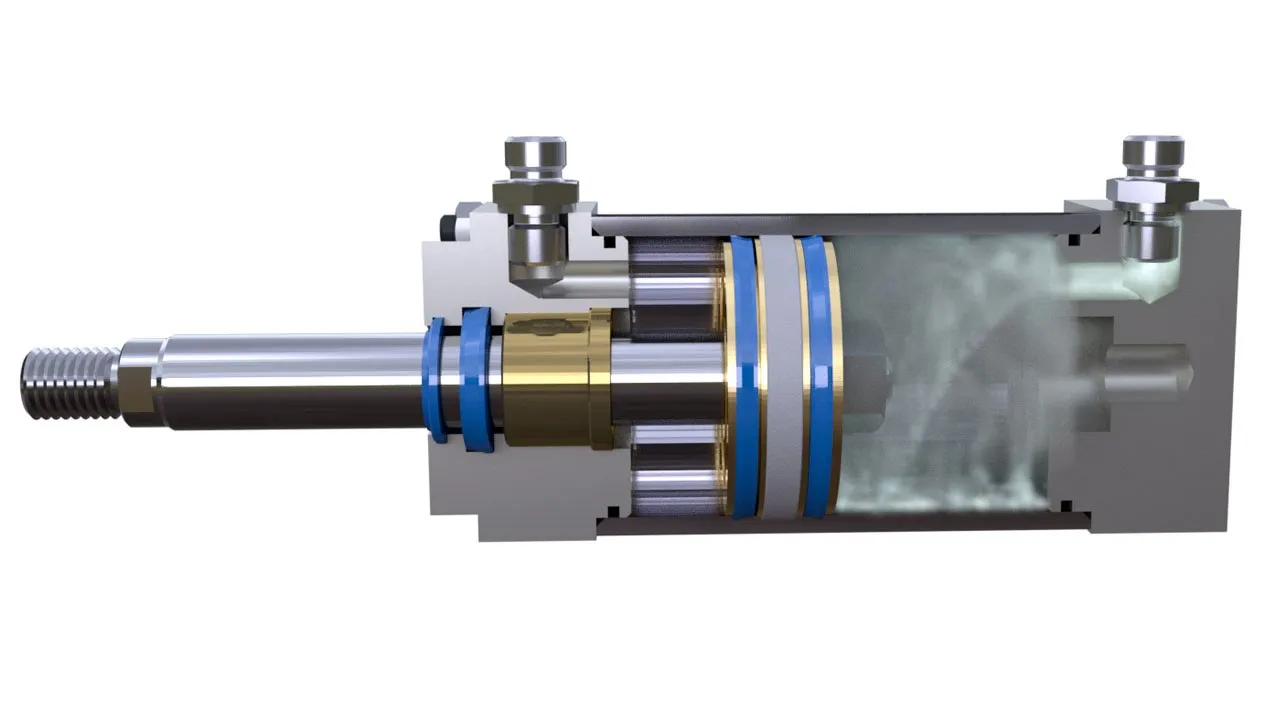
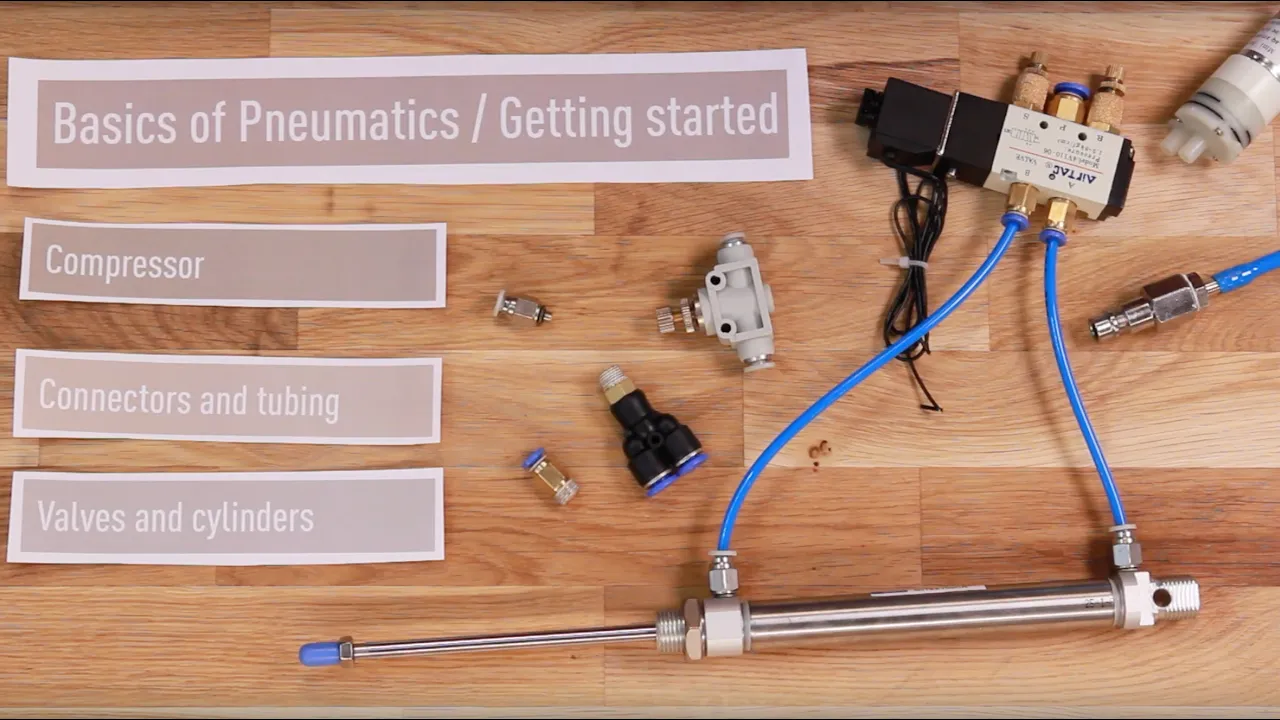
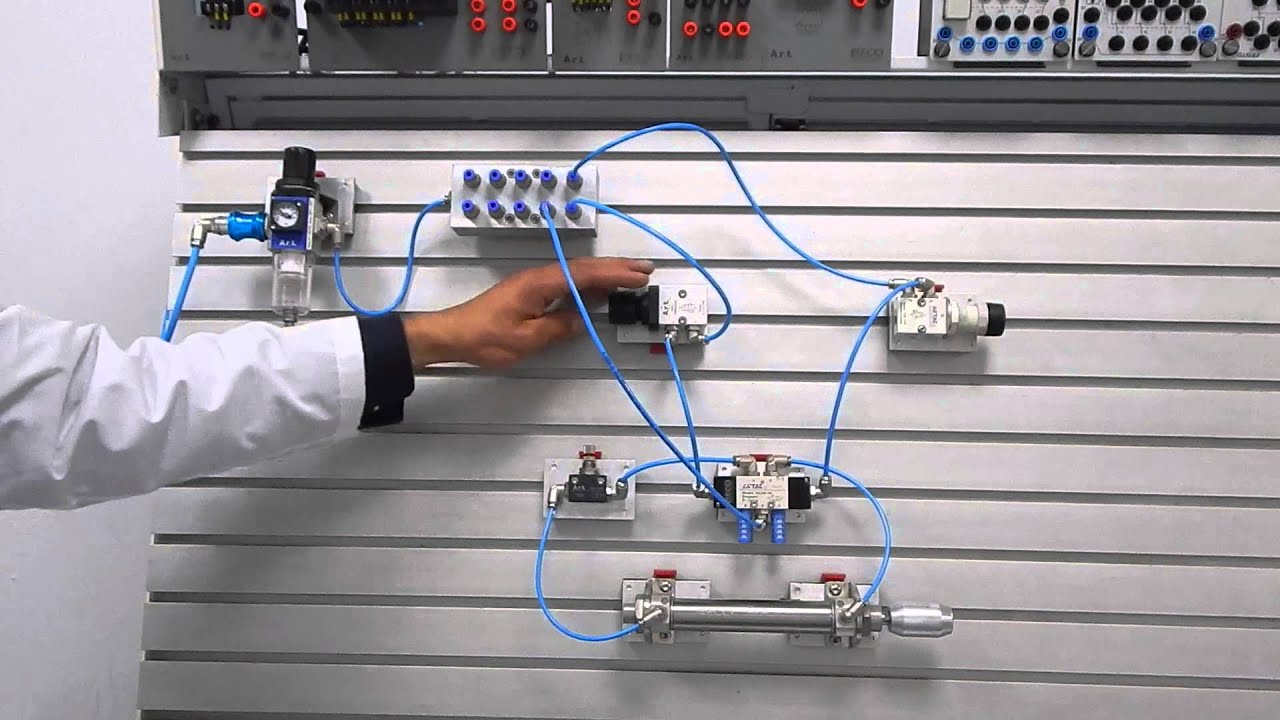
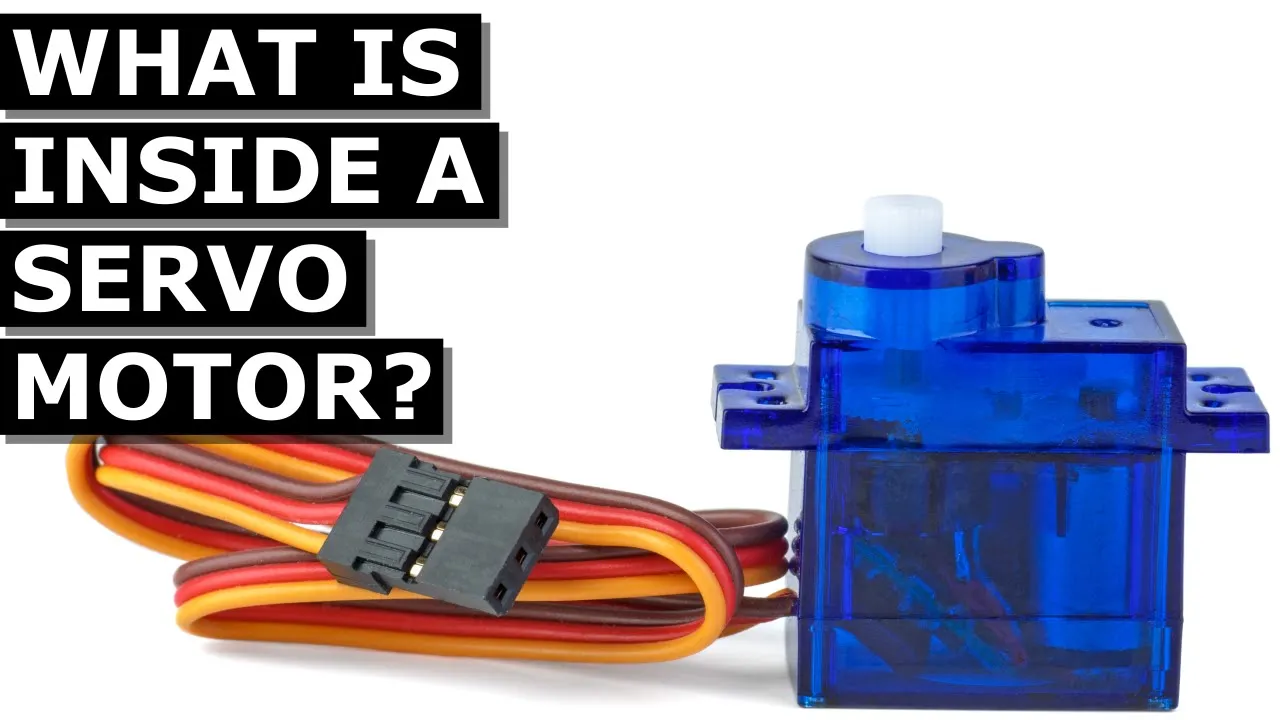
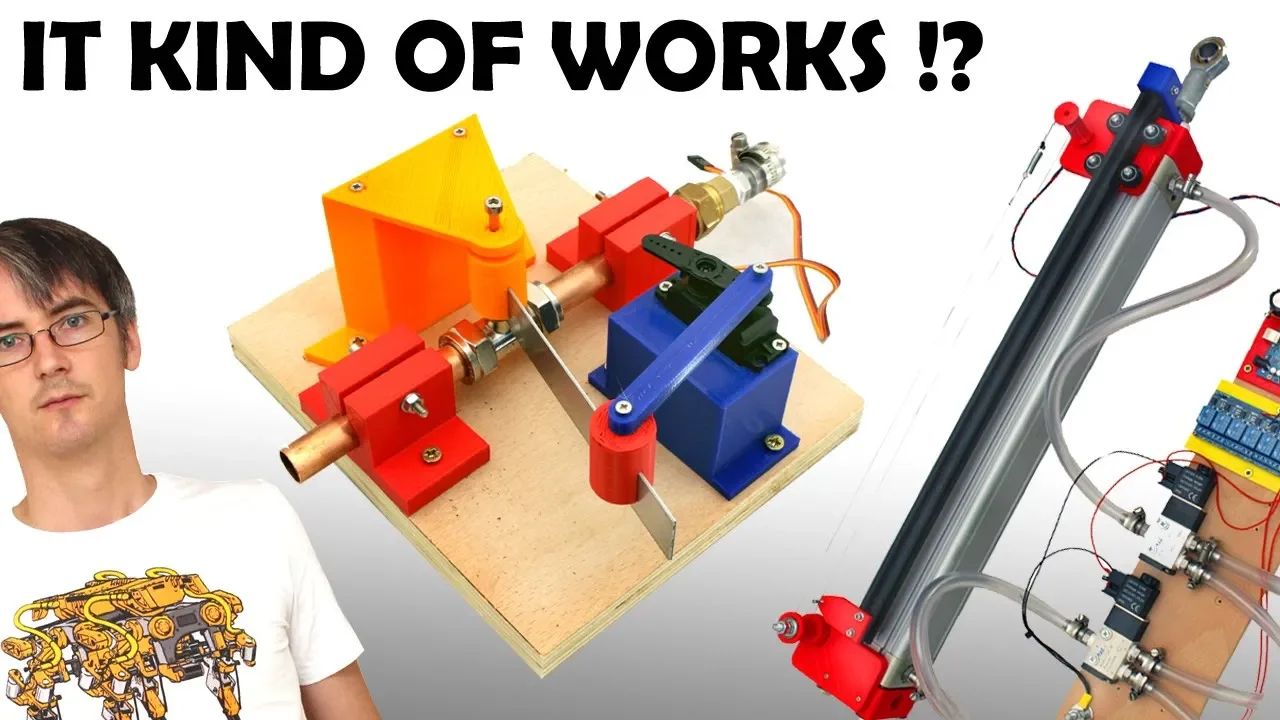
thanks to Squarespace for sponsoring this video if you need a website go to Squarespace comm / James Bruton for 10% off recently I did a project to build a real transformer that you might have seen in my channel you should check out the build series and the - revealed videos we did where we prank the public in a garage now that was a fairly big machine some of it we steal some of his wood and we use pneumatics to drive that project so I've got one of the cylinders here in fact they were four cylinders in that build two bigger ones than this and two like this and these are 63 Milbourne 500 mill stroke from here to nine hundreds as well now 120 psi which is about 8 bar a cylinder like this can drive about 300 kilograms of Falls which is a lot so I don't normally do much pneumatics in projects normally I use electric actuators for various reasons I'll come on to but I really like the project and I really like the force we could convey with these basically versus the cost because they're quite cheap relatively so I'd quite like to do some more projects maybe to build another giant robot they can actually walk along on two legs like a giant rock monster perhaps or another exosuit that I can walk in perhaps more like an alien's power loader so today I'm going to look at how we can drive pneumatic cylinders better and talk about some of the pros and cons between this and electric actuators that are using upper robots so the main reason I don't use pneumatics a lot in project is recourse we need to drive with compressed air so to get compressed air we need an air compressor so I've got a compressor here it's only a little one but it weighs quite a bit it's got a 24 litre tank and I've also got another ear receiver tank here that I can charge up that's just the tank which obviously doesn't have the motor on so that's significantly lighter but it's also massive and you'll notice that the cylinder for this sized cylinder released relative to its size this this doesn't fit in here a lot of times mainly so that means you don't get many gos and probably two or three or something at full compression out of a tank like this so push this up once at 120 psi and still maintain the false so in the transformer build in order to transform it once we used all the air in this one which is a 24 litre tank and all the air in this one then in between transformations we had to charge this up from the compressor charge the compressor up and then start again it's obviously the compressor ease outlet powered it weighs quite a bit it's not really a thing you could put on a portable but he does have one with an engine or something if you wanted to do that so basically that's not that efficient and of course if I filled up one of these tanks with batteries like this lipo that are using open door novel projects if I completely stack the tank full of equivalent capacity I have far more power both in current drain and also in you know actual capacity so stalling compressed air is quite an inefficient way to do storing energy compared to batteries but we the batteries will cost so much more if I had that many lipos and the electric actuators as well would cost a lot more than this because it's just a cylinder of air with a ram and so with electric actuators like the ones in open dog with far more accurate positioning so these motors are brushless motors driven by the O Drive they've got encoders on with 8,192 counts per motor evolution a two-to-one ratio onto a ball screw and every revolution of the ball screw drives 5 millimeters so I can get incredibly good resolution on those actuators and quite a lot of power because they're out to do up to 2 kilowatts those motors and the O drives more than capable of driving them at 50 volts in fact it drives two motors with one board so the problem with these is of course the air compresses so I can just put my finger on there and I can still pull this so basically it's not going to be very accurate or positioning it'll be slightly better at higher pressure but try not accurately position this is very difficult and the other issue is of course trying to do acceleration or deceleration curves would mean having proportional valves but they'd still be very sloppy under load so basically the electric actuators are far more accurate and we can do nice motion curves so of course cylinders like this do have their uses and they're really good in terms of power to cost ratio so in the actual build for the transformer we just basically push them from one into the other and obviously they stop at some point but that's okay but if I wanted to make a walking robe or something it'll be good to have more accurate positioning so today we're gonna try and solve some of the issues you can of course get a smaller pneumatic cylinders like this one this one still costs 40 pounds in money though and it's tiny it's got a tap to em five things to let the air in and out so that's okay I guess for some things probably repeatability if you had a machine doing this all day every day 24 hours a day in an exhibition or something probably lasts quite a long time but for the power you can exert on this you might as well have all screwed a nice brushless motor which gives you all the other advantages should also mention there's another type of actuator called an air muscle which is one of these and this has got a piece of tube in the middle that expands and as it does so it pulls in and these can exert quite a lot of force I think this one can pull about 20 kilograms the air goes in there obviously it only pulls it doesn't push as well so these are quite good for compliant robots because it's stretchy so that means you can have something that can comply and you can push it back a bit like the elastic tendon robot legs that I did last week but these are actually quite costly you can make them yourself so just wanted to mention those but really what I want to do is something that conveys much more force so let's think about how this works obviously we put air in at this end and letting out this end it's going to push the cylinder that way and if we put it in at this end and let it out of that end it's going to pull it back in again now of course inside attached to this bar is a kind of stopper and there's an empty cylinder and of course that stopper gets pushed either way and that means interestingly enough there's more force pushing out when there is pulling in because some of the capacity when we're pulling in is used up by this bar so this is an empty cylinder and this is empty - of this bit of capacity so we get more force pushing in one direction than the other and normally what we do is we'd have some solenoid valves like this to let air in or let air out so basically they've got a pressure a release and an actuator connector the actuator connector goes onto the actuator pressure comes from your compressor or your air reservoir and when you activate them it puts air in when you deactivate them air comes out here extremely fast so basically if we were just to basically put air in here or in here switch on one valve or the other it's going to go really really fast till it gets to the ends or really really fast till it gets to the other end using air straight out the compressor so that makes it very hard to position and even if we did there's going to be more far more compressed air in one end of the cylinder then there is in the other so it's likely just to creep and depending on what the load is that's going to make it really spongy and inaccurate so ideally what we want is a system where we can pressurize both halves of the cylinder and adjust the amount of compressed air in there to sort of hold it in position but first of all we're gonna need some way of actually measuring the position this isn't attached to anything I can't get a slide Portland's 500 mill long so I'm going to make something that fits on here so I can measure the position read that of an Arduino and then work out how to activate these vowels [Music] [Applause] [Music] right we've attached a 3d printed bits and pieces to it look at that so now we can track the position so let's have a closer look at what we've got so we've got is a piece of visa extrusion running in the wheels which is attached to this so as I pull this out the V slot slides all the way up and you'll notice this turning this is a ten turn pot which has just got the right diameter so the ten turns is pretty much the whole length and we've got a string that goes around an idler at the other end with a little spring tensioner as we move this the end here has got a screw which is attached to the string and so that turns the pot round and round so then we can use that pot to measure the position of this on its full scale with an Arduino analog in so now bowls of control with two solenoid valves and an Arduino this link to the cylinder and that's my feedback pot wire so we've got another feedback pot on here as well which is going to set the position of the cylinder and that's read into an analog game as well as the one from the actual cylinder so we can compare them we've got a relay board here that drives the solenoids I could use MOSFETs I just don't have a nice I'm just using two channels there to handle the current for the actual solenoid valves Oh so I've now connected a I've got air at about 60 psi and each of these has actually got a test button on so if I press this one you should make the thing shoot out and you'll see that weighing quite quickly there even if I run that to the ends and fully pressurize it and then let go you can hear when I let go it depressurizes and there just comes out of the release there I'll push the other one it shoots back again but yeah try them quite a few problems positioning that and obviously when I let go of both it's completely open so I can move this and there's no holding power now if I try and pressure both of these you'll notice it slowly creeps to one end and the reason for that is that compressed air is just coming in on this T piece to both the pressure pulse on the solenoids and so basically the bottom of the cylinder has higher pressure if you remember me saying that's a bigger capacity because it doesn't have some of it used up by the bar that has to fit in that in so this end is higher pressure is pushing more force this way and that's basically pushing the air out of this side back down the tube back through the T piece and into this side so it's always going to creep that way so we need some sort of solution for that so what should probably do is put two non-return valves here so air can only go in one direction it can still come out of the release here which at the moment goes nowhere when we depressurize outside but I don't have any of those so for now I'm just going to separate these out into two different air sources so I've now got two air sources we've got the original compressor and the other tank that I showed you at the beginning and I've charged this tank up from the compressor so they're both roughly the same pressure and I have got another regulator here that I can put onto one of them if we need to balance them because ideally we need to keep them the same pressure so we keep the same pressure in either side of the cylinder alright so now I can drive each way of course from the two separate air sources but if I press both of them it pretty much holds its position and if I wasn't holding these vowels up there to grab that and it should be pretty solid because we've got compressed air in both sides of the cylinder obviously when I let go it decompresses randomly and you get a little shift and obviously if I pressurize one and let go the other air comes out really quick so it's going to go really quick and uncontrollably so the next thing we need to do is restrict the flow somehow probably on the outputs here yes you've guessed it is the professional flow restrictors which basically stopped air coming out of the release and the plan is so the air out slower than it goes in which means we should be to maintain pressure in each side of the cylinder right so then I should be the pressurized both sides of the cylinder and when I release one it should move under control in each direction so that's both of them pressurized and it locked in position and if I release the left hand one it should move slow only letting air out very slow to the left there and hold position when I lock it again it's got no easy the air coming out but anyway and of course when I've got them both on I've got air pressurizing both sides of the cylinder so should be holding that cylinder pretty solidly again my hands on here and I can't tell but next we're going to activate it all from the Arduino so I've written some pretty simple Arduino code essentially we're reading two variables with analog ins which are the feedback pot and the input pot and we're also we've defined two pins therefore the relay valves which are output pins now the relay board is active low so to start with we've turned both of those on by bringing the pins low which of course pressurizes both sides of the cylinder I've got a serial set up here so that I can print the values out to look at them but we don't really need that two reading both of those variables into the analog ins now it's very simple it's a very simple if statement so basically uses that threshold and depending on which value is bigger it turns off one of those cylinders and if basically it's in the middle it turns both those pins low which turns on the cylinders to keep pressure so the default is that both solenoids are on and that should be held in position and now if I turn the knob should track with that dead spot so wherever I turn it so some pressure imbalance in either side of the cylinder due to the two tanks moment but it seems alright it seems not pretty bad I could tune that threshold down but don't want it to sit there trying to get to an impossible possible accuracy so that's all too bad and obviously it's held with both solenoids on when I let go so if I grab this now it's got some holding power and it tries to correct if I push it too far and put it back to HB so obviously we've got quite a lot of air though going back down the tube and into the tanks so it's not that solid I can move it but I'm compressing and decompressing air all the way back down into the reservoirs so that's the reason if we have the non-return valves here there'd be much shorter and so it'd be much harder to move this but the holding power there's pretty satisfactory it's better than when the cylinders open of course just to clarify the default is both of these are on you can see the LEDs here for both solenoids each one's actually got an LED land you can maybe just see there and when I turn it one way or the other it just turns one off so air comes in through this one and it's less out of this one much more slowly through that flow restrictor so the dead spot is both of them on for holding power and one off in I direction it's also I can't control the speed the only way I could make it go faster or slow or betta unclamp or clamp these up some more so something to think about in the future perhaps we can make a proportional valve with a motor that turns a clamp and restricts the flow because then we could do acceleration and deceleration curbs so that work pretty much as well as I expected it to for the hackey setup that we've got here obviously the things to resolve we're going to be to non-return valve so we can feed both sides of the cylinder from the same pressure from the same tank and also so that we don't recompress the air in the tank all the way back down the tubing into a massive reservoir when we try and back drive the cylinder it should make it a lot more rigid it'd also be good to build some proportional valves I'm going to experiment with in another video probably made a servos and some plumbing accessories and then we can try and do acceleration deceleration and basically control that speed as well so I hope you enjoyed that let me know what I should do with these cylinders should we make a giant robot that can walk along if we've got acceleration and deceleration and proportional speed it could move really well safely it won't be big and overwhelming thanks again to Squarespace for sponsoring this video Squarespace can provide websites domains and online shops don't forget to use the link in the description to this video to get 10% off that Squarespace calm / James bruton alright that's all for now [Music] [Applause] [Music] [Applause] [Music] [Music] [Applause] [Music] you
Up Next

1:05
PD Balance & Gain Strength: Quadcopter Tuning Dynamics
@uavtech
13.4K views•2020-09-27

58:25
MathWorks Virtual RoboSub Simulation Environment | Webinar 2026
@RoboNationInc
209 views•2026-03-10

13:24
Designing a Ball Balancing Robot: HAL 9000 Build, Mechanics, and Control Systems
@jamesbruton
194.7K views•2020-06-16

25:22
Micromouse: The Fastest Maze-Solving Robots on Earth
@veritasium
23.5M views•2023-05-24
Related Study Plans & Knowledge Roadmaps
Structured learning paths in Robotics
robotics
Building Delta Robots: Kinematics & Pico
01Foundations of Delta Robots & Mechanical Design
02Electronics and Microcontroller Setup with Pi Pico
03Delta Robot Kinematics and Coordinate Math
+ 3 more learning modules
65h6 modules
Explore Roadmap
robotics
Building Ballbots: Dynamics, Kalman & LQR
01Embedded Electronics & Omniwheel Actuation
02Ballbot Kinematics & Rigid Body Dynamics
03IMU Sensors & Kalman Filter State Estimation
+ 2 more learning modules
42h5 modules
Explore Roadmap
robotics
Micromouse: Hardware, PID Control & Flood-Fill
01Electronics & Teensy Microcontroller Basics
02Sensors and Actuators: Motors, Encoders & IR
03Precision Movement: Implementing PID Control
+ 2 more learning modules
35h5 modules
Explore Roadmap
robotics
CDPR: Kinematics, Arduino & Winch Control
01Foundations of Arduino & Basic Electronics
02Stepper Motors and Winch Mechanics
03Kinematics of 2D Cable-Driven Robots
+ 2 more learning modules
28h5 modules
Explore Roadmap