Robotic Sailboats: Arduino, Sensors & Tacking
Learning Goal: "Design, build, and program an autonomous GPS-guided robotic sailboat utilizing a sail-winch servo, magnetic compass, wind-vane sensor, and an Arduino to implement real-time tacking and waypoint navigation algorithms."
Prerequisites
- Basic understanding of general physics (forces, vectors)
- High-school level math (algebra and basic trigonometry)
- No prior experience in programming or electronics is required; fundamental concepts will be taught from scratch.
Estimated Total Study Time
- 35 Hours (including reading, video lectures, coding, and hands-on laboratory/build testing)
Module 1: Sailing Physics and Aerodynamics
To design a sailboat controlled by a computer, you must first understand the fundamental physical forces that dictate its behavior. Unlike propeller-driven boats, a sailboat relies entirely on fluid dynamics—both wind in the sails and water on the keel—to make forward progress, especially when sailing upwind. This module introduces aerodynamic lift, drag, the "no-go zone," and the mechanics of turning through the wind (tacking and jibing).
Recommended Video Lessons
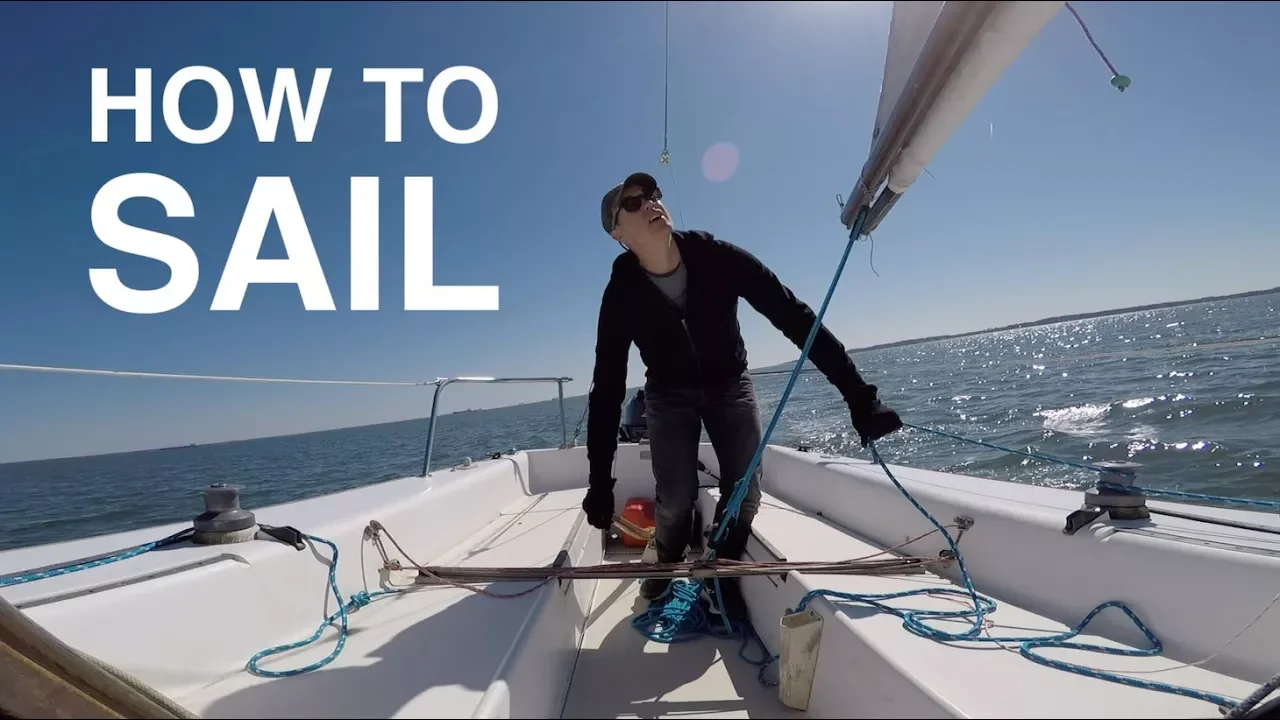
Why this video
This introductory video establishes the visual foundation for understanding a boat's relationship with the wind. It introduces the "no-go zone" (spanning roughly 45 degrees on either side of the wind direction) and explains how trying to steer directly into this zone causes the sails to flap uselessly ("luff").
Knowledge Checkpoint
- Understand why a sailboat cannot travel directly into the wind.
- Identify the boundaries of the "no-go zone" relative to the wind direction.
- Describe what happens to the sails when the boat enters the luffing state.

Why this video
This video breaks down the specific "points of sail" (close-hauled, reaching, and running). It teaches how the sails must be physically trimmed (sheeted in tight or let out wide) depending on the angle of the wind relative to the hull, which is crucial for programming your automated sail-winch.
Knowledge Checkpoint
- Define the three primary points of sail: close-hauled, reaching, and running.
- Explain the relationship between the boat's heading relative to the wind and the corresponding sail trim.
- Differentiate between sailing on a port tack vs. a starboard tack.

Why this video
Tacking is the foundational maneuvering process for sailing upwind. This video demonstrates the mechanics of turning the bow of the boat through the eye of the wind. Understanding this manual process is essential before translating it into an automated state machine in code.
Knowledge Checkpoint
- Describe the chronological steps required to execute a successful tack.
- Explain how a sailboat maintains momentum while transitioning its bow directly through the "no-go zone."
- Identify the hazards of a "missed tack" (getting stuck "in irons").
Module 2: Arduino Programming and Electronics Basics
Before connecting sensors or writing navigation algorithms, you must master the core tool: the Arduino microcontroller. This module introduces the basics of writing microcontroller code in C++, working with breadboards and multimeters, and using Pulse Width Modulation (PWM) to control actuator components like servos.
Recommended Video Lessons

Why this video
This guide shows you how to install the Arduino IDE, connect your microcontroller board via USB, and navigate the software. It breaks down the two mandatory functions of an Arduino sketch: setup() (which runs once) and loop() (which runs continuously).
Knowledge Checkpoint
- Install and configure the Arduino IDE on your computer.
- Explain the structural difference between
void setup()andvoid loop(). - Successfully compile and upload a basic sketch to an Arduino board.

Why this video
A robotic sailboat contains multiple interconnected electrical circuits. This video introduces breadboard prototyping and shows how to use a digital multimeter to measure voltage, current, and verify continuity to prevent damaging short-circuits.
Knowledge Checkpoint
- Describe how breadboard pins are internally connected (rails vs. terminal strips).
- Use a digital multimeter to measure DC voltage across a component.
- Test electrical continuity between two wiring points to diagnose open-circuit faults.

Why this video
The rudder and sails of your robotic sailboat will be controlled using servo motors. This video teaches the basics of Pulse Width Modulation (PWM) and shows how to use the standard Arduino <Servo.h> library to command an actuator to precise angles.
Knowledge Checkpoint
- Explain how Pulse Width Modulation (PWM) controls the position of a servo motor.
- Connect a standard servo safely to an Arduino (VCC, GND, and Signal).
- Write an Arduino sketch using the
Servolibrary to sweep a motor between 0 and 180 degrees.
Module 3: Sensors and Actuators Integration
This module focuses on connecting the physical hardware. You will build and calibrate the boat's primary sensory and physical interfaces: the GPS module (to find position), the magnetic compass (to determine heading), a high-resolution rotary magnetic encoder (to measure wind direction), and heavy-duty sail-winch servos.
Recommended Video Lessons
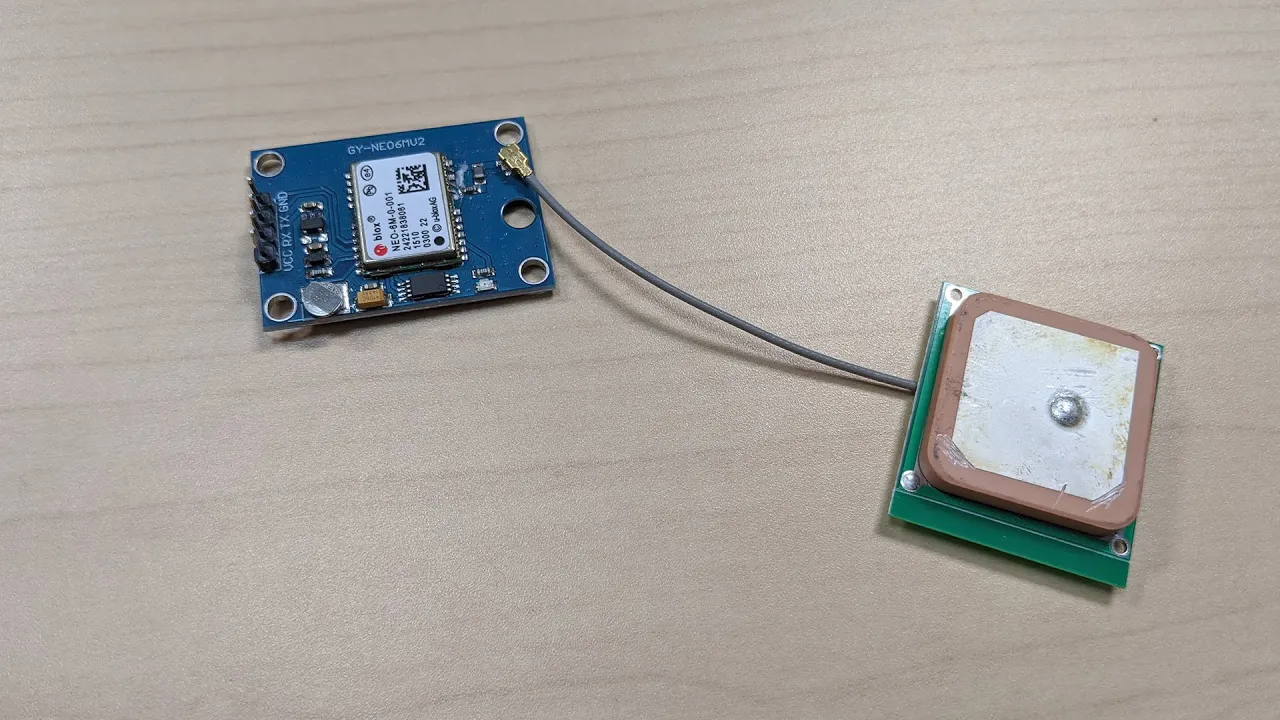
Why this video
An autonomous boat must know where it is. This video demonstrates how to wire a U-blox Neo-6M GPS module to an Arduino using a software serial connection and read raw GPS NMEA data streams.
Knowledge Checkpoint
- Wire the NEO-6M GPS module to the Arduino's digital pins using SoftwareSerial.
- Understand the difference between RX (Receive) and TX (Transmit) lines.
- Read raw NMEA sentences from the GPS module and parse them to find longitude and latitude.

Why this video
GPS alone cannot provide static heading orientation. The HMC5883L 3-axis magnetometer acts as an electronic compass. This video shows how to connect the sensor using the I2C protocol (SDA/SCL pins) and calculate a magnetic heading.
Knowledge Checkpoint
- Connect an I2C device (HMC5883L) to an Arduino's dedicated SDA and SCL pins.
- Explain how a magnetometer calculates a heading by measuring the Earth's magnetic field.
- Read raw X and Y magnetic vector data to calculate an angle in degrees relative to Magnetic North.
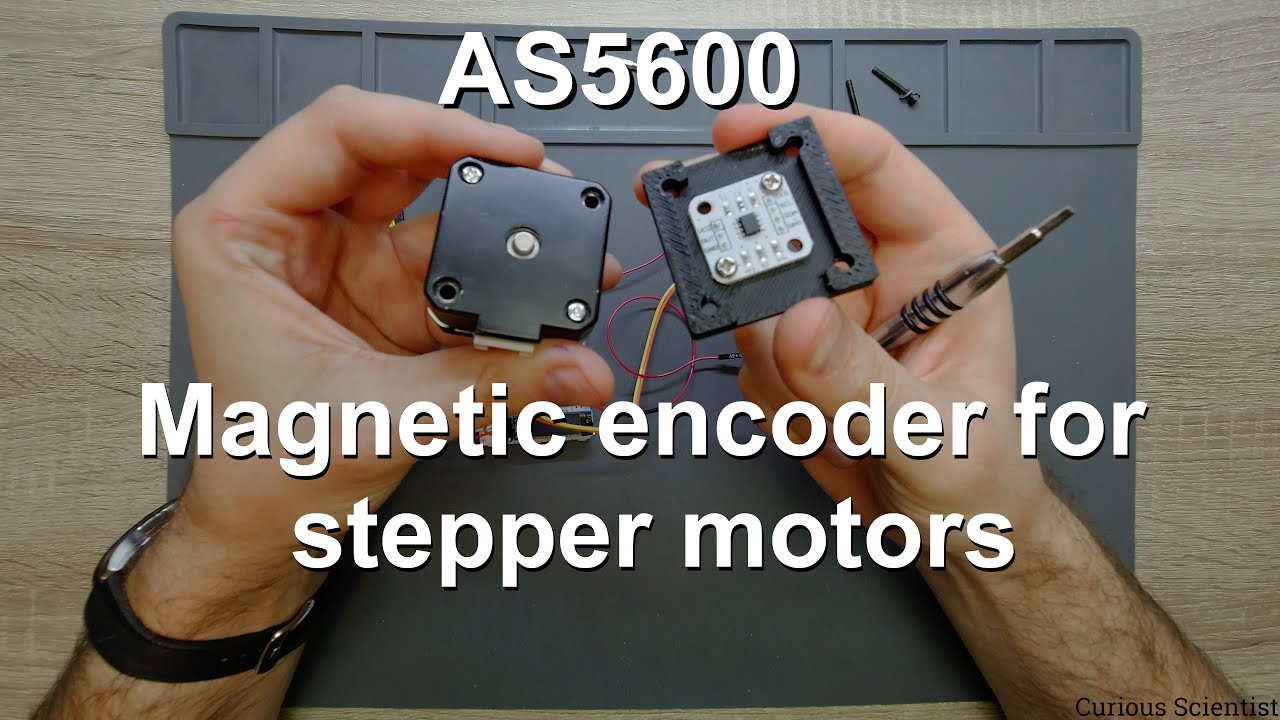
Why this video
To adjust the sails properly, the boat must know where the wind is coming from. A DIY wind vane can be built by attaching a free-spinning wind vane containing a magnet over an AS5600 magnetic rotary encoder. This in-depth video explains how the AS5600 works and how to read its high-resolution 12-bit angle output over I2C.
Knowledge Checkpoint
- Explain how the AS5600 contactless sensor tracks magnetic fields to determine absolute angular position.
- Program the Arduino to read the 12-bit registers from the AS5600 over the I2C interface.
- Map raw sensor values (0–4095) to a continuous wind direction angle (0° to 359°).

Why this video
Standard 180-degree servos lack the range and pull-strength needed to pull in and let out sails. This video details how to select, mount, and route the lines for a multi-turn sail-winch servo, which is crucial for building a reliable sail-control system.
Knowledge Checkpoint
- Explain the functional difference between a standard 180-degree servo and a multi-turn winch servo.
- Identify physical routing strategies to prevent winch line tangles inside the hull.
- Map the Arduino's output signals to manage the full range of sail travel (from fully sheeted-in to fully sheeted-out).
Module 4: Autonomous Navigation & Tacking Algorithms
This module covers the logic and programming of the boat's control system. You will write code to calculate bearings between GPS coordinates, implement Proportional-Integral-Derivative (PID) loop feedback for precise steering, and construct a state machine to safely navigate around "no-go zones" and execute automated tacking maneuvers.
Recommended Video Lessons

Why this video
To steer toward a waypoint, the boat must calculate the distance and bearing between its current GPS location and its destination. This video breaks down the Haversine formula, translating spherical trigonometry into clear C++ code.
Knowledge Checkpoint
- Explain the purpose of the Haversine formula in geographic calculations.
- Write an Arduino function to convert latitude/longitude degrees into radians.
- Compute the target bearing (angle from True North) from your boat's current position to a target waypoint.
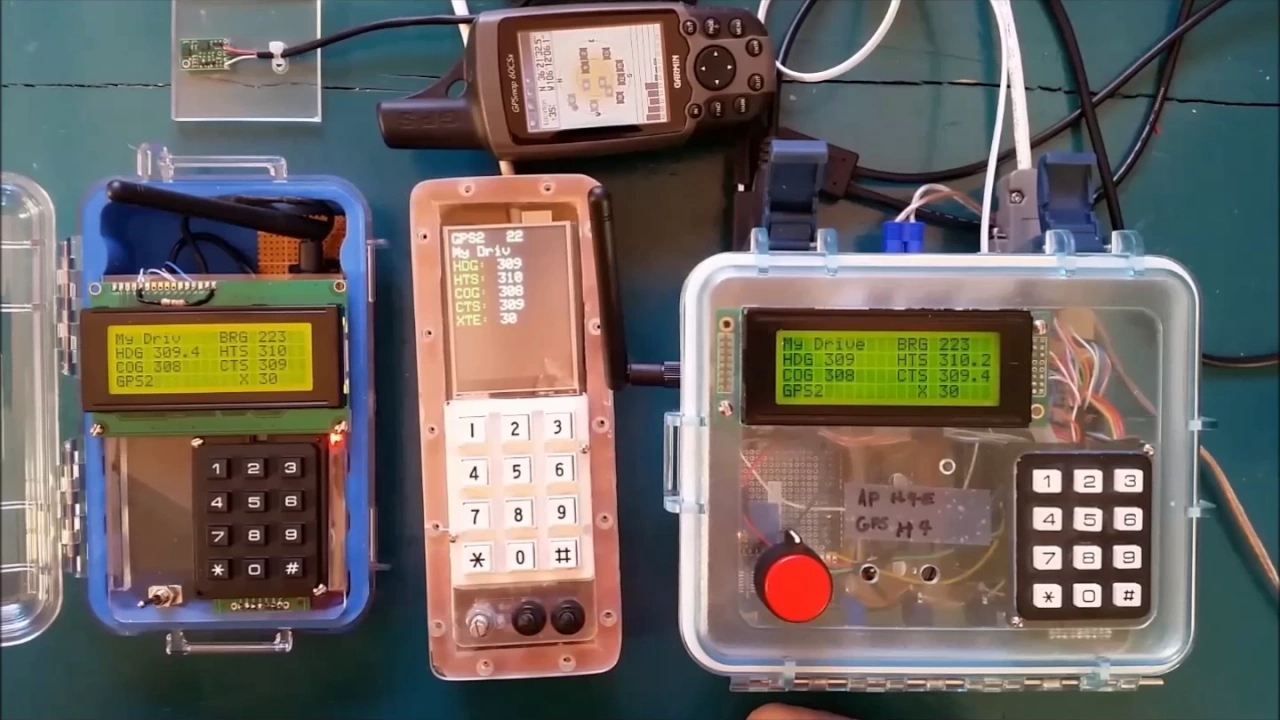
Why this video
This video bridges the gap between pure sensor data and navigation modes. It shows how an Arduino-based autopilot coordinates sensor inputs to manage both Compass Mode (holding a constant heading) and GPS Waypoint Mode.
Knowledge Checkpoint
- Differentiate between heading (where the bow points) and course over ground (the actual path traveled).
- Design a high-level program structure to toggle autopilot modes based on sensor inputs.
- Identify how compass variations and magnetic interference can affect steering.

Why this video
This developer update highlights advanced control loops for autonomous sailing. It shows how PID controllers use roll/heel angles and rudder adjustments to optimize speed and prevent capsizing.
Knowledge Checkpoint
- Understand how real-time heel angles can feed back into control loops.
- Explain why coordinating sail tension with rudder angle improves stability.
- Describe how external wind variations affect automated course-keeping.

Why this video
Steering a boat requires continuous adjustments. A simple "if heading error > 0 turn right" approach will cause the boat to oscillate wildly. This video teaches you how to implement a PID controller, which calculates smooth, proportional corrections for the rudder.
Knowledge Checkpoint
- Define the roles of Proportional (P), Integral (I), and Derivative (D) parameters.
- Implement a basic PID equation inside the loop of an Arduino sketch.
- Tune PID coefficients (, , ) to achieve smooth steering corrections without overshooting.
💡 Supplemental Guide: Programming No-Go Zones and Tacking State Machines
Because standard robotics tutorials rarely cover the specific geometry of wind-driven sailing, you will need to implement a custom state machine. Below is an algorithmic guide to help you build these specialized structures.
              [ True Wind Direction (0°) ]
                         |
                 . - - - | - - - .
             .           |           .
           .   Starboard | Port        .
          .    No-Go Zone| No-Go Zone   .
         .      (0°-45°) | (315°-360°)   .
        .                |                .
        . -------------- H -------------- .  <-- (Hull Position)
        .                |                .
         .               |               .
          .              |              .
           .             |             .
             .           |           .
                 . - - - | - - - .
1. No-Go Zone Avoidance Algorithm
A standard GPS vehicle steers directly toward its waypoint. A sailboat, however, must check if the direct path falls inside the "no-go zone" (typically within of the true wind angle).
- Step 1: Read the relative wind angle from the AS5600 wind vane.
- Step 2: Calculate the true wind direction by combining the relative wind angle with the compass heading:
- Step 3: Calculate the target heading to the waypoint using the Haversine formula.
- Step 4: Compare the target heading to the true wind direction:
- Step 5: If the absolute difference , the destination is directly upwind. The autopilot must override the direct heading and steer to a close-hauled angle instead (either or off the wind) to make progress through a zigzag pattern known as "beating."
2. Tacking State Machine Architecture
To transition the boat between port and starboard tacks, write a state machine in your code using C++ enumerations:
enum SailState { WAYPOINT_STEER, // Sailing directly to waypoint (off-wind) CLOSE_HAULED_PORT, // Sailing 45 degrees off the wind (Port tack) CLOSE_HAULED_STBD, // Sailing 45 degrees off the wind (Starboard tack) TACKING_MANEUVER // Transitioning through the wind }; SailState currentState = WAYPOINT_STEER;
- WAYPOINT_STEER: The boat points directly at the waypoint. The sail-winch servo adjusts the sails based on the wind vane readings.
- CLOSE_HAULED_PORT / STBD: If the waypoint is directly upwind, the boat sails close-hauled. A timer or distance limit determines when to switch tacks.
- TACKING_MANEUVER: To change tacks, the controller initiates a sequence:
- Turn the rudder hard over to swing the bow through the wind.
- Let out the sails completely to reduce wind resistance during the turn.
- Monitor the compass heading. Once the bow passes the wind direction and reaches on the opposite side, return the rudder to center.
- Sheet the sails back in tight and transition to the opposite
CLOSE_HAULEDstate.
Module 5: Mechanical Assembly, Waterproofing, and Testing
This final module covers physically assembling the hull, waterproofing the electronics, and tuning the rig for real-world testing. Water and electronics are a volatile mix; you will learn robust waterproofing techniques to protect your microcontroller and sensors during lake testing.
Recommended Video Lessons

Why this video
This complete build log is an excellent resource for your physical build. It covers designing parts in CAD, manufacturing the hull, mounting the electronics, and running automated open-water trials.
Knowledge Checkpoint
- Understand how to balance the sail plan (center of effort) with the keel (center of lateral resistance).
- Design and mount internal bulkheads to organize the battery, servos, and microcontroller.
- Identify key failure points during initial physical test runs.

Why this video
Even inside a sealed hull, condensation and minor leaks can ruin electronics. This video shows how to use CorrosionX, a hydrophobic spray that protects PCBs, receivers, and exposed pins from water damage.
Knowledge Checkpoint
- Explain how CorrosionX creates a protective barrier on electronic components without affecting electrical connections.
- Apply a hydrophobic coating to protect exposed PCBs and connectors.
- Understand the limitations of spray coatings and how to inspect them for wear.

Why this video
Cables run from the dry interior of the hull to the wet exterior (like the mast-mounted wind vane and deck servos). This video teaches advanced waterproofing techniques, including heat-shrink tubing and self-amalgamating vulcanizing tape.
Knowledge Checkpoint
- Create waterproof wire splices using adhesive-lined heat-shrink tubing.
- Apply self-vulcanizing tape to seal external cable connections against weather and water.
- Design waterproof cable runs through bulkheads using rubber gaskets and seals.

Why this video
If your mast is loose or out of alignment, your boat will heel unevenly and lose aerodynamic efficiency. This video demonstrates a simple, budget-friendly method to tune stay and shroud tension using tape measures, ensuring a stable rig.
Knowledge Checkpoint
- Tune mast alignment using shroud and stay tension.
- Adjust shroud lines to ensure equal tension on both port and starboard sides.
- Verify that mast rake matches your sail plan design.
Course Map
This flowchart shows the recommended learning path and module dependencies:
Key People Index
These creators and educators developed the foundational materials used throughout this course:
- Daniel (rctestflight): A prominent maker and robotics developer known for his documentation of autonomous vehicles. His open-water RC sailboat trials serve as the main reference for the mechanical design and physical assembly in this course.
- Paul McWhorter: A veteran systems engineer and electronics educator. His mathematical tutorials break down how to implement geographic equations like the Haversine formula on resource-constrained microcontrollers.
- Kim Briggs (VK7KB): An electronics technician with extensive experience in Antarctic research environments. His waterproofing and cable-sealing techniques help ensure marine electronics remain reliable in wet conditions.
- Jack Edwards: An embedded systems designer specializing in custom autopilot designs. His development videos illustrate how to coordinate multiple flight and marine control sensors.
Final Self-Assessment
Complete this final assessment before launching your autonomous sailboat:
- Aerodynamic Alignment: Can you identify the boundaries of the "no-go zone" relative to the wind and describe how to trim the sails for all points of sail?
- I2C Verification: Are your magnetic compass (HMC5883L) and wind vane encoder (AS5600) successfully communicating with the Arduino, returning valid, noise-filtered values over the I2C bus?
- GPS Parsing: Does your Arduino program parse NMEA data from the NEO-6M module, extracting accurate coordinates in decimal degrees?
- Geographic Bearing: Does your code calculate the target heading to a waypoint using the Haversine formula, matching manual math checks?
- No-Go Override: Does your path-planning code automatically override a direct path and steer close-hauled if the waypoint lies within the "no-go zone"?
- Winch Range: Is your multi-turn sail-winch servo calibrated to let out and pull in your sails smoothly without binding or tangling?
- State Machine Logic: Does the controller execute tacks reliably, turning the rudder hard over and adjusting the sails as it passes through the wind?
- Waterproof Seals: Are all external electrical connections sealed with adhesive-lined heat shrink or vulcanizing tape, and is the interior electronics deck protected with a hydrophobic coating (like CorrosionX)?
- Rig Balance: Is your mast vertical and centered, with stays tensioned to prevent twisting under high wind loads?
- Fail-Safe Control: Have you programmed a manual radio-control override that allows you to take control of the rudder and winch servos in an emergency?