





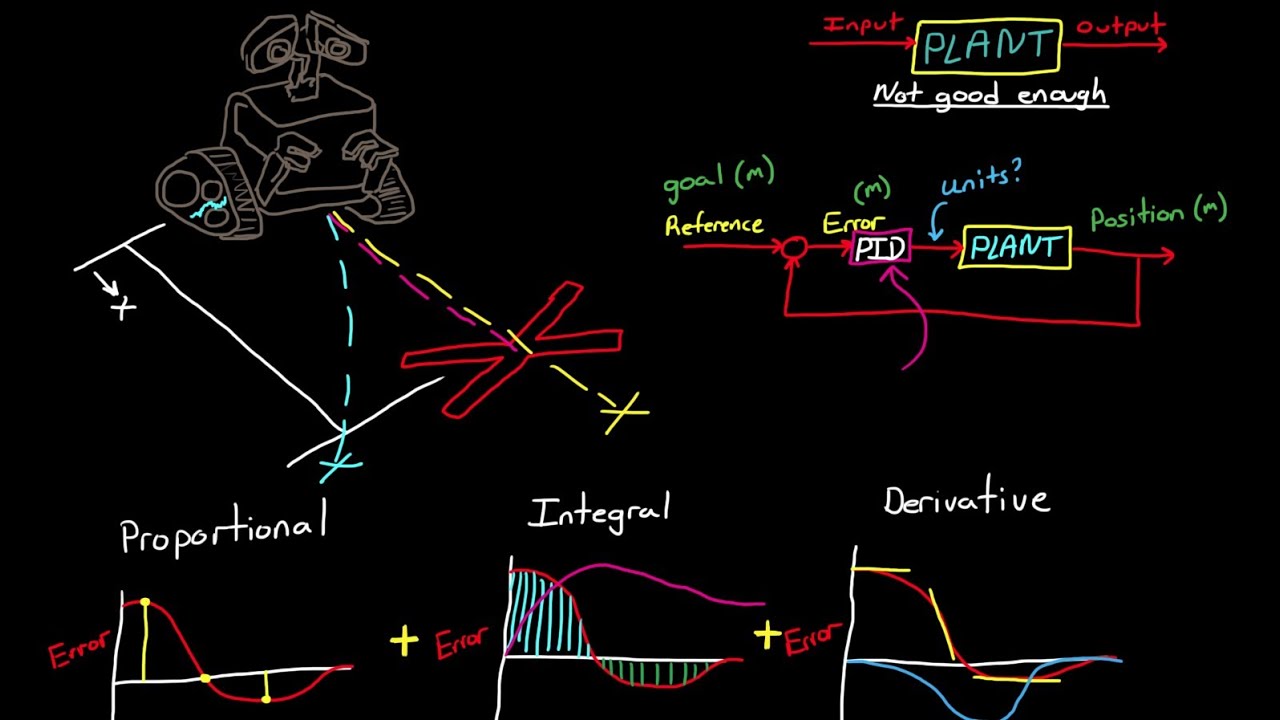
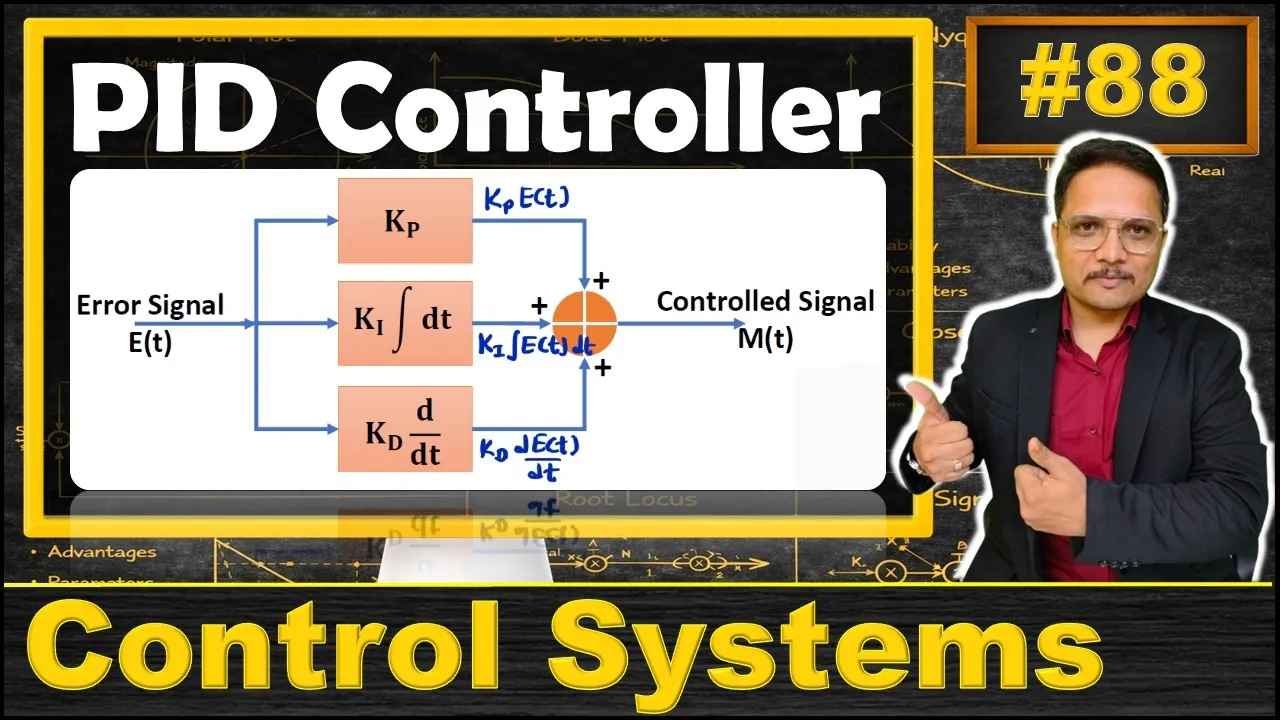




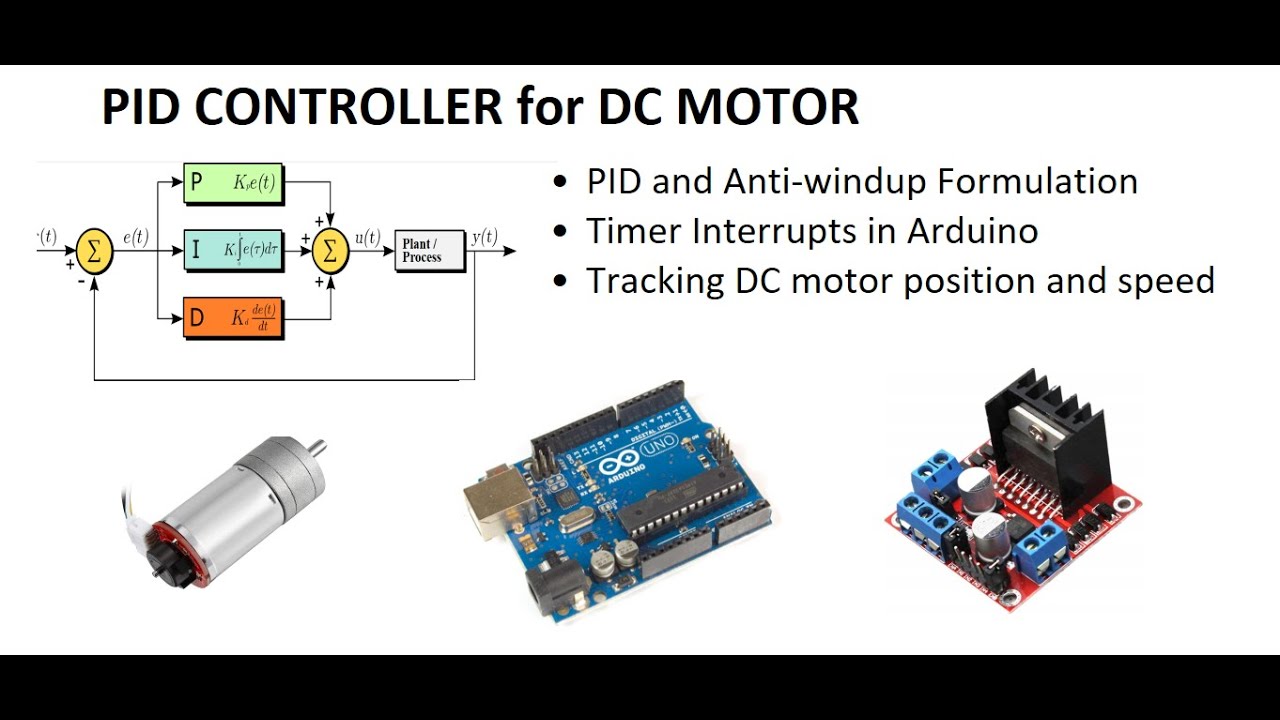





This video demonstrates how to implement a PID (Proportional-Integral-Derivative) controller using an Arduino Mega board, where the controller adjusts the brightness of a white LED based on feedback from a photoresistor sensor to maintain a desired light intensity level. The system uses the PID library developed by Brett Beauregard and features a Processing front-end that visualizes the setpoint, process variable, and controller output in real-time, allowing users to dynamically adjust PID parameters (Kp, Ki, Kd) to achieve stable control. The demonstration shows that PID control can effectively regulate nonlinear systems like photoresistors, though proper tuning is essential—derivative action may cause instability in some plants, and the controller performs best within certain operating ranges where sensor nonlinearity is minimized.
Arduino PID Control Implementation on Mega: A Step-by-Step Guide
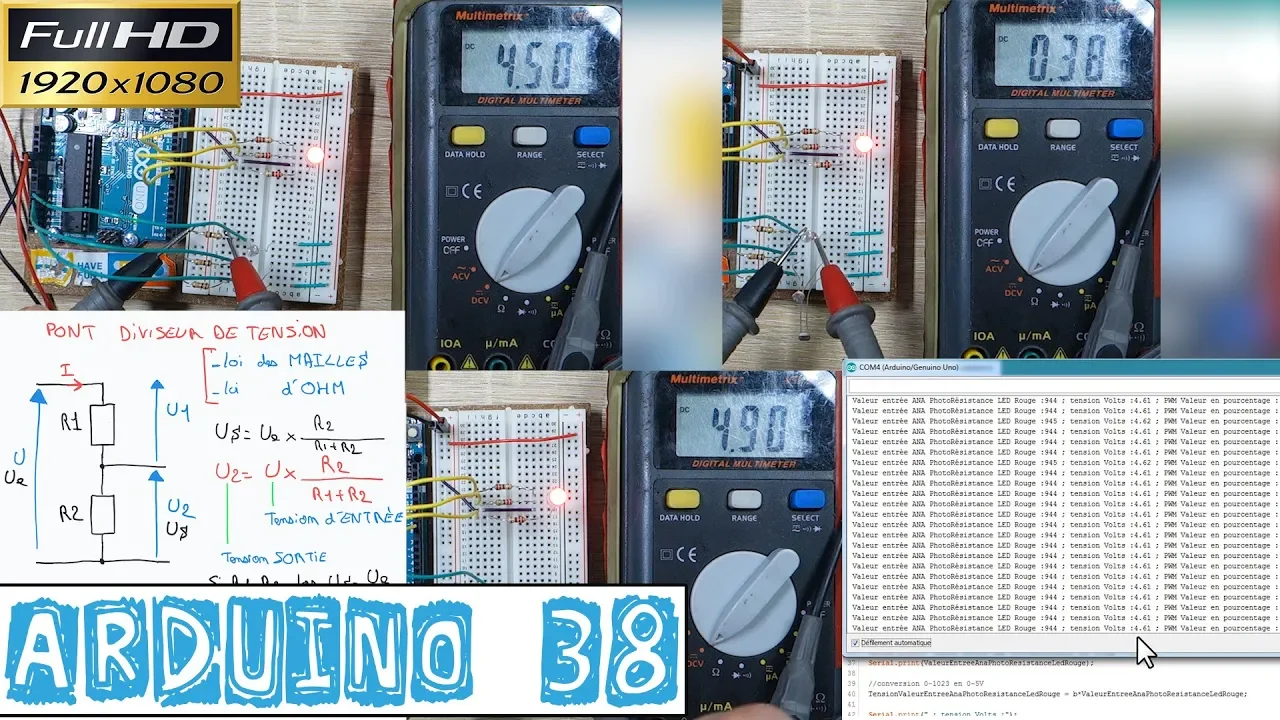
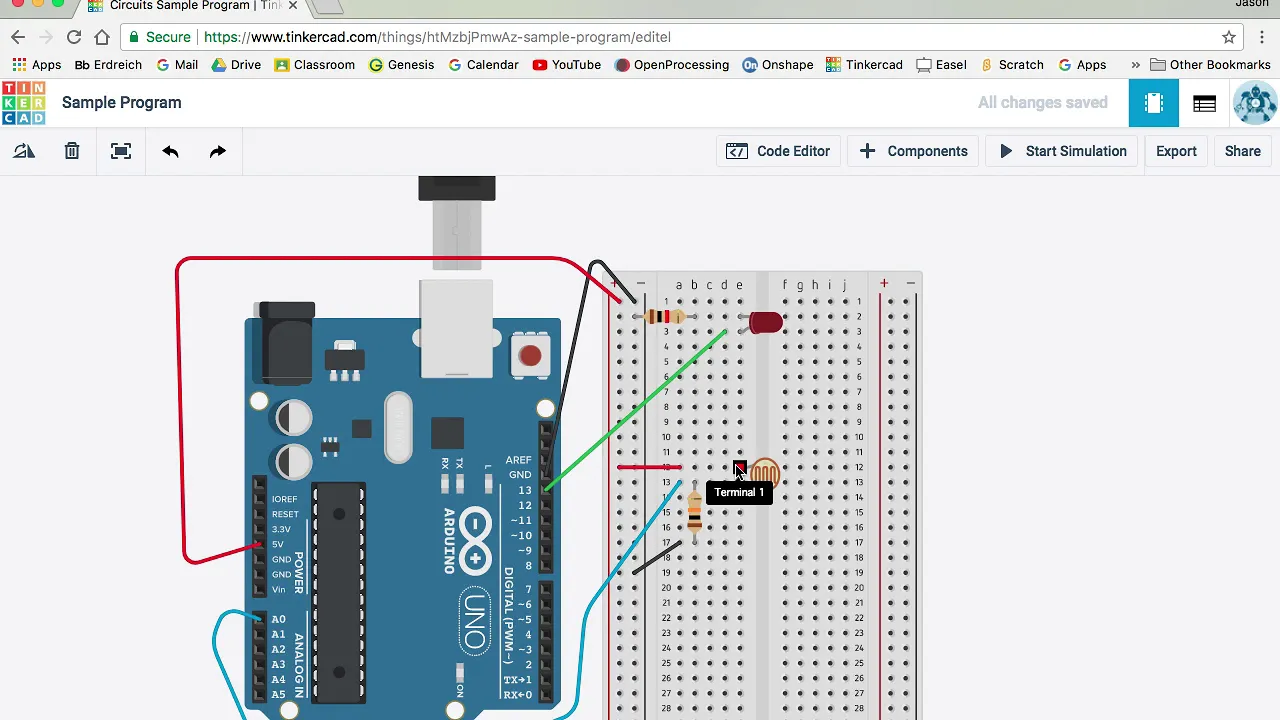
Added:hi everyone welcome to my pit tutorial and the journey began with an Arduino and a cold library which was developed by a guy called Brett Oh regard and the details of which you can see on your screen at the moment what you can see here is my system components and the Arduino mega board and and it's connected through and this cable to the op-amp and AM photo resistor which is GL v five to eight and and a white LED and which is pulse width modulated to produce light of varying intensity which illuminates the sensor over here and normally and this lid has a sorry this box has a lid and to keep it dark inside and you can now see a closer close-up of the light chamber and when you see in more detail the position of the white LED and the photo resistor and you can also see a lump of blue TAC in the bottom right hand side of the case which I've just used to seal it to keep the light out and here's a close-up of the light sensor itself and the lm35 eight voltage follower and this is just a standard component it costs about four pounds and from buckling in the UK this sheet or this picture rather shows the the processing development environment and for those with a historical interest in Arduino and I understand that an Arduino is effectively a reskin and slightly modified version of the processing environment which was originally developed for artists to give them easy access to programming anyway Bret Beauregard I used it to develop and the what he refers to as the front end which is effectively a windows and screen that allows you to see the performance the parameters within the within the Arduino paid equipment and I'll show that next this is what the processing code provides and effectively a means of seeing into the Arduino pit controller itself and it allows you to see various of the PID parameters such as the setpoint and it also allows you to dynamically change and the various PID parameters k p ki k d and allows you to send those parameters directly into your PID algorithm and Brett reports in his comments in his in his code they had quite a lot of challenges getting the serial data communication to work effectively and Anna it's not for the faint-hearted I don't think to try and pass parameters over the serial port so this front end makes the whole thing and very straightforward over in the display you can actually see the green line which is the set point the process variable which is and the red line activity here and the actual controller outputs and I'll come on to those in a bit more detail later in this video and the other component of the system is the arduino compiler I'm using version one point six point eight here and you can see that an exam included and the PID library and I'm also utilizing another library the PWM library which is also available for download from the Arduino website so what I'm going to demonstrate now is the operation of the system and I've spent a bit of time Kriya previously and tuning my system and to tune the KP and the ki parameters with this particular plant and there's no requirement for KD it makes the system unstable and what I'm going to do now is step through a range of set points and you'll see how and the system is able to exert control over the plant so we're going to jump now from 100 to 300 let's send that to the arduino and you can see over here on the right-hand side now the green line the set point has jumped up to 300 and the controller has responded and which is the red line you can see this quite a bit of low-level oscillation around the set points and the output is still at a low level we'll just increase that opinel to 400 send that to the controller relatively small change and you can see the controller action here moving up to the new setpoint level and again a bit of noise around the set point where the controller is unable to cope with the non-linearity of the the photoresistor output at this point so if we go up to 500 now we started coming to a stable stable range of operation so there's 500 and you'll start to see that the level of oscillation around the setpoint starts to reduce the system starts to stabilize as we go up again to 600 and now well within the usable bands of the censor the controller exerting its influence see also the output increasing down here on the bottom right-hand side so we're getting quite a usable system at this point now and again jump up to 700 and you can see the controller again exerting its influence or slowly for this step but also we get to a point where we've got a much more stable and output from the system and you can see over here that the they are the positions tracking very closely to the set point which is go up again to 800 or again we have quite a stable situation start to see the output increasing now this could do with a little bit more I in it so I'm just going to increase that as well just put point two five in there because the response was quite slow here will now move up to 900 and hopefully the response will be a bit quicker you'll notice here how the output has increased more substantially for that one step than it did for any of the previous steps and we've got very stable control here now and the photoresistor in this range is really in its in its sweet spot if we increase the output note of thousands sorry the setpoint to a thousand will again start to see some oscillation as the controller struggles to control let's just drop that back down to 500 and the controller comes down quite quickly to the new set point so that gives an overview of how effective the controller and the plant work together so that pretty much concludes this presentation and I'll put some links down below where I got the source code and the various libraries and also some references and to some online tutorials and some people are put off PID and because the math at first appears to be quite daunting I'll put a link up to some control systems tutorials that actually give you a high-level overview of the math and show you how to get from differential equations through the Laplace transform process to some actually quite simple algebraic manipulations and ultimately and PID translates into a very simple algorithm and quite unexpectedly and so enjoy thank you for watching the video
Up Next

Designing and Building an Autonomous RC Sailboat: A DIY Guide
@rctestflight
635.6K views•2023-03-10

Clean Water, Green Concrete & Nickel from Plants: Sustainable Inventions Explained
@business
94.3K views•2025-11-06

Polymer Environmental Degradation: Mechanisms & Stabilization
@iit
1.8K views•2012-07-10

How a Student's Question Saved a NYC Skyscraper from Collapse
@veritasium
22.8M views•2025-04-26
Related Study Plans & Knowledge Roadmaps
Structured learning paths in Engineering