






![👉 Cura 3D GUÍA para PRINCIPIANTES [Parte 2] | Cómo imprimir en 3D con CURA ❓](https://i.ytimg.com/vi_webp/KvwkGCQpIkA/maxresdefault.webp)





![GLOBAL NAVIGATION SATELLITE SYSTEM [GNSS]](https://i.ytimg.com/vi/hrLaL2E4wtI/hqdefault.jpg)




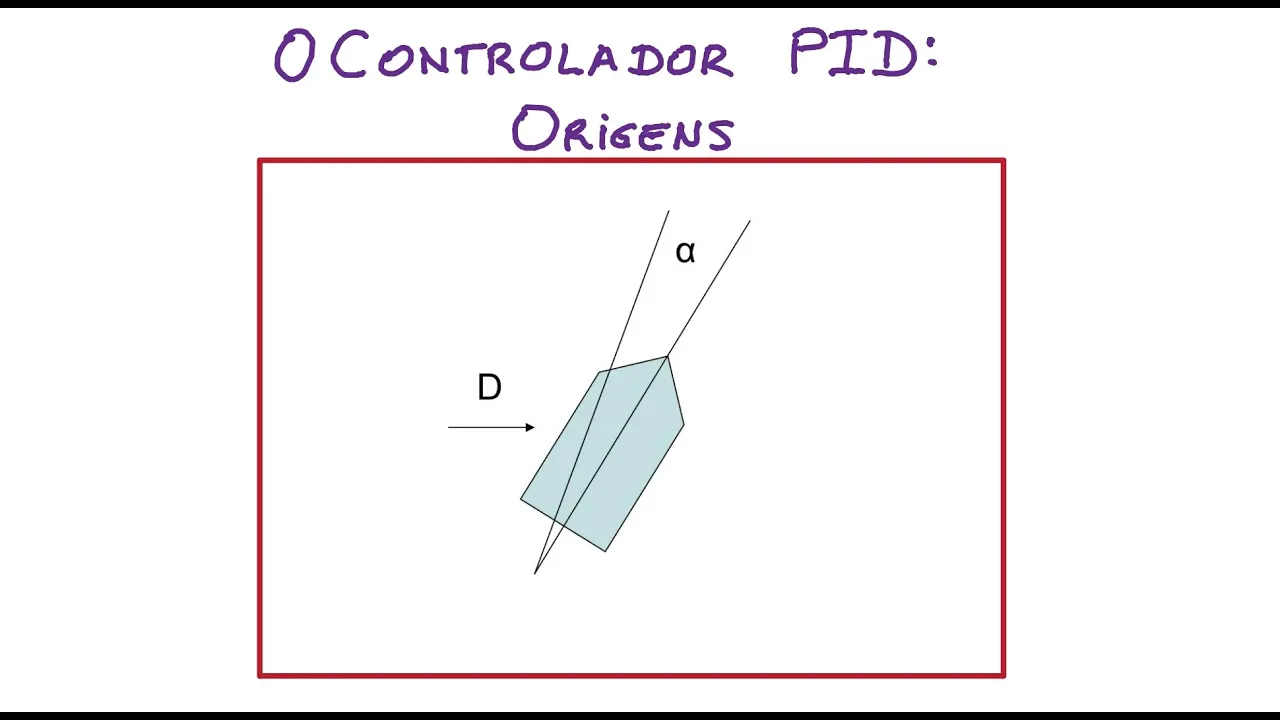

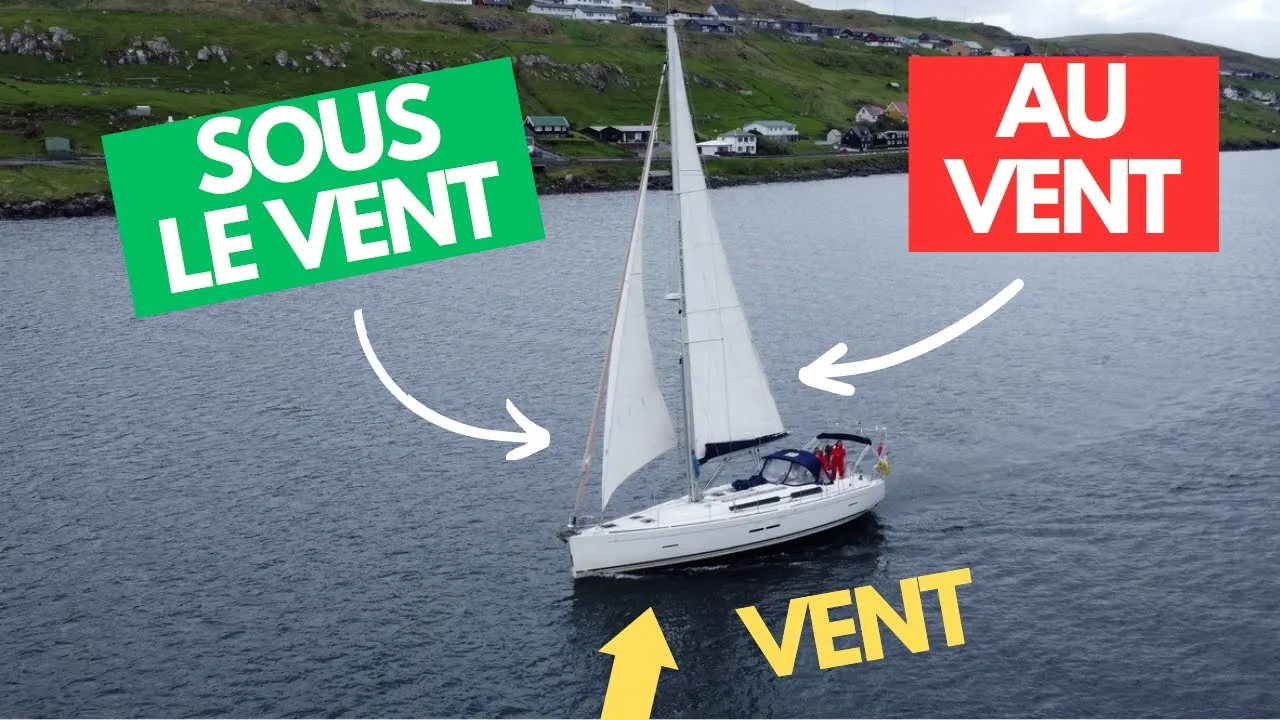










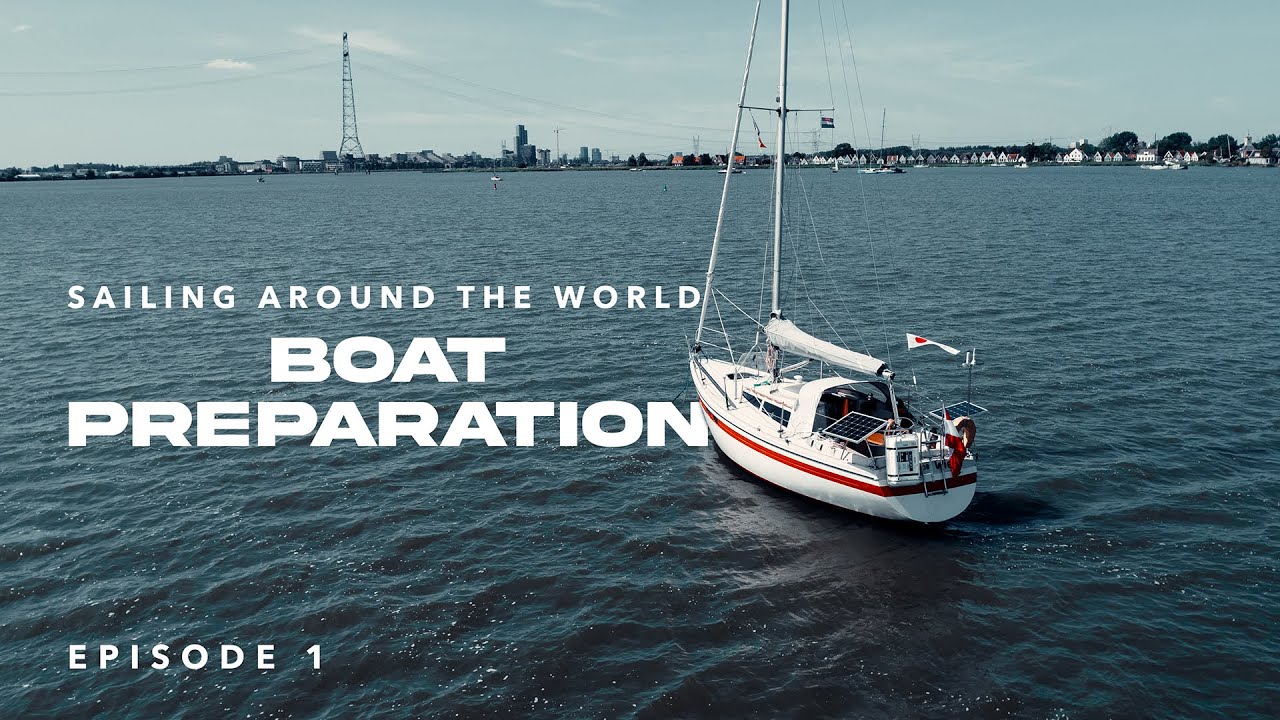







This video demonstrates the complete process of designing and building an autonomous R/C sailboat, covering CAD design using Onshape, fiberglass hull fabrication with a positive mold, CNC machining of plywood and foam components, 3D printing of custom parts, and integration of servo-controlled wing sails and rudders for autonomous navigation. The project highlights key principles of sailboat dynamics, including how wing sails generate lift through angle of attack, and explores the challenges of achieving stable autonomous sailing, ultimately converting from a monohull to a trimaran configuration to improve stability.
Designing and Building an Autonomous RC Sailboat: A DIY Guide
Added:Basic principles of sailing physics, including buoyancy (Archimedes' principle), center of lateral resistance, and how sails generate aerodynamic lift.
Fundamental 3D modeling (CAD) skills and an understanding of additive manufacturing (3D printing) parameters, specifically relating to water-tightness and material durability.
Introductory electronics and microcontroller programming (e.g., Arduino) to manage actuators, servos, and read sensor data.
Basic concepts of navigation, coordinate systems, and how GPS receivers calculate positioning.
Implementation of PID (Proportional-Integral-Derivative) control loops to optimize sail trim and rudder response under varying wind conditions.
Advanced sensor fusion techniques, such as Kalman filtering, to combine GPS, IMU (Inertial Measurement Unit), and wind vane data for more accurate state estimation.
Design and integration of solar energy harvesting and power management systems to enable long-endurance, perpetual autonomous sailing.
Machine learning and computer vision techniques for obstacle detection and avoidance to comply with International Regulations for Preventing Collisions at Sea (COLREGs).
Deployment of long-range telemetry systems (like LoRa or satellite communication) for remote monitoring and over-the-air mission updates.
635.6K views17.6Klikes21:31Original Release: 2023-03-10
this video is sponsored by flexi spot more on them later I've made several autonomous boats in the past few years but I have exactly zero experience with sailboats so in this video I'm going to try my hand at designing and building one and then I'll do some basic testing to see whether or not it'll be a good candidate to try out RDU Pilot's autonomous sailing functionality with if it works this should enable it to autonomously navigate through waypoints using nothing but the wind so let's get started on the build step one is to hop on the computer and make the boat hull this is the hull for my sailboat then I made the rest of the sailboat I recently switched over to onshape for CAD design and so far it's been great more on that later now let's get started with fabricating the hull it's going to be molded out of fiberglass but step one is to make the mold it's comprised of these four 3D printed sections that I glued together with Gorilla Glue this is going to be a positive mold not a negative mold like my solar powered catamaran that pulled me around in the kayak this is my first time trying out a positive mold once all the sections were glued together I filled the cracks with spackle I also spackled the top rail to smooth out the poor quality 3D prints after the Spackle had dried I gave everything a good sanding I didn't need to sand it very well because the outside of the mold would determine the surface finish for the inside of the hull which wasn't important I just needed it to be smooth enough to get the mold to release well then came the mold release wax and PVA which is a mold release film next it was time to do the fiberglass layup I started with a few layers of this thicker fiberglass mat to make up most of the thickness of the hole and then on top of that I did two layers of six ounce weave to give it a smoother surface finish one of the reasons I did a positive mold for this is so that I could mold in a brim around the top of the hull it was a little tricky to get the fiberglass to keep its shape around the brim so I had the trim little strips in it and fold it around after that I added a layer of Peel ply and then some breather cloth and stuck the whole thing in a vacuum bag and sucked all the air out of it this is to compress all the layers of fiberglass onto the mold and squish any air levels out after the epoxy cured I took it out of the vacuum bag and started trying to peel the peel ply off the fiberglass this ended up being pretty difficult it was really stuck on there but eventually I got it all off there was quite a bit of fiberglass wrapped around the brim so I had to cut all that loose with a Dremel tool and then pry it away from the mold once the brim was clear it was time to de-mold the hole to do this I stuck it in a sauna bag that my grandma gave me this softened to the pla mold enough for me to just peel it out of course the downside to doing it this way is that the mold can only be used once after that I cut some holes to mount the Keel and then did a bunch of sanding it was at this point that I realized my hole was a little bit too lumpy since with a positive mold your surface finish is kind of at Mercy of the consistency of your laminate layers I ended up smearing on a layer of fairing compound to smooth out the hole a bit after that layer cured I sanded It Down Smooth which definitely helped make the hole less lumpy after that I fired up the stepcraft m1000 CNC machine to cut some plywood parts for the deck this here is a plywood Rim that goes in between the deck and the hull the fiberglass brim ended up not being super flat so this Rim will give a nice flat surface for the deck to sit on this was glued onto the hull and clamped down in place I filled the Gap in between the wood and the fiberglass this was some Putty stuff that ended up not working very well so I switched over to fairing compound instead then everything got sealed up with a layer of epoxy I ended up honeycombing out the deck on the step craft because it turned out to be way heavier than I hoped and then I varnished it to waterproof the wood moving on to the Keel this is a 3D printed mold to smooth out the fdm lines of the print I spackled it and sanded it smooth and then after that came some mold release wax and PVA same as the whole mold I laid down a few layers of fiberglass weave to act as the outer skin after that tacked up I did some silicone around the outside of the mold to prevent any resin from leaking out the mold halves were bolted together and I squeezed in some big steel bolts that would be used to attach the Keel to the hole and to add extra weight my plan was to fill the Keel with lead so I bought a bunch of scrap lead from eBay and it turned out to be printing press typeface pretty cool so I just filled the mold with as much lead as I could fit in there I would shake it to try and get the lead to settle as much as possible and then I topped it off with resin after the resin cured I cracked the mold open and this is what it looked like [Applause] oh Jesus there were some air bubbles in there I probably should have put it under vacuum but oh well it'll work 1.7 kilograms the surface was pretty rough and some pieces were delaminating so I ended up adding some fiberglass weave and then vacuum bagging it after that I trimmed off all the excess epoxy did a layer of fairing compound sanded that and I finally ended up with a smooth Keel to attach the Keel to the boat I added some thickened epoxy and smooshed it in place I put some nuts on the bolts even though they probably weren't needed the epoxy was probably plenty strong but the extra weight is good to form a fillet around the Keel I added extra fairing compound and then sculpted it into shape with a rubber squeegee tool thing and then once that cured it just needed a little sanding and the hole was finally ready for paint and then I spray painted it red if there's one thing I need it's lots of table space table table table table table table so many tables that's why I'm happy to have flexi spot as the sponsor of this video they make high quality dual motor standing desks the legs are made out of solid steel and they can hold up to 355 pounds they sent me their E7 model to try out and I was super impressed with the quality even at its highest point the E7 is super sturdy the motors are even strong enough to lift me I chose this beautiful bamboo tabletop which is smooth and durable they even hooked me up with a pull out drawer and a cable organizer so that I can keep my desk as clutter free as possible a lot of the time I end up editing videos on the Fly no not that fly sometimes I just want to move around for a change of scenery luckily flexi spot offers these awesome castering wheels so I can move around and reposition my desk with ease they even offer a 15-year warranty shop now for the best value dual motor standing desk the flexi spot E7 and enjoy the lowest price ever use the exclusive discount code rct50 to get an extra 15 off orders over 500 now back to the video okay now we gotta make the sale I made the wing sale out of XPS insulation foam and cut it to shape on my stepcraft m1000 CNC machine this is a two-sided Milling operation so you got to do one side and then flip it over and then do the other side in addition to just the airfoil shape I also had to cut grooves in it for the Mast and the rods to hold the sail elevator behind the wing and of course I used my good old 3D printed Cyclone separator to vacuum up all the foam works like a charm this is the spark cover that slots right into the wing it was machined at the same time as the wing pretty nice I left a little foam around the edges since the wings gotta get held in there somehow so after Milling I trimmed that free and pulled the wing out Yeehaw it took some extra trimming and sanding to clean that up but we got her done next up I cut some carbon tubes and glued those into the foam Wing core to fill the slots I used fairing compound and smeared that smooth and then to add some strength and durability to the fragile leading and trailing edges of the wing I wetted out some two ounce fiberglass onto the foam a 9 gram high-tech Servo got thrown in there at some point for the wing sail elevator control I glued that into place and routed the wire through a 25 millimeter carbon tube and then glued that tube into place with some Gorilla Glue and capped it with the foam piece that I see and see milled with the wing I also 3D printed this little end cap for the bottom that has a hard stop on it so the sail can't rotate 360 Degrees we only want it to be able to rotate around 180 degrees I had to trim all the excess glass off the trailing edge with a Dremel and then sand that down smooth with that the wing sale was ready for some spray paint I had also painted all the foam with epoxy otherwise it would have melted from the spray paint to make the wing sail elevator I glued a carbon tube onto a piece of six millimeter depron I added a popsicle stick control horn and a steel wire to attach the elevator to the servo for the hinge I'm using a smaller carbon tube that goes through the larger carbon tube and that smaller carbon tube is glued onto the two tubes that come out of the trailing edge of the wing I added some fiberglass strands over that joint to strengthen it rigid pivoting Wing sails like this need some weight in the front to balance out the elevator in the back so I started gluing on chunks of Steel until it balanced properly on the Mast this 3D printed blue thing is the Mast mount it has two bearings in it that the Mast slides into and then it itself gets screwed onto the deck now we're going to focus our attention back to the hull here I'm drilling a hole for the rudder tube the rudder tube is aluminum that got cut to size and inserted into the hull to fix it in place I smeared a thickened epoxy all around it for some extra strength I glued some pieces of wood in there to hold it on the sides now it's time to build the rudder I cut some brass plate and soldered two strips together then I soldered that onto a brass tube the solder joints were pretty lumpy so I sanded those down this brass tube fits ever so perfectly into the aluminum tube that I glued into the hull then for a Rudder control I screwed on a waterproof high-tech Servo and the 3D printed control horn that clamped onto the rudder shaft now next it was time to make the Fasteners that would hold the deck onto the hull I cut out some little carbon fiber tabs on the step craft these would be used to glue nuts onto the bottom of the holes around the brim that is on the top of the hull these are M3 press nuts that I pressed into the carbon fiber plates I needed to use screws to hold the plates in place while the glue dried but there was a chance the glue would get on the threads so to prevent it from sticking I put some oil on there then some epoxy and screwed the tabs into the bottom of the brim after the epoxy cured I removed the screws I'm using adhesive foam strips to hopefully keep the water from getting in between the deck and the hull in order to prevent this boat from constantly getting stranded out in the lake when the wind dies I wanted to add an electric motor I could have added an underwater propeller but this is more likely to get caught on seaweed and cause leaking so I instead decided to use an air motor the air motor would be able to Pivot so that the boat could still turn in case the rudder breaks the motor Mast is attached to the deck with a 3D printed part and it uses bearings to Pivot it has its own Servo and 3D printed control horn for additional redundancy here is the sail going onto the deck and every time I close it up I have to tighten about 16 screws it's a bit of a pain but it works and with that it was ready for the maiden voyage oh no oh it kind of tips my ballast isn't heavy enough it looks good though we're gonna try this thing out even though it's gonna be tipped over the whole time bye oh and it's way tipped over I sure hope my seal job is good wow sailboats are uh I don't know what to do I have this knob that controls the sail angle right here whoa do you know how to sail I don't I don't think there's enough wind there's a bit of wind it's going oh it's so going look at that we're sailing oh now we're tipped over well now we're uh we're going downwind what's that called is that jiving I think it's called driving when you turn yeah it's packing and driving oh it's going fast sick yeah there's a seaplane over there he looks like he's coming in so let's oh yeah not getting his way oh there's plenty of wind right here okay so now if I want to attack what do I do I turn uh that was a jive and then that was a jive right there oh see I think it's dangerous no go up ah my boat is a failure yeah screw sailing power boats are better oh there we go there we go oh nope damn it I need a heavier Keel I did not think that it would go that poorly so the Keel is obviously not heavy enough in hindsight I probably should have made a bulb Keel Instead This would have allowed it to be the same weight while having more of a lever arm to keep the boat upright I can't really add any weight to the current Keel because the boat already sits super low in the water so my solution was to make it a trimaran i 3D printed some Hollow pontoons on my new Flash Forge guider 3 plus this is my newest 3D printer and it's huge it features a core XY design for printing at up to 250 millimeters per second and it's built like a real industrial grade printer everything is metal it has big beefy linear rails and ball screws and the build chamber is 600 millimeters tall it can print at up to 320 degrees for all sorts of exotic filaments it's really an awesome printer printing this pontoon took only five hours whereas on my other fdm printer it would have taken 20 hours after the pontoons were printed I pushed in some heat stick inserts to attach them to the hull and mixed up some two-part polyurethane foam this stuff is great for flotation I poured it into the pontoons and let it expand it expanded pretty quick it only takes a few minutes before it starts to harden after it did Harden I trimmed off the excess and I also added some fairing compounds to smooth out some rough spots and I also used it to cap off the foam holes after a quick sanding it was back to the lake for another test I attached the pontoons with two carbon fiber strips that I had left over from a past project lo and behold it floated perfectly as I said before I modeled this boat in onshape onshape is a web browser based CAD program that automatically stores all your data in the cloud this makes it super easy to share your models and collaborate with others if you want to download the cad model for this boat click on the link in the description to access it through onshape it's completely free to create an account and start using onshape for your own projects which is amazing I found it to be somewhat similar to SolidWorks so it was pretty easy for me to learn one of my favorite things about onshape is that it's cloud-based and runs in any internet browser so you no longer need to have a big bulky CAD program installed on your computer I can work on my cad models from any computer with an internet connection anywhere in the world it's pretty great now back to the lake how do you think sailing works uh apparently I don't really know we're trying to learn what angle this elevator needs to be at to get the wing set up correctly to make the boat go long story short that's what we got to learn I feel like if I was a little person on the boat it would be a lot easier but doing it from remote control makes things more difficult I've sailed I've sailed once on a real boat and it was easy but this has been hard so far all the time I come out here to fly an airplane and I'm like wow I wish it were Dead Calm then when you want it to be windy it's not I think the rule of thumb that I need to remember is that their elevator the tail of the elevator needs to be facing the direction that you want to go is that right yeah that's right yeah yeah yeah yeah so if I'm coming towards us the tail of the elephant see how the the sail will naturally Point into the wind and then I need to move the tail of the elevator towards us that's how that's how I okay no that makes sense yeah so despite the fact that it was super calm I was still able to sail back and forth across the slight breeze as I was coming back I was able to catch a wave from the police boat and ride it into Shore but then it got washed up on the rocks [Applause] thank you the boat seemed super stable and it was nearly impossible to capsize but it did get some water inside so that's not good the next day we thought it was going to be a bit more windy but it still ended up being super calm there was enough wind to sail slowly though from this top down view you can more easily see what I meant about how the elevator needs to be angled so that the trailing Edge is facing towards the direction of travel for those of you who are trying to figure out how this Wing sale works here's a brief explanation if the elevator is straight or parallel With the Wind then the wingwood weather vane directly into the wind and have no angle of attack no angle of attack means no lift in order to Pivot the wing and give it some angle of attack the elevator is tilted and that creates a force way behind the pivot point that pivots the wing if the wing has the right angle of attack it will generate lift and push the boat at an angle but since the hole has more drag in the side to side Direction and less drag in the forwards to backwards Direction it will move mostly forwards this is the same exact Principle as a normal sailboat with a canvas sail but instead of setting an angle of attack with an elevator you set it with ropes there are several advantages of a wing sale like this one over a conventional fabric sale first of all a rigid Wing sail has a more streamlined shape than a fabric sail which reduces drag and increases lift secondly the elevator on a rigid Wing sail allows for more precise control of the sales angle of attack which should increase efficiency the biggest selling point for me was that they are easy to control you just need one Servo to tilt the elevator and you don't have to worry about lines or winches also it's super easy to de-power the sail when you want to stop all you have to do is straighten the elevator and it will just weather rain into the wind and stop making any lift all these duck things didn't seem to mine at the Drone which was weird but they sure didn't like the wing sail these ones dive down underwater to eat food off the bottom of the lake pretty cool I like submarine Ducks so I just got back from some testing in relatively rough water and the battery is underwater Oh no how is water getting in to figure out where the water was coming from I put food coloring on some paper towel strips and let them dry I then strategically placed them in places that I thought could be leaking I brought it to the lake to test the food coloring but there's zero wind or waves so I'm just manually sinking parts of it to see if water ends up inside so it seems like the edge is the culprit that's where the water is coming from I'm really glad that there's no blue down in there so there's no water coming through the rudder shaft seal that would have been probably harder to fix to reduce the water Ingress I just added more adhesive foam strips around the edge and that seems to work well enough to keep splashes out look at this there's a freaking high wind advisory today and it's pretty much Dead Calm what's with that as I was waiting for the wind to pick up I was doing a little more practice on this day my goal was to try and Sail upwind by attacking back and forth if my boat can do this then it can go just about anywhere but this proves not to be easy if I faced too steeply into the wind the boat would just stop okay now we finally have some wind starting to pick up so this will be exciting for this entire video The Rudder is purely manually controlled no heading hold I think once I get Rd pilot installed and it has the ability to hold its heading sailing into the wind will be a bit easier the wind did eventually pick up but even then it was still really hard to go into the wind I did make a little forward progress but not much the fastest I ever got the boat going was directly downwind the sail hits its hard stop and rests at 90 degrees relative to the wind in this position it's only making drag no lift here are some ground effect vehicles with a submersible duct that just popped up it's like 40 feet deep right here so that duck must have been swimming down really far so that's pretty much it for this video in the next video this project I'll install audio pilot and see if the boat can sail itself better than I can sail it I think I'll save that part for spring or summer though because it's not all that Pleasant to hang out by the lake in the winter that's all for this video thanks for watching bye look at that there's pressure bubbles coming out of that little hole when the waves go in and out of the sink that's fascinating you can install that in your bathroom yeah I bet metal sinks are hard to come by these days wow oh yum yum what what is in there she's a little rusty is it that heavy it's just I'm trying to not fall in it sounds like fiberglass it must be really heavy bro that's fiberglass I think it's metal maybe it's a weird old-fashioned toilet and you're just touching all over it now we got a manhole cover we're getting all sorts of goodies from the lake oh that's pretty cool we could hang that on the wall wow I should go far water dripping off your head okay it turns out that is magnetic Colin was right this video is sponsored by flexi spot here's the exclusive discount code rct50 to get an extra 15 off orders over five hundred dollars
Up Next

80:54
Antarctic Underwater Electronics: Subsea Engineering & Connectors
@ReastHobart
113 views•2022-06-24

48:00
Clean Water, Green Concrete & Nickel from Plants: Sustainable Inventions Explained
@business
94.3K views•2025-11-06

54:16
Polymer Environmental Degradation: Mechanisms & Stabilization
@iit
1.8K views•2012-07-10

33:39
How a Student's Question Saved a NYC Skyscraper from Collapse
@veritasium
22.8M views•2025-04-26
Related Study Plans & Knowledge Roadmaps
Structured learning paths in Engineering
engineering
Building Acoustic Levitators: Physics & Arduino
01The Physics of Sound and Standing Waves
02Piezoelectric Transducers and H-Bridge Drivers
03Arduino Programming: Generating 40 kHz Signals
+ 2 more learning modules
14h5 modules
Explore Roadmap
engineering
Building Peltier Cloud Chambers: Particle Tracks
01Cosmic Rays & Cloud Chamber Physics
02Thermoelectric Cooling (TEC) Fundamentals
03Custom Liquid-Cooling Loop Design
+ 2 more learning modules
18h5 modules
Explore Roadmap
engineering
Yagi-Uda Antennas: Modeling, Build & VNA Test
01Introduction to RF and Antenna Fundamentals
02Yagi-Uda Antenna Design Principles
03Antenna Modeling and Simulation in 4NEC2
+ 2 more learning modules
18h5 modules
Explore Roadmap
engineering
ECG Monitor Design: Op-Amps, Filters & Noise
01Electronics & Breadboard Basics
02Op-Amps and Instrumentation Amplifiers
03Bioelectricity and ECG Fundamentals
+ 2 more learning modules
18h5 modules
Explore Roadmap