






![Conceitos básicos e modos de utilização de tecnologias, ferramentas e aplicativos [Concurso INSS]](https://i.ytimg.com/vi/67yE_OuccYw/maxresdefault.jpg)


![[Arduino Tutorial] Blink](https://i.ytimg.com/vi/N-3ghvwGnls/maxresdefault.jpg)



![GRUA con ARDUINO || PROYECTO con servomotores || Para principiantes [Explicado paso a paso]](https://i.ytimg.com/vi_webp/B2lwaLmHDEI/maxresdefault.webp)
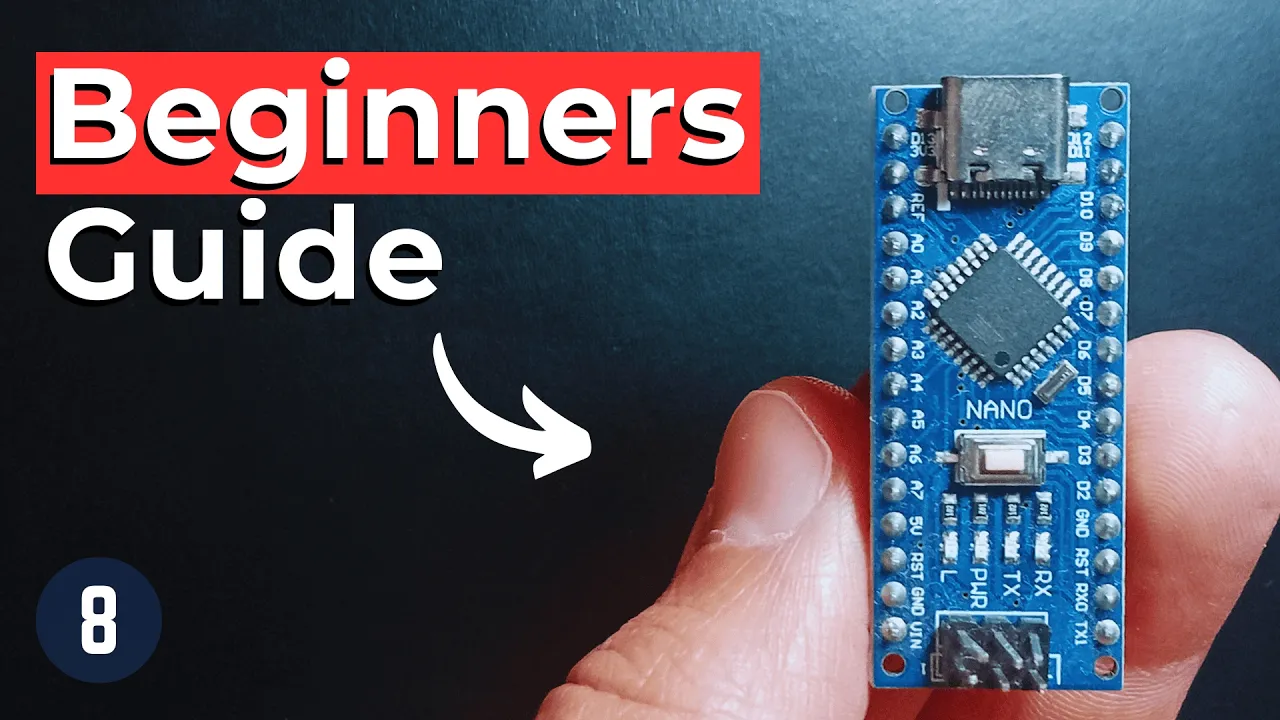


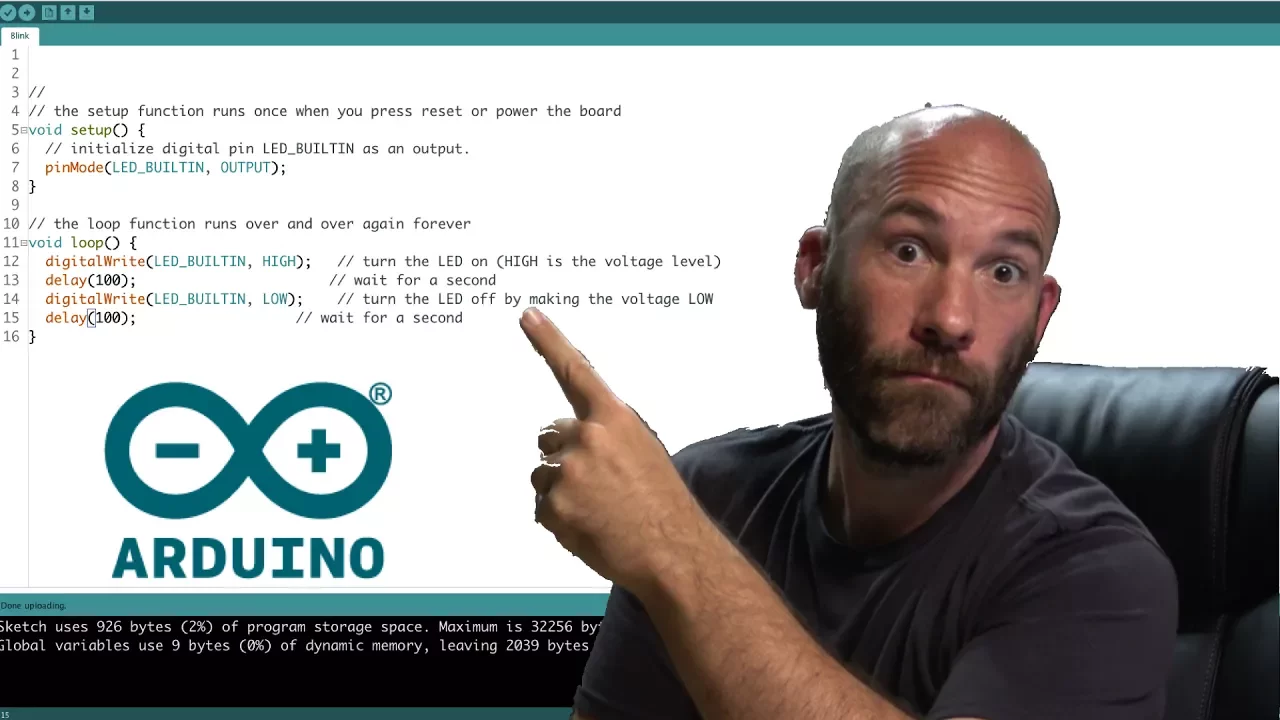
Arduino is an accessible hardware framework for beginners that includes microcontroller boards and the Arduino IDE (Integrated Development Environment), which uses a simplified version of C++ programming language. To start learning Arduino, beginners should purchase a starter kit containing an Arduino board, breadboard, jumper wires, and basic components like LEDs and motors. The Arduino IDE provides essential tools including a code editor, verify and upload buttons, serial monitor for debugging, and library management for interfacing with sensors and devices. The IDE supports various boards beyond standard Arduino, including ESP32, and offers example codes and libraries to help beginners learn coding concepts.
How to Start with Arduino: Complete Beginner's Guide to the IDE
Added:Basic computer literacy, including downloading, installing software, and managing USB connections on an operating system.
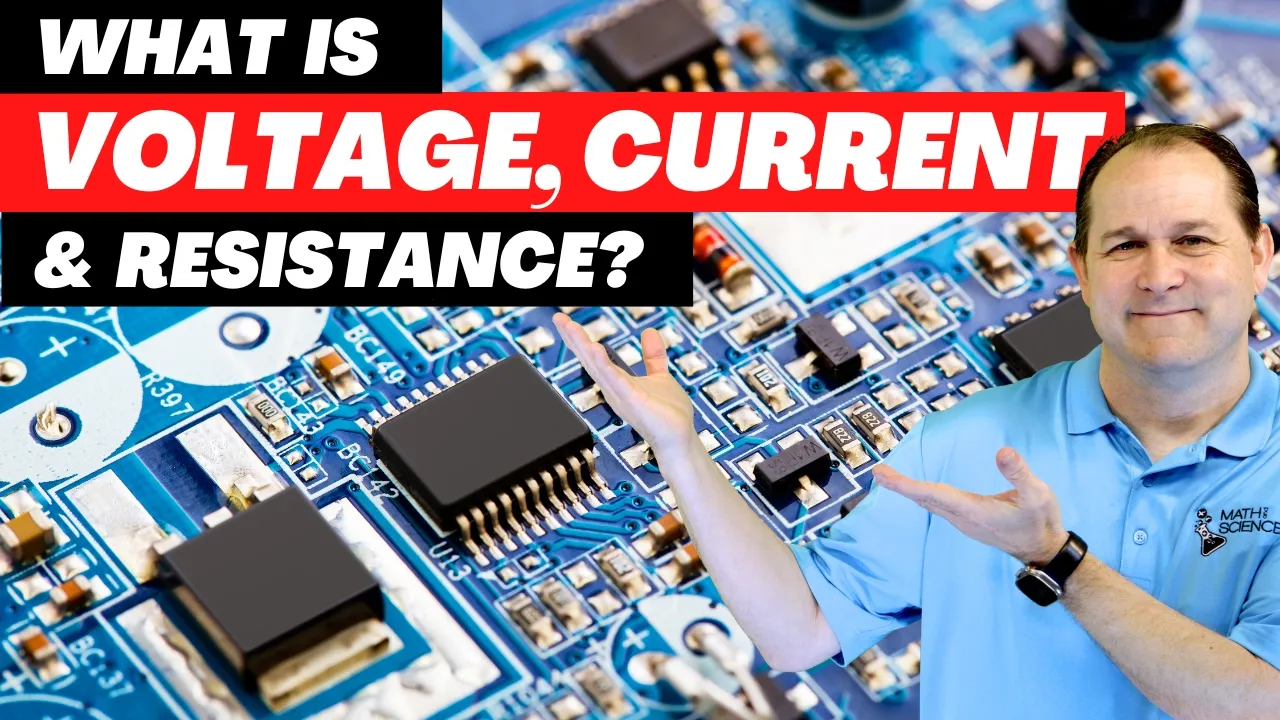
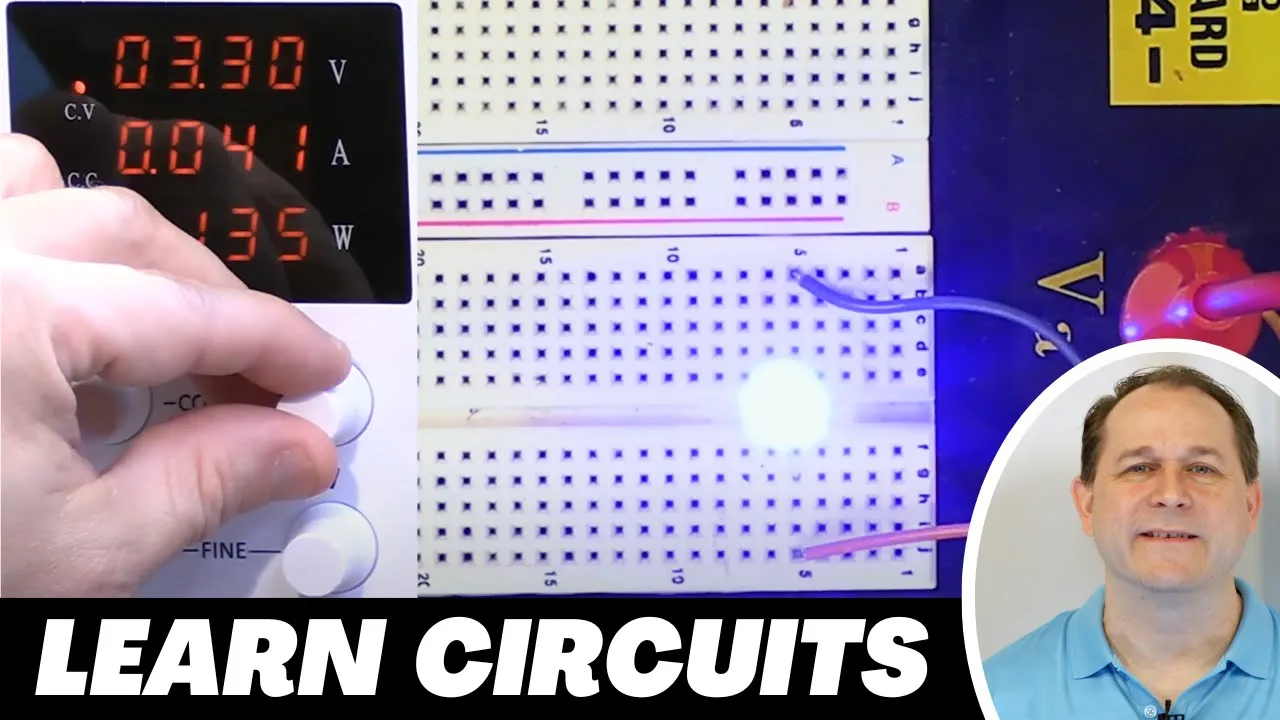
Fundamental electrical concepts, specifically understanding voltage, current, resistance, and how a basic closed circuit functions.
A conceptual understanding of the difference between hardware (microcontrollers) and software (programming code).
Writing and uploading your first 'Blink' sketch to understand the setup() and loop() structure in Arduino C/C++.
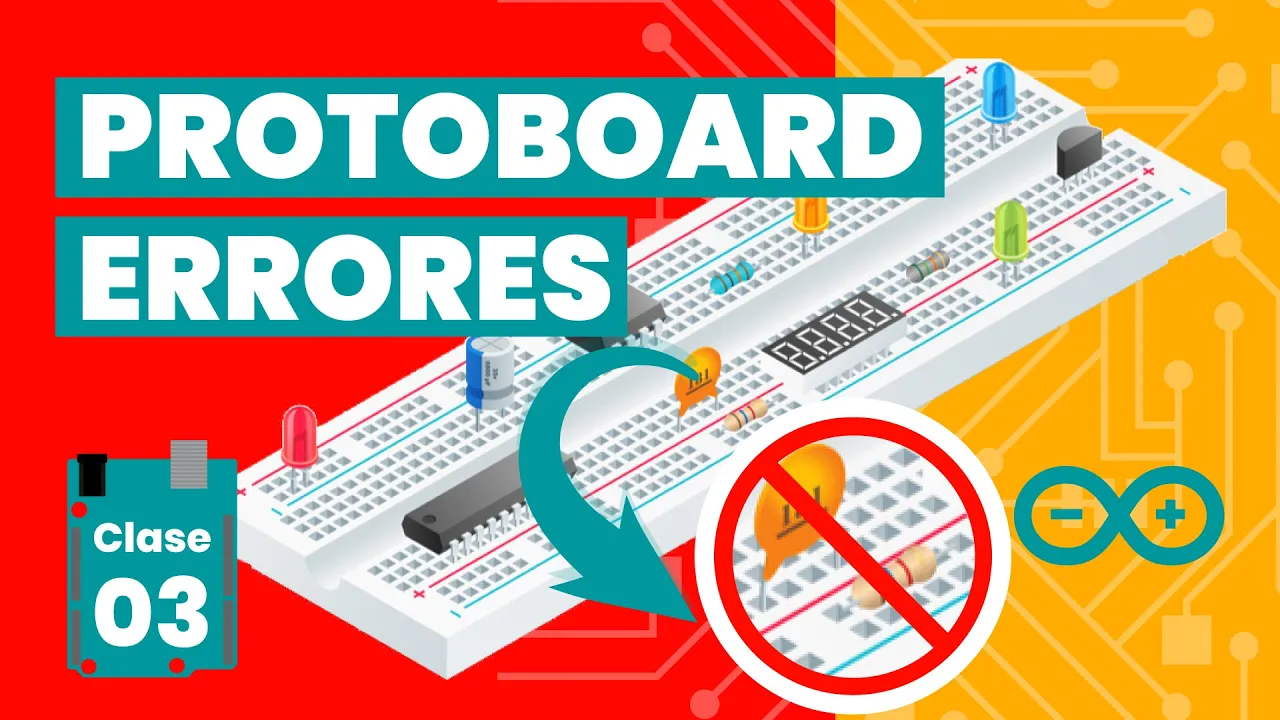
Prototyping physical circuits using a breadboard, resistors, LEDs, and jumper wires.
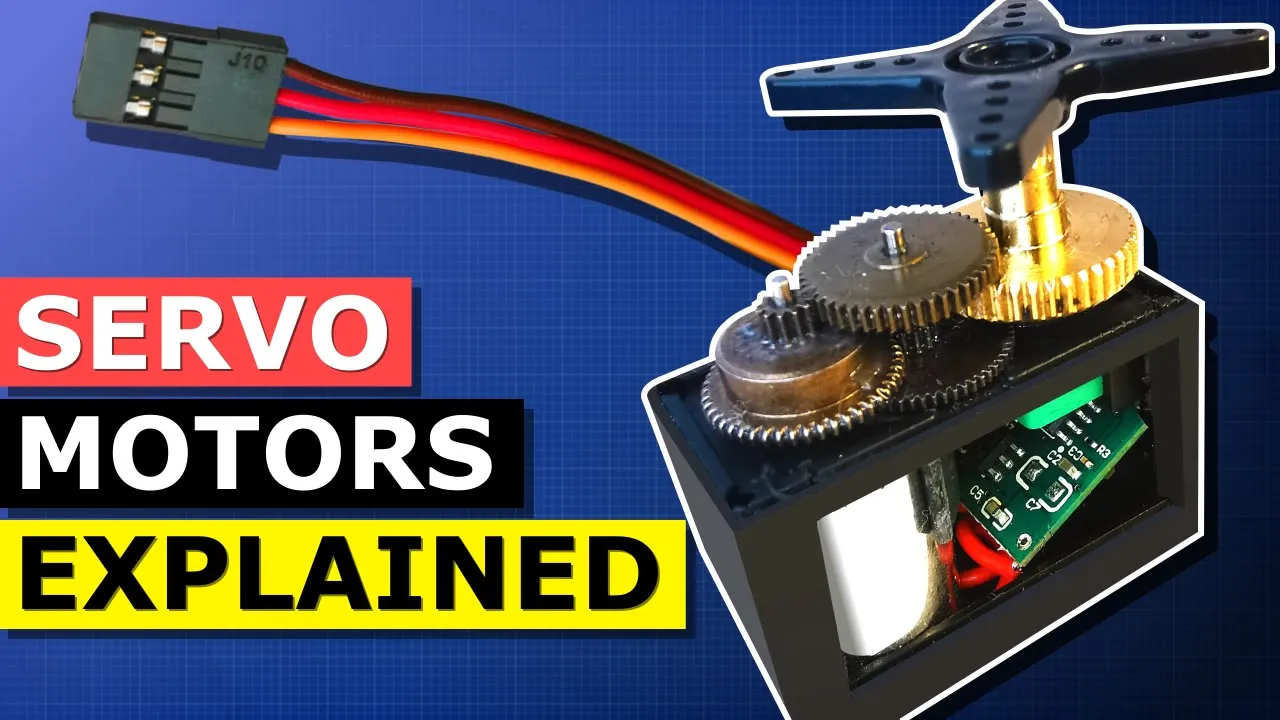
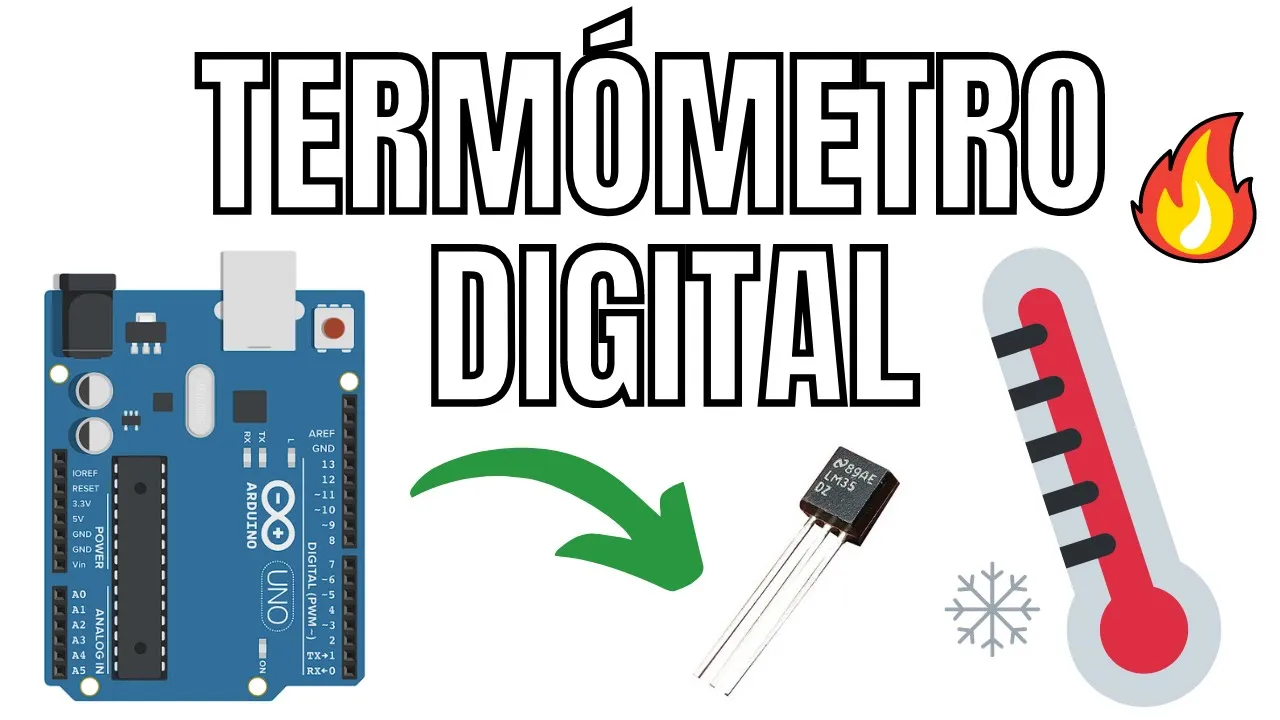
Interfacing with basic inputs and outputs, such as reading analog sensors (e.g., light sensors) and controlling actuators (e.g., servo motors).
Utilizing the Arduino Serial Monitor for debugging code and visualizing real-time sensor data.
2.5K views222likes9:47Original Release: 2025-07-26
Hello everybody. Throughout my videos, many of you have asked me, "Hey, Flamethrower, I also want to make cool stuff. How can I get into robotics and DIY?" And in my opinion, the best way for any beginner to get into hardware is Arduino. In fact, I have decided to make an Arduino tutorial series of which this will be the first episode. I'll try to improve on the shortcomings of tutorials I've seen myself. So I'll try to make it clear, understandable, and easy to follow. But first, what is Arduino?
Well, more than a single thing, I describe it as more of a framework. You have the Arduino boards, which are microcontrollers specifically designed to be accessible to hobbyists of all levels to interface with all kinds of sensors and activators. And you got them with the Arduino IDE, which uses the Arduino programming language.
It's not really its own programming language really. It's just a slightly modified easier to use form of C++.
But the cool thing about it is that it's not limited in terms of possibilities by this accessibility. For example, my robot uses Arduino and my steering wheel and voice assistant are fully Arduino based. So, this first video will be a kind of introduction to this framework.
I'll show you exactly what you need to get to start learning and how to install and use the IDE.
As you can see, I've had a bit of a change of scene. That's because I'm on vacation right now. But anyway, all that said, let's get right into it.
[Music] Now being a beginner, the last thing you want to be doing is going around worrying about each and every component you need to buy and if it's the right one that you can use, etc. Because trust me, buying individual components can be a pain in the neck sometimes.
And luckily, that's why we have dedicated Arduino starter kits. Starter kits can be more or less complete, but at least you want them to include an Arduino, a breadboard, some jumper wires, and some basic components like LEDs, motors, some buttons, etc. Most do, of course, because it's the basics, but just make sure, but other than that, you don't need to worry too much. For example, when I was little, my parents got me this starter kit by Yelu. As you can see, it's got all the essentials.
Although, it's a bit more on the basic side, especially in terms of sensors.
So, if you buy one of these smaller kits, I recommend later on when you get the hang of it, you buy an extension kit like this 37 sensor kit I bought later on because that's what really allows you to have tons of fun with tons of different sensors and functions and devices.
Or you can buy a bigger starter kit, which usually includes more sensors.
Although I think the first option will actually get you more components for cheaper. But of course, just get what's available to you.
So that's simple enough. Now, let's get into the Arduino IDE. An ID is an integrated development environment, or in other words, it's just a cool little interface which allows you to code in some programming language.
So, the Arduino ID, you're going to want to go into the Arduino software page.
I'll leave the link in the description, and you're going to want to download the latest version of the Arduino IDE. Now before there was the Arduino IDE version one which is now the the legacy version and most older tutorials are in use this version. Um but I I don't recommend it like some people recommend it for beginners but I really don't think it's considerably simpler and it it'll get deprecated soon enough and you won't really be able to use it. So I I recommend getting the version two. So yeah, just get the latest version here.
You just need to select your operating system. I'm on Windows, so I'll choose that. And well, you can make a donation or just download. And you can sign into the newsletter or just download. Going to click just download. And here, well, just save the file and you're good to go. Once you have this file downloaded, just click on it. and it'll open this window with the terms of service.
Um, I recommend you install it just for your user and yeah, just use the the default folder and then you click install. I already have it so I won't click it, but yeah, this will install it in your system. And now you'll have the Arduino IDE. Once it finishes installing, you should be able to just search for it in your system. And here you have it. So just open it and here you have the interface. Well, it's a a code I had written before, but you'll see something like this instead.
There we go. So yeah, this is the the ID. So let me give you a quick rundown of it. This file tab, for example, um allows you to create a new sketch like I just did. Uh you can open a sketch you've created, open a recent one. Here you have your sketchbook. Um this is actually really useful. You have some a lot of building examples for for different things. So here if you need reference on coding anything, you have a ton of example scripts and the the libraries you download which are basically just pieces of code you can add to your code to be able to interface more easily with with sensors or you know do special stuff. Uh each library usually includes some some examples as well so you can actually learn how to use them. So yeah, for example, let's just open this this random one.
open a new window and we have an example code to use this SR4 uh module. So yeah, really really useful tab. Uh then well you can you can close you can save it. Here you have the preferences.
Uh then in the edit tab you have well the standard tools you usually have in programs. Undo, redo, cut, copy, paste.
you know, you can increase or decrease the indent, uh increase or decrease the font size, find stuff. Uh then in this sketch tab, you can well really these are just these two buttons. You can verify the code. This will check if what what you've written is is correct. It doesn't have any any mistakes. Uh and then if it if this upload button, well, it it'll actually do both. First, it'll verify if the code has no mistakes and then it'll upload the code to your Arduino.
So, yeah, you usually just use this one.
It'll automatically check and upload the code. Then here in tools, uh mostly you can just manage the libraries, which you can also do from here. I already explained what the libraries were. Uh then you have the serial monitor. This will allow you, you'll see later on, it can be quite useful. It will allow you to, you know, send messages and you can actually basically see all the data from your sensors from here. You have the serial monitor and the serial plotter.
The serial monitor simply uses text and the plotter is a a plot like a kind of graph. And then well, here you can select your board. The the serial port, it'll usually selected automatically when when you connect the board. Uh here you have the board manager. So if you want to use a again you usually already have them installed here the Arduino AVR boards the normal ones. Uh but if if you want to use any special boards with the Arduino ID because you can use a ton of boards with this IDE like not not only Arduino ones like ESP32s for example. Uh you just install a the these board files and you'll be able to use them really easy. Um and then well here in the help tab you can get help. Simple enough. So yeah, we'll be doing this in all the next episodes, but whenever you're coding on Arduino, you'll basically just include any libraries you need, then write all your code here, and once you're done, you just click on upload. It'll get uploaded to the Arduino, and the Arduino will automatically execute it. So that was it for the first episode. I'll need to wait till I get home to record the next one because we'll actually start coding our components. If you found this useful, please make sure to leave a like and subscribe if you haven't already.
And I'll see you in the next one.
[Music]
Up Next
15:37
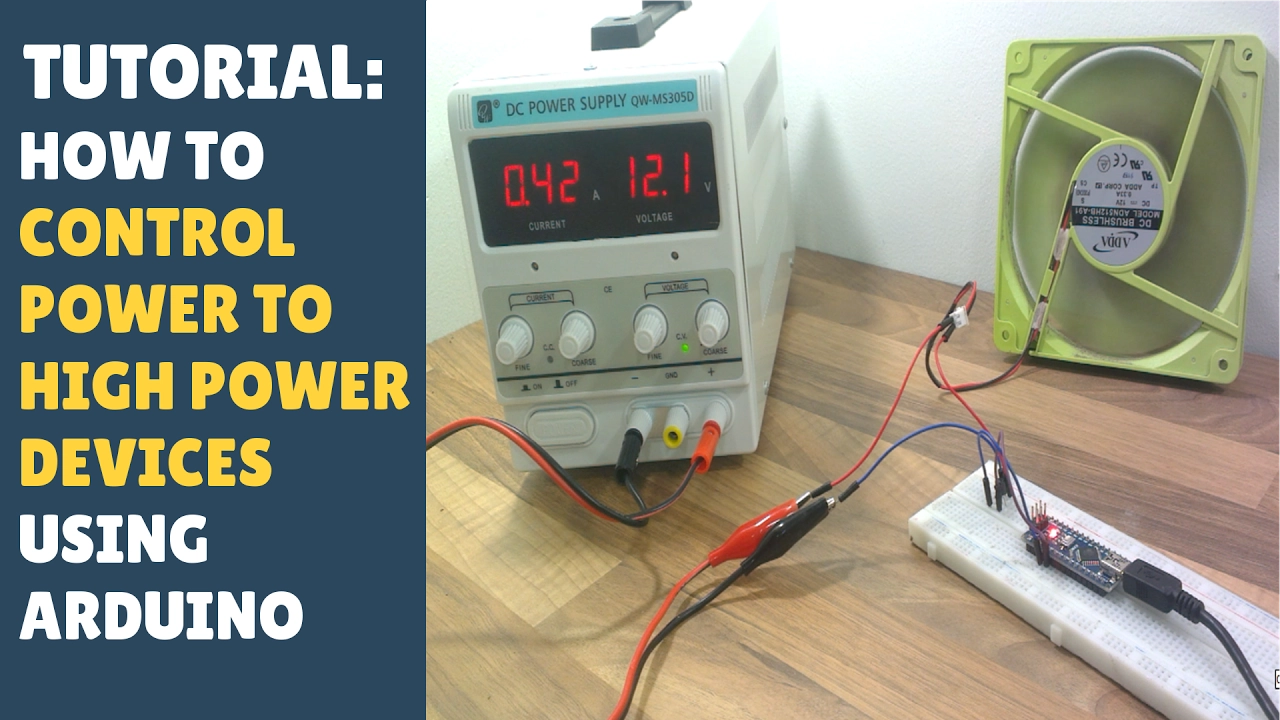
Arduino Transistor Switching: High-Power Device Control Tutorial
@antonycartwright
9.2K views•2017-02-24

12:54
Triumph of Orthodoxy Icon: Byzantine Art & History Explained
@BenCallan
2.1K views•2024-08-06

9:49
FastAPI vs Flask vs Django: Choosing the Right Python Web Framework
@TechWithTim
302.5K views•2024-05-26

1:42
Game of Thrones Opening Credits: A Cinematic Analysis
@gameofthrones
46.3M views•2011-04-18
Related Study Plans & Knowledge Roadmaps
Structured learning paths in General & Interdisciplinary Studies
general-studies
Elevator Engineering: History, Physics & Cities
01From Hoists to Safety Brakes: The Dawn of Vertical Lift
02Hydraulic vs. Traction: The Engineering Physics of Elevators
03Modern Speed, Safety, and Algorithms
+ 2 more learning modules
12h5 modules
Explore Roadmap
general-studies
Rubber: Material Science, History & Geopolitics
01Origins of Natural Rubber & Mesoamerican History
02The Chemistry of Natural Rubber & Vulcanization
03The Geopolitics of the Rubber Boom & Colonization
+ 2 more learning modules
12h5 modules
Explore Roadmap
general-studies
Containerization: Evolution, Logistics & Trade
01Ancient Trade & Bulk Cargo: Amphorae to Barrels
02The Industrial Revolution & Cardboard Packaging
03The Containerization Revolution: Malcom McLean
+ 2 more learning modules
12h5 modules
Explore Roadmap
general-studies
Textile Tech: Evolution, Labor & Global Impact
01Pre-Industrial Textiles: Handloom & Cottage Industry
02Mechanization: The Spinning Jenny to the Power Loom
03The Factory System & Global Labor Transformation
+ 2 more learning modules
10h5 modules
Explore Roadmap