

![[Curso Arduino Basico - #3] Actuadores Digitales](https://i.ytimg.com/vi_webp/vxTZL0SbW0k/maxresdefault.webp)














![Kłopotliwe ciepło [RS Elektronika] # 25](https://i.ytimg.com/vi_webp/ko9xLmW0yn4/maxresdefault.webp)


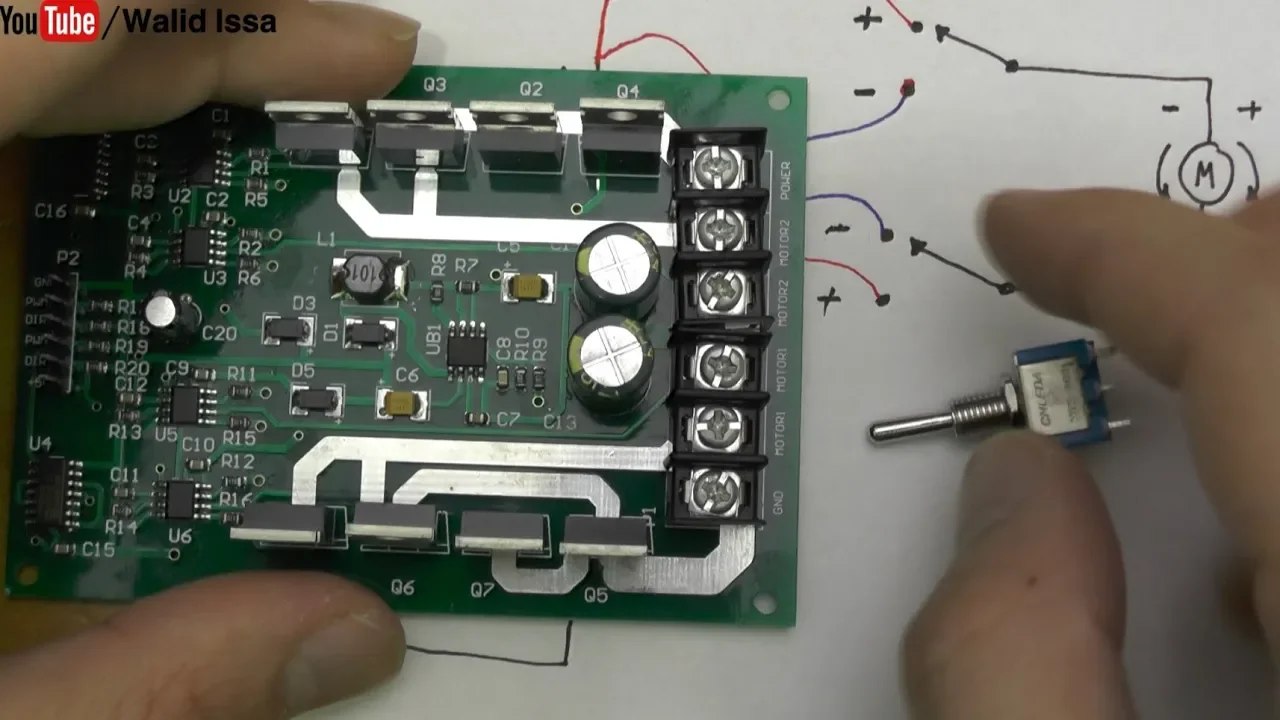
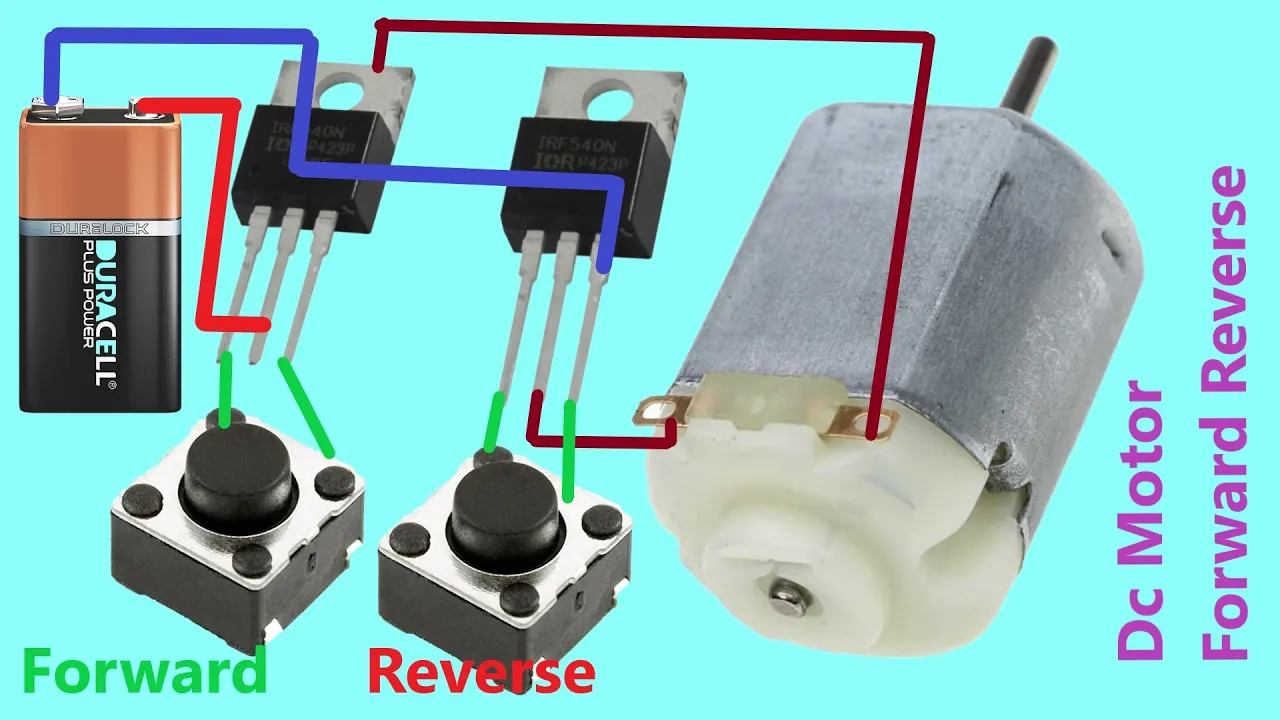
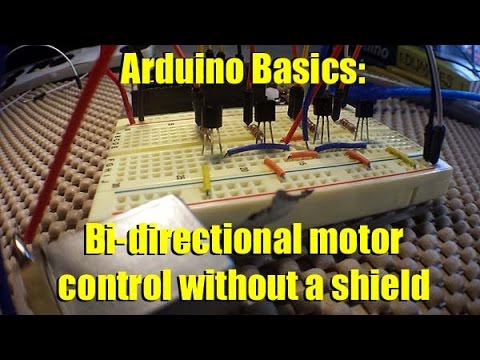
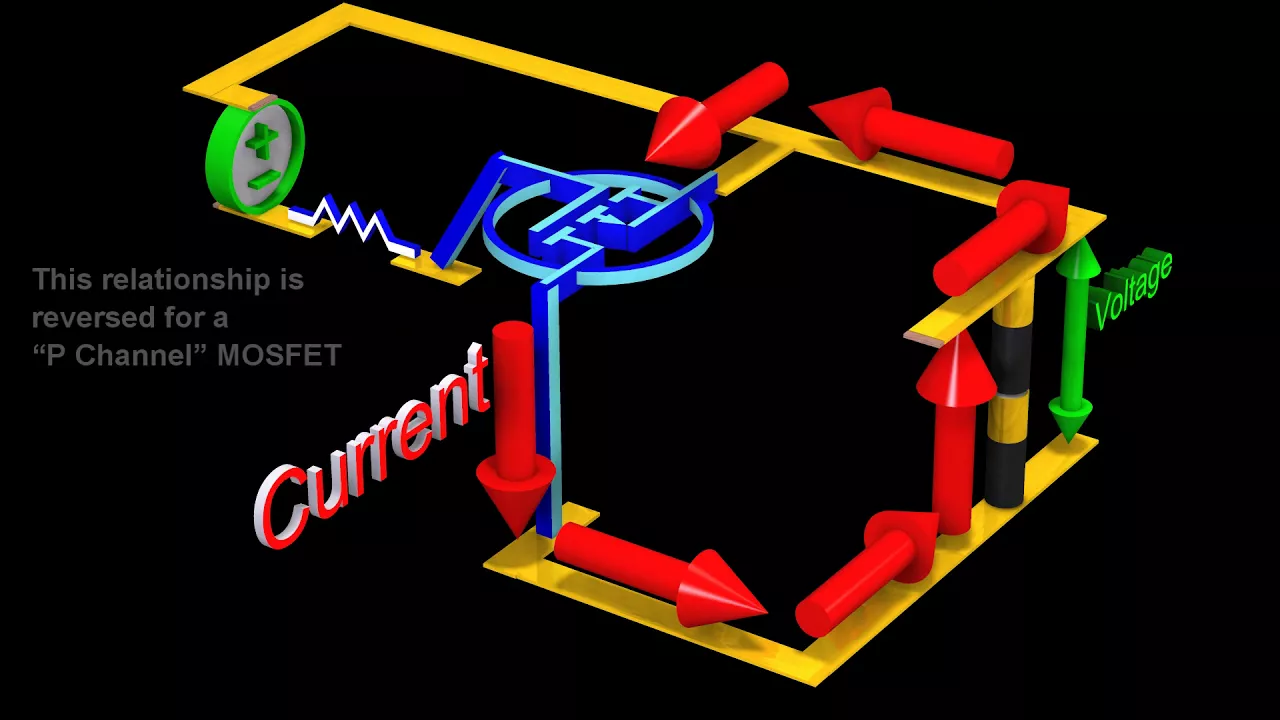
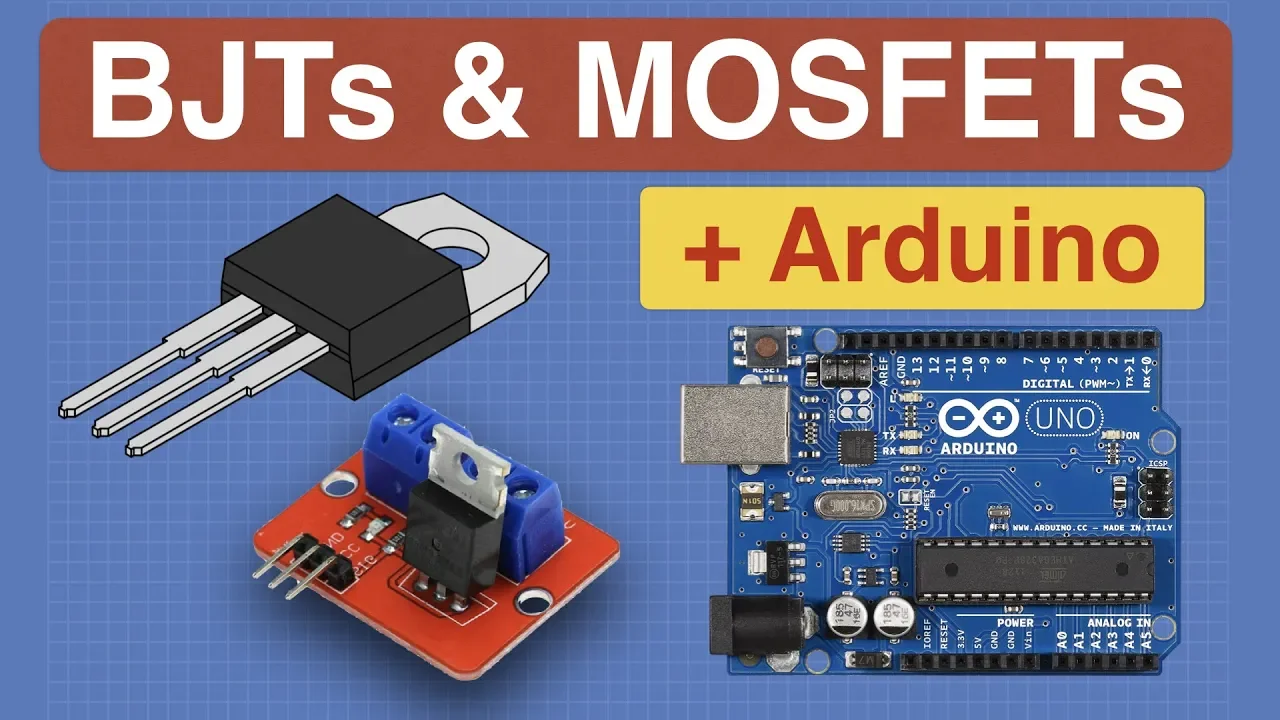
To control high-power devices (requiring more than 5V or 40mA) with an Arduino, use a transistor as an electronic switch: connect the emitter to ground, the collector to the device's power input, and the base to an Arduino digital pin through a resistor; when the Arduino sends 5V to the base, the transistor closes the circuit and powers the device, allowing the Arduino to control loads that exceed its direct power capabilities.
Arduino Transistor Switching: High-Power Device Control Tutorial
Added:Basic understanding of Ohm's Law (Voltage, Current, and Resistance) and how to read simple circuit schematics.
Familiarity with Arduino digital I/O pins, basic programming (such as digitalWrite), and micro-controller operating voltage limits.
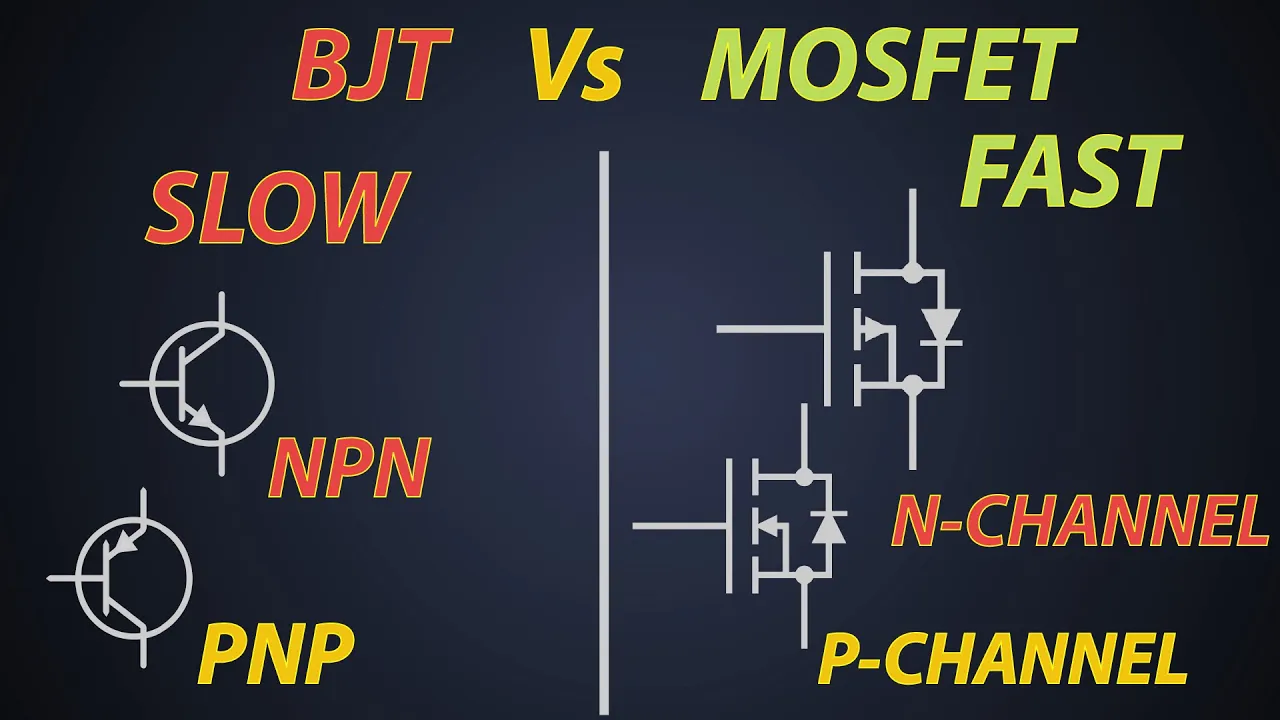
Fundamental concept of a transistor operating as an electronic switch, including the distinction between BJTs and MOSFETs.
Understanding the difference between low-power logic signals (from the Arduino) and high-power load circuits that require external power supplies.
Using flyback (freewheeling) diodes to safely switch inductive loads like DC motors, solenoids, and relays to prevent back-EMF damage.
Implementing Pulse Width Modulation (PWM) with transistors for speed control of motors or variable dimming of high-power LEDs.
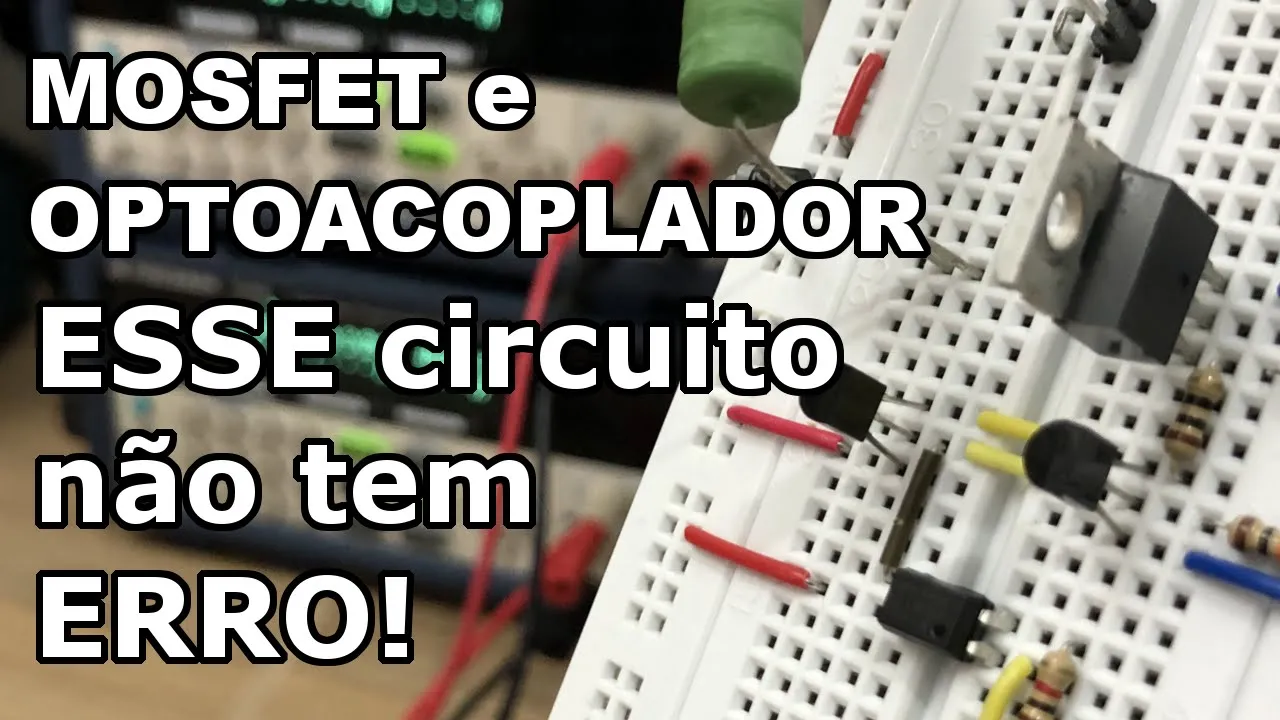
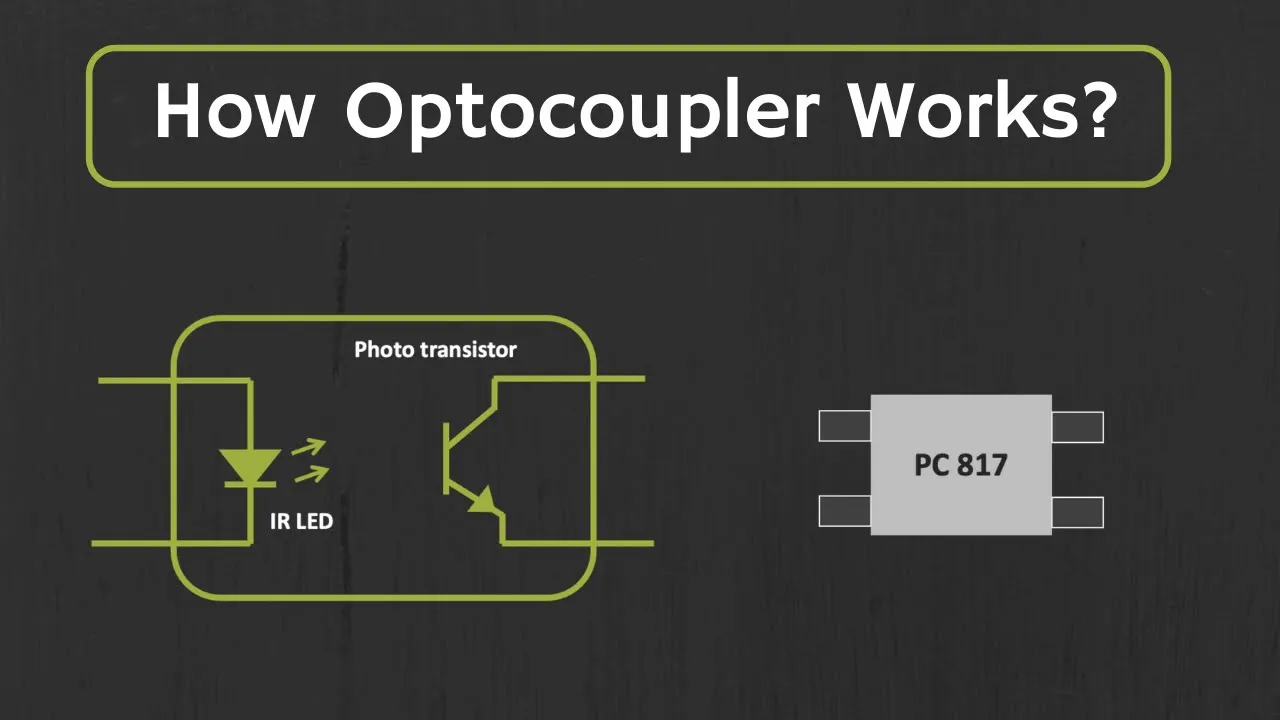
Utilizing optocouplers (optoisolators) to achieve complete galvanic isolation between sensitive micro-controllers and high-voltage AC or DC loads.
Exploring thermal management, including calculating power dissipation in transistors and selecting appropriate heatsinks for high-current applications.
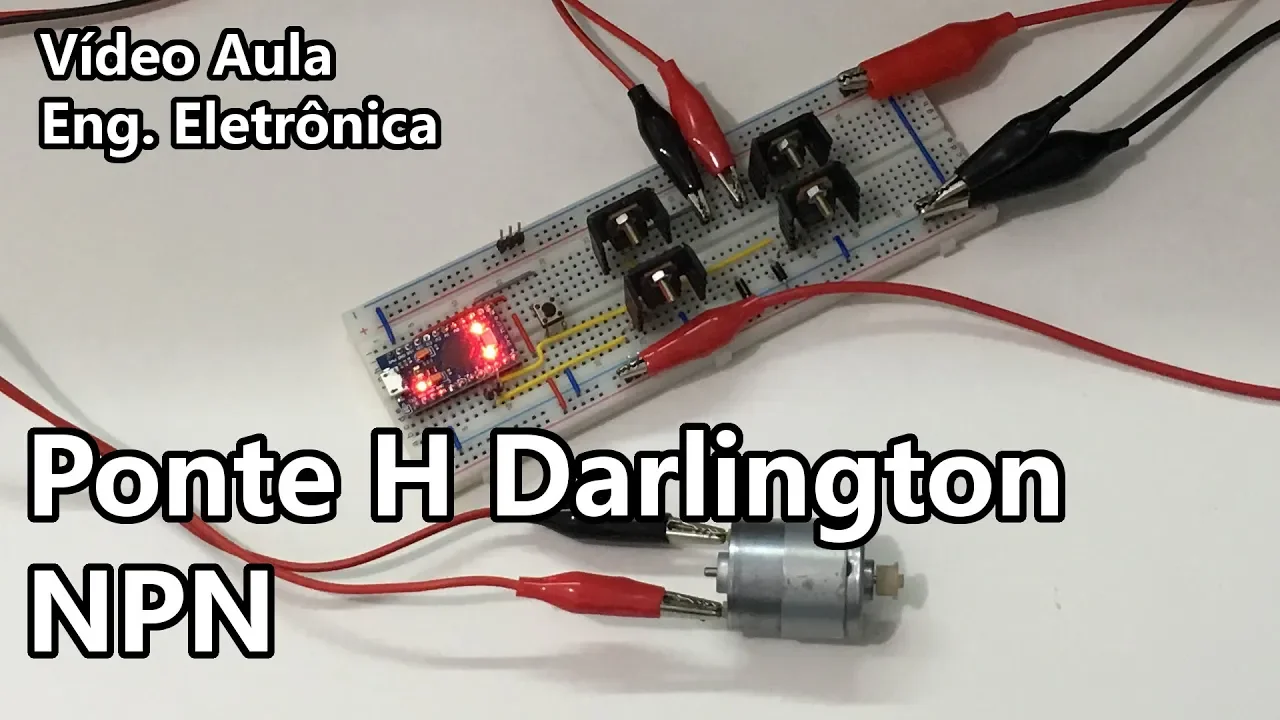
Designing and implementing H-bridge circuits for bidirectional DC motor control.
9.2K views156likes15:37Original Release: 2017-02-24
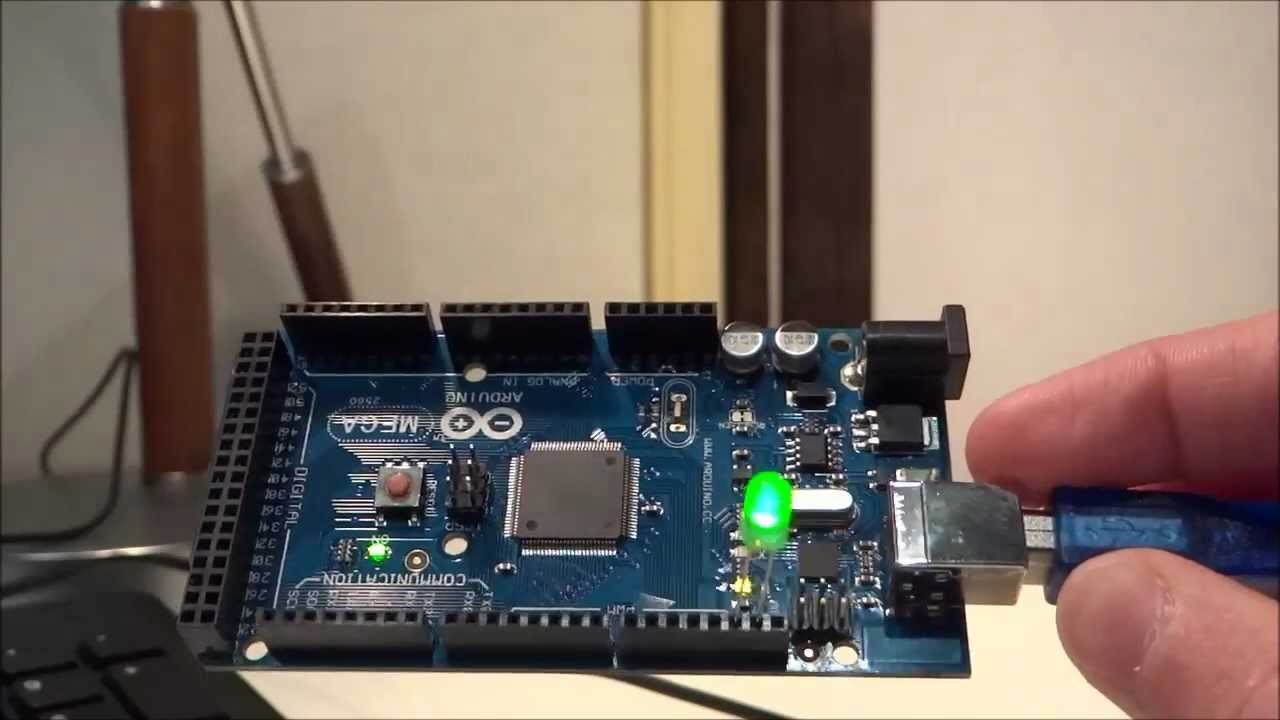
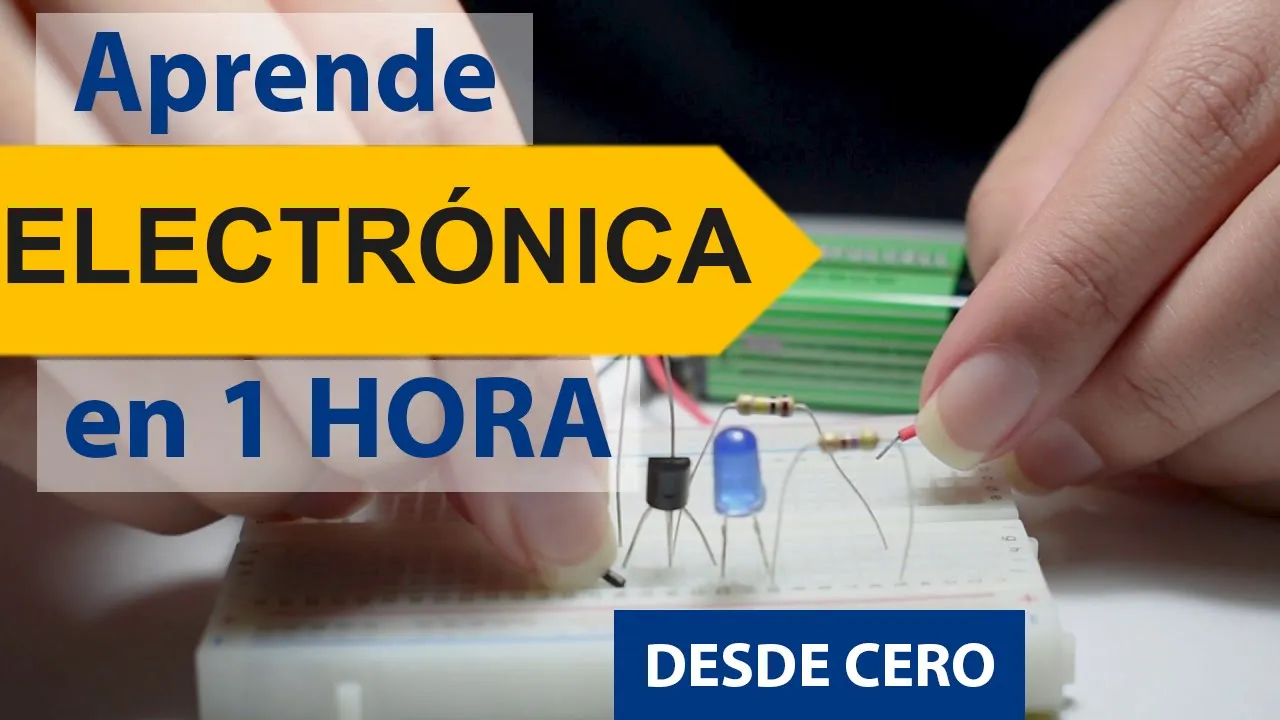
hi everyone and welcome back in one of my previous videos I've shown you how to power devices using an Arduino Nano and we powered an LED with a resistor if you remember rightly but that's fine you can power you can power LEDs but what if you want to power something a bit more substantial it takes more current now with the Nano and a lot of other Arduino zhh they can only power up to 40 milliamps and that's per pin and the whole Arduino also has another limit I don't know exactly how much that is but it's enough to say one pin can't supply 40 milliamps maximum that's not a great deal now the other thing to remember as well is that you can only power things off the Arduino which are 5 volts or less now in the case of the LED the LED was 3 volts I just find it yeah the LED here this is about 3 volts and that's fine 5 volts we can go lower than that but we can't go higher so what would happen if you wanted to power something that can seemed more than 40 milliamps and Oh more than 5 volts well I very very briefly touched on it in the last video or one of the last videos you could use either a transistor or a relay and in this video I'm going to go through one of those methods and that's this this is the transistor method so using a transistor we can basically use this as a switch and we can switch on something that's a higher voltage and it takes more current so I'll bring the spec sheet up for this and you'll be able to see it okay so so I'll do that now okay so hopefully just that a good look at the spec see now I want to show you what I'm going to be using in this video so to start with to get rid of the LED right so we've got the odd I'm going to use the Arduino Nano this has become one of my favorites now actually but there's the Nano I'm going to use this little transistor and this transistor is let's see if I can get this to zoom in yeah you should be able to see it's c18153 going to be using that too we will also be using my trusty multimeter and we'll be using various little breadboard leads of course the breadboard we have a special guest in this video to this it's a very good quality but very dirty fun this is out of a good quality PSU but we're going to be using this and this is the thing which the Arduino is going to power now as you can see here it's three hundred and thirty millions three hundred and thirty millions it's way above what the Arduino can power and the voltage is 12 volts that's also way above but we're going to power this right so that's inside for now okay so we'll start wiring now okay so that's a breadboard first thing I'll do is plug the nano in plug that in there second I'll plug in to make sure this is focused second now plug the transistor in put that in there now right up for the transistor according to the documentation if I remember rightly is emitter collector base emitter collector base and we're going to use this transistor as a little switch so we want to connect let's say the base which is basically the way we we control the switch the base is going to pin the two we want a connection to ground or emitter in this case so we've got d2 to base and we've got ground to emitter so this is how it's looking so far okay next right we want the emitter to also go to ground to the power supply which is going to supply the power to this of course this is 12 volts so I'm going to need something to power it power to Alphonse so that's going to go to the ground of that source now the middle pin which is the collector I'm gonna put a red lead in that this is the lead I'm gonna leave here for a second all right so that's power sorry it's not powered up that's connected up so it's all connected just to recap the emitter has two ground pins attached to it the collector has one it's going to be plus 12 volt pin and the base has a 5 volt in connected to it which is of course the Arduino so the 5 watt 1 is connected to D 2 and what we're going to do is we're going to power this this purple lead here or the base we're going to power that with 5 volts and what should happen is when the transistor receives 5 fonts to its base it should switch these two on ok it should switch them on or well basically assure them together ok so when the base receives 5 volts these two will be shorted and therefore we'll close the switch ok so I think now it's time to do some coding I'll just plug this USB leading and let's move over to the to the laptop ok so here we are in Arduino studio or do we no idea and this script or sketch is more or less identical to the one I did a couple of days ago in the other video so we've got the fine power to instead of LEDs power pin 2 so we've defined pin 2 as power we've got the state boolean and set it to low sat up serial say pin mode power which is pin 2 to output and me state equals whatever state is currently not so if state is low then change it to high you say it's Hannukah changes to low then digital right to pin 2 the value of state so right hi to the pin blue right low to the pin right high to the pin low etc and prints the cereal at so we can monitor it and I've got the way in here of five seconds now you'll see why in a second but I'm just going to upload that now oh I didn't need to plug it in first of course so upload what's up okay it's done uploading so it's just check that it's working now cereal yeah it's right in high low high low every five seconds right so that's working so I'm going to go back to the camera now and then and continue alright the Arduino so what should be happening now if every five seconds the base pin should be provided with five volts and it should therefore show up these two together basically the two pins should be shorted together and I'm going to test this out so I'm altimeter 2 ohms and probably yeah 200 ohms okay now let's think I need to clip the probes to these two pins as one and here's the other okay now to explain right what should be happening here is the pin should be shorting together every five seconds and you can see here that I'm reading ohms so we're measuring the resistance between the two pins so every five seconds you can see here what's happening to the reading it's saying out of range which is basically over two hundred ohms then after five seconds it shoots down to 33 or 34 ohms so if I have switches to the mega ohm scale now over 20 mega ohms so it's over 20 mega ohms and then it shoots down to 33 ohms which is basically like a switch so every five seconds the switches from over 20 mega ohms of resistance basically open circuit to 33 ohms which is more or less short circuit so so that's our switch ready so now what I'm going to do is wire up the fan and lots of DC power supply so I'll just move this multimeter out the way now we verified that it's working right so that's why so that one's ground so our ground to ground I'll just turn this power supply time as well actually we want we want 12 volt yep 12 volts so wide ground to ground I'll put a pin on here jumper and then okay so we want the plus five to go through here so a plus 12 issue here and here okay and every yeah it needs to be against the wall so I'll put this in view yeah so here you can see that every five seconds the phone is turning off and then on and the Arduino is controlling that so I'll just turn this down now yeah so the Arduino is controlling the power to the fan so it's basically up with another switch or well really the Arduino is controlled in a transistor which is acting as a switch so the Arduino send them 5 volts to the transistor to tell the transistor basically to switch on the other 2 contacts who shot them together and the 2 pin shorting together is acting as the open or closed part of the switch of the circuit between the fan and the DC power supply so that's how you can use the Arduino to power something which is a higher voltage and that consumes a higher current and there we go so I just show you one more time we've got 5 seconds of on time and 5 seconds of off time it's quite a breeze coming from there as well so yeah you can do a lot of interesting things so there we go so that's how to power things from the Arduino which take more than five volts and more than 40 milliamps so I hope you enjoyed the video and if you did and you're not subscribed then please don't forget to click subscribe if you're already subscribed then thank you for being subscribed and I look forward to any comments you might have thank you for watching bye
Up Next
8:29
DIY Silicone Mold Making: Wax Pokeball Casting with Vacuum Degassing
@TheKingofRandom
2.7M views•2017-01-31

20:08
Hollywood Fantasy Orchestrator RPG Expansion Pack Tutorial Walkthrough
@HighResolutionJapan
1.1K views•2024-03-08

9:49
FastAPI vs Flask vs Django: Choosing the Right Python Web Framework
@TechWithTim
302.5K views•2024-05-26

1:42
Game of Thrones Opening Credits: A Cinematic Analysis
@gameofthrones
46.3M views•2011-04-18
Related Study Plans & Knowledge Roadmaps
Structured learning paths in General & Interdisciplinary Studies
general-studies
Containerization: Evolution, Logistics & Trade
01Ancient Trade & Bulk Cargo: Amphorae to Barrels
02The Industrial Revolution & Cardboard Packaging
03The Containerization Revolution: Malcom McLean
+ 2 more learning modules
12h5 modules
Explore Roadmap
general-studies
Textile Tech: Evolution, Labor & Global Impact
01Pre-Industrial Textiles: Handloom & Cottage Industry
02Mechanization: The Spinning Jenny to the Power Loom
03The Factory System & Global Labor Transformation
+ 2 more learning modules
10h5 modules
Explore Roadmap
general-studies
Pharmacology: Botany, Patents & Biopiracy
01Foundations of Ethnobotany & Traditional Medicine
02The Birth of Synthetic Chemistry: Aspirin & Penicillin
03The Battle Against Malaria: Quinine to Artemisinin
+ 3 more learning modules
12h6 modules
Explore Roadmap
general-studies
Writing Surfaces: Papyrus, Parchment & Paper
01Ancient Foundations: Clay, Stone, and Egyptian Papyrus
02Parchment, Vellum, and the Rise of the Codex
03The Chinese Rag Paper Revolution and the Silk Road
+ 3 more learning modules
9h6 modules
Explore Roadmap