













![[전기기초 1편] 반드시 알아야 하는 전기기초이론 - 전기기능사, 전기산업기사, 전기기사](https://i.ytimg.com/vi_webp/LaZabdwbvBY/maxresdefault.webp)











This tutorial teaches how to design, build, and measure values in a simple electronic circuit using a breadboard, demonstrating proper multimeter usage for measuring voltage (connecting probes to both sides of a component with the circuit powered on) and current (breaking the circuit and inserting the multimeter in series, starting with the highest range and adjusting for accuracy).
Circuit Design, Build, and Multimeter Measurement
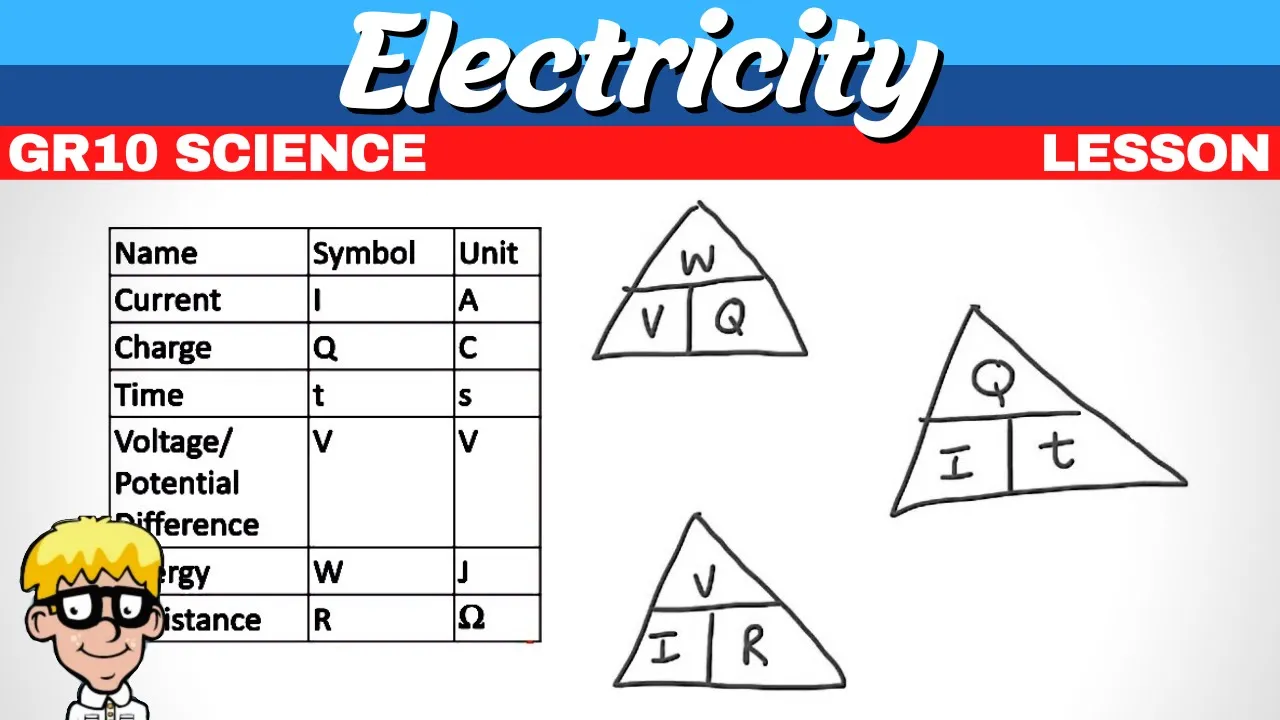
Added:Basic electrical quantities: Understanding the concepts of Voltage (V), Current (I), and Resistance (R), and how they relate mathematically through Ohm's Law (V=IR).
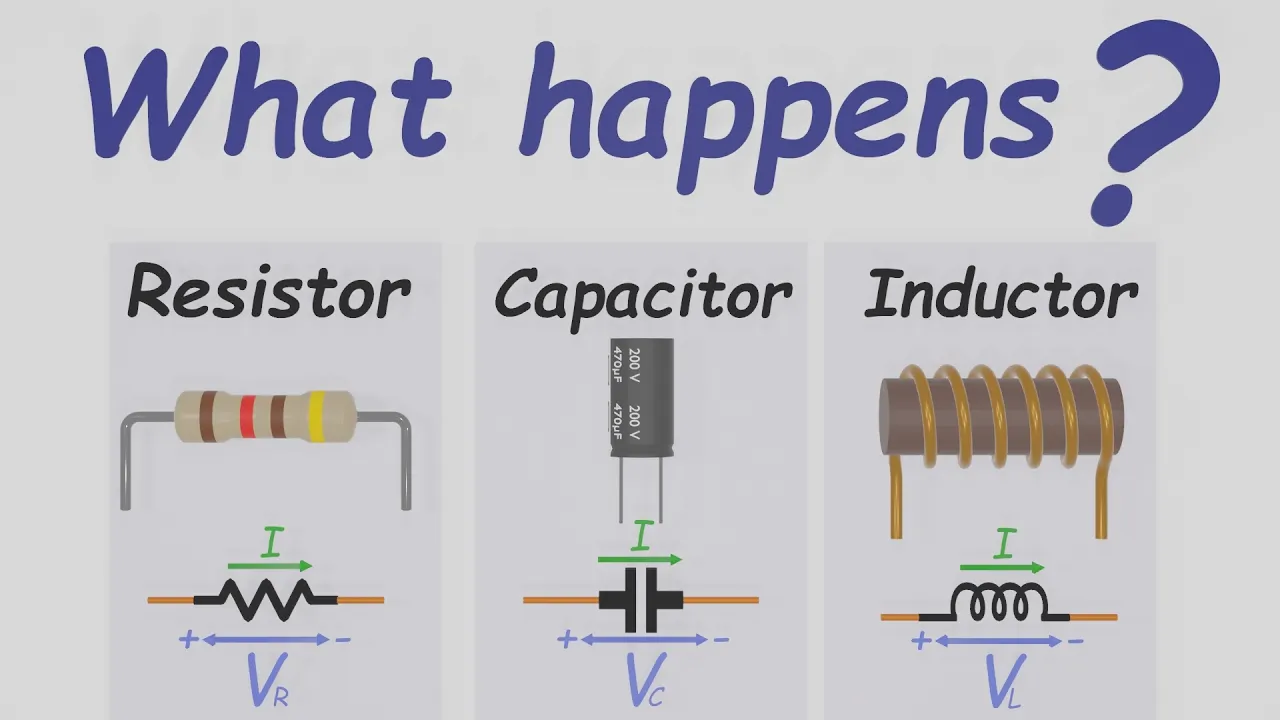
Introduction to basic components: Recognizing the symbols and physical forms of resistors, Light Emitting Diodes (LEDs), and power sources.
Concept of electrical polarity: Understanding that certain components, particularly diodes and LEDs, must be oriented in a specific direction (anode and cathode) to function.
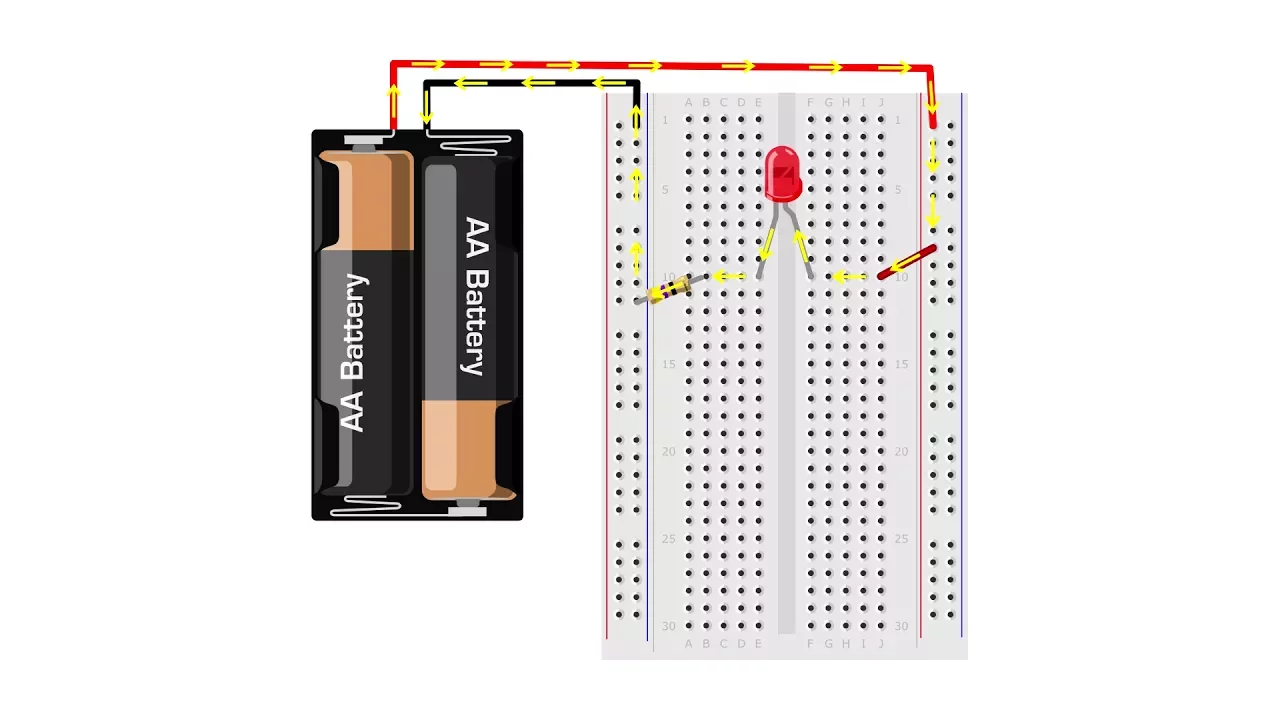
Breadboard fundamentals: Knowing how a solderless breadboard is internally connected (bus strips and terminal strips) to facilitate circuit building.
Kirchhoff's Circuit Laws: Exploring Kirchhoff's Voltage Law (KVL) and Kirchhoff's Current Law (KCL) to analyze more complex, multi-loop circuit networks.
Power dissipation analysis: Learning to calculate power (P = IV or P = I²R) to ensure circuit components operate within safe thermal limits.
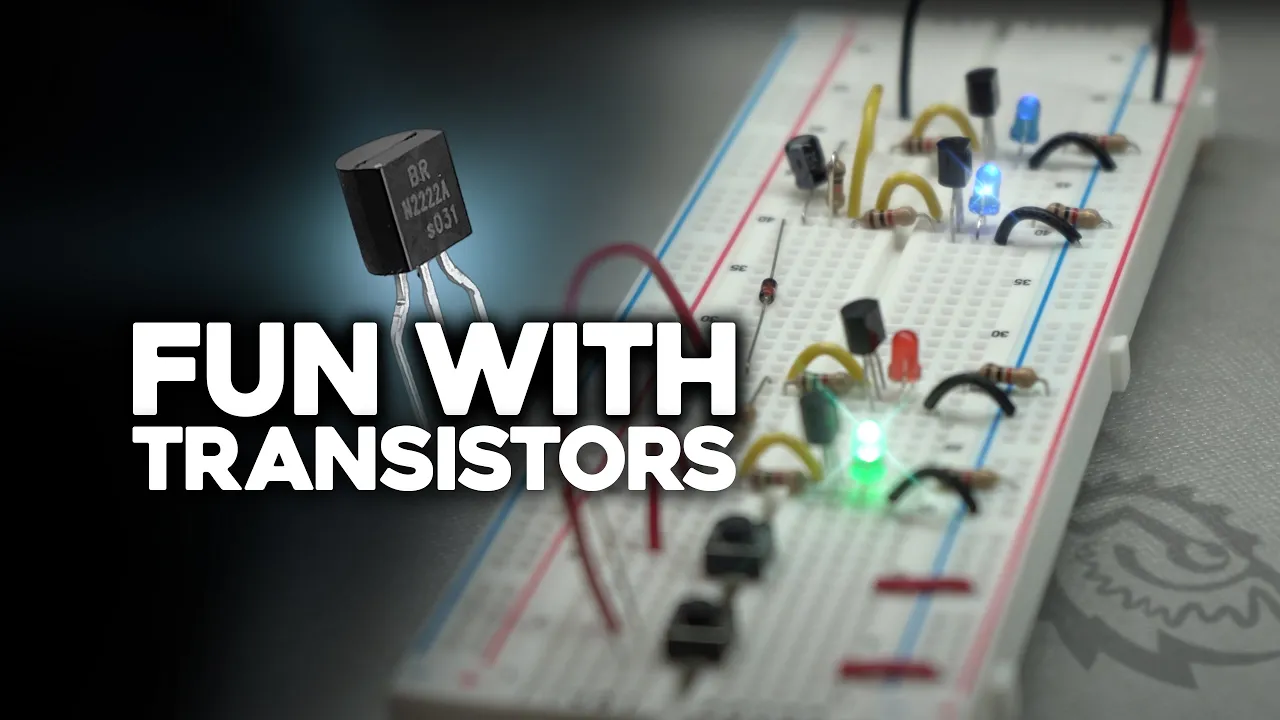
Introduction to active components: Moving beyond static components to study transistors (like BJTs or MOSFETs) for switching and amplification tasks.
Circuit simulation software: Transitioning to digital prototyping using CAD tools like LTspice, Tinkercad, or Multisim to simulate circuit behavior before physical construction.
514.1K views7Klikes14:59Original Release: 2015-12-05
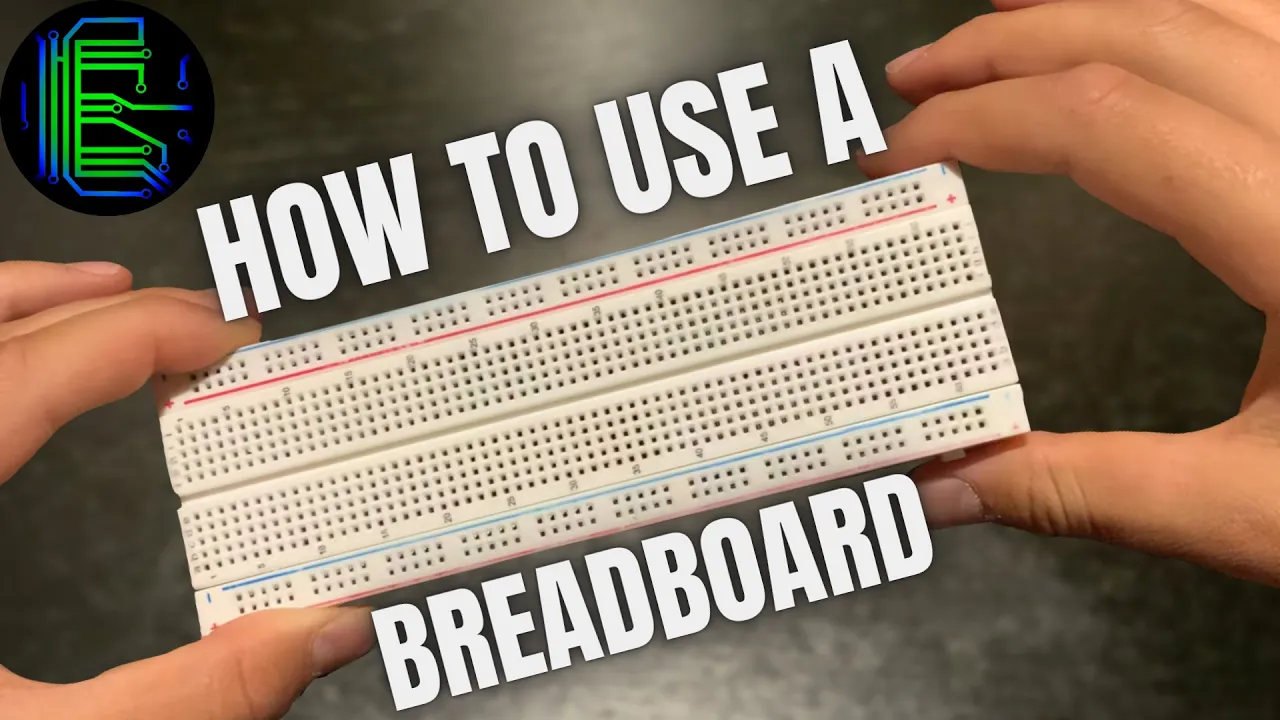
what's going on everyone my name is Gautam or and welcome back to electronics episode 14 in this episode we are going to design a circuit build a circuit and most importantly in this tutorial we are going to learn how to properly measure certain values that we need to know inside of our circuit so let's really really quickly design a schematic for the circuit that we want to build I'm going to make this quick because you guys have watched me draw diagrams and stuff for long enough so the circuit that we want to build should turn on and off and led based on a switch so if you flip the switch to on turn on the LED if you turn it off turn off the LED so of course every circuit needs a power source so we are going to draw our power source schematic symbol right here and remember that the longer line here means a positive terminal the shorter Li line means the negative term so I'm going to have wires coming off of this power source right here coming on down and it's probably a good idea to specify what value power source that you're using in my case I'm going to be using a 9-volt battery so I'm just going to write that above the power source next I can have my wire come on into my LED so I'm going to draw the schematic symbol for an LED like so and then of course whenever we have an LED we are going to need some resistor of course or you should have a resistor that way our LED works and doesn't burn out on us now what value resistor are we going to use well of course that depends on what type of LED that you're using back in tutorial number seven we taught you how to properly calculate the resistor value that you need based on your battery and type of LED that you have now I'm going to be using the same LED and of course same 9 volt power supply that I did back in tutorial number seven and my calculations showed that I need a 240 ohm resistor to protect this LED and keep it safe so I'm going to write that right below the resistor even though I only have a 270 ohm resistor to use but I'm just going to write this in the schematic remember your resistor value might be completely different based on if you're using a different power source or a different LED refer back to tutorial number seven if you forgot how to do that alright next to make this LED turn on and off based on a switch of course we need a single pole single throw switch right here so I'm going to draw that and then finally connect all this back up to the negative terminal of the battery and this is our completed schematic for the circuit we are going to be building in just a few seconds we have our LED we have our resistor with a proper value along with a switch now I just drew in a single pole single throw switch because that's all we need if it's off we don't need to make any connection but if it's on we do want to make a connection all right now let's go build this all right so let's first take a look at all the materials that I'm going to be using this video and that would be of course my breadboard my 9-volt battery connector as well as my 9-volt battery here my LED my switch which I'm going to talk about in just a moment my resistor for my LED as well as a wire to help connect things and I also have of course my multimeter here now you'll notice it's different than it was in my multimeter video a couple of videos ago but I'm going to explain that once we get to using the multimeter so now let's take a look at the switch so let's quickly take a look at my switch here now a single pole single throw switch only has two wires or two possible connections that we can make but we'll notice that this switch here has way more than just two wires it has six wires you can see that there's three wires on the top here that are very short and three wires on the bottom which are a bit longer because I've attached three wires to them so I can easily plug them into my breadboard so this is clearly not a single pole single throw switch this is a double pole double throw switch and we know that by looking at our schematic symbols a double pole double throw switch has six possible connections or six wires that we can connect to and so does this switch here now I'm doing this to show you guys that sometimes in electronics work you have to improvise with what you have so how can I use a double pole double throw switch as a single pole single throw switch in a circuit well it's very simple basically let's take a look if our switch was in the left position here let's take a look at the bottom three wires here the left wire and the middle wire would be connected if the switch was in the left hand position but once we switch it to the right position here this left wire will be disconnected from the middle wire and now the middle wire and the right wire will be connected so that means all we need to do is hook our circuit up to the left and middle wire or the middle wire in the right wire and that will make a connection when the switch is in that position and simply break the connection just like a single pole single throw switch in the other position now of course if you have a single pole single throw switch go ahead and use it I'm just showing you guys that times you have to improvise in electronics work now building a circuit on a breadboard based on a schematic is pretty simple you just have to follow every connection of the schematic and properly make it on your breadboard so let's begin with the LED we're going to take our LED here and we'll notice if we take a look at our schematic that the longer leg of the LED should be connected to positive power here so we're going to take the longer leg and plug it right on in to the positive power rail just like so and we're going to plug the shorter leg of the LED in to one of the empty rows on our breadboard that way it's fully inside of the breadboard like that following the LED connected to the shorter leg of the LED is our resistor so we are going to take our resistor right here plug it into the same row as the LED is plugged in like so and then plug the resistor into an empty breadboard slot as well let's see if I can get this resistor inside there there we go and next comes our switch so because I have a double pole double throw switch like I just explained I'm going to be using the left two connections to act like a single pole single throw switch so I have to connect the left connection or one of the connections and the same breadboard row as my resistor is plugged into just like that let me move this out of the way so the resistor is now connected to the same hole as the left lead of my switch next following from my switch goes to the negative terminal of the battery so I'm going to plug my wire attach it to the same row as the middle lead or the middle wire of my switch and attach this wire to the negative power rail like so let me just bend the le or I'm sorry let me just bend the resistor out of the way so hopefully you can see the connection a little bit better now every time you build a circuit I recommend checking it over make sure you have no shorts or anything and make sure you properly wire it it so just quickly glance over your circuit it looks okay so now let's connect our battery so I'm going to connect my battery to the negative terminal here and then I'm going to plug in my battery to the positive terminal right there or the positive power rail sorry and our circuit is now being powered but nothing is happening and that's because my switch is of course in the off position so if I turn the switch on our light turns on now this is a much more interactive circuit than in the previous tutorials because now we can to control the light and it's a bit more useful by using our switch so when our switches in this position power is able to travel from this wire here from the negative terminal through the switch into the resistor and through the LED however when it's in the off position those left two wires aren't connected anymore in the switch so it becomes an open circuit this is great but what I really want you guys to get out of this video is how to properly measure values inside of a circuit with a multimeter now in order to measure certain values in our circuit we of course need to use a multimeter to measure them like I talked about a couple of videos ago however in my multimeter video I forgot to mention a couple of things if you're gonna go out and buy a multimeter and you haven't already gotten one I highly recommend getting an auto-ranging multimeter which I've already mentioned however I also highly recommend getting an auto-ranging multimeter that has the option to become a manual ranging multimeter like this one right here having the option to manual arrange something on your multimeter is really great now you don't need it but it's very helpful in some cases but I would still stick with an auto-ranging multimeter because they're much easier to use now let's take a look at the different probes and ports on our multimeter here now here these are called probes and they're what we plug into our circuit to measure the values and these probes plug into different ports on the multimeter here now it's very important that depending upon what you're measuring you must plug these probes into the proper port as you can see the black probe is almost always plugged into and left in the comp or this stands for the common port on your multimeter and usually your black probe is just going to stay plugged in to that port right there however your red probe here has to be plugged into different ports depending upon what you're measuring now it varies with every single multimeter but if you take a look here on my multimeter you'll see that the red port that's plugged into right now the port that the red probe is plugged into is able to measure volts ohms and Hertz and a couple of other things now what if I wanted to measure current or milliamps or amps well I can't leave this in there it could break my multimeter or it could just completely not work so if I wanted to measure current or amps in my multimeter I would have to remove my red probe that port and plug it into either the amp port or the milliamp port right here same goes for temperature if I wanted to measure temperature online I'd have to plug it in to this one right here yet if I wanted to measure volts again I'd have to unplug it and plug it back in to this one over here and it's very important that you pay special attention to that so now that we know how to properly set up our multimeter let's measure a couple of Awesome values now we already know how to measure the resistance of something like a resistor by just attaching each end of our multimeter onto the resistor and it'll tell us the value in ohms but let's say we want to measure some part of voltage in our circuit now voltage it's also pretty easy to measure in a circuit first things first make sure that your probe your red probe of your multimeter is plugged into the proper slot of your multimeter that will allow you to measure voltage like mine is here now I'm going to go ahead and flip my multimeter to the voltage reading position so it will allow me to measure voltage now we have to find the component that we want to measure the voltage for in our circuit so let's say we want to figure out how much voltage our LED is using in our circuit so when our circuit is running we would attach the red probe of our multimeter to the more positive side of the LED or to the longer leg of the LED and attach our black probe here to the more negative side of the LED or the shorter probe of or I'm sorry the shorter lead of the LED here now of course in order to measure voltage the circuit must be on so I'm going to flip the switch to on here and attach my probes just like I just showed you to be positive and negative side of the LED and my multimeter is reading out that this LED is taking up about 3.14 volts in our circuit so the LED is using about 3.14 volts in our circuit now let's see how many volts our resistor is using how many volts is our resistor resisting in our circuit so we can go ahead and attach the probes to the resistor just like we just did to the LED here and we'll notice that my resistor is taking up about 5.4 volts in my circuit so we can actually see that the resistor is taking up voltage in our circuit that way our LED doesn't get hurt it's using up some of that voltage so hopefully that allows you to understand resistors a little bit more as well so that's great we can measure voltage in our circuit but measuring current or amps in our circuit is a bit more difficult to do so let's learn how to do that now measuring current or ampere Janus circuit is much different than measuring voltage and you must measure current properly or else you could damage your multimeter and everything can just go completely wrong now multimeters often have a limit to how much current can pass through it in this case my multimeter can only handle up to 10 amps now that's quite a bit and any circuit that we build in this tutorial series is not going to exceed 10 amps but let's say just in case that we don't know how many amps this circuit will be putting off well we don't want to damage our multimeters so we want to start with the highest possible value that our multimeter can measure because as you can see my multimeter can measure up to 10 amps or it can even measure down to the milliamps which is much smaller and more accurate for smaller circuits so if we don't know how much current our circuit will be giving off I'm going to unplug my red probe from the voltage reading and I'm going to plug it into the 10 amp or the highest reading that my multimeter can handle like that and eventually we are going to turn this dial right on over to the full amperage reading that way we can read the current in the circuit now measuring current is much different than measuring voltage and it's very important that you understand this the multimeter must become part of the circuit basically you must use the multimeter as a wire in your circuit so to measure current we must disconnect something from our circuit so I will go ahead and disconnect the positive leg of the LED from the positive power rail now no power is going through the circuit and I actually have to make the multimeter part of the circuit so I have to connect the positive power back to the positive lead of the LED that way the multimeter can properly measure current so I'm going to turn this to the amp setting to measure the highest amount of amps that I have like that and what I'm going to do is I'm going to attach the red probe to the positive power source here and the negative probe to the positive leg of the LED as you can see the LED lights back up or if I can hold these steady the LED will light back up and current is now flowing through the circuit again and my multimeter is measuring it at about 0.2 amps now that isn't too too accurate and that is well below 1 amp so let's try and get a more accurate rating I'm going to turn this back to off and because we know that point zero two amps is well below 1 amp I can actually change this from the 10 amp setting on my multimeter and plug into the milliamp setting of my multimeter because I know it's not going to hurt my multimeter and remember most of the circuits that we are going to be doing should be safe for the milliamp setting of your multimeter and then I'm going to turn the dial to the milliamp reading here on my multimeter this will now give us a more accurate reading in milliamps instead of full amps and we have to connect it the same way the positive probe to the positive power source the negative probe to the positive leg of our LED the LED well once again if I hold it still light up and we will measure the proper amperage in our circuit or the current in our circuit and that would be 20 milliamps approximately now this value isn't going to be extremely accurate often because multimeters have what's called a burden voltage so it can't measure it completely accurately but very close so our circuit is using approximately 20 milliamps of course it could be a little bit different for you guys depending upon what LED you're using and what power source that you were using but that is the proper way of how to measure current you must make the multimeter a part of the circuit you can't just put the multimeter right in the search and hope it'll measure properly so that's it for this tutorial everyone except we just measured a bunch of values but what can we do with those values what's the point of being able to measure them and that's what we're going to cover in the next video thanks for watching everyone and I'll see you guys in the next video
Up Next

25:57
How to Sail: Step-by-Step Basics of Sailing for Beginners
@JoshPostVlogs
4.1M views•2018-04-10

178:38
Whole Brain Architecture: First International Workshop 2024
@thewholebrainarchitecturei9784
640 views•2024-07-22

9:49
FastAPI vs Flask vs Django: Choosing the Right Python Web Framework
@TechWithTim
302.5K views•2024-05-26

1:42
Game of Thrones Opening Credits: A Cinematic Analysis
@gameofthrones
46.3M views•2011-04-18
Related Study Plans & Knowledge Roadmaps
Structured learning paths in General & Interdisciplinary Studies
general-studies
Artificial Light: History, Tech & Human Impact
01The Pre-Electric Era: Fire, Oil, and Gas Lighting
02The Incandescent Revolution and Grid Electrification
03Gas Discharge and Fluorescent Illumination
+ 3 more learning modules
14h6 modules
Explore Roadmap
general-studies
Elevator Engineering: History, Physics & Cities
01From Hoists to Safety Brakes: The Dawn of Vertical Lift
02Hydraulic vs. Traction: The Engineering Physics of Elevators
03Modern Speed, Safety, and Algorithms
+ 2 more learning modules
12h5 modules
Explore Roadmap
general-studies
Rubber: Material Science, History & Geopolitics
01Origins of Natural Rubber & Mesoamerican History
02The Chemistry of Natural Rubber & Vulcanization
03The Geopolitics of the Rubber Boom & Colonization
+ 2 more learning modules
12h5 modules
Explore Roadmap
general-studies
Containerization: Evolution, Logistics & Trade
01Ancient Trade & Bulk Cargo: Amphorae to Barrels
02The Industrial Revolution & Cardboard Packaging
03The Containerization Revolution: Malcom McLean
+ 2 more learning modules
12h5 modules
Explore Roadmap