














![فيزياء السادس العلمي || إلكترونيات الحالة الصلبة || المحاضرة [ 6 ]](https://i.ytimg.com/vi/CLVSlYz0k-Y/maxresdefault.jpg)


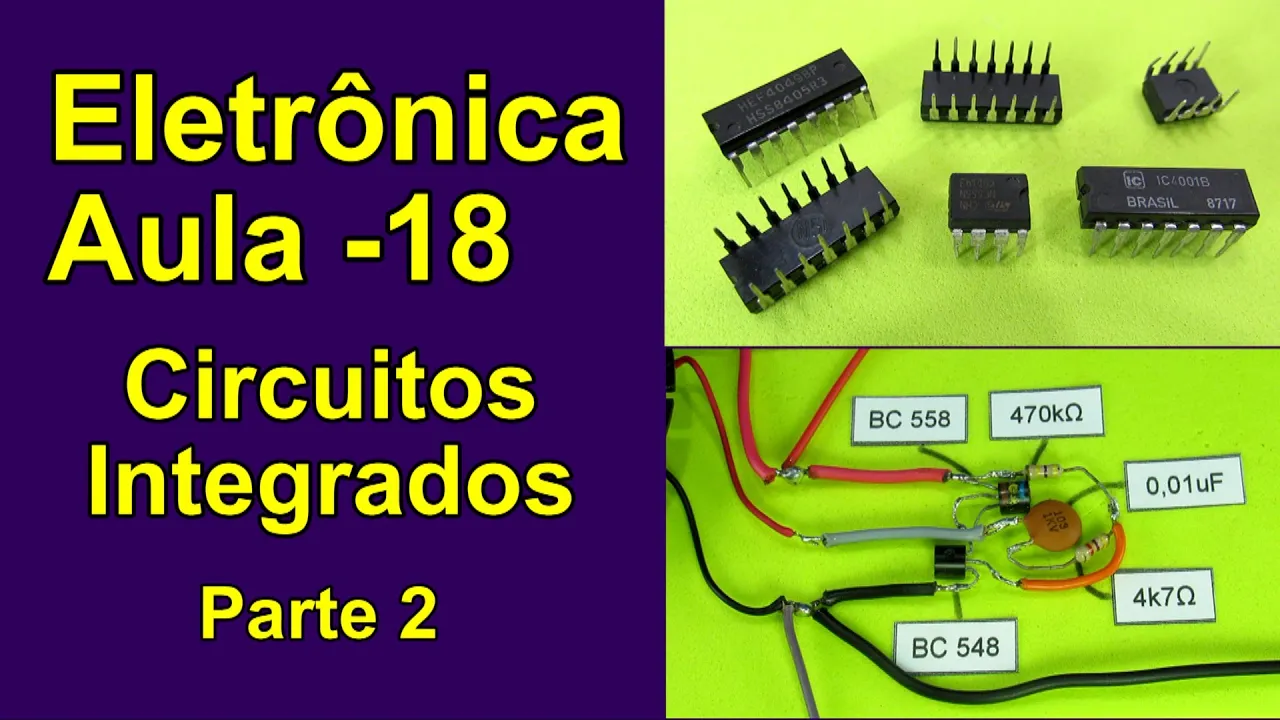

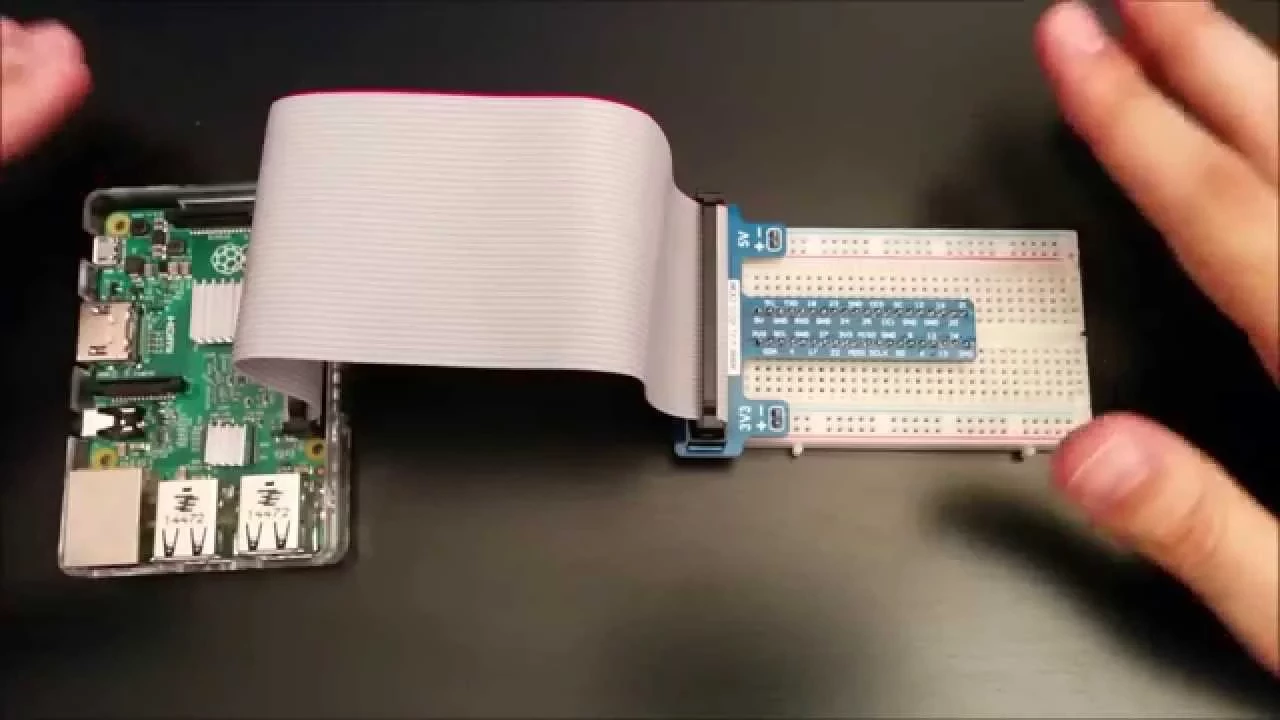


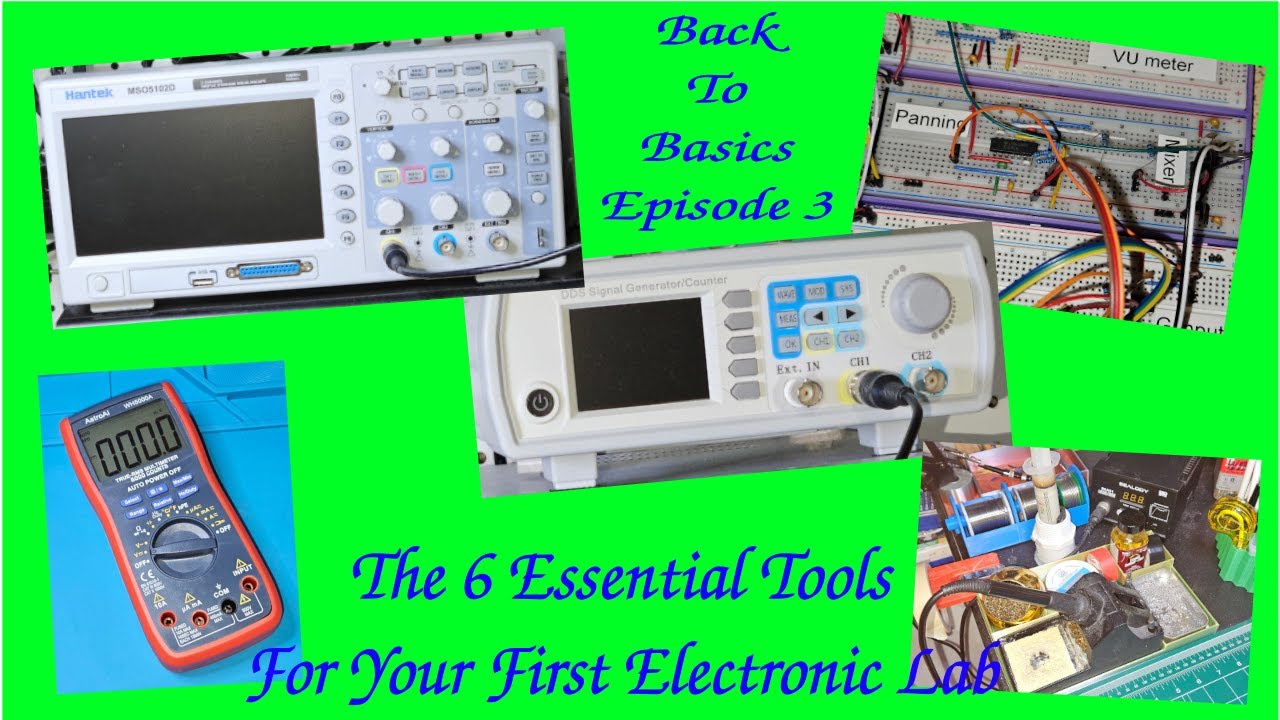

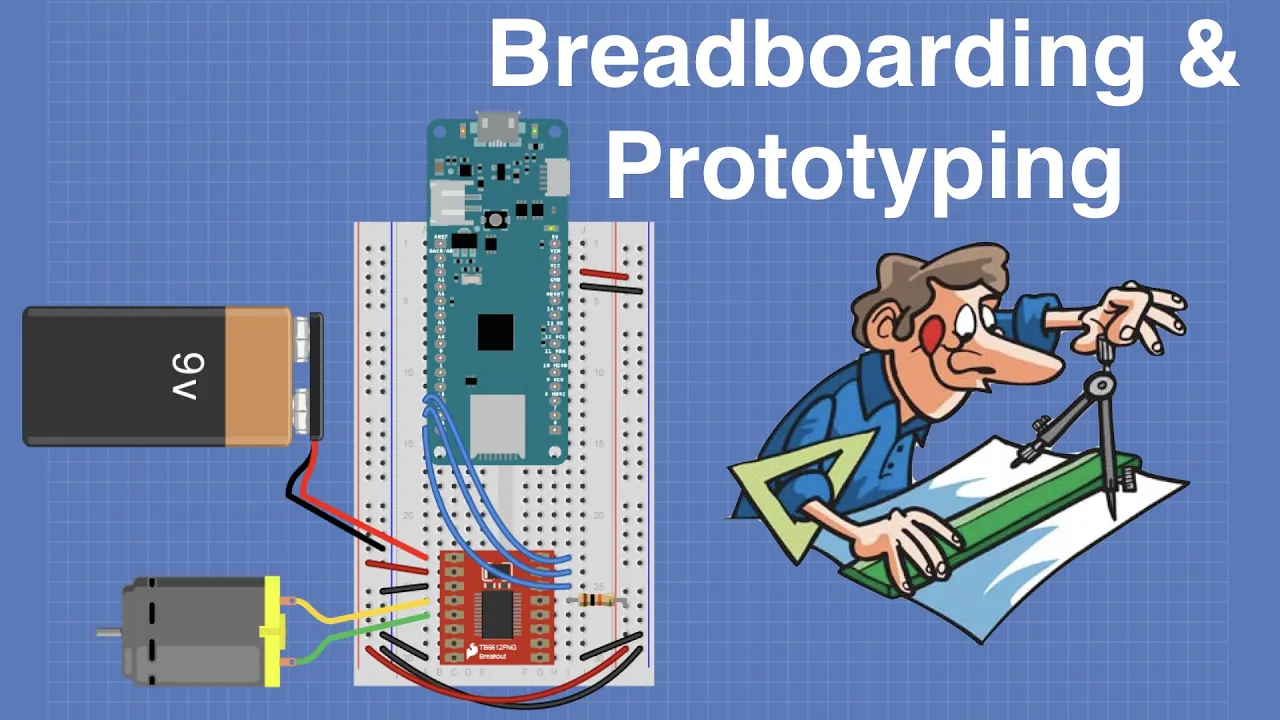

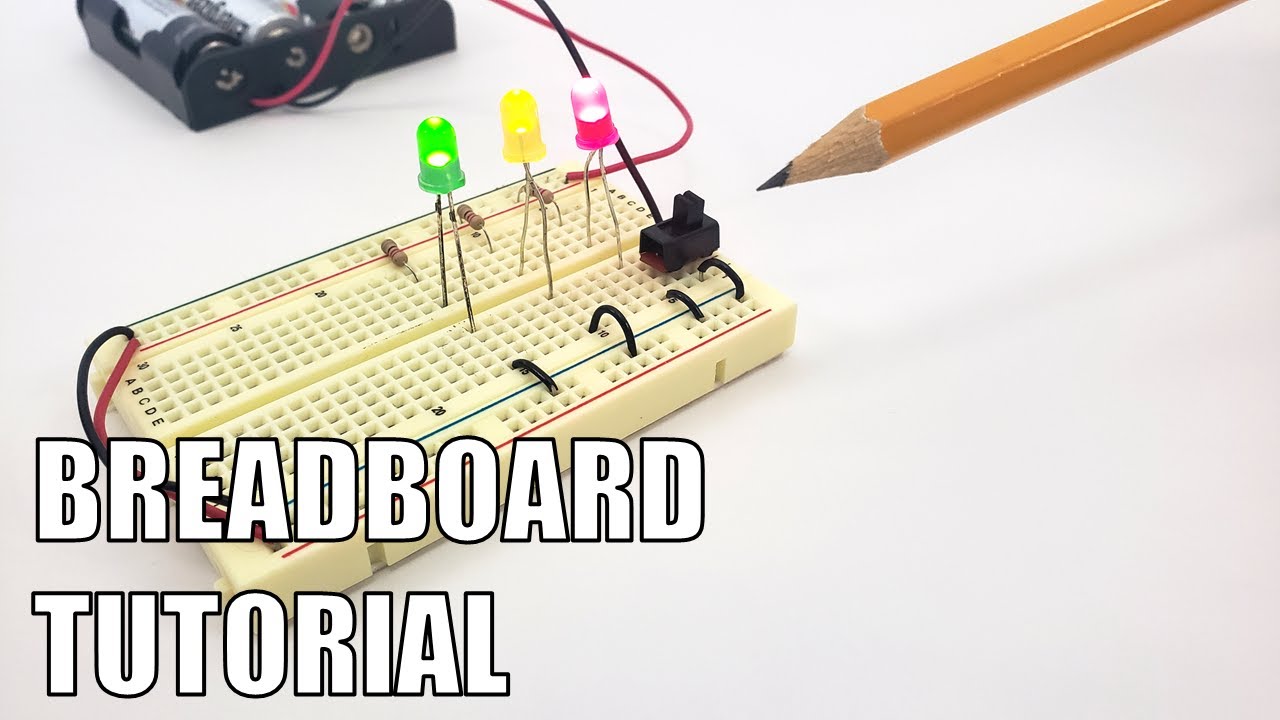
A breadboard is a reusable prototyping tool that uses interconnected metal rails to create temporary electronic circuits without soldering; the central horizontal rails connect across the board while the outer vertical rails (marked positive and negative) provide power distribution, enabling simple circuit assembly by connecting components like LEDs and resistors between these rails.
Breadboard Basics: How to Prototype Circuits for Beginners
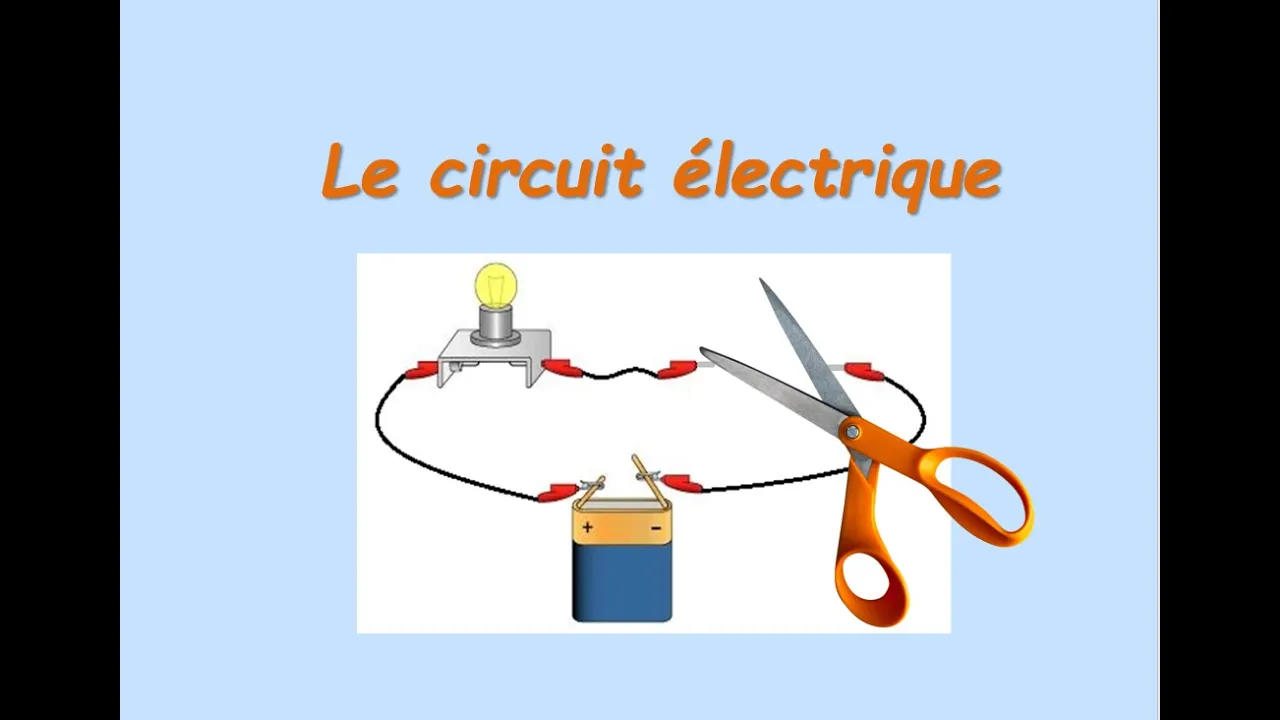
Added:Understanding the basic concept of an electrical circuit as a closed loop required for current to flow.
Familiarity with fundamental electrical concepts: Voltage (V), Current (I), and Resistance (R).
Basic awareness of Ohm's Law and why resistors are necessary to limit current in a circuit.
Concept of electrical polarity, specifically identifying positive and negative terminals (e.g., battery terminals and LED anodes/cathodes).
Constructing and distinguishing between series and parallel circuit configurations on a breadboard.
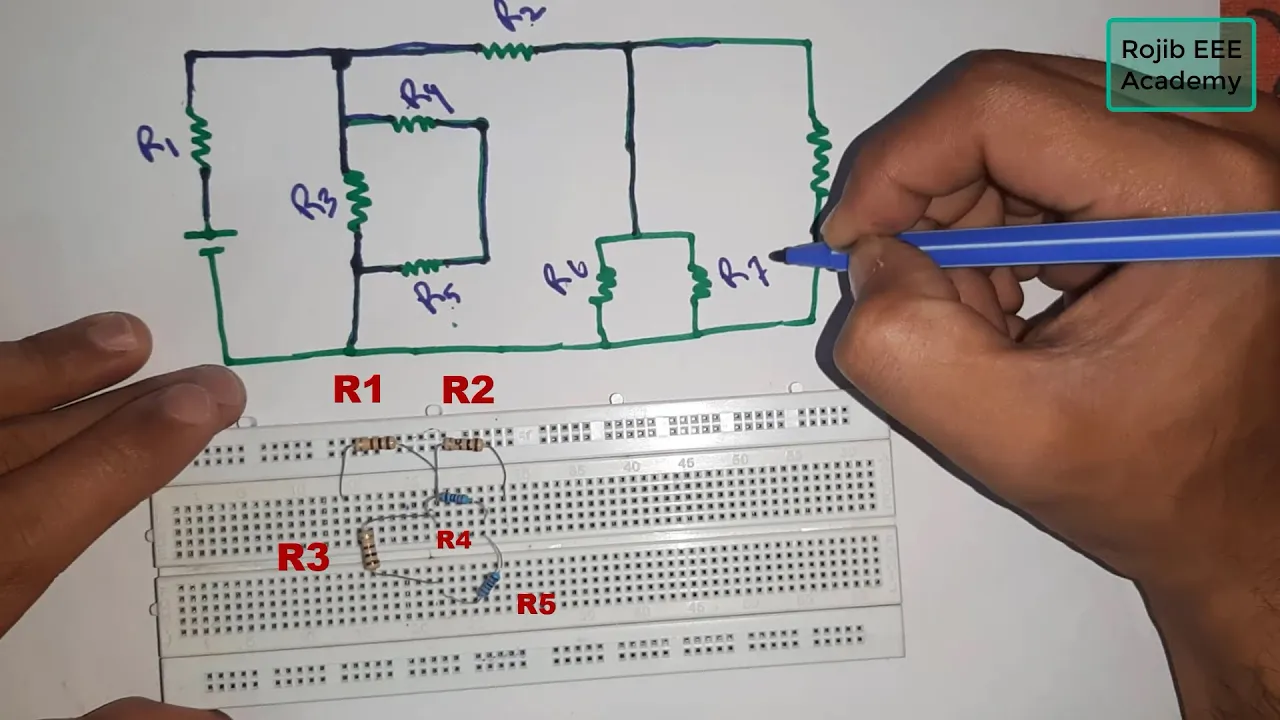
Learning how to read schematic diagrams and accurately translate those symbol-based drawings into physical breadboard layouts.
Integrating more complex components such as potentiometers, capacitors, transistors, and integrated circuit (IC) chips.
Connecting breadboard circuits to programmable microcontrollers (like Arduino or Raspberry Pi) to introduce software control.
Transitioning from temporary breadboard prototypes to permanent circuits using soldering techniques on stripboards or designing custom PCBs.
115.9K views2.6Klikes3:27Original Release: 2020-08-23
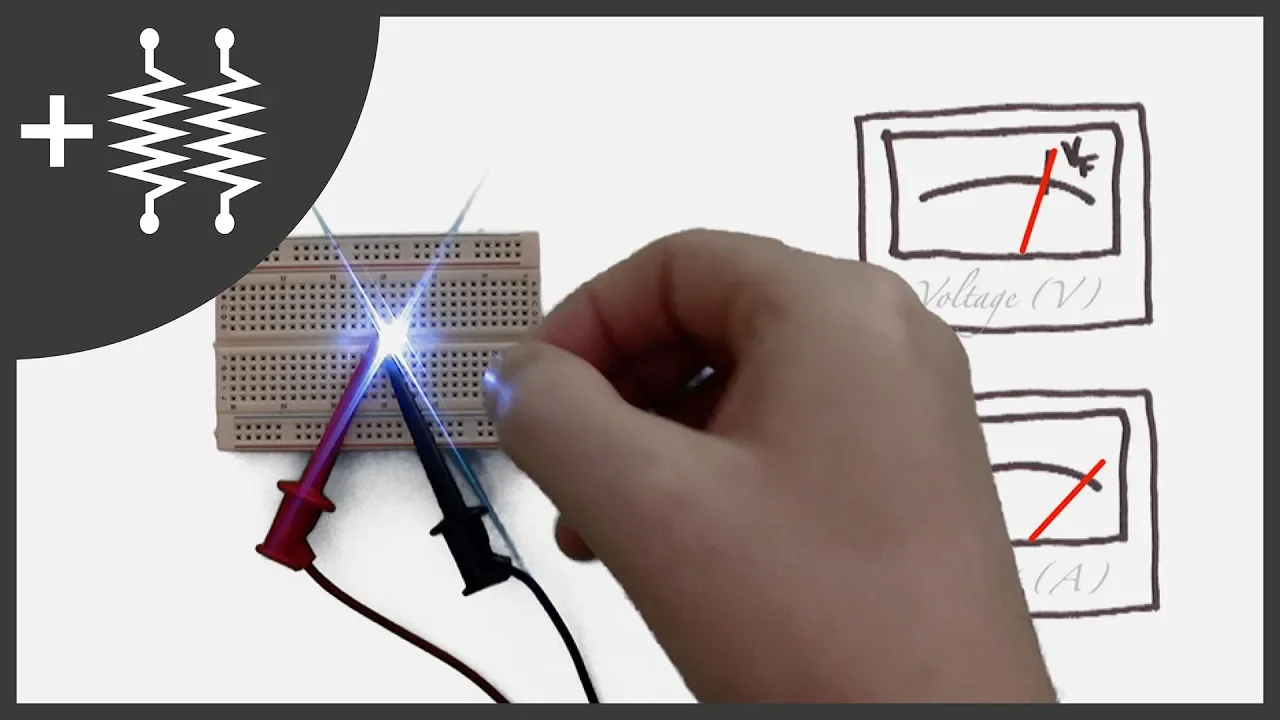
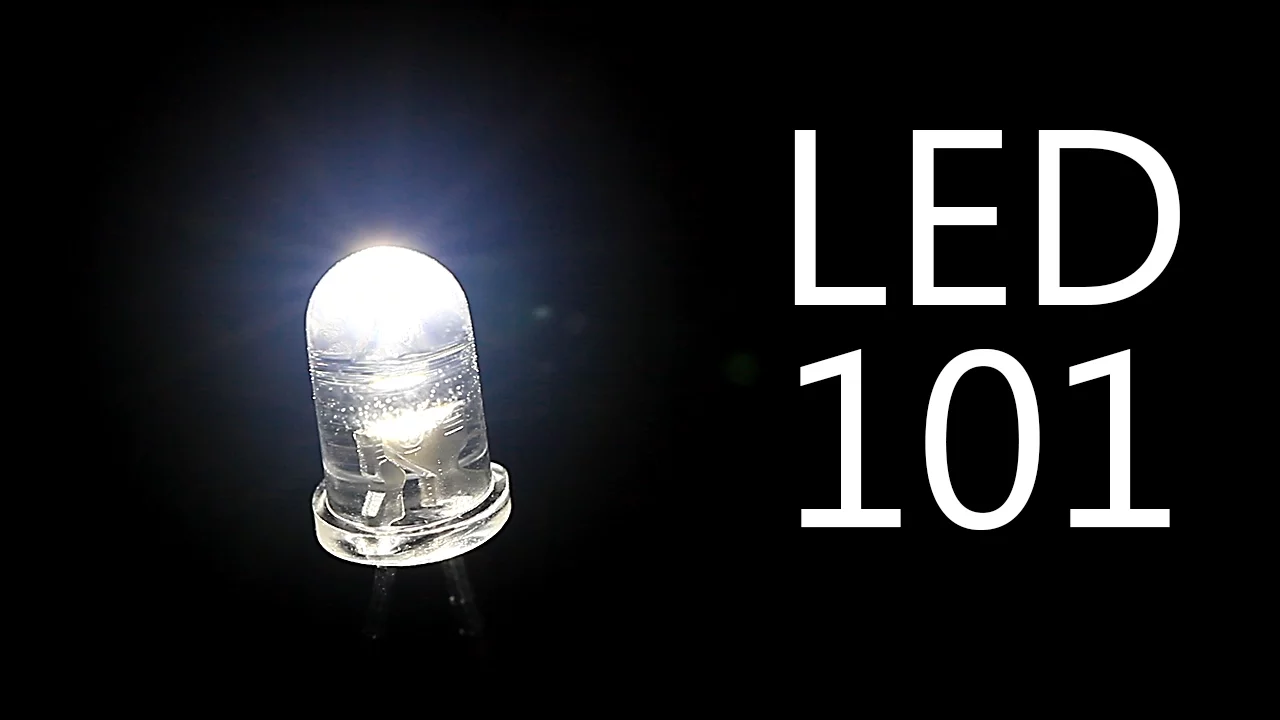
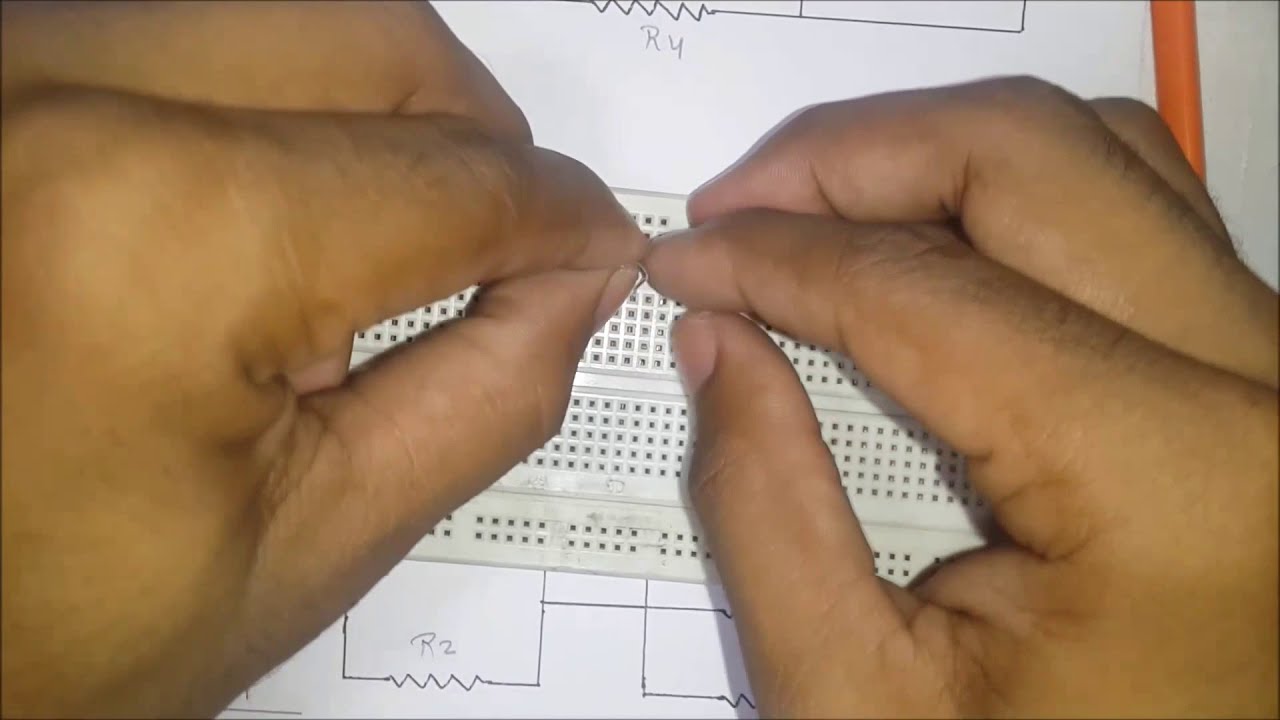
how do you make this this this this this and these all of my projects started with a single breadboard design but how do you use a breadboard in this video i'm going to be showing you guys how to use a breadboard today we're going to cover how breadboards work what they're used for how to make simple circuits and explore them inside and out so be sure to watch this video until the end and then you'll be able to make simple circuits and with practice more advanced circuits so without further ado let's get right into the video first we're going to cover the use of a breadboard a breadboard's uses to prototype circuits and usually will be replaced with a pcb projects such as this were prototyped with a breadboard but before we get to advanced let's back up to the basics of how they work breadboards have a series of rails running across them that bridge and connect inputted wires but what does that look like as we take a look inside the breadboard it becomes easier to see the rails these metal rails run across the breadboard and attach wires that are inputted into the holes but placement is crucial as you can see the rails in the center run horizontal and the rails on the outside run vertical however since it's split down the middle these two rails won't connect the vertical rails are marked positive and negative to make it easier so let's add our power source the red wire is always positive and black is negative since both these rails are vertical we can add the positive and negative wires and in doing so the positive and negative rails will extend throughout the whole breadboard as you can see the vertical rails will extend across now we can add an led and don't forget the longer end will always be positive since these are the horizontal rows this row will all be connected now when we add the led the shorter end will go to the negative rail and the positive end in one of the center holes now the negative end of the led will be connected to the negative end of the power source now these two pins will be connected now we're going to add a resistor since resistors don't have polarities it doesn't matter which way they're oriented one end will go across from the led and one end will go to the positive rail now this rail is connected and the circuit is complete now the positive rail and the resistor are connected the negative rail and the led are connected and the resistor and the led are connected now we can turn on our power source and as you can see the led will light up and that's all there is to it overall breadboards aren't very complex and they're very easy to use if you found this video helpful please leave a like and consider subscribing and be sure to leave a comment letting me know what tutorial i should do next and in time you'll be able to make awesome circuits plus some projects such as these and with that said i will see you guys in my next video
Up Next

30:37
Getting Started with Arduino: A Beginner's Guide to Microcontrollers
@tested
763.8K views•2013-06-12

12:54
Triumph of Orthodoxy Icon: Byzantine Art & History Explained
@BenCallan
2.1K views•2024-08-06

9:49
FastAPI vs Flask vs Django: Choosing the Right Python Web Framework
@TechWithTim
302.5K views•2024-05-26

1:42
Game of Thrones Opening Credits: A Cinematic Analysis
@gameofthrones
46.3M views•2011-04-18
Related Study Plans & Knowledge Roadmaps
Structured learning paths in General & Interdisciplinary Studies
general-studies
Elevator Engineering: History, Physics & Cities
01From Hoists to Safety Brakes: The Dawn of Vertical Lift
02Hydraulic vs. Traction: The Engineering Physics of Elevators
03Modern Speed, Safety, and Algorithms
+ 2 more learning modules
12h5 modules
Explore Roadmap
general-studies
Rubber: Material Science, History & Geopolitics
01Origins of Natural Rubber & Mesoamerican History
02The Chemistry of Natural Rubber & Vulcanization
03The Geopolitics of the Rubber Boom & Colonization
+ 2 more learning modules
12h5 modules
Explore Roadmap
general-studies
Containerization: Evolution, Logistics & Trade
01Ancient Trade & Bulk Cargo: Amphorae to Barrels
02The Industrial Revolution & Cardboard Packaging
03The Containerization Revolution: Malcom McLean
+ 2 more learning modules
12h5 modules
Explore Roadmap
general-studies
Textile Tech: Evolution, Labor & Global Impact
01Pre-Industrial Textiles: Handloom & Cottage Industry
02Mechanization: The Spinning Jenny to the Power Loom
03The Factory System & Global Labor Transformation
+ 2 more learning modules
10h5 modules
Explore Roadmap