When mixing vocal doubles, harmonies, and stacks, record each layer twice and pan them left and right, apply Auto-Tune to each singing layer, then process the group with EQ (reducing highs and lows with basic shelves), a compressor (using multi-mono for independent left/right control), Softtube Harmonics for brightness and saturation, and a de-esser for sibilance control, before sending to Reverb and Delay buses.
Vocal Chain Part 5: Doubles, Harmonies, and Stacks Explained
Added:Deep Dive
Fundamental vocal processing concepts, including the basic structure of a standard vocal chain (EQ, compression, and gain staging).

сделать свой пресет для вокала несложно, просто посмотри
37K
This section teaches the fundamental vocal processing chain: equalization to remove conflicting frequencies (cutting low frequencies around 80-90 Hz, reducing mud in 200-500 Hz range, boosting 2-5 kHz for clarity), and compression to control dynamics. The instructor explains that compression makes loud sounds quieter and quiet sounds louder, bringing vocals to a consistent level. Settings are subjective—there are no strict rules, as mixing is creative.
Click to watch →

How To Make BandLab AutoTune SOUND GOOD!
144.6K
This segment covers the foundational vocal processing chain in BandLab. The process begins with reducing beat volume to -6 dB to create vocal space. The gain plugin serves as a vocal amplifier, functioning like a mic preamp. EQ is used to manage low-end frequencies, typically cutting around 120 Hz to remove mud while preserving vocal body. The compressor is then applied with a 4:1 ratio, threshold around -2 dB, and release time of approximately 1 second. The input and output gains are adjusted to achieve proper compression without over-processing.
Click to watch →
КАК СДЕЛАТЬ ВОКАЛ ЛУЧШЕ / ФИШКИ ДЛЯ СВЕДЕНИЯ / ЦЕПОЧКА ОБРАБОТКИ
28K
A complete vocal processing chain involves multiple stages: First, use EQ to remove problematic frequencies (below 120 Hz, around 540 Hz for nasal resonance, and 9 kHz for sibilance). Second, apply Soothe 2 to control resonances across three frequency ranges. Third, use compression with -8 dB gain reduction and short attack/release times for rap vocals. Fourth, add warmth by boosting 200 Hz and clarity by boosting 2-5 kHz. Fifth, use saturation plugins like Transformer in gentle mode to add harmonics. Sixth, use exciter plugins like Fresh Air to add air and presence, but avoid overuse with budget microphones.
Click to watch →

how to mix your shitty vocals
151.8K
The vocal chain is the sequential arrangement of audio effects applied to vocal tracks in a DAW. Equalization (EQ) adjusts frequency balance by boosting or cutting specific ranges—low frequencies add depth, high frequencies add clarity, and mids carry core vocal characteristics. Compression reduces dynamic range by making quieter parts louder and louder parts quieter, requiring subsequent volume adjustment. De-essing reduces harsh sibilant sounds (s, sh, z) that become problematic when high frequencies are boosted. These three plugins form the foundation of professional vocal processing, working together to transform raw vocal recordings into polished, consistent tracks.
Click to watch →

Mixing rap vocals in Fl Studio 20
47.5K
This segment covers the essential vocal processing chain. First, use EQ with narrow bandwidth to identify and reduce problematic frequencies that cause nasal or muffled sounds. Sweep through frequencies while listening, and immediately reduce any bad frequencies. Then apply compression using two limiters side-by-side to visualize input and output waves. Adjust threshold to cover vocal peaks and ratio to achieve a flatter, more consistent vocal level. This makes vocals louder and more consistent throughout the song.
Click to watch →
Deep Dive
The principles of pitch correction technology, including key and scale selection, retune speed, and humanize settings in Auto-Tune.
Final Class Of Vocal Mixing (The End) - FL Studio With Kurfaat
49K
Auto-tune corrects pitch by detecting and adjusting notes to match desired scales. Key settings include retune speed (controls correction speed), scale selection (determines musical scale), and humanize (controls naturalness). Fast retune speed creates distinctive robotic effects popular in modern pop and hip-hop. Slower retune speed creates more natural corrections. Different settings create different vocal signatures, allowing artists to choose between subtle corrections or stylistic effects. The choice depends on desired vocal character and song style.
Click to watch →
How Every Artist Uses AUTOTUNE To Get Perfect Vocals Everytime | Hindi
57.5K
Auto-Tune is a digital audio plugin used to correct pitch in vocal recordings. Unlike computers which never go out of tune, human voices naturally contain pitch variations called 'human error.' Auto-Tune fixes these imperfections by analyzing vocal input and adjusting pitch to match the desired musical scale. Key parameters include: Retune Speed (controls correction speed, lower values create robotic effects, higher values produce natural results), Flexibility (determines how closely pitch corrections are applied), Natural (enhances existing vibrato and pitch variations), and Humanize (adds realistic pitch variations for authenticity). The optimal settings depend on the song style and desired effect, with typical retune speeds ranging from 5-45 milliseconds.
Click to watch →

How To Use Autotune! Simple Tutorial!
260.7K
Auto-Tune is a vocal pitch correction effect that requires understanding key parameters: the key setting must match the song's musical key (found using tools like fine song tempo), retune speed controls how fast pitch correction occurs (higher values create robotic effects like T-Pain, lower values provide subtle correction like Drake), tracking determines how aggressively the plugin corrects pitch (50 is generally optimal), and the humanize knob reduces robotic sound when needed. The most important parameters are the key and retune speed, while tracking and humanize are secondary adjustments.
Click to watch →

Auto-Tune da Antares - (Tutorial e Review) #autotune
30.8K
Auto-Tune is a vocal pitch correction plugin that works by analyzing vocal input and automatically adjusting notes to match a selected musical scale. The plugin offers different versions with varying levels of control: Access provides basic retune speed and humanization settings, EFX+ adds built-in effects and voice type detection, Artist focuses on natural-sounding corrections with flex tune and vibrato controls, and Pro offers detailed note-by-note editing through a graphical interface. Key parameters include retune speed (how quickly corrections are applied), humanization (naturalness of corrections), and scale selection (which notes the plugin will correct).
Click to watch →
LES SECRETS D'AUTO-TUNE ! (Auto-Tune Pro - EFX+)
108.8K
Auto-Tune is a software tool that corrects vocal pitch to match a chosen musical key, enabling anyone to sing in tune. Originally designed for discreet pitch correction, it was transformed into an artistic effect by Cher's 1998 song 'Believe.' The technology, invented by Andy Hildebrand, revolutionized music production, with approximately three-quarters of producers now using it regularly. Pitch correction software falls into two categories: real-time correctors like Auto-Tune and offline editors like Waves VocalWaver and iZotope Nectar. Configuring Auto-Tune requires specifying the musical key and scale, with three methods for key detection: playing notes on a virtual piano, using Auto-Tune's built-in key detection plugin, or exporting to online analysis tools. The Rhythm Speed parameter controls pitch correction speed—values near zero create the characteristic robotic effect with audible artifacts, while higher values (50-80) produce more natural results.
Click to watch →
Deep Dive
Basic concepts of stereo imaging, panning laws, and how to position audio elements within a 2D stereo field.

Mobile Se Studio Jaisa Naat Kaise Record Karen | Naat Kaise Record Karen | Israr Tutorials
241.3K
Stereo panning allows you to position audio elements at different locations in the stereo field. To pan audio to the right, set the pan control to +3% (or right). To pan audio to the left, set the pan control to -3% (or left). This creates a spatial audio experience where different elements appear to come from different directions, enhancing the listening experience and making the audio more engaging.
Click to watch →
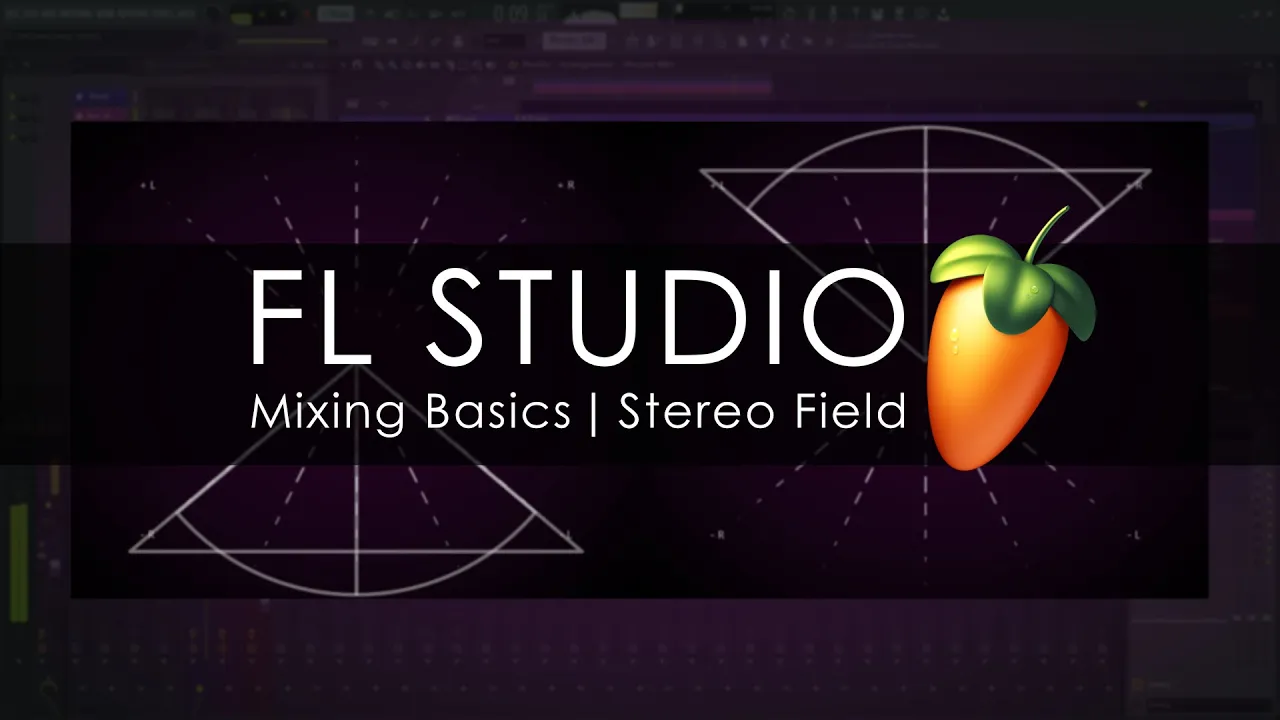
FL STUDIO | Mixing Basics - Stereo Field
180.8K
Panning law determines how level differences are applied when panning. Triangular panning reduces level by -3 dB at the center point with no interpolation elsewhere. Circular panning (equal power panning) reduces hard left and right by -3 dB and smoothly interpolates gain changes, resulting in equal level when summed to mono. Since every point on a circle is equidistant from the center, all panning positions reduce level gradually. Circular panning is the default in FL Studio because it provides more intuitive and consistent level behavior across all positions.
Click to watch →

THE STEREO IMAGINATION LECTURE
353
Stereo imaging is the practice of spreading mono signals across the stereo field to create spatial audio experiences. Humans naturally hear in stereo, even in multi-channel environments. A mono signal is equally centered, while stereo allows differentiation between left and right channels. Stereo images can be created by summing multiple mono signals (like a drum kit with five microphones) or by spreading individual mono signals at the frequency level. Panning is the most basic form of stereo imaging, moving sounds from left to right across the stereo field. Automated panning devices like the Pan Man allow programming of movement patterns including ping-pong effects and low frequency oscillator movements. Harder settings create more chaotic, randomized stereo motion that makes sounds feel more alive.
Click to watch →

Hướng Dẫn Mixing: Làm Nhạc Rộng Hơn Với Stereo/Pan/Imager | VBK MUSIC
8K
Stereo sound differs fundamentally from mono sound: mono delivers identical audio to both ears, creating an unnatural experience, while stereo delivers different audio to each ear, mimicking real-world perception. Stereo uses two channels where sound travels through air with energy loss, creating natural asymmetry between left and right ears. Panning positions audio sources within the stereo field by moving instruments entirely to left or right channels while reducing the opposite channel. When instruments occupy the same central position, they overlap and create muddy, unclear sound. Proper panning separates instruments spatially to prevent frequency masking and improve clarity.
Click to watch →
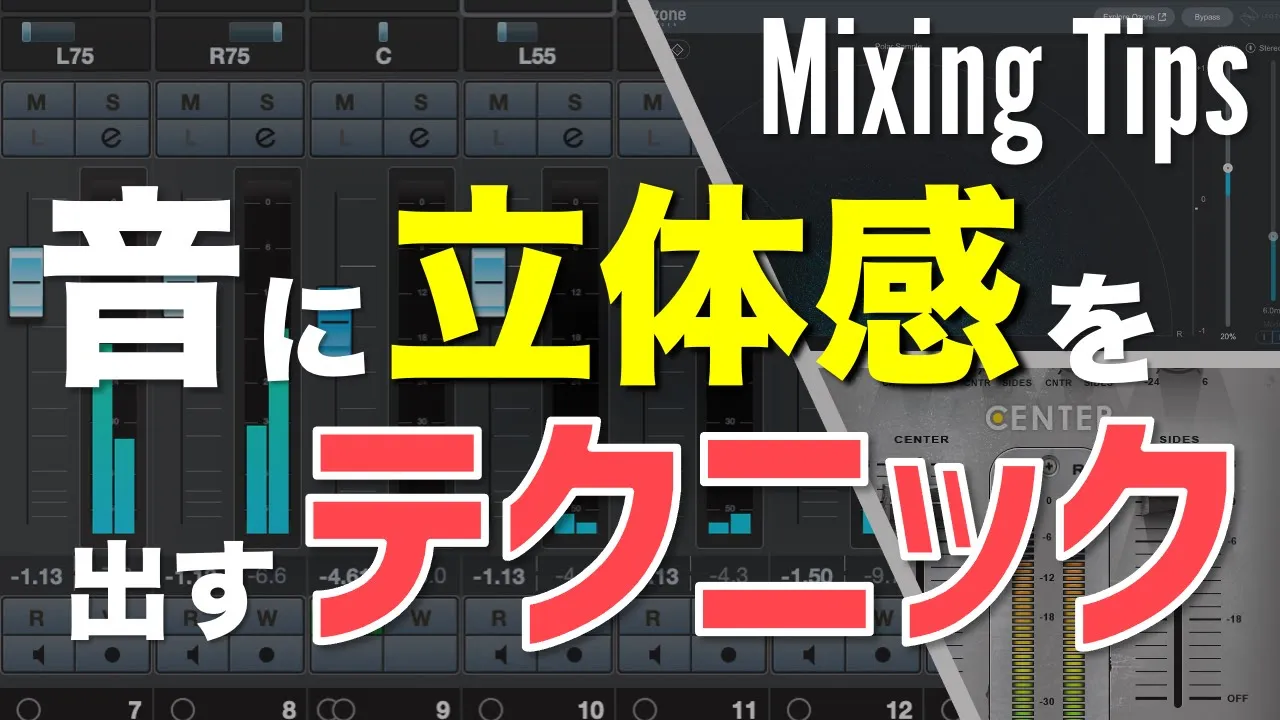
【ステレオイメージ】ミックスに広がりと立体感を出すための4つのTipsを紹介【DTM】
145.1K
Panning is the most fundamental technique for creating stereo image in mixing. When all tracks are centered, mixes sound narrow and lack clarity. The purpose of panning is to spread tracks left and right to create spatial width while improving instrument separation. Key instruments like kick, bass, snare, and main vocals should remain centered for a solid foundation. Backing guitars and other instruments can be panned left and right to create width. Creative panning can also be used to create movement and depth, such as automating arpeggios to pan across the stereo field or panning string parts slightly left and right to create natural frequency separation.
Click to watch →
Deep Dive
The basics of vocal editing and timing alignment, as tight synchronization between takes is crucial for effective stacking.
REAPER BASICS: Vocal Editing, how to time align vocals using stretch markers
13.5K
This comprehensive workflow covers the complete process of time-aligning vocals in Reaper for professional vocal stacking. The process begins with comping (compiling) vocal takes, followed by gluing them together, then tuning with Auto-Tune, and finally time-aligning using stretch markers. The instructor demonstrates how unaligned vocals create a confusing, unprofessional sound where layers rush or slow down at different rates. The pop vocal approach emphasizes extreme precision—vocals should be either super in time or super where intended, with nothing left in unintended positions. This requires examining productions with a 'fine-tooth comb' to achieve professional, tight results.
Click to watch →
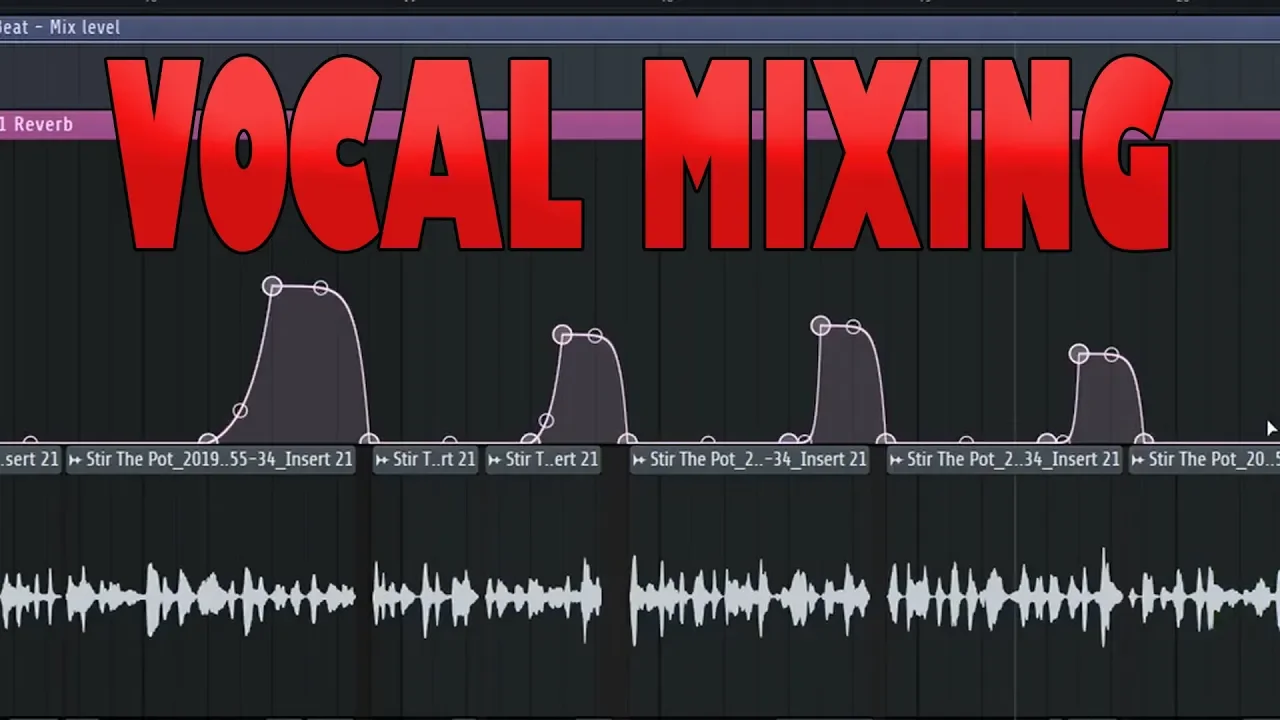
Mixing Rap Vocals In Fl Studio with STOCK PLUGINS - Vocal Mixing Tutorial 2019
44K
This section covers vocal editing and timing alignment. Edit vocals by cutting out silences between takes and removing unnecessary sounds, preferring direct cutting over noise reduction which can remove life from the vocal. Zoom in closely to identify and remove clicks and pops, understanding that some cannot be removed regardless of effort. Line up all vocal elements (verse, dubs, ad-libs) perfectly so there is no timing drift. The instructor demonstrates cutting and moving dubs to ensure every syllable aligns precisely, creating a tight, professional vocal performance where nothing sounds delayed or misaligned.
Click to watch →

How to Stack Vocals
125.8K
Instead of using time alignment or flex pitch options in DAWs which can add unwanted artifacts, manual time alignment is preferred for vocal editing. The process involves using the cut tool to isolate each segment first, then going back to realign each segment individually. Crossfades should be added where needed during this process. Sibilance can be identified by listening or zooming into waveforms to notice dense clusters of waveforms, which can be addressed with clip gain or de-essing.
Click to watch →

Time Aligning Vocals Editing By Hand vs VocAlign
381
Time alignment is a critical vocal production technique that matches the timing of background vocals, doubles, and harmonies to the lead vocal down to milliseconds, creating a tight, polished sound that allows multiple vocal layers to be stacked while remaining clearly audible. This technique can be performed manually by placing cuts around consonants and words to align waveforms, or automated using plugins like Vocaline, which captures the lead vocal as a guide and renders background vocals to match its timing. For harmonies that don't match the lead, producers can create a 'fake guide' by copying the lead vocal and deleting unwanted words. The match pitch feature can further align pitches between vocals, with recommended settings of 20-30ms timing tolerance and 1% pitch tolerance to avoid phasing issues.
Click to watch →

Do This For PERFECT Vocal Stacks, Harmonies, and Dubs (Background Vocal Editing and Mixing)
41.7K
To align vocal layers, select your lead vocal as the guide track and set other tracks as dubs. In Vocal Line Pro, enable both Match Timing and Match Pitch options. Adjust settings like Tightness (e.g., 25 milliseconds) and Match Pitch percentage (e.g., 1.5%) to control how tight the alignment should be. Overly tight alignment can cause vocals to lose width and stereo field, so balance precision with natural sound.
Click to watch →
Prerequisite Knowledge
- Concept 01Fundamental vocal processing concepts, including the basic structure of a standard vocal chain (EQ, compression, and gain staging).
- Concept 02The principles of pitch correction technology, including key and scale selection, retune speed, and humanize settings in Auto-Tune.
- Concept 03Basic concepts of stereo imaging, panning laws, and how to position audio elements within a 2D stereo field.
- Concept 04The basics of vocal editing and timing alignment, as tight synchronization between takes is crucial for effective stacking.
Subsequent Learning
- Step 01Vocal group processing and bus routing, focusing on how to 'glue' multiple vocal layers together using bus compression and shared reverb/delay sends.
- Step 02Advanced spatial processing techniques, such as micro-pitch shifting, the Haas effect, and frequency-specific stereo widening for backing vocals.
- Step 03Vocal arrangement and music theory concepts for creating rich, multi-part harmonies (e.g., parallel harmonies, thirds, fifths, and octave doubling).
- Step 04Dynamic EQ and sidechain compression techniques to carve out space in the mix, preventing backing vocals from masking the lead vocal.
Doubles Setup
Group Processing
Dynamics Control
Harmonic Coloring
Spatial Sends
Doubles Setup
0:00Playing Section
- 1
Record each vocal layer twice and pan them left and right.
- 2
Apply Auto-Tune individually to each singing layer for consistency.
The Case for Raw, Single-Track Vocal Authenticity
While heavy stacking, doubling, and pitch correction are staples of modern pop and R&B production, a strong counter-philosophy in audio engineering advocates for minimalist, single-track vocal production. Critics of extensive vocal chains and artificial harmonies argue that these techniques can sanitize a performance, stripping away the natural dynamics, micro-tonal imperfections, and raw emotion that connect with listeners on a human level. Genres like folk, indie, and traditional rock often favor a single, un-tuned vocal track recorded with a high-quality microphone to preserve the singer's natural delivery, vulnerability, and unique timbre. Proponents of this minimalist approach argue that over-processing and artificial layering create a generic, homogenized sound, whereas true professional quality and artistic identity come from the honesty of an unaltered performance.
Deep Dive
Vocal group processing and bus routing, focusing on how to 'glue' multiple vocal layers together using bus compression and shared reverb/delay sends.
Re-Mixing a Classic Journey Hit with Joe Carrell // Free multi-track download!!
40.3K
This segment covers group vocal compression and bus processing techniques. Lead and background vocals are compressed together using the Neve 33609 precision limiter with 2:1 ratio and fastest release for cohesive vocal sound with controlled punch. The entire mix is processed through an SSL-style bus compressor with 2:1 ratio, 30ms attack, fastest release, and 60 Hz side chain for mix glue. Makeup gain balances the overall level, demonstrating how bus compression enhances overall mix quality.
Click to watch →

Crystal Clear Rap Vocals | Using Slate Digital Plugins (FL Studio 20)
30.7K
The vocal bus serves as the central processing point for all vocal elements. Apply aggressive compression (12:1 ratio) to glue vocal layers together and ensure consistent levels. Route all vocal tracks (leads, dubs, ad-libs) to the vocal bus for unified processing. This approach saves CPU resources and maintains consistent vocal character throughout the track. The vocal bus compression helps integrate vocals with the beat and creates cohesion between different vocal elements.
Click to watch →

BEHRINGER WING 2.0 FOR WORSHIP | MIX BREAKDOWN AND NEW TEMPLATE
74.3K
Bus routing enables complex signal flow where buses 1-8 can receive sends from other buses while 9-16 operate as effects returns. This requires placing instrument and vocal buses with effects at the back (9-16) while IM packs use buses 1-8. Parallel drum compression sends drums to a dedicated bus with 10:1 compression and tape saturation for punch and harmonics. Gated reverb creates dramatic snare sounds with short decay and rapid gating. Vocal groups use parallel compression for intelligibility, while vocal delay uses stereo delay with different time signatures on each side for depth and width.
Click to watch →
How to Stack Vocals
125.8K
A vocal bus is created to route both lead vocals and background vocals through the same processing chain. This includes mild compression and EQ. Routing all BGVs through the same vocal bus as the lead creates cohesion, especially with compression - when all signals go through the same compressor, they are affected uniformly, causing all timings to be affected in the same manner and creating a seamless blend between distinct lead and additional vocals.
Click to watch →
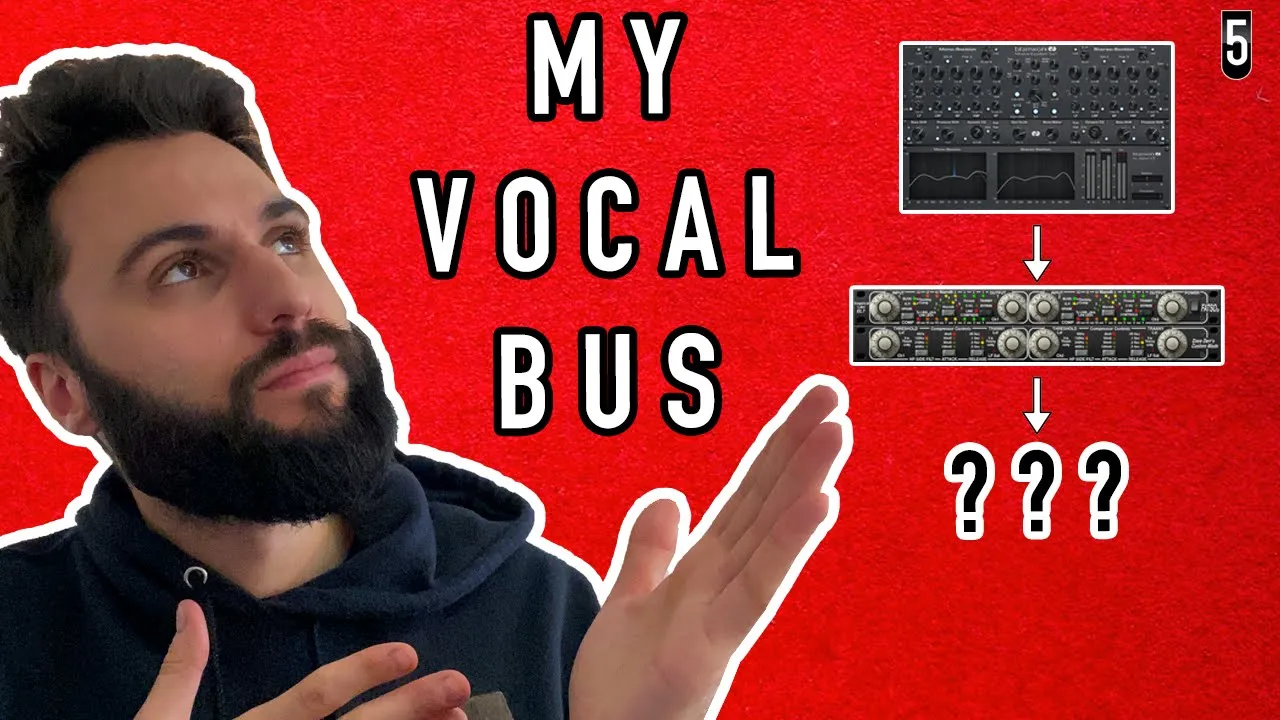
What's On My Vocal Bus
11.1K
A vocal bus (a cappella master) is where all vocal tracks—leads, backgrounds, and ad-libs—merge together, unlike individual vocal chains that process specific tracks separately. The complete processing chain includes: (1) MS EQ for different mono/stereo treatment with 20 Hz roll-off and problem frequency notching; (2) Compression (Empirical Labs EL7) for dynamic balancing with 3-5 dB gain reduction; (3) Multi-band compression (FabFilter Pro MB) for frequency-specific control—low end (30-600 Hz) reduced by 1-2 dB to prevent muddiness, high end (1000-4000 Hz) reduced by 1 dB to control sibilance; (4) Additional EQ for remaining frequency issues; (5) Distortion (0.1% Avid Lo-Fi) for subtle saturation; (6) De-essing (FabFilter Pro DS) for sibilance control; (7) Limiter (FabFilter Pro L2) for clipping prevention with 0.3 dB ceiling. Each plugin is used transparently to glue vocals together while maintaining natural sound.
Click to watch →
Deep Dive
Advanced spatial processing techniques, such as micro-pitch shifting, the Haas effect, and frequency-specific stereo widening for backing vocals.
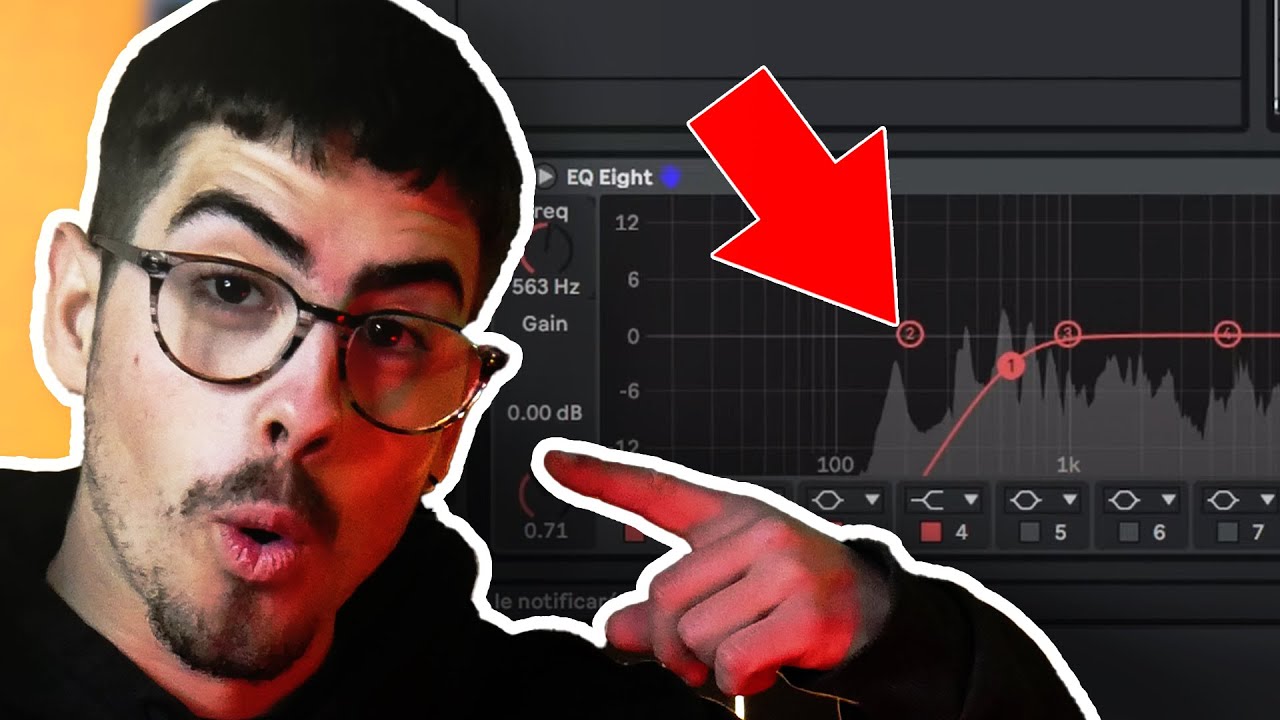
5 TÉCNICAS para que TUS VOCES SECUNDARIAS NO SUENEN ABURRIDAS ❌
9.2K
The stereo vocal widening technique creates immersive, wide vocal sounds by processing only high frequencies. Create a return channel, send high frequencies (cutting bass) to it, apply EQ to emphasize highs, and add reverb. This creates a stereo image that fills the frequency spectrum and prevents vocals from sounding too centered. The technique works best for backing vocals, harmonies, and ad-libs, and can be automated to move between channels for dynamic effect.
Click to watch →

СВЕЛ MAYOT - Не Поменяло | Заправка Кид 4 | Бесплатный Пресет! | FL Studio 24 #сведение
12.6K
Creating wide stereo images involves processing individual tracks and the master bus. Individual tracks use plugins like Vitavizer with chorus effects and stereo expansion. The master bus uses iZotope Ozone for stereo expansion with specific frequency boosts at 12,000 Hz and 5,000 Hz. Side frequencies are routed to one channel while mid frequencies go to the other, then compressed and mixed back. Background tracks are processed with EQ and shapers to support the main vocal without competing.
Click to watch →

9 Ways the Pros Get Wider Mixes
140.3K
The Haas effect creates perceived width by duplicating sounds, delaying copies by 20-40ms, and panning oppositely. Apply using delay, chorus, or doubler plugins with low-pass filtering to avoid phase issues. Stereo widening plugins enhance individual tracks without affecting overall mix balance. Widening low-mids (80-400Hz) with saturation and chorus spreads the body of the frequency spectrum, making mixes feel bigger. Place Haas effects toward the end of the chain. These techniques work by manipulating how our ears perceive spatial information, creating width through psychoacoustic principles rather than physical positioning alone.
Click to watch →
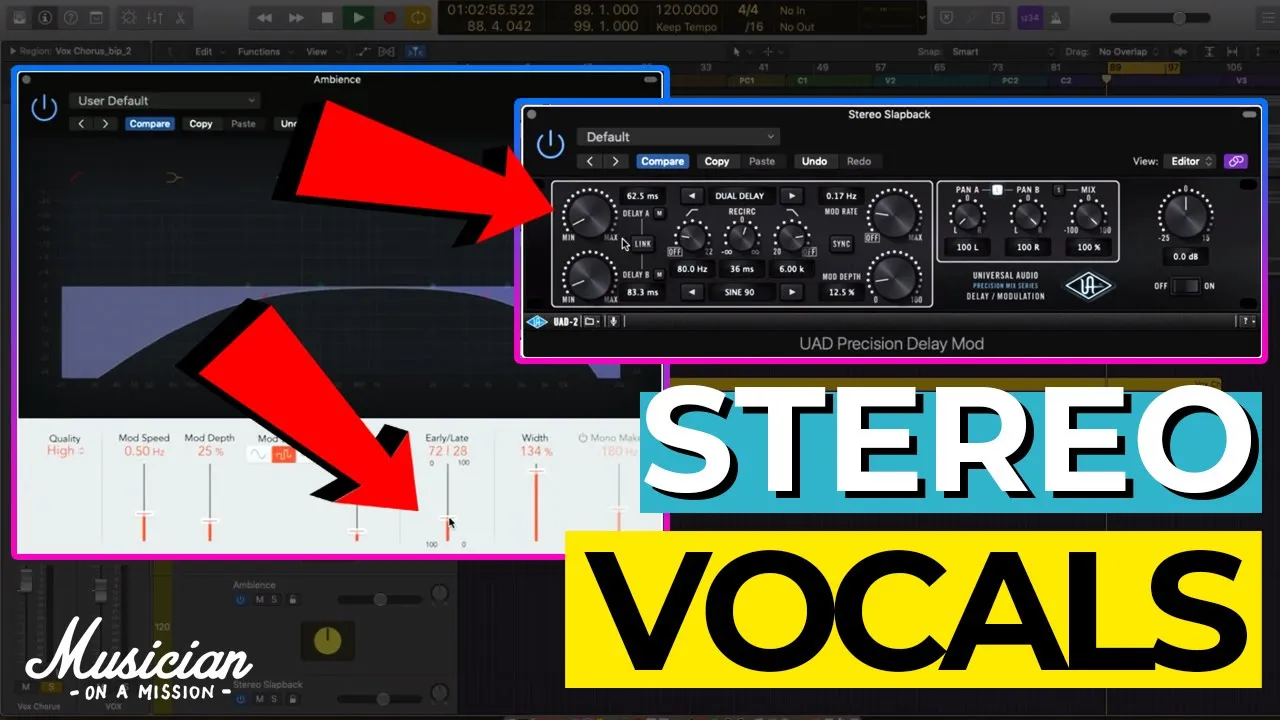
My Secret for WIDE Stereo Vocals
23.7K
This extensive section explores four advanced stereo effects for vocal widening. Chorus requires stereo spread between 75-150% and slow rate/intensity settings to function as a mixing tool rather than an obvious effect. Ping pong delay bounces between channels repeatedly, creating both width and temporal length with timing dependent on the performance (sixteenth notes, eighth notes, etc.). Micro shifting, a vintage 80s effect, splits the signal into multiple stereo delays around the original sound, creating distinctive widening—the looser the delay timing and more aggressive the detuning, the wider and more obvious the effect becomes. The section culminates with formant shifting, explaining that formant shifting alters how open or closed the throat and mouth are during singing, changing timbre without affecting pitch. Low formants create deeper sounds, high formants create brighter sounds. For stereo widening, apply dual mono formant shifting: shift left channel down by one semitone and right channel down by two semitones, adding slight detuning to each to create the impression of three different singers performing simultaneously.
Click to watch →

The Haas Effect Explained In 40 Seconds #shorts
93.4K
The Haas Effect is a psychoacoustic phenomenon where two identical audio signals panned to opposite sides with a delay of more than 40 milliseconds on one side are perceived as a single wide sound source, creating stereo widening in music production; however, this technique can cause the sound to disappear or sound strange in mono playback, so producers should test the effect in both mono and stereo and consider using frequency-specific widening tools to maintain mono compatibility.
Click to watch →
Deep Dive
Vocal arrangement and music theory concepts for creating rich, multi-part harmonies (e.g., parallel harmonies, thirds, fifths, and octave doubling).
How To Write HUGE Harmonies | Vocal Arranging 101
36.5K
Vocal harmony arrangement follows systematic rules where two-part harmony uses thirds above or below the melody, three-part harmony creates triads by having voices sing different chord positions (root, first inversion, second inversion), and multi-part arrangements (four and five parts) add octaves or bass lines to enhance vocal density while maintaining harmonic integrity through proper voice placement and chord shape awareness.
Click to watch →
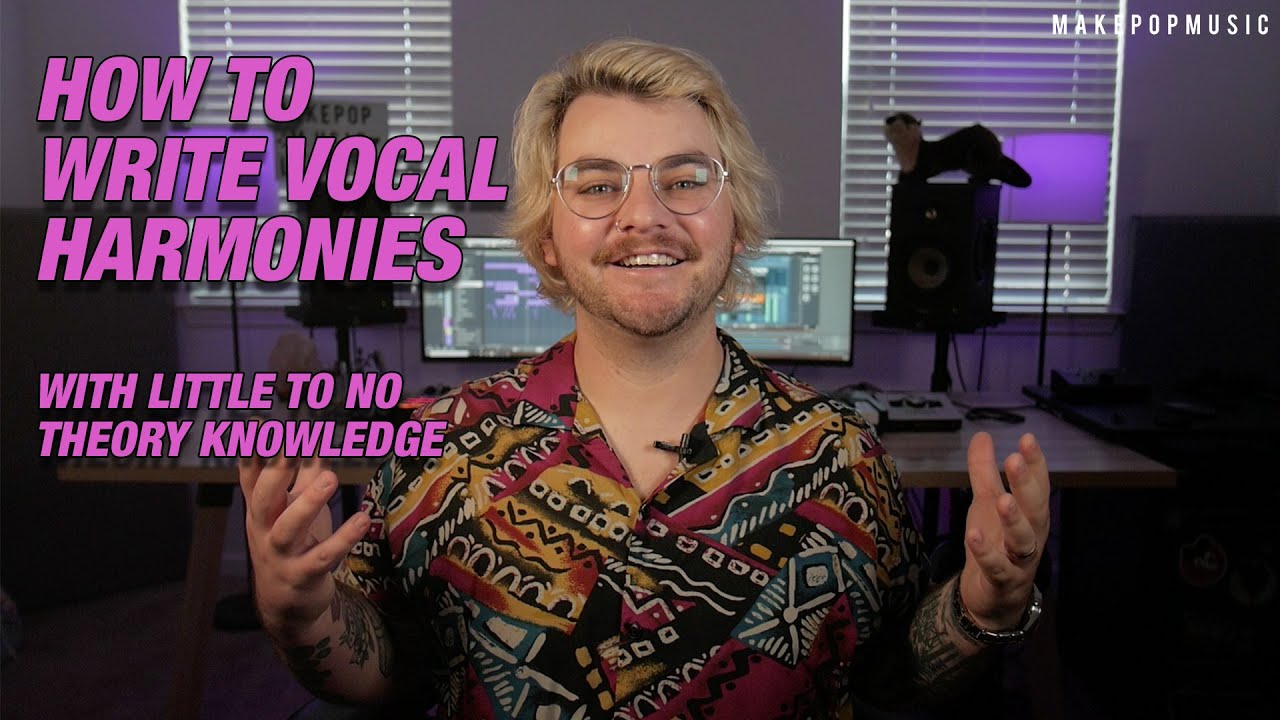
How to Write Vocal Harmonies with Little to No Music Theory Knowledge | Make Pop Music
68K
This method requires basic music theory knowledge. Thirds and fifths are the most common and easiest harmony intervals. To find a fifth harmony, go up a fifth from the root note of the melody. To find a third harmony, create a triad by adding a third to the root note. For example, if the melody is on D#, the fifth would be Bb and the third would be F#. These intervals create consonant, harmonious sounds that work well together.
Click to watch →

How to Sing Vocal Harmony for Beginners (Hearing 3rds)
99.9K
Vocal harmony in thirds involves two or more voices singing notes that are three scale degrees apart (e.g., if one voice sings on the note numbered '1', the harmony voice sings on '3'; if the melody is on '2', the harmony is on '4'), creating a beautiful blended sound commonly used in close harmony singing.
Click to watch →

¿Qué es eso de “quintas y octavas paralelas”?
42K
In traditional harmony, parallel fifths and octaves occur when two voices maintain the same interval (fifth or octave) between consecutive chords, which breaks the homogeneity of the voice ensemble and causes the loss of one voice, as the voices move in parallel motion without independent movement.
Click to watch →
![How to WRITE Harmonies! [Vocal Harmony Tutorial]](https://i.ytimg.com/vi_webp/5Q0nOTqDxkE/maxresdefault.webp)
How to WRITE Harmonies! [Vocal Harmony Tutorial]
135.1K
Effective vocal harmony writing relies on counterpoint principles where melodies interact through four types of motion (similar, parallel, contrary, and oblique), with contrary and oblique motion creating independent, sophisticated harmonies; harmonies should primarily use imperfect consonances (thirds and sixths) but avoid more than three in a row, and should be broken by perfect consonances (fourths, fifths, octaves) and dissonances (seconds, tritones, sevenths) to maintain independence and emotional depth.
Click to watch →
Deep Dive
Dynamic EQ and sidechain compression techniques to carve out space in the mix, preventing backing vocals from masking the lead vocal.

Comment faire ressortir la voix dans un mix
47.4K
To create space for vocals in a mix, use sidechain EQ (such as FabFilter Pro-Q3) to automatically reduce specific frequencies in the production when the voice plays, allowing the vocal to occupy those frequencies without competition; this technique involves identifying masking frequencies through visual analysis, applying dynamic range reduction on those frequencies, and using mid-side processing to apply the effect only to the center channel, which creates a 'carved out' space for the vocal while preserving the stereo width of the production.
Click to watch →

Seedhe Maut - Joint In The Booth (Live Mix Breakdown)
32.8K
Vocal processing involves using sidechain compression to create space for vocals when other instruments are playing. The instructor demonstrates using track spacing with sidechain compression to drums, which reduces vocal frequencies when drums hit. This creates a pumping effect that gives vocals their own space in the mix while maintaining the energy of the drums. Vocal processing also involves using EQ to remove unwanted frequencies that cause harshness or muddiness. The goal is to achieve a clean vocal that sits well in the mix while maintaining its natural characteristics.
Click to watch →
![CÓMO MEZCLAR VOCES de APOYO y ADLIBS 🎙️ en FL STUDIO 20 - 21 [Apoyos Profesionales SIEMPRE ✅]](https://i.ytimg.com/vi/WBEyNAjKscA/maxresdefault.jpg)
CÓMO MEZCLAR VOCES de APOYO y ADLIBS 🎙️ en FL STUDIO 20 - 21 [Apoyos Profesionales SIEMPRE ✅]
15K
This section covers the complete process of mixing backing vocals (segundas voces). The Waves Spread plugin positions backing vocals by keeping frequencies below 500 Hz in mono and spreading higher frequencies to stereo. The equalizer cuts brightness (3000-4000 Hz) by 6-7 dB and removes low frequencies below 300 Hz to prevent competition with the main vocal. This creates a thin, clean backing vocal that sits behind the main vocal without muddying the mix. The goal is to create proper vocal layering where each vocal part has its own space in the mix.
Click to watch →

【DTM 作曲】Melodic Dubstepの作り方!【Xfer SERUM】
73.6K
Sidechain compression involves triggering compression when specific sounds occur to create dynamic movement in the mix. The technique uses LFOs to create rhythmic pumping effects. Setting up sidechain compression involves creating a trigger track, routing sidechain input to the compressor, and adjusting threshold and ratio parameters. The process allows sounds to duck and create space for other elements, creating dynamic movement that enhances the overall mix and prevents frequency masking.
Click to watch →

How to mix an underground song from scratch in FL studio (VOD)
33.9K
This segment covers side EQ for creating mix space: it allows EQing only the stereo (side) or mono (mid) portion of a track. This is useful when instruments are clustered in the center—side EQ can reduce mid frequencies to make room for vocals. The instructor also discusses dynamic range, noting that overly compressed beats lack the natural variation between loud and quiet sections that makes music engaging.
Click to watch →
Doubles Setup
Group Processing
Dynamics Control
Harmonic Coloring
Spatial Sends
Doubles Setup
0:00- 1
Record each vocal layer twice and pan them left and right.
- 2
Apply Auto-Tune individually to each singing layer for consistency.
The Case for Raw, Single-Track Vocal Authenticity
While heavy stacking, doubling, and pitch correction are staples of modern pop and R&B production, a strong counter-philosophy in audio engineering advocates for minimalist, single-track vocal production. Critics of extensive vocal chains and artificial harmonies argue that these techniques can sanitize a performance, stripping away the natural dynamics, micro-tonal imperfections, and raw emotion that connect with listeners on a human level. Genres like folk, indie, and traditional rock often favor a single, un-tuned vocal track recorded with a high-quality microphone to preserve the singer's natural delivery, vulnerability, and unique timbre. Proponents of this minimalist approach argue that over-processing and artificial layering create a generic, homogenized sound, whereas true professional quality and artistic identity come from the honesty of an unaltered performance.
Fundamental vocal processing concepts, including the basic structure of a standard vocal chain (EQ, compression, and gain staging).
The principles of pitch correction technology, including key and scale selection, retune speed, and humanize settings in Auto-Tune.
Basic concepts of stereo imaging, panning laws, and how to position audio elements within a 2D stereo field.
The basics of vocal editing and timing alignment, as tight synchronization between takes is crucial for effective stacking.
Vocal group processing and bus routing, focusing on how to 'glue' multiple vocal layers together using bus compression and shared reverb/delay sends.
Advanced spatial processing techniques, such as micro-pitch shifting, the Haas effect, and frequency-specific stereo widening for backing vocals.
Vocal arrangement and music theory concepts for creating rich, multi-part harmonies (e.g., parallel harmonies, thirds, fifths, and octave doubling).
Dynamic EQ and sidechain compression techniques to carve out space in the mix, preventing backing vocals from masking the lead vocal.
259.6K views12.8Klikes0:44@iamkarramusicOriginal Release: 2022-12-11
my vocal chain part five this is how I mix my doubles harmonies and stacks I record each layer twice and pin them left and right I put auto-tune on each layer if it's singing and do the rest of my processing on the group starting with EQ to reduce the highs and lows with basic shelves followed by a compressor to keep the Dynamics under control I use the multi-mono version to treat the left and right sides independently followed by Soft tube harmonics for a blend of brightness and saturation and a de-esser to control the sibilance send them to the Reverb And Delay buses from Parts 3 and 4 and that's how I mix background vocals follow for part 6 mixing ad-libs
Up Next

10:05
How to Create Beautiful Background Vocal Arrangements: Tutorial | 3B4JOY
@3B4JOY
151.4K views•2017-01-30

12:54
Triumph of Orthodoxy Icon: Byzantine Art & History Explained
@BenCallan
2.1K views•2024-08-06

9:49
FastAPI vs Flask vs Django: Choosing the Right Python Web Framework
@TechWithTim
302.5K views•2024-05-26

1:42
Game of Thrones Opening Credits: A Cinematic Analysis
@gameofthrones
46.3M views•2011-04-18
Related Study Plans & Knowledge Roadmaps
Structured learning paths in General & Interdisciplinary Studies
general-studies
Elevator Engineering: History, Physics & Cities
01From Hoists to Safety Brakes: The Dawn of Vertical Lift
02Hydraulic vs. Traction: The Engineering Physics of Elevators
03Modern Speed, Safety, and Algorithms
+ 2 more learning modules
12h5 modules
Explore Roadmap
general-studies
Rubber: Material Science, History & Geopolitics
01Origins of Natural Rubber & Mesoamerican History
02The Chemistry of Natural Rubber & Vulcanization
03The Geopolitics of the Rubber Boom & Colonization
+ 2 more learning modules
12h5 modules
Explore Roadmap
general-studies
Containerization: Evolution, Logistics & Trade
01Ancient Trade & Bulk Cargo: Amphorae to Barrels
02The Industrial Revolution & Cardboard Packaging
03The Containerization Revolution: Malcom McLean
+ 2 more learning modules
12h5 modules
Explore Roadmap
general-studies
Textile Tech: Evolution, Labor & Global Impact
01Pre-Industrial Textiles: Handloom & Cottage Industry
02Mechanization: The Spinning Jenny to the Power Loom
03The Factory System & Global Labor Transformation
+ 2 more learning modules
10h5 modules
Explore Roadmap