




















![Web - JWT - Cr0wnAir - Union CTF [Walkthrough]](https://i.ytimg.com/vi/bHF-uOIaM-o/maxresdefault.jpg)





JSON Web Tokens (JWT) are a secure, stateless method for authorizing users across multiple servers by storing user information directly in an encoded token that includes a signature verifying its authenticity, eliminating the need for server-side session storage and enabling seamless authentication across distributed systems like microservices or load-balanced applications.
JWT Explained: How JSON Web Tokens Work and Their Benefits
Added:Understanding of HTTP/HTTPS protocols, statelessness, and request/response headers.
Familiarity with the JSON (JavaScript Object Notation) format for structuring data.
The conceptual difference between Authentication (identifying who a user is) and Authorization (determining what they can access).
Basic knowledge of traditional session-based authentication using server-side sessions and cookies.
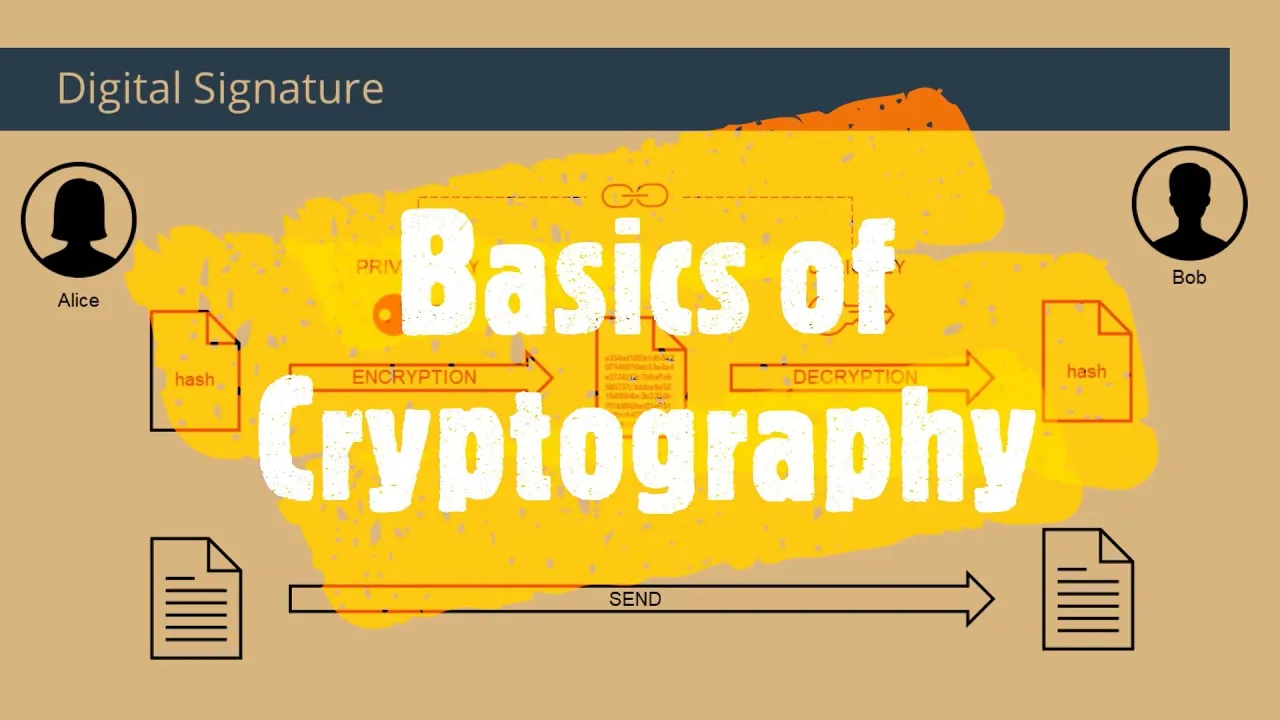
Fundamental concepts of cryptography, particularly hashing functions and digital signatures.
Best practices for secure JWT client-side storage to prevent Cross-Site Scripting (XSS) and Cross-Site Request Forgery (CSRF).
Implementing Refresh Tokens and Token Rotation to handle expiration safely without forcing frequent logins.
Understanding cryptographic algorithms used in JWT, specifically symmetric (HS256) versus asymmetric (RS256) signing.
Integrating JWTs into modern identity protocols like OAuth 2.0 and OpenID Connect (OIDC).
Architecting secure, stateless authorization flows across distributed systems and microservices.
1.4M views43.6Klikes14:53Original Release: 2019-07-27
Hello everyone. My name is Kyle and this is WebDev Simplified. Now, if you're anything like me, you've probably heard of JWT. You've maybe even seen a few videos on it, but you still have absolutely no idea how JWT really works or even why you would actually want to use it. So, today in this video, I'm going to answer all of those questions for you. First, I'm going to tell you what JWT is. Then, I'm going to talk about why you should use JWT. And finally, I'm going to show you exactly how JWT works and how you can use it yourself. So let's get started. Now [Music] first before we can get into the nitty-gritty details of exactly how JWT works, we need to understand what JWT is used for. And JWT is just for authorization, not authentication.
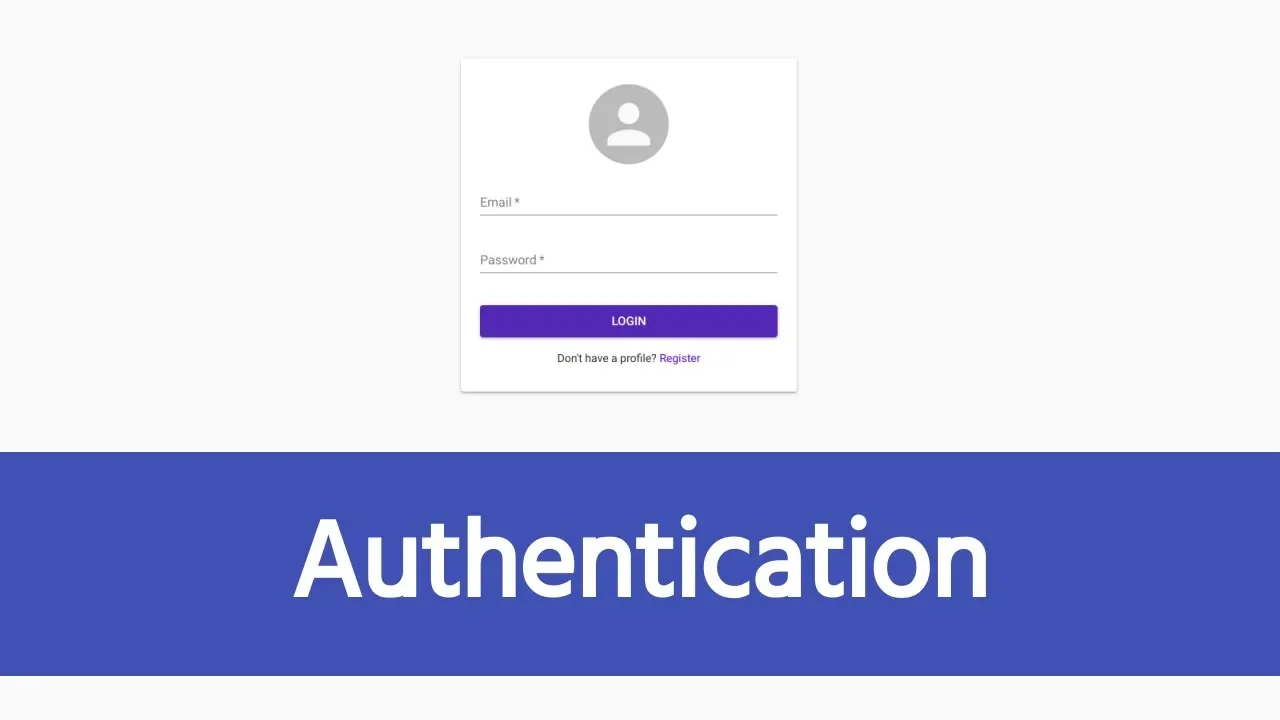
They're slightly different. With authentication, what you're doing is you're taking in a username and a password and authenticating to make sure that username and password is correct.
It's like logging a user in. But authorization is actually making sure that the user that sends requests to your server is the same user that actually logged in during the authentication process. It's authorizing that this user has access to this particular system. And the way that this is normally done is by using session. So for example, you have a session ID that you send down in the cookies of the browser and then every time the client makes a request, they send that session ID up to the server and the server checks its memory says, "Okay, what user has that session ID?" It finds that user and then it does the authorization to make sure the user has access. But JWT instead of actually using these cookies, it uses a JSON web token, which is what JWT stands for, to do the authorization.
Let's actually look at a quick graph to explain the differences. First, we're going to take a look at a more traditional user login system that uses sessions and cookies to store the user.
So, the first thing that happens is the user actually logs in from the client by posting to some kind of login service with their email password. for example.
And as soon as that gets to the server, what's going to happen is the third server is going to do the authentication to make sure that that user is correct.
And if that user is correct with the email password, what they're going to do is they're actually going to store that user inside the session which is stored in the memory of the server. And they're going to get a unique ID that corresponds with that part in memory.
and they're going to send that ID back to the browser using a cookie so that the browser always has that session ID that it sends up to the server every single time it makes request. So for example down here when the client needs to make another request for example they want to go to a new page in the application that session ID gets sent along with the cookie that it corresponds with. So since it's a cookie it gets sent along to the server and at the server what happens is it's going to do the calculation. It's going to go into the session memory and it's going to check do I have something in memory that corresponds to this particular ID that gets sent to me. If so, then it's going to say this is the user that corresponds with that ID and it has access to that user cuz it stored that user in the session memory. So now the application knows this is the user I'm working with. Are they authorized to access this information? If they are authorized then it sends the response back to the browser saying okay everything's good. Here's the information you looking for. The other form of authentication we have here is JWT. So I'm going to get these so we can see both of them on the screen. And it works very similarly at the beginning.
We make a post request with our email password and we send that along to the server just like before. But instead of storing information on the server inside session memory, what happens is the server creates a JSON web token, this JWT, and it actually encodes and serializes that and signs it with its own secret key. So the server knows that if you tamper with it, then it's invalid. It can actually check that based on the fact that it signed it with a secret key. Then it takes that JSON web token and it sends it back to the browser. And notice the main difference here is nothing is stored on the server.
The server doesn't store the user.
Nothing actually happens on the server.
This JWT has all the information about the user built into it. So it sends that JWT back down to the browser and the browser can choose to store that however it wants. For example, you could do cookie storage and it would work very similarly to over here. But anyway that it happens, the client is then going to send a request to the server and they're going to make sure to include that JSON web token so that it knows what user it's authenticating with. And the server what it does is it signed that JSON web token with its own secret key. So what it does is it verifies that this JSON web token has not been changed since the time that it signed it because if for example the client changed it and changed the user information in that JSON web token, the server will now know and they can say that it's invalid. But if for example nothing actually got tampered with the JSON web token is correct. Now what happens is it just deserializes that JSON web token and it says okay this is the user information.
It's stored in that token already. So it knows exactly what to do with that user and if that user is authorized to use that resource it'll send that response back down to the client. Now really the main difference that you're going to notice between these two is that in the session version the information about the user is stored on the server. So the server actually has to do a lookup to find the user based on the session ID.
But with the JWT, the JSON web token, what happens is the user information is stored in the actual token, which means it's stored on the client and the server doesn't have to remember anything, which is great because it means you can use the same JSON web token across multiple servers that you run without having to run into problems where one server has a certain session and the other server doesn't. I'm going to go into a lot more depth on why this is really important and how this makes JWT so powerful later in this video, but next I want to show you exactly how JWT actually signs its tokens and how it can store the user information. Here I am on a site called jwt.io and I'm going to link this in the description so you can mess around with it yourself if you want. But essentially what we have is two different panes. On the left we have the encoded version of our JSON web token. This is what you send to and from the client. And this is how you authorize the user for different resources. On the right, we have the decoded version of that JSON web token, which has three distinct parts. It has a header, which determines the algorithm that you're actually using to encode and decode this. It has the payload, which is just going to be all the information you store in the token. And lastly, and most importantly, we have the signature, which allows us to verify that the token hasn't been changed by the client before it gets sent back to us. So the very first thing we want to look at is the header. And as you can see over here, the header is always before the very first period inside of this. And it's just base 64 encoded. So here we have our header. And this is just determining our algorithm and our JWT token type.
And really this is only useful for our signature portion at the very end where we're verifying it. So we're going to kind of skip over this and go on to the second section which is our data. And this comes in between the two other periods. It's really nice. JWT actually separates things by periods. So it's very visually easy to see what the different sections are. So here we have our data section as I mentioned and this is where you're going to put all of your different data for your application and there's some very common fields that you're going to see across all different JWTs. For example, this su which stands for subject. This is just going to be most likely the ID of the user you're authenticating. Lots of times you would store this in the session inside of your database or inside of your server. But here you're just storing this ID directly in the token you're sending back to the user. Next, we have other fields. You can put anything you want in here. For example, we just have a name field here for the user's name. But like I said, you can put anything in this data component. These are just some common fields that you may all the time see. Another one that's really common is IAT, which stands for issued at. And really, what this is saying is when the token was created. This is really useful if you want to actually expire tokens.
And you will notice a lot of tokens will also have something called EXP or EAT, which is going to stand for expired at.
And this is just the date that the token no longer becomes valid. And it's important a lot of times to have an expire date on your tokens because otherwise someone else could take your token and use that to authorize themselves as you. And if it doesn't expire, they can just use that forever and ever and ever saying that they're you even though they actually are not.
So you need some way to expire your tokens so that sort of activity does not happen to your users. Lastly, most importantly, we have this verify signature at the bottom. And what this is going to do is it's going to allow you to actually verify that the user did not mess with the token before it got sent back to you. And the way that it does that is it actually takes the first two portions of the token. So it takes your header and it B 64 encodes it. So you have this red section. Then it adds a period and you have the purple section which is the base 64 encoded payload. So B 64 encodes both of those sections and combines them with period. Essentially all it does is it takes your header and it takes your payload and it combines them together. So you have all of the data as it was when you sent it down to the user. And then what it does is it uses the algorithm which is defined in the header here, HS 256. You can change this algorithm if you want, but this is just a good one to use. It uses that algorithm and actually a secret key which you can define yourself. For example, we could just define a key called secret. That's a terrible secret key, but just for this example, we'll use it. And then what happens is it uses this algorithm up here, HS 256, and it encodes your data portion. So essentially all of your header information and your data information.
It takes all of that and it encodes it using your specific secret key and that's what this blue section is. It's the encoded version of your data that you have sent to the client. So now if the client changes the data, for example, they remove this six from their data. Now you can see immediately the signature is not going to match because when the client or when the server gets the information from the client, what they're going to do is they're going to decode this top section. They're going to combine it together down here. As you can see, they're going to base 64 encode the header. They're going to base 64 encode the payload. And then they're going to hash it with the particular algorithm and they're going to check does it match the last portion of the key. If it does match the last portion of the key, then you know that the user did not mess with anything. But if when they hash it, as you can see up here, they get a different result. For example, when you hash this information, you are not going to get this blue section. So they know immediately that this key has been tampered with and that the data in the JWT is no longer valid.
And that's why you can actually store user information on the client and you can actually trust that they haven't changed it because they would have to have your secret key. If they ever did get access to your secret key, then they would be able to fake changes. But that's actually not going to happen as long as you safely store your secret key on your server and unaccessible to other people outside of that server. And hopefully that made sense. This really essentially works a lot like password hashing in the fact that the header up here and the payload are actually combined together and then hashed in a way that they cannot be unhashed. And the way that it checks here, this blue section is just the hash of those two.
So anytime your data is changed, the two hashes will no longer match, which means that you know that the data that the client is sending you is not the same as what you originally sent them yourselves. Only when those two information pieces match do you know that they're exactly the same. Now that we've talked a lot about how JWT works, what it is, we should finally talk about why you would want to use JWT. And let's take a look at a very simple example of one of the most common use cases of JWT.
Here we have two different servers. We have a bank that owns a server that runs all of their banking applications, their banking website, all of the bank information you could think of. But they also own a separate server, and this takes care of all of their retirement plans. They allow people to invest and do retirement plans on a completely separate Rev application, but they want their users that log into the bank to also be able to be automatically logged into the retirement account. So when they switch from the bank to the retirement server, they don't want the user to have to relog back in, especially if they make this transition very seamless to the user. So it looks like they're on the same application.
This is really common in a lot of larger scale industries and applications and companies. So what happens is the client makes a request here to the bank. They say, "Okay, I want some bank information, bank information, blah blah blah." They do all their banking stuff.
And then finally, they get to the point where they actually want to access the retirement information. And if you have a normal sessionbased server, what happens is your session is stored here inside of the bank and not inside of the retirement server. So what happens is your user needs to log back in because they need to be able to have their session stored on the retirement server because the session ID from the client is not found in the retirement server.
But when you're using JWT, if you share the same secret key between both your bank and your retirement server, then all you need to do is send the same JWT from the client to both of them and you'll be authenticated both times without having to relog back in. I know this is a little bit confusing to wrap your head around at first, but essentially we're storing the user information on the client, while in the old cookie session version, we store it on the server. And since we have two separate servers, we need to have the information stored on both of them. But that's not very easy to do or very possible. So what usually happens is you have to store it on one place and then the user has to relog in when they go to the other place. But with JWT, since the user information is stored in that token on the client, it doesn't matter if they access the bank server, the retirement server, or any other server that this bank owns, they're still going to be logged in because they have the same exact token and all of the servers can recognize that token as long as they have that same secret key on the server.
Another time that this is really useful, same kind of example with multiple servers, is let's say for example, we had two bank servers. The bank was very large and they needed two different servers to be able to handle all of the users that were coming to the server and they had some form of load balancer out in front that distributed traffic to the different servers. Let's say that your client was accessing server A for a while and then this server A got really busy so it moved that client over to server B over here. Their session is no longer stored on server B. It's only on server A. So the user has to relog back in when this happens. And with JWT, you don't have to worry about that because like I mentioned earlier, the user is stored on the client. That's really the important thing about JWT is the user is stored on the client. So no matter how many different servers you have, no matter how many different applications, load balancers, or anything that you have, it doesn't matter. The user can always authenticate with any of those servers as long as you have the same secret key between them. Another instance where this is really useful is if you have a lot of really small services such as microservices where you may have an API, you may have an actual web server, maybe even something else, you can use that same JWT token from the client to authenticate with any of those different microservices all across your different architecture. And now you know literally everything you need to know about JWT. If you want me to make a video explaining JWT in Node.js, let me know down in the comments below cuz I would love to make a tutorial on that for you. Also, make sure to check out my other videos linked over here and subscribe to the channel for more videos of me simplifying the web for you.
Up Next
7:04
OAuth 2.0 Grant Types: Authorization Code, Client Credentials, JWT
@LearnFlow-x6o
245 views•2025-11-19

87:26
Introduction to Secure Multiparty Computation with Yehuda Lindell
@fhe_org
7.7K views•2021-02-04
39:43
GraphQL Tutorial: Build a Server with Node.js and Express
@WebDevSimplified
777.2K views•2019-03-02

19:25
Enigma Machine Mechanics: WWII Encryption Explained
@JaredOwen
13.2M views•2021-12-11
Related Study Plans & Knowledge Roadmaps
Structured learning paths in Computer Science
computer-science
Container Runtimes: Namespaces, Cgroups & Go
01Linux Systems & Go Programming Foundations
02The Core of Isolation: Chroot and Filesystems
03Linux Namespaces: Process Isolation
+ 3 more learning modules
32h6 modules
Explore Roadmap
computer-science
Building a CHIP-8 Emulator: Rust & CPU Basics
01Computer Architecture Foundations (Bits & Bytes)
02Rust Programming for Systems Development
03CHIP-8 Virtual Hardware Specifications
+ 2 more learning modules
32h5 modules
Explore Roadmap
computer-science
Building BitTorrent: Go, P2P & Concurrency
01Go Fundamentals & Concurrency
02Networking Foundations & P2P Architecture
03Bencode Parsing & Torrent Metadata
+ 3 more learning modules
26h6 modules
Explore Roadmap
computer-science
Actor Models (C++ Concurrency & Lock-Free)
01C++ Multi-Threading Foundations
02Thread Pools and Task Scheduling
03Atomics and Lock-Free Queue Design
+ 3 more learning modules
45h6 modules
Explore Roadmap