
![What is OpenCV with Python🐍 | Complete Tutorial [Hindi]🔥](https://i.ytimg.com/vi_webp/ur8IHlbs3oM/maxresdefault.webp)

![INTRODUCCIÓN - [Curso Básico de la librería NumPy de Python]](https://i.ytimg.com/vi/nN_TYjT_KiI/maxresdefault.jpg)


![27. Phát hiện đối tượng - CNN - [Convolutional Neural Networks]](https://i.ytimg.com/vi/SZek15fKsPg/maxresdefault.jpg)




![Python: Real-time Multiple Object Tracking (MOT) with Yolov3, Tensorflow and Deep SORT [FULL COURSE]](https://i.ytimg.com/vi/zi-62z-3c4U/sddefault.jpg)









This video demonstrates how to implement real-time object tracking using YOLOv8 for object detection combined with DeepSORT for multi-object tracking, including vehicle counting by detecting when tracking trails intersect predefined lines to count vehicles entering and leaving a highway road.
Real-Time Object Tracking with YOLOv8 and DeepSORT | Vehicle Counting Tutorial
Added:Proficiency in Python programming, particularly with computer vision libraries like OpenCV and numerical processing libraries like NumPy.
Fundamental understanding of Deep Learning and Convolutional Neural Networks (CNNs), specifically how object detection models localize and classify objects.
Conceptual knowledge of the YOLO (You Only Look Once) architecture and the mechanics of single-stage object detectors.
Basic familiarity with state estimation and data association algorithms, such as Kalman Filters and the Hungarian method, which underpin tracking systems.
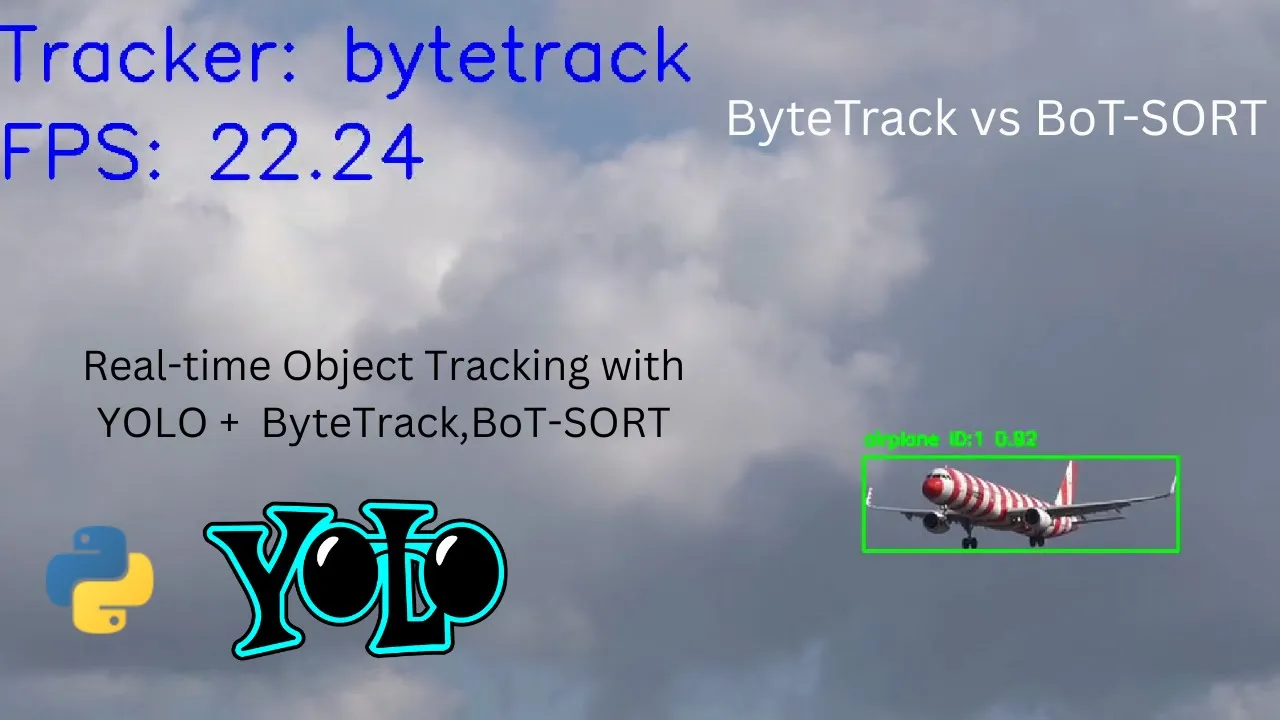
Exploration of state-of-the-art tracking algorithms like ByteTrack or BoT-SORT to compare performance, accuracy, and handling of occlusions.
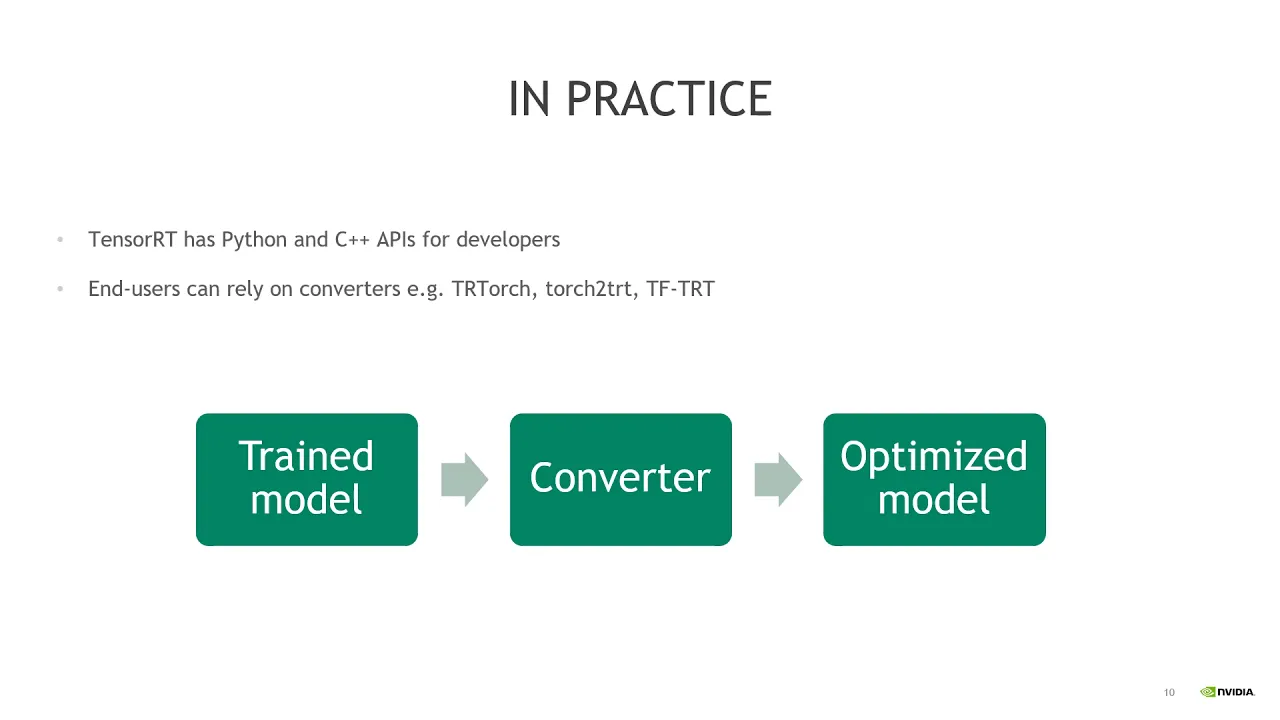
Model optimization and deployment techniques using TensorRT, ONNX, or OpenVINO to achieve high-frame-rate inference on edge devices.
Implementation of advanced spatial-temporal analytics, such as vehicle speed estimation, trajectory prediction, and virtual tripwire analysis.
Developing Multi-Camera Multi-Target (MCMT) tracking systems to re-identify and track vehicles across non-overlapping camera views.
64.1K views850likes29:09Original Release: 2023-01-12
hi everyone in this video we will see how we can Implement object tracking using deep sort in Yolo V8 we will be tracking ID as well as Trails we will create an application in this video as well in which we will implement the number of vehicles entering and leaving a highway road so as you have seen the demo at the start of the video so let's move forward in the first step you can see as this is my GitHub repo uh which I have created for YOLO V8 deep sort tracking so first of all I will go on this GitHub repo into my IDE I will be using pycharm for the implementation of this project so as I don't have a GPU so you can also implement it on CPU I will be showing demo on CPU so if you have a GPU you will follow the same steps so no step will be changed you will follow each of the same step if you have a GPU based system if you don't have a GPU based system then I also don't have a GPU based system so I will be following the same steps so here is the collab filing as well you can Implement in Google collab as well it's a single click solution so I will be showing you the implementation of pycharm ID in this video I will be explaining the complete code as well so please watch the complete video and so I hopefully at the end of the video uh your very much Concepts will be cleared so let's start the implementation so first of all I will create up icon I will open python so this is uh my GitHub repo I have just published 10 hours back so let's look into more details so just open the pycharm okay in the meanwhile as the python is loading let's create a folder here so we can name it uh leaps or nothing in tutorial okay that's nice something okay so first of all I will go to files this is previously opening project I was just checking few things go to new section okay no sorry I'll go to open and then what I have created yeah this is the file this is in this file trust project click on trust project this window yes so let's move forward so first of all uh not nothing to worry about just go to the terminal just open the terminal I am using pycharm us you can use BS code or any other ID which you like to work on so no worries if you are working on some any other ID so first of all uh we need to upload the GitHub repository so here all the steps are mentioned as well so let's just follow the mention uh the steps I have mentioned in the GitHub repository so first of all the step step is to clone the repository I will be explaining your code as well don't worry so just go here and just Ctrl D and press enter nothing to worry about so it might takes two to three minutes so let's wait okay so now we have drawn the GitHub repository okay so in the next step uh we need to go to our clone folder so just copy this and just go to the font folder so now we are in the control called uh clone folder now we need to install the requirements as well as install Ultra latest so install requirements right to install minus and dot txt let's install all the requirements uh here we have this requirements file you can see over here now install Alternatives as well like you can see that the next step after requirements is to install electrolytics installed and from Analytics so it might take a few process so as I have already done many work working on your search appearing like requirements already satisfied like uh these species are all already installed in my Python 3 Library so it's not installed on your site it might take few minutes so don't worry about it so now setting the directory so okay so now we are setting it directly as yellow V8 detect so let me show you what it is so this is Yolo and let us close this first and this is the A8 folder and then we go to the detect folder so first of all let's look at a tracking strip so this is the tracking dot by file which I am redirecting my directory to so for example currently my directory is set as configure sentence just setting this [Music] um give me a second so just click on ok now I'll just continue so this is a tracking dot Pi file over here I am just redirecting uh to this folder like the tag folder which contains our tracking dot file so currently I am over here your low vid sorry in the main folder so to redirect over here I will go to CD YOLO Dash to Turk Dash V8 sorry don't this is the V8 and detect is the subfolder of the video detect and just click on enter okay so now we are here in the detect folder and this is the tracking dot Pi file okay so now we have redirected to this folder so the next step is to download these deep sort files from this Google Drive and place into the uh you know V8 folder so basically the Deep sort uh sort file size are very large so we we cannot uh upload on GitHub of a file above like 25 MB so these are very these files are flies have above 100 MB so we would prefer I so therefore I have uploaded these files on the Google right so you can download these files from Google Drive from here and just place them into the folder like that I will mention so it might be a few minutes let us go let us okay that's weird so okay so before you download it okay okay it might take a few minutes so now just go to this folder uh this folder is present over okay and just click on extract files okay this is the folder these are the five so I will just copy it and just go to YOLO is see this is the folder and just I will paste over okay this is my folder and I will just paste these files over here okay so please follow the step which I have explained here don't skip and Skip okay so if I see now these are deep sort by Dodge files appearing over here why we are downloading sort by torch because we are implementing our tracking using deep sort tracking ID as well as streams using deep sort so please remember this point Okay so let's go over here and just uh for to for testing I'm will download the sample video from this driving so directly download the sample video from here okay and now I've downloaded the sample videos here so now just to run this script so if as I'm testing on CPU so it might take time to run the script it will take time to run the script so in the meanwhile the script will be running I will explain you the complete script so what's going on at the back end okay so it's working so in the meanwhile as you can see the under script is being running so let's go to the code so as you can see the script is being running so it might take some time like you can see that um it's working so let's create the till the implementation gets complete and then we will see the output video so in the meanwhile let me explain you the complete code so first of all uh this is the tracking dot Pi script for example this from here uh basically we have imported the best predictor from YOLO uh ultralix's Yellow Engine as well as I'm just importing the annotator colors and save one box although we are you're not using the same unbox over here so but I'm important from the planting Library here I have just imported cue2 so in computer vision library from here I have from this is from these are the libraries which I have imported from the deep sort files these two libraries and from collections I have imported DQ so what we are doing is in DQ is basically DQ is a so DQ is basically uh you can say that let me write out here DQ is basically uh double ended queue oh my God so why we use DQ basically uh we prefer DQ over list you over what it is when we need to perform insertion or pop-up patients defense at the same time so DQ is basically a double ended queue we prefer DQ over list when we need to perform insertion or pop operation over same time so here we are basically where we are using here we uh why we are using DQ is basically uh when we find the bottom center of the boarding box we basically uh after finding the bottom center of the bonding box like for example here we have a card or a drug after funding uh the Border symptom water set bottom center of the bonding box uh we append basically them to uh in the form of DQ like for example the bottom center uh value is 2.8 I will append this value in the DQ so basically uh we can Define the maximum length of DQ as 64 and 32 so this value will be appended into the DQ for example of now the car exists from the frame Grand frame so we need to remove this value from the EQ so okay so basically uh when the cars come into the frame the value of this bottom center edge of the botting bounding box uh is appended into the DQ as the car disappears from the frame we need to remove the value from the DQ of the center Center value from the bottom center of the bondix was value from the DQ so here we are performing insertion and pop-up operation at the same time so therefore we prefer EQ over a list thus we can Define have defined the maximum length of dqs64 so it will not accept values Above 64. So as the values get 64 it will not accept the further values okay so this is here we are using the DQ uh as well so further details will be given so here we are defining the color palette here we are defining DQ and here we are just initializing deep sort of none and here uh this is basically the code here we have initialize all the Deep sort because my tech tracker is deep sort uh in some cases you can use sort alt give them as your tracker buy track as your tracker as well but here I'm preferring a deep sort as my tracker okay so this is all the code where we basically calculate the relative bonding losses for absolute pixel values and this the same quality code is fair as well so this is basically how we compute color for labels for example if the label is scarred so this specific color will appear for the car so basically it's a purple color and if we have a bus it's around pink light pink color and we have different color for the water uh motorbike so if the label is not from these so it will randomly slide color from the palette so here we have defining now basically here what we are doing is we are creating a draw using draw Dash border uh basically we are defining a good UI so let me tell you uh a bit more in it so you can see that this is the car this is the UI like you can see that this is appearing in the rectangular form like you can see that this is in a rectangular form not in the Square so if I want to create this into the square form I can simply use cb2.
rectangular rectangle but you can see that the UI is in the form of like stylish form like because it's not in the rounded rectangle form like you can see that this is in the form of laundry rectangles so I am just creating this uh UI through uh basically I'm getting a separate function uh to make my UI border so uh better so draw that border and the function which contain which creates a rounded rectangle UI like using this function we create this rounded rectangle UI I'm just talking this there we have written 17 card so you can see that this appears in the rounded form rounded rectangle from so using draw Dash border function we create a rounded rectangle UI okay so now further we have the UI Dash box uh in UI Dash box we just uh write text or what like you can see that okay so this is a 17 or card so basically in UI Dash box we basically pass this label value into the rounded rectangle we have created in the draw Dash border function so just this thing like you can see that we have calling the draw Dash border function from above over here and just putting the text over here into it so okay so here we have the function raw Dash boxes basically here you can see that we are finding the center of the body bottom Edge and then we are just calculating the identities for each of the word detected object and you can see that we have defined the maximum length of DQ uh our double ended Q as 64 it will not accept values above 64 and here we are uh finding the object name what object name is like it's car or truck and here we are just finding the format of our label like we have a unique ID for each of the detected object like this is uh here we have let me show you like you can say that 29 39 30 each uh object or detective object has a unique ID like 29 39 36 38 30. okay so we are assigning a unique ID to each other clean project and in the label we have the object name well like if it is car it is copyright into it is motorbike it is appearing motorbike and then after finding this finding the bottom center of the uh bonding box we are appending this into our double ended queue okay so basically why we are appending to double ended queue because we need to generate Trails because using this we generate Trails let me show you what are trails this is seriously okay so now you can see that uh this line just give me a minute so now you can see that this line over here this line this is our Trace so basically uh our each of the center of the bonding box values will be appended into the data DQ uh double ended queue list and using this uh the CD generator queue like you can see that this is the line we have generated so all because we have appended all the values in the form of data DQ and using Delta DQ we generate this line like you can see over here from the bottom center of the boarding box you can see that this is the bottom center of the body box you can do at the center of the bonding box or the top center of the bounding box I am just focusing on the bottom center of the body box as well okay so here we have done and here we are just creating like you can see the trails like I have shown you the trails over here which I have shown you like these are the trails like you can see that these are the trails like this and this so basically we are creating using CB2 dot line and you can see that we are taking the last value and the current value to generate the trails you can see over here find up data DQ then we have a data predicted deduction prediction function first people do the pre-processing then we apply non-mex regression uh to resize our coming image from the frame by frame and basically we have the video in the form of frame by frame to resize that frame and then further we are basically doing a annotations and here basically we are performing detections one by one like you can see that here I'm just calling the Deep sort function which have I initialized over here I'm just calling this function over there like you can see that this is a deep sort function which I have initialized so I'm just calling this function over here we saw dot update in the form of here and basically now I'm just passing these four values as you can see over here I'm just passing these four values over here uh this is the object ID we are getting as the output here here we have the object ID as well here we have the identities like uh object ID basically help us to find the class name object ID basically has bus 2.4 example we know that at 0 we have person at one we have got so basically if the object ID is zero we know that this is a person object ID is one we know that it is a car or and identities have assign help us to assign unique ID to each of the detected object okay and set dot modern dot names basically is help us to get uh the data the information from the Coco data set and this is the bounded boxes like for example um from where from the points of the bonding boxes like that like you can see that [Music] um okay basically uh this may tells me x one y one x two y two so this tell me these two points of the bonding boxes okay so this this gives me the information about these two points of the washing boxes and this is my current frame which where I am pending all this information so this is all the code here I'm just running the script and So currently we have done this script till this so just stop the script and check what out we have just stop the script over here okay so let me go to here we have the information [Music] so this is the current output we have like you can see that I am not using I am using a nano model so not giving something very perfect prediction so like you can see that these are the trails this is the unique ID and I did achieved up there okay so now moving further as well uh now if you want to uh implement the number of vehicles entering and we are leaving like you can just seen at the start of the demo at the start of the video so you can run this script as similarly you can tell me what topics you like you are facing an issue in such topic I will create a demo videos for these topics as well so we are basically creating a complete computer vision series for Europa and I will be creating two to three lectures every week so it's going to be a very interesting learning so do subscribe the channel so that I will share more content now let us see what happens so as the basically uh let me I will explain this file as well so let us just see so when this Trail intersect this line let me check let us take it plywood change when these two will intersect this line okay now yes okay when this like you can see that when this player intersect with slime it detects like this is the drop one always misdirecting what it is like the object has passed so when this will pass over here it will do the same so let us wait for this as well to so just let us wait for a few minutes it's awesome I'm just waiting to just to pass over here foreign [Music] so now you can see that let's just wait for a few more minutes for this pass as well and as it just intersects okay the count is increased so you can just check this out as well further now let me explain this code to you basically uh in that demo video you have seen the line at the start like when the trails of the car intersect with the line uh basically it blinks and the count increases so here we have defined this line like let me show you for the so that we don't have any doubts let me just give you a minute so this is the line um can I edit it okay so this is the line uh this is a complete line you can see that this is the complete fine Green Line we are talking so when this trace this intersect with this line the count increases so here I have defined this line as here and this is the initialized studied sort and this is all the same board we have discussed the cardboard border let me show you the difference Here Comes This is the same code and this are the intersect CCW and get direction for example uh if that direction is we have to find the directions for Atomic direction is sort or not so for example at least and West we are just focusing on these two direction in this video like South South and North Okay so find this function over here so uh basically if the south is interaction it will increase the count plus one if not in the direction it will also increase the count plus one so for example if that Trails uh if the if the trains are moving in the direction of South it will increase the count as well and if the trails are moving in the direction of North it will increase the count as well let me show you so like you can see that uh industry forgot now South East was this is not his problem okay so for example as you can see that this here we have this South and here we have the North so if the trails move in this direction the count will increase the number of vehicles in leap entering and if the trails come in this direction like you can say this is in the South Direction it will represent the number of vehicles leaving okay so in this way we are increasing the count and here I've just set the UI like here just the uh what is over here is basically I have set all the UI all this UI like you can see that this UI and this UI is being set through this like this UI so I understand the UI and does the same either under detected function as well and nothing further so I hope you have liked this video so do watch this complete video and if you have any issues do let me know in the comment section I will show the answer
Up Next
12:09
AI Quantization Explained: Optimize Local LLM Performance
@technovangelist
403.3K views•2024-12-28

57:48
Secure Multiparty Computation (MPC): Foundations & Challenges
@SimonsInstitute
7.3K views•2015-05-28

13:03
Bypassing Tor Censorship: Bridges and Pluggable Transport Guide
@Coding_ForEveryone
397 views•2024-06-11
18:41
Neural Networks Explained: Math, Layers, and Learning Fundamentals
@3blue1brown
21.9M views•2017-10-05
Related Study Plans & Knowledge Roadmaps
Structured learning paths in Artificial Intelligence
artificial-intelligence
Aligning LLMs: DPO, TRL & Custom Datasets
01Foundations of Python & Machine Learning
02Transformers and Large Language Models (LLMs)
03Aligning LLMs: SFT and RLHF
+ 3 more learning modules
24h6 modules
Explore Roadmap
artificial-intelligence
Federated Learning: PyTorch, Flower & Privacy
01Python & Machine Learning Foundations
02Deep Learning Basics with PyTorch
03Introduction to Federated Learning
+ 2 more learning modules
35h5 modules
Explore Roadmap
artificial-intelligence
Securing LLMs: Guardrails AI & NeMo Gateway
01Introduction to LLMs, Python, and APIs
02Understanding LLM Vulnerabilities & Threats
03Defending LLMs with Guardrails AI
+ 2 more learning modules
15h5 modules
Explore Roadmap
artificial-intelligence
Building Recommenders: Two-Tower & Vector DBs
01Foundations of Python & Machine Learning Basics
02Introduction to Recommender Systems
03Deep Learning & Representation Learning
+ 3 more learning modules
75h6 modules
Explore Roadmap