














![CINEMATIC LIGHTING IN 5 MINUTES! [Using One Cheap Light]](https://i.ytimg.com/vi/cXZt4N2CgbM/maxresdefault.jpg)


Magic hour cinematography involves using natural low-angle sunlight combined with strategic lighting techniques like negative fill (using black reflectors to create shadows), circular polarizers to reduce window glare, and battery-powered lights (such as Nan Light Pavlo tubes) to maintain visual interest when natural light diminishes, ensuring actors' faces remain visible and emotionally expressive throughout the scene.
Cinematography Techniques: Shooting Golden Hour Night Scenes
Added:Understanding the exposure triangle (aperture, shutter speed, and ISO) and how to manage low-light noise in digital camera sensors.
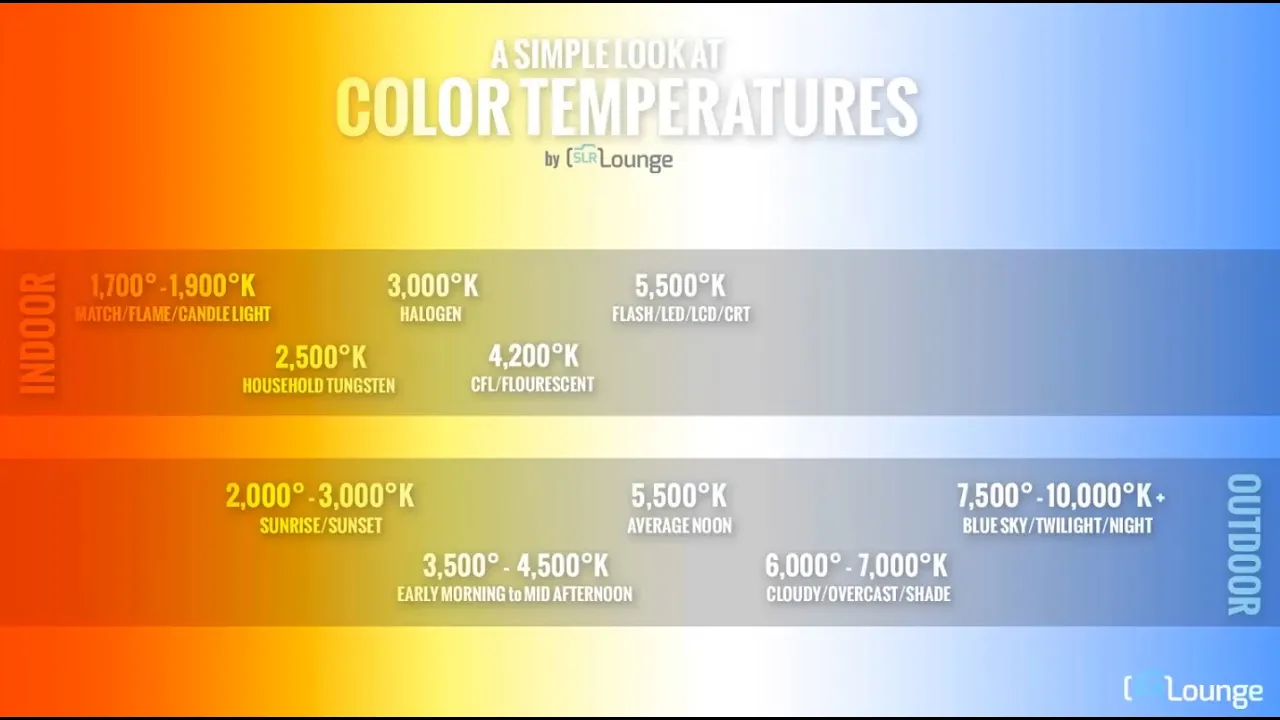
Concept of color temperature (Kelvin scale) and how natural light shifts in color during the transition from golden hour to twilight.
Basic principles of light modification, including the difference between hard and soft light and how passive reflectors manipulate ambient light.
Fundamentals of camera optics, specifically how circular polarizers function to control glare, manage reflections, and saturate colors.
Advanced color grading techniques in post-production to seamlessly match and enhance the mixed color temperatures of LEDs and natural dusk.
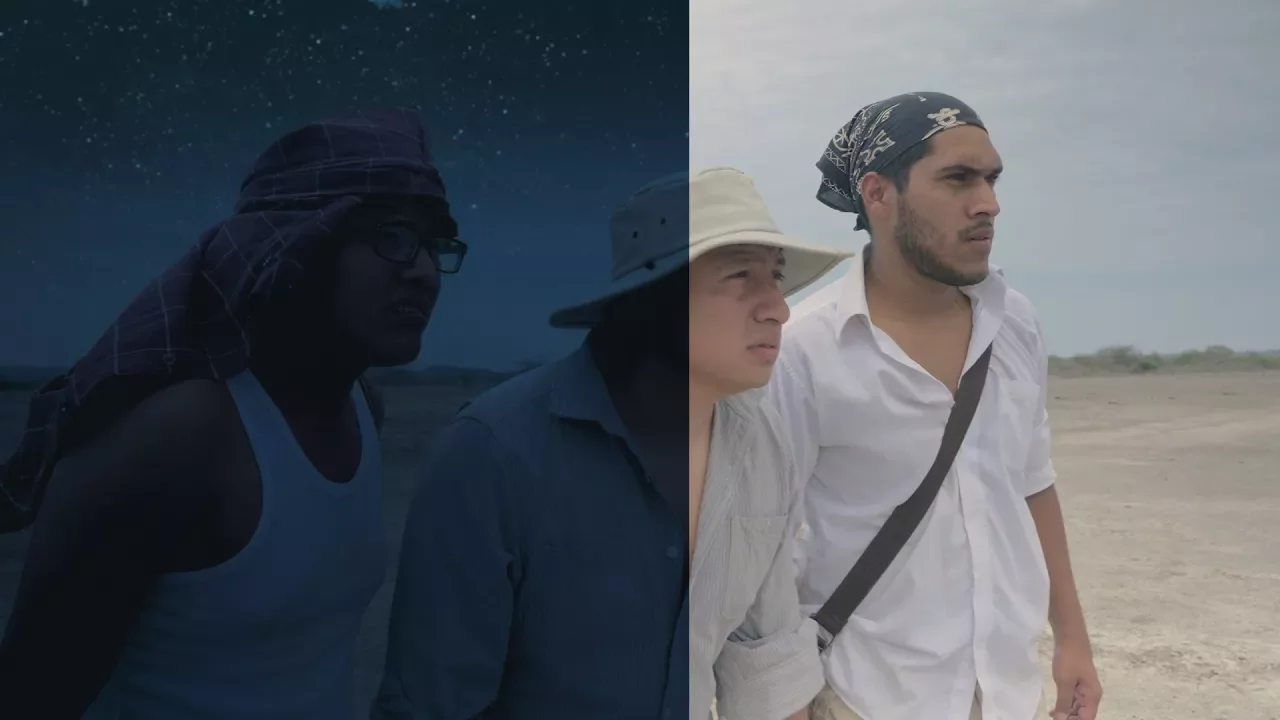
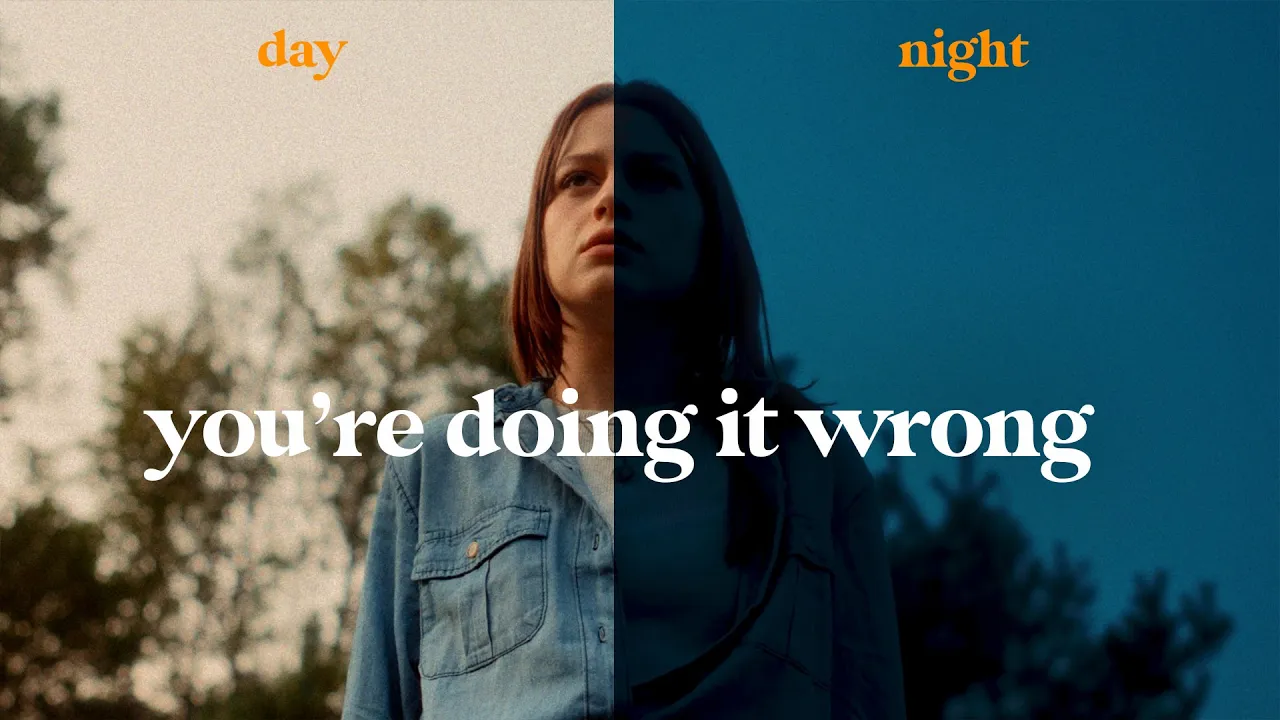
Day-for-Night cinematography techniques, learning how to underexpose and manipulate white balance to shoot night scenes during the day.
Cinematic lighting for mixed-light urban environments, combining natural magic hour ambient light with practical lights like neon signs and streetlamps.
High Dynamic Range (HDR) exposure metering to preserve details in bright sky gradients while keeping shadow areas clean and noise-free.
189 views7likes13:29Original Release: 2021-12-03
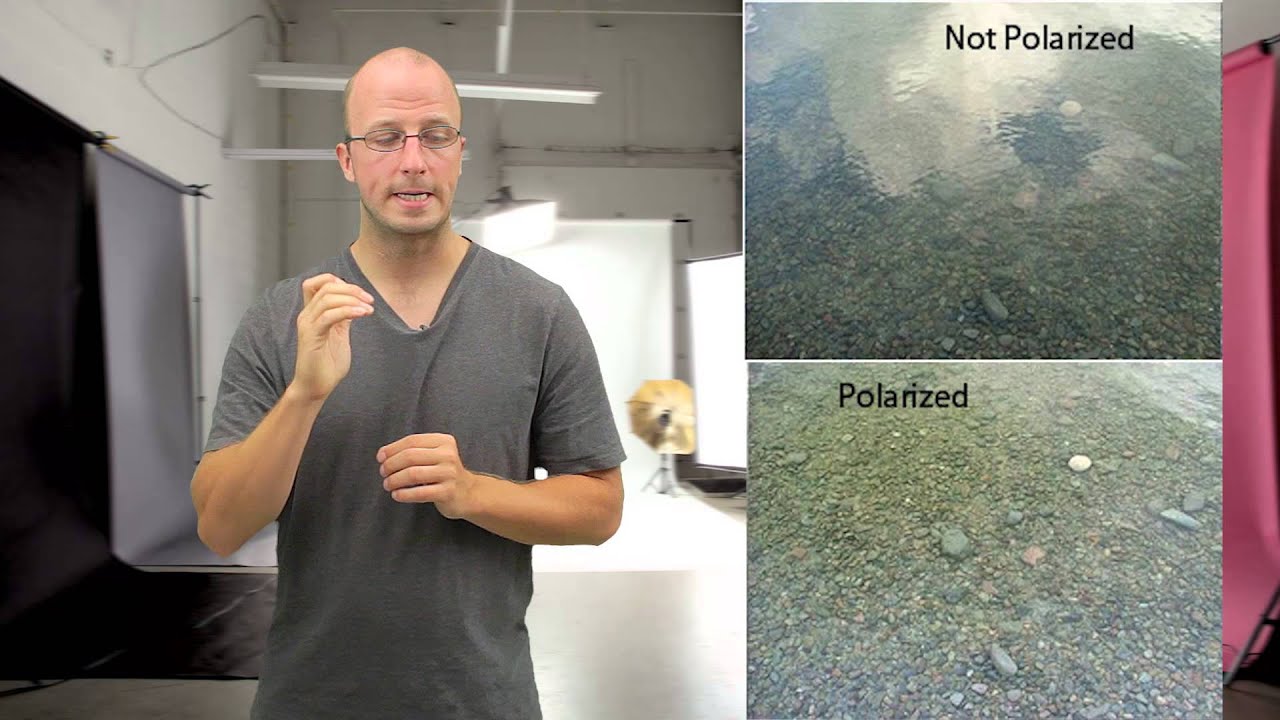
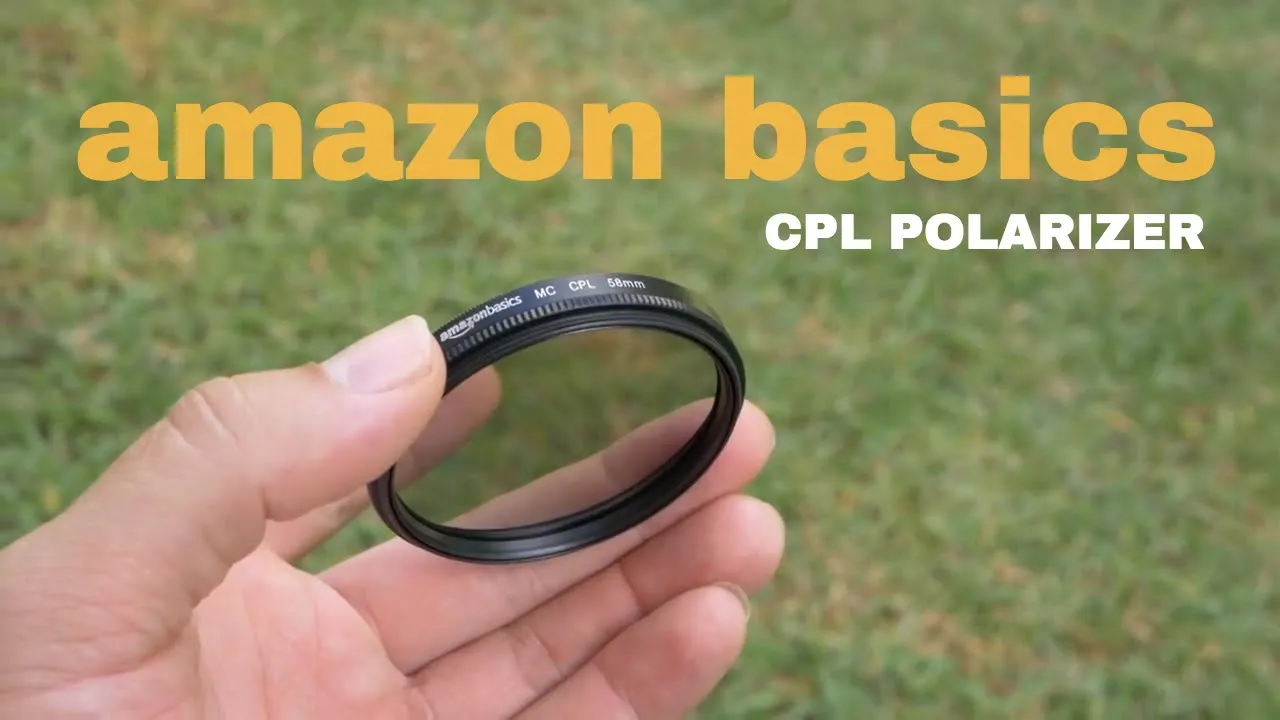
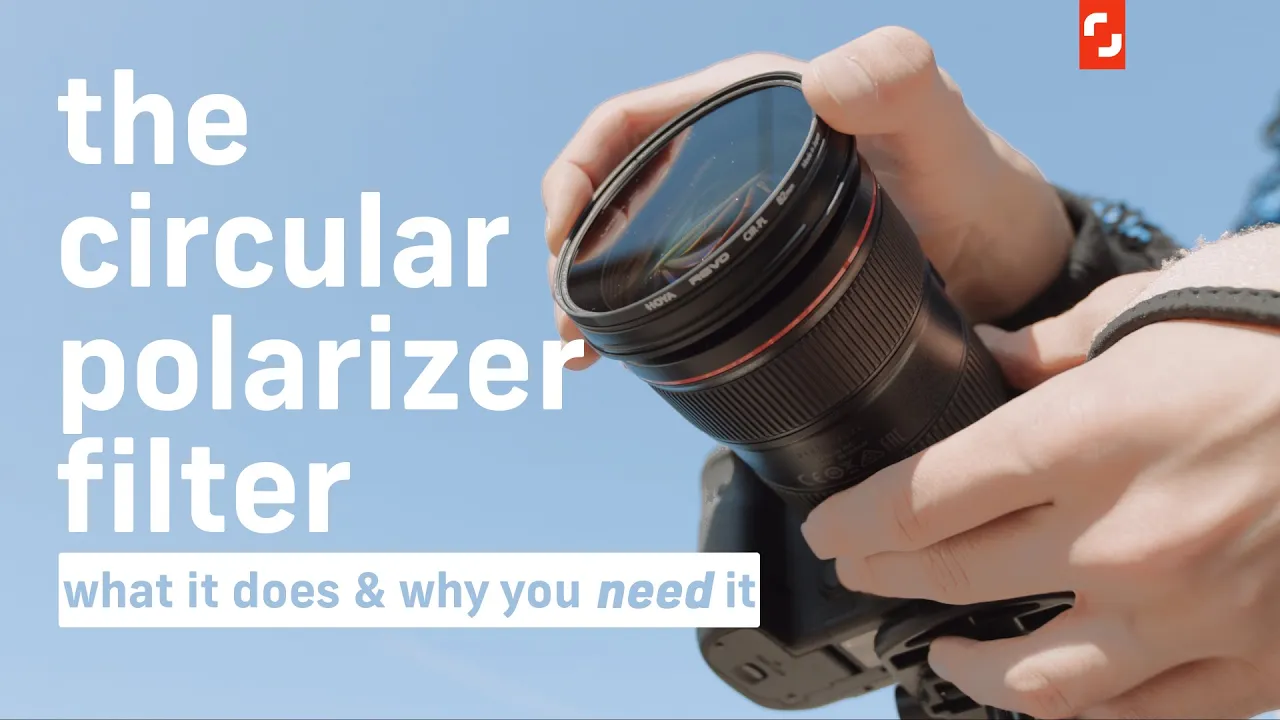
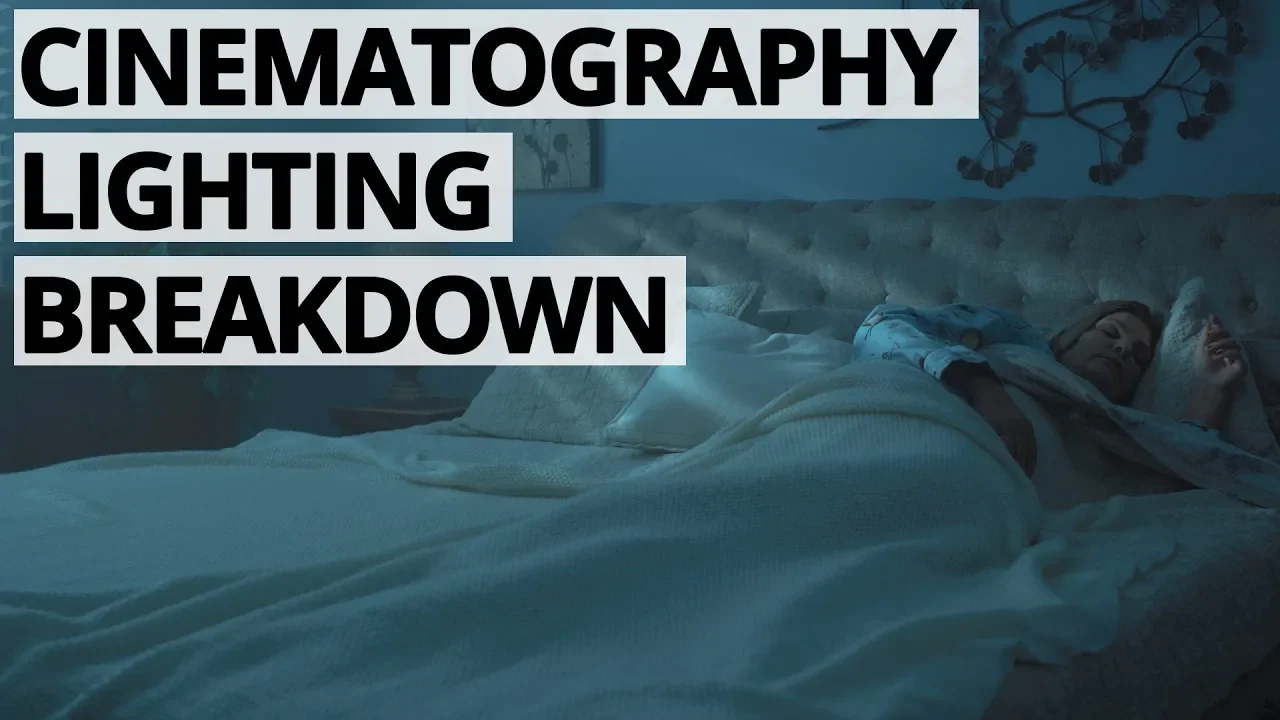
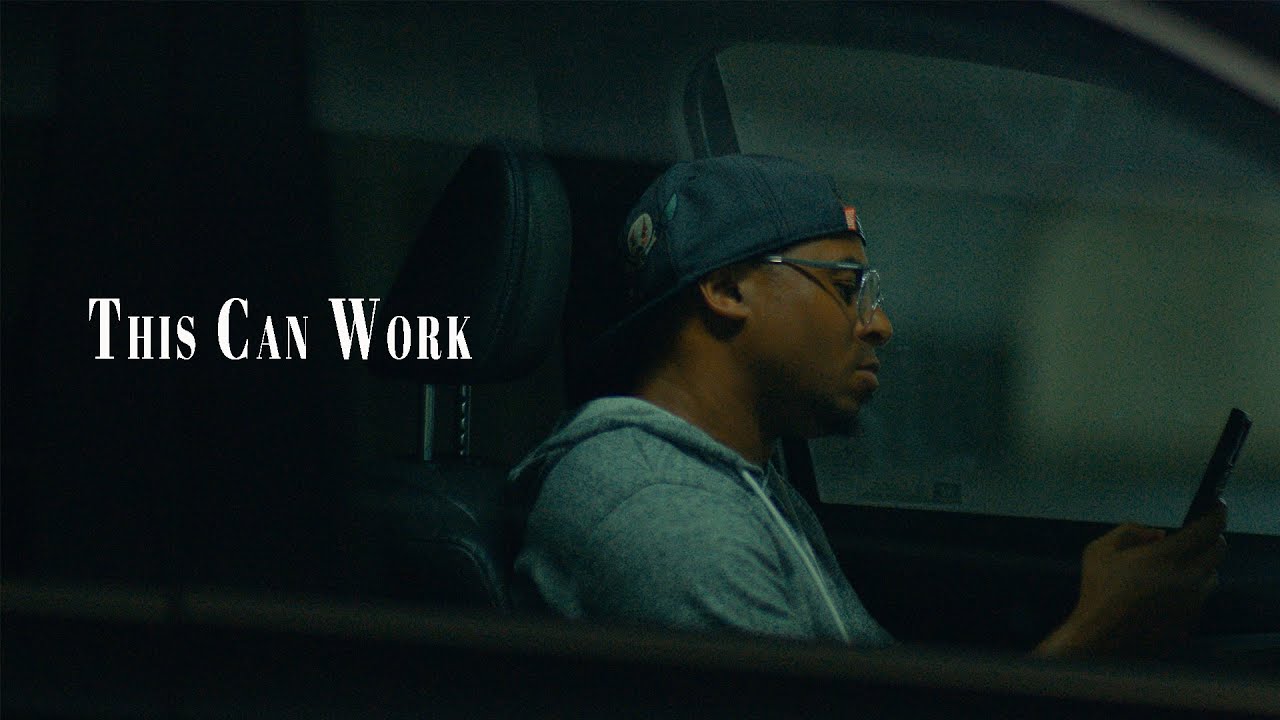
how's it going everyone this is scott takai and today i'm going to be sharing with you guys another cinematography breakdown of a short film that i shot called contravene and in this episode i'm going to be going over some lighting and camera techniques that i use to shoot the short as the dp so let's get started okay so the first shot that i'm going to be going over is the opening shot of the short and right here we have the police officer just smoking a shiggy trying to take out all this stress into the cigarette trying to decompress collect his thoughts about life what i did here is extremely simple all i did was add some negative fill onto the right side of his face and how you would do that is you want to have some sort of black material like a lot of different things can work it doesn't have to be like actual production equipment in my case i used a westcott five in one reflector and i used the black side of the reflector and i had my grip just hold it as close as he could to the actor's face without actually getting into the shot what that does is it blocks the ambient light that would be coming over from this direction and it creates a shadow on his face where since this is more of a dramatic short um having shadows on the faces having playing with the negative fill really adds to the look and feel of like a more dramatic piece and whenever you're shooting outside ambient light is pretty much everywhere so whenever you're shooting outside you're always going to have a pretty full like one-to-one ratio kind of look for those of you who don't know what one-to-one means it means like very even lighting practically no shadows on the face but when you're shooting a dramatic sort of short like this uh having really full lighting doesn't always like add much to the look and feel of it so playing with some negative fill and adding that in like really helps like add to the sort of drama sort of feel to it having a negative feel right here it just blocks out all the light that would be bouncing onto his face from in this direction and then over here on the left side of his face camera right he's key lit by just the ambient light and it's also magic hour at this time of day so the lighting looks very flattering and nice on him and overall like very simple setup really not that much to it next shot that i'm going to be showing you guys is the shot where he's inside of his car this is a magic hour shot as you can see in the corner right here you have a nice little flare going on right there and basically what i did in this shot is normally you would not be able to see his face in this sort of setting so we had to add in a reflector and i'm going to show you guys in this little behind the scene shot right here we got the black 6k camera new camera that i just got and so far i am loving it and for this shot specifically we have the five in one reflector that i was mentioning oh here's the black side that i was talking about for that previous shot it sends it's magic hour the sun it's going to be a little bit more directional from a horizontal standpoint so the light is going to be bouncing into this reflector and then bouncing over here onto his face and giving him a nice key light and i use the silver side of the reflector just because since it's also magic hour the white side of a reflector wouldn't really give that much light to it all it would really do is just give it a subtle fill since the lighting is getting weaker since it's magic hour using the silver side is going to give it a much stronger kick with the lighting that's how i got this look right here one of the things the director also wanted is he wanted to have the trees right here showing up in the reflection have a nice little artsy reflection on the window but one of the tricky things about shooting inside of a car window is that normally it's just going to look very hazy and you're not going to be able to see pretty much anything inside of the car so reason number one on why i added the reflector light onto his face right here because if you don't he's pretty much just gonna it's so dark in the car that he's just gonna blend into it with a reflection that you normally get on the window you wouldn't really be able to see what's in there so in this situation you would want to use a circular polarizer on your camera and what a circular polarizer does is it helps cut out glare on reflective surfaces so when shooting through the front of a car window that's pretty much a must because the reflection is going to be so strong that you're not even going to be able to see inside of the car and using the circular polarizer you're going to have a lot more control over how much glare there is on the window and in my case i kind of split the difference between glare and no glare so that we can get a lot of the detail of the trees onto this front of the window but also enough to where you can very easily see our character's face if i were to turn up the intensity of the circular polarizer to 100 then that would basically mean there is no reflections inside of this window and if i were to put it like closer to zero they would basically be full of reflections so splitting it into the middle just gives us like a little artsy reflection and also makes it easy for us to see the actors face alright so for the next shot of course whenever you shoot a car scene you always gotta shoot through the mirrors if you don't shoot your car shots through the mirrors then i don't know what you're doing like kind of screwing it up a little bit as you can see here we shot through the side view mirror and all the lighting right here is just the ambient light that's coming from outside so didn't have to worry too much about the key but then one of the things that i didn't really like is you can kind of see how pretty much all of his head is just falling into darkness and it doesn't look very visually appealing it just looks like he's a floating head and a lot of his hair you lose detail in his hair and it just doesn't look that exciting so what i ended up doing just to add a little bit of visual interest to the shot as i took a nan light pavel tube and i had somebody hold it off to the side of the back passenger window and i had it shine onto the actor and you can have this and it gives you this little backlight effect and it just helps create some separation from the background and it makes it look less like their their head and the shadows is being lost in the darkness it just kind of creates a more visual interest helps give it a little bit more pop i always love me some good back lighting the next shot we have an extreme close-up of our actor inside of the car we're looking at him from the right passenger window and as you can see here i have pretty much a very similar setup to this this shot right here the only difference is is the window so in this shot specifically i used the nan light pavo tube to key light him and that's what added this whole light right here and then the angle that it's placed at which is a 45 degree angle is what helps give it that rembrandt lighting always got to go with the ramban lighting looks so nice i would say the sun was either pretty much almost done setting or slightly after setting it doesn't really look like it and because it's so late in the day it makes it a lot easier for something like a nan light pavo tube to actually have some kick so that's what i ended up using to key light him and it just gives it some visual interest because if that light wasn't there then his face would be pretty much silhouetted and i don't personally love extremely silhouetted shots there are times and places for it to work but for me i always like to see the actor's face and i always like to just create shape on it and slightly before we shot this extreme close-up we actually shot this shot where because it was a little bit earlier in the day it was slightly earlier than the time of this of this shot uh man like pavo tube doesn't really do as much especially since we're exposing or the sunlight back here when you're exposing for the sunlight then it just makes it a lot harder for smaller lights to actually do anything so what i ended up doing even though the light's nowhere near as strong on his face in this shot and that was kind of just due to the time of day maybe i could have tried using the pavo tube earlier but i didn't really think it would do anything so i ended up just using the five in one reflector and reflecting light onto his face and you can kind of see that right here on his nose you can't really see it so much on here so that's something that i wish i did a little bit differently but it's not a huge deal to me when you're on set and you're in this sort of situation it would probably be best to try to check and see which light actually gives it the most punch especially being this time of day at magic hour the reason why i switched from the five and one reflector to the pavel tube to begin with is because at this point in the day uh the sun is already set and there's pretty much no reflection that the five in one reflector can actually give so that's one of the reasons why i like lights like the nan light pavel tubes because since they're battery powered you can use them literally anywhere and then if you're shooting outside like you can buy yourself a little bit more time when you have lights that you don't that when you have lights that require minimal setup and you can kind of just add the lights in where something like the reflector can no longer actually do anything because the sun's already set so having those lights actually helped buy us some time to shoot this shot i wish it looked a little bit more similar to this shot but it's not a big deal long as i learned from it i forgot to turn on my backlight but i don't want to re-record that okay so speaking of nan light power tubes really coming in handy when you're running out of exterior light that leads me into the next shot we're gonna be covering is this shot right here where the character is menacingly pointing the gun at the camera oh this is a nice shot i'm gonna draw a mustache on him make it look more wild westy but anyway so got a little tarantinoy and got inside of the trunk of the car and in the shot the character just opens up the trunk and revealing that he's the one like opening the trunk and normally at this time of day as you can kind of see in the sky the sun was practically setting it was pretty much blue hour at this point and the lighting on his face would be literally silhouetted if we didn't add any sort of lighting into the shot so what i ended up doing one man light pavel tube coming from over here and key lighting his face and of course at a more 45 degree angle that way we can kind of get the rembrandt look and then over here you can see that there's a backlight hitting him i had another then light pavel tube just aiming at the back of his head so that i can create some backlighting then having that two-point lighting just gives it a lot more visual interest because it gives a lot more shape to the character and having that we can see his eye light right here i'm always a huge fan of highlights and hey we can draw some glasses on him right here make them look like a minion it can probably be some critics that say it doesn't really make sense to have a light coming from over here and a light maybe the light from over here would make sense because of the sunlight but then all it would really be is just a backlight you wouldn't be able to see his face and it's really important in my opinion that when you're lighting faces it's important to light the face so that you can actually see expressions and emotion if the the face were silhouetted you wouldn't be able to see any of that so even if it's like breaking the rules like adding some lighting into the let me let me erase this so it's a little less distracting to look at normally from like a motivation sort of standpoint there isn't anything motivating this light but the scene would really fall short just because you don't see his face you don't see his facial expressions you don't see that highlight and it's just something that helps amplify the emotion of the scene lighting always helps attract the viewer's attention into the face and helps create more visual interest and then the last shot i'm gonna go over here is our good old friend brian lau that's a one of the guys that does some grip stuff for me he's awesome and we're gonna draw a mustache on him maybe some glasses now he looks like the monopoly guy but uh this scene extremely simple the red light that would normally turn on or just to replicate the light that would normally turn on when you open up the trunk another nan light pavel tube hitting him right here and because they're rgb lights i can change it to whatever color i want it's extremely convenient and just has a nice little look to it i like it alright so that's the end of the breakdown i hope you guys enjoyed it something a little short and sweet if you want to see more of these be sure to subscribe to the channel and leave a like because i love the likes i love the subscribes so anyway have an amazing day and i'll see you guys later [Music] you
Up Next

54:13
Architect's Gift Conditioned on Family Loyalty: A Case Study in Legal Estate Planning
@nhfjfaol
210 views•2026-03-21

12:54
Triumph of Orthodoxy Icon: Byzantine Art & History Explained
@BenCallan
2.1K views•2024-08-06

9:49
FastAPI vs Flask vs Django: Choosing the Right Python Web Framework
@TechWithTim
302.5K views•2024-05-26

1:42
Game of Thrones Opening Credits: A Cinematic Analysis
@gameofthrones
46.3M views•2011-04-18
Related Study Plans & Knowledge Roadmaps
Structured learning paths in General & Interdisciplinary Studies
general-studies
Elevator Engineering: History, Physics & Cities
01From Hoists to Safety Brakes: The Dawn of Vertical Lift
02Hydraulic vs. Traction: The Engineering Physics of Elevators
03Modern Speed, Safety, and Algorithms
+ 2 more learning modules
12h5 modules
Explore Roadmap
general-studies
Rubber: Material Science, History & Geopolitics
01Origins of Natural Rubber & Mesoamerican History
02The Chemistry of Natural Rubber & Vulcanization
03The Geopolitics of the Rubber Boom & Colonization
+ 2 more learning modules
12h5 modules
Explore Roadmap
general-studies
Containerization: Evolution, Logistics & Trade
01Ancient Trade & Bulk Cargo: Amphorae to Barrels
02The Industrial Revolution & Cardboard Packaging
03The Containerization Revolution: Malcom McLean
+ 2 more learning modules
12h5 modules
Explore Roadmap
general-studies
Textile Tech: Evolution, Labor & Global Impact
01Pre-Industrial Textiles: Handloom & Cottage Industry
02Mechanization: The Spinning Jenny to the Power Loom
03The Factory System & Global Labor Transformation
+ 2 more learning modules
10h5 modules
Explore Roadmap