
















Marvin is a fully 3D-printed open-source robot that demonstrates how FreeRTOS task scheduling enables parallel execution of autonomous behaviors on an ESP32 microcontroller, allowing multiple independent functions such as animated LCD eyes, OLED mouth displays, servo-driven arm and head movements, and stepper-based locomotion to operate simultaneously without blocking each other, while also supporting Wi-Fi remote control and sensor-based behavioral responses.
Build an Open-Source 3D-Printed Robot with ESP32 and FreeRTOS
Added:Fundamental C/C++ programming concepts, particularly within the Arduino IDE framework, including pointers, structures, and memory management.
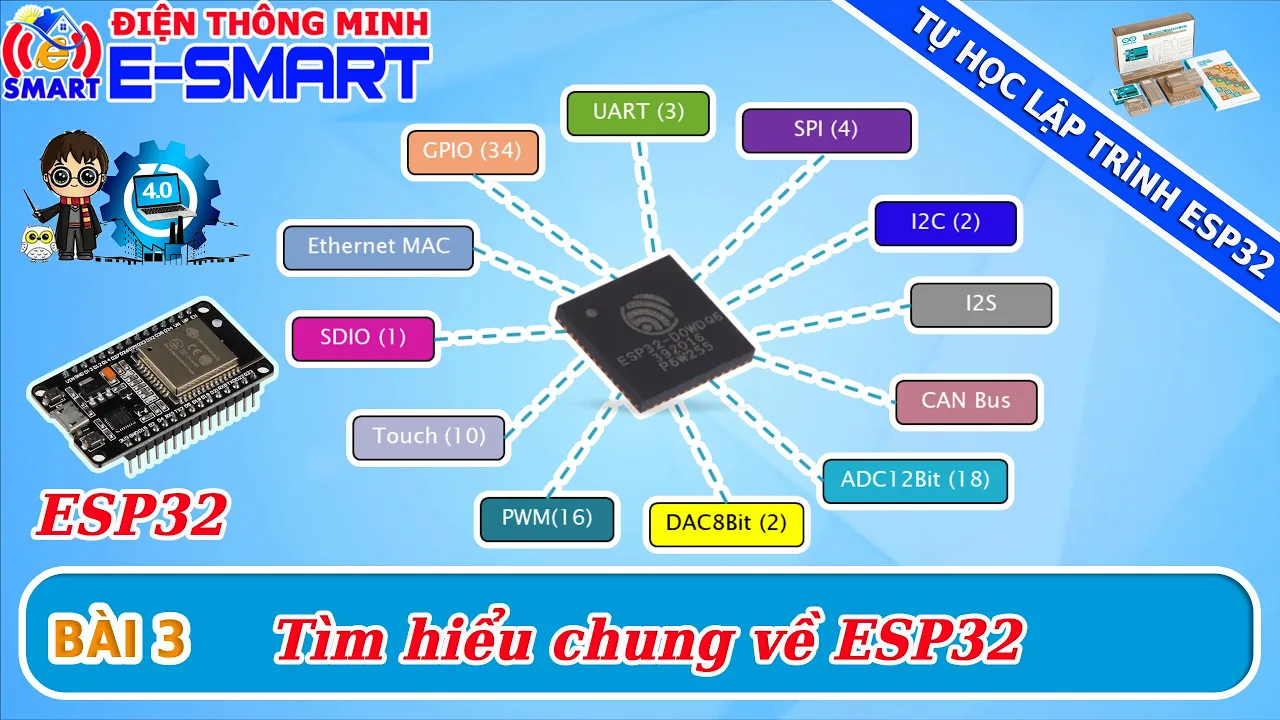
Basic electronics and microcontrollers, specifically understanding GPIO pin configurations, motor drivers, and sensor interfacing on platforms like the ESP32.
Core operating system principles, such as multitasking, concurrency, and the distinction between bare-metal programming (super-loop architecture) and an RTOS.
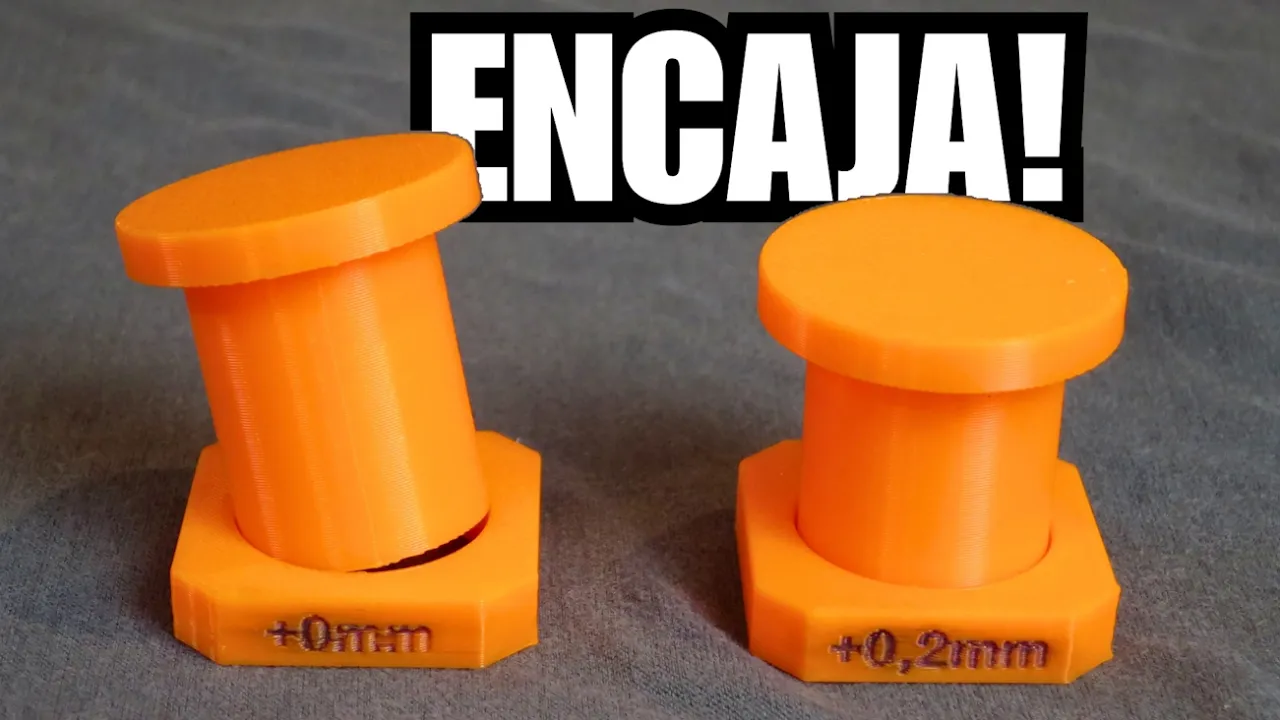
Basics of 3D printing and mechanical assembly, including understanding tolerances, reading assembly diagrams, and working with 3D printer slicing software.
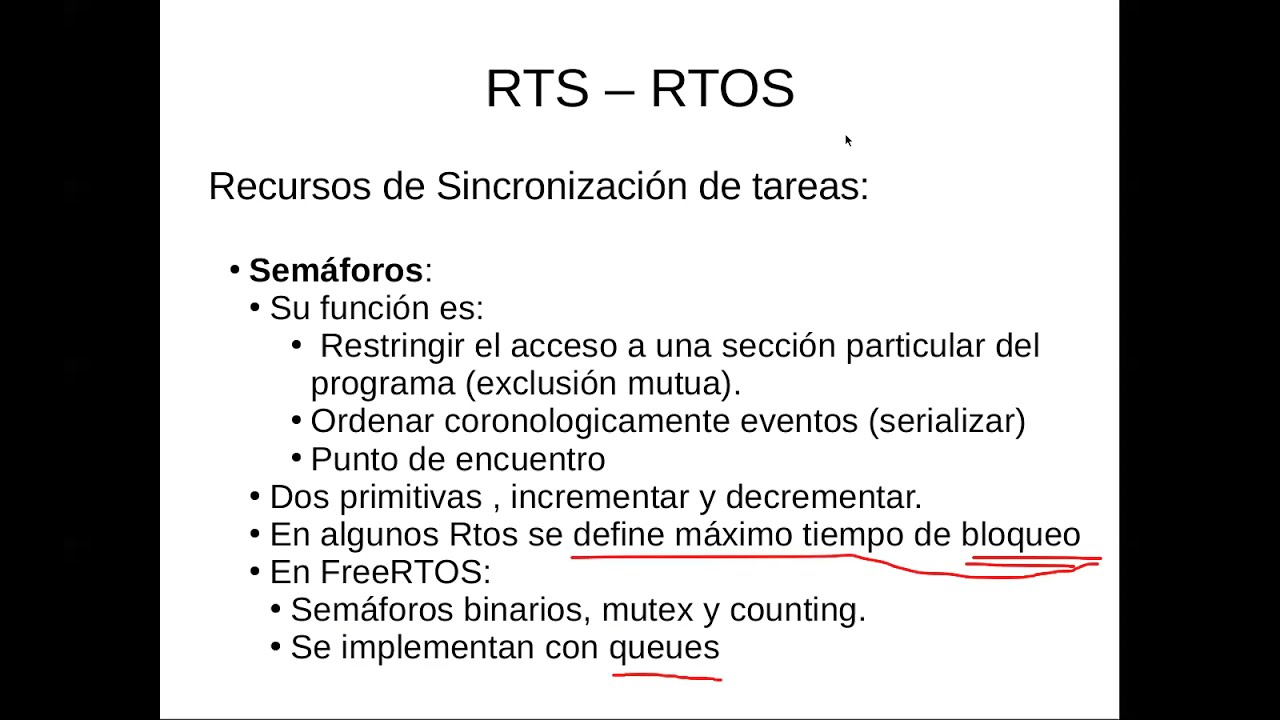
Advanced FreeRTOS features, such as task synchronization primitives (mutexes, semaphores), message queues, and software timers for complex event handling.
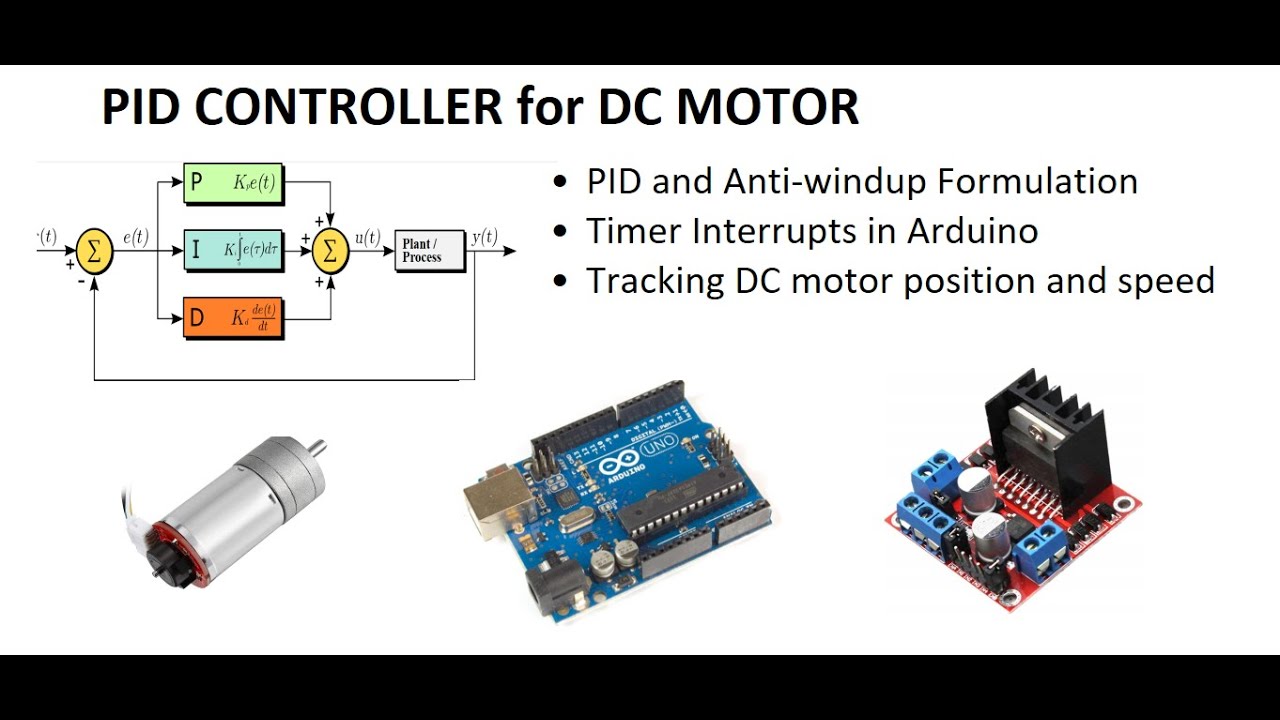
Control theory applications, specifically implementing PID (Proportional-Integral-Derivative) loop feedback controllers for precise motor speed and trajectory tracking.
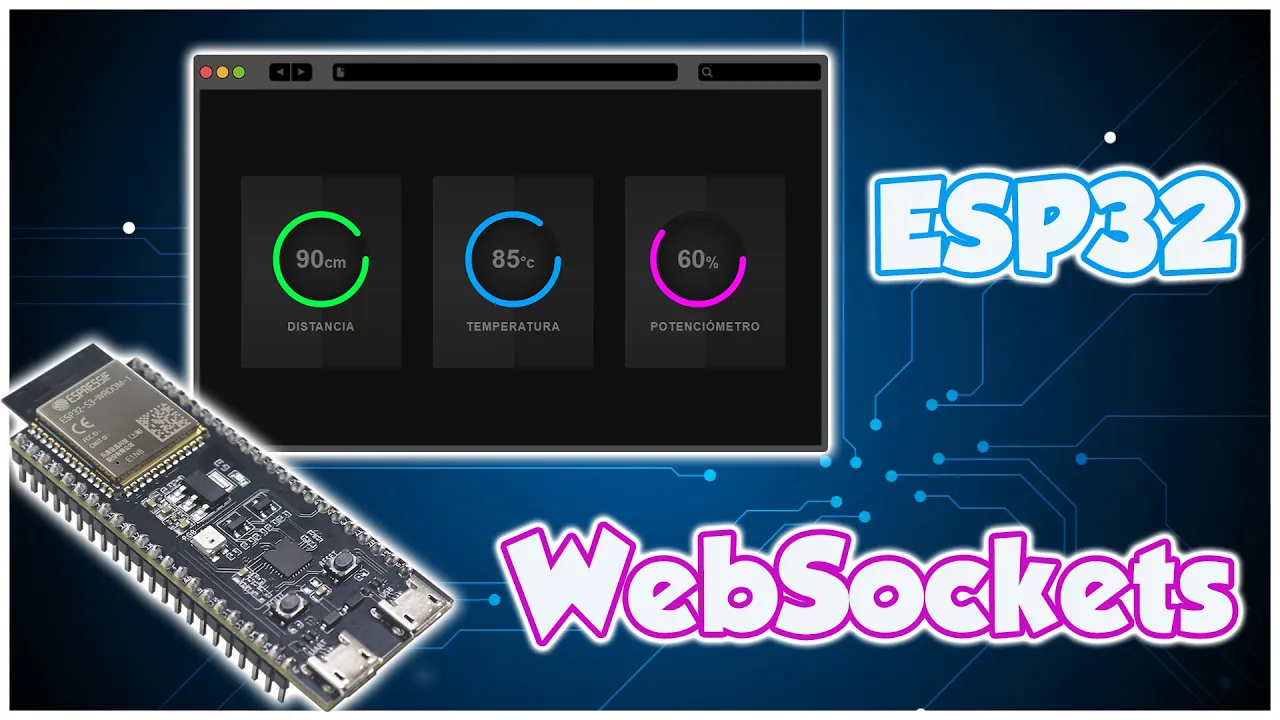
Wireless communications and IoT protocols, utilizing the ESP32's built-in Wi-Fi and Bluetooth capabilities for remote control (via MQTT, WebSockets, or BLE) and telemetry logging.
Integration with Micro-ROS and ROS 2 (Robot Operating System) to bridge the ESP32 micro-controller with high-level robotic frameworks for navigation and mapping.
824 views18likes11:09Original Release: 2026-01-15
This is Marvin, a small open-source robot that I designed for makers. Marvin is fully 3D printed and powered by an ESP32 microcontroller running free Ars.
He has animated LCD eyes, a small OLED mouth, servo driven arms and head motion, and two stepper motors for locomotion.
And because he runs autonomous behaviors, he appears lively even when he's not being controlled. The Wi-Fi remote control is optional and simply adds another way of interacting with him.
Inside the robot is a combination of embedded electronics, mechanical parts, and custom PCBs.
A key goal of this project was to make the robot reproducible. It uses inexpensive, widely available breakout boards and components instead of specialized hardware, and the mechanical parts can be printed on any common 3D printer.
All software, hardware, and CAT files are publicly available, turning Marvin into a small learning platform for makers, educators, and students who want to explore embedded systems in a hands-on way.
So, let's take a closer look at how Marvin works and how he is built.
Inside the base, there is a rechargeable lithium ion battery. On both sides of the battery, two inexpensive stepper motors drive the large wheels.
In the upper body, two servo motors control the arms and a third servo allows the head to rotate.
To keep the wiring complexity to a minimum, the breakout boards for the sensors and actuators are mounted on two custom PCBs.
This one sits inside the head.
For orientation and motion sensing, an MPU 6050 gyro is used. Next to it is a small audio amplifier with an I squared S digital audio interface driving a miniature speaker for sound effects.
The microphone also uses a digital audio interface. It allows the robot to detect sounds.
A small OLED display forms the mouth. It can synchronize the lip movement with a sound output and also change facial expressions.
A dual round display module forms the eyes. It can show eye motion and blinking animations.
The robot is controlled by an ESP32 microcontroller.
The D1 mini module provides integrated Wi-Fi for optional remote control.
The second custom PCB is located in the upper body. It contains the drivers for the two stepper motors in the base.
On the back, two power modules are installed, a battery charging controller and a buck converter that generates a stable system voltage.
Finally, the mechanical enclosure is added. All parts were designed in Autodesk Fusion and are 3D printed.
Embedded nuts provide reliable assembly.
So once everything is assembled, Marvin is ready to wake up and show what he can do.
Marvin's head contains most of his interactive functions. His eyes move independently, blink at random intervals, and occasionally look around just like a small creature. The mouth is driven by a tiny OLED display synchronized with sound output from a speaker. So lip movements match the audio. All of these actions run in parallel. One tasks handles the eye animation, another controls the blinking, another generates sound, and another updates the mouth movements.
This is coordinated by free arts on the ESP32, allowing each activity to run autonomously without blocking the others.
On top of these low-level tasks, Marvin can switch between different high-level behaviors. Even in the idle state, he keeps moving his eyes, blinking, and making small sounds, which gives him a surprisingly lively appearance.
Marvin moves not only his head and arms with small servo motors, but also his entire body using two stepper motors that drive the large wheels.
In the idle behavior, all of these movements are generated with slight randomness. So, the timing and duration are never exactly the same. This prevents the movement from looking mechanical or repetitive.
As with the facial animations, each actuator is handled by its own free art task. The behavior system defines motion patterns and blends them over time.
Marvin can perceive sounds and react to them.
When he detects a clap, he switches into a corresponding behavior and then returns to the idle state.
Orientation is monitored by an onboard gyro sensor. When tilted backwards into a lying position, the robot detects the change in pitch and reacts accordingly.
His eyes close. He lets out a yawn and stretches his arms upward before returning to the idle state.
The gyro is also used to enter a service mode. When the robot is held upside down, it shows its current IP address on the display. This address can be used to establish a Wi-Fi connection to Marvin.
Marvin can also be controlled remotely through a small web interface.
It runs directly on the robot and can be opened from any device on the network.
A virtual joystick allows the robot to drive just like an RC car. By tracking the white dot, speed and direction can be controlled continuously.
The buttons trigger predefined motions such as moving the head or arms or anyone who wants to build Marvin. All the resources for reconstruction are publicly available. They can be downloaded from a GitHub repository.
Let me open the GitHub uh repository to show you what's in there. In the root directory, you'll find a short project summary in the readme file and a comprehensive bill of materials.
For each component, it contains a reference link so you can easily find a source for all the components.
There are subfolders for electronics.
the mechanical parts and all software.
The PCBs were developed with Kyikat and all the design files for the two boards can be found in the corresponding electronics subfolders.
If you open for example the power supply subfolder, it will uh look like that in kyat. You can check out the um electronic schematics.
You can open the PCB design and also have a look at um the 3D view of the PCB.
The mechanics folder contains the Autodesk Fusion design files.
It also has all the STL files here in the STL subfolder.
um for all components. It has photographs showing how to print them and where to insert the nuts. If you have um Bumboo Studio, you can load the uh 3MF file and print the parts right away. Please also note the print instructions here with photographs and um information on how to insert the nuts.
The software was developed in Visual Studio Code using the platform IO extension.
If you open the project folder in Visual Studio Code, it will look like that. You can check out all software development files including the source code. Here are some examples.
When you open the project folder, platform io ini will tell the compiler which uh configuration to load, which libraries to uh to load and to include in your software.
Finally, I would like to draw your attention to the build instructions on instructables.com.
The assembly process is described in great detail. So it should be straightforward to build your own Marvin robot.
So Marvin started as a personal project to explore robotics and embedded systems in a hands-on way by publishing everything openly. I hope others can learn from it, extend it, or build their own version. Thanks for taking the time to watch my video.
Up Next

48:53
Raspberry Pi Servo Control with Python: Step-by-Step PWM Tutorial
@paulmcwhorter
165.8K views•2015-06-02

58:25
MathWorks Virtual RoboSub Simulation Environment | Webinar 2026
@RoboNationInc
209 views•2026-03-10

11:04
How to Build a Self-Balancing Robot: Arduino Nano & MPU6050
@easytechzones
16.8K views•2022-03-09

25:22
Micromouse: The Fastest Maze-Solving Robots on Earth
@veritasium
23.5M views•2023-05-24
Related Study Plans & Knowledge Roadmaps
Structured learning paths in Robotics
robotics
Building Delta Robots: Kinematics & Pico
01Foundations of Delta Robots & Mechanical Design
02Electronics and Microcontroller Setup with Pi Pico
03Delta Robot Kinematics and Coordinate Math
+ 3 more learning modules
65h6 modules
Explore Roadmap
robotics
Building Ballbots: Dynamics, Kalman & LQR
01Embedded Electronics & Omniwheel Actuation
02Ballbot Kinematics & Rigid Body Dynamics
03IMU Sensors & Kalman Filter State Estimation
+ 2 more learning modules
42h5 modules
Explore Roadmap
robotics
Micromouse: Hardware, PID Control & Flood-Fill
01Electronics & Teensy Microcontroller Basics
02Sensors and Actuators: Motors, Encoders & IR
03Precision Movement: Implementing PID Control
+ 2 more learning modules
35h5 modules
Explore Roadmap
robotics
CDPR: Kinematics, Arduino & Winch Control
01Foundations of Arduino & Basic Electronics
02Stepper Motors and Winch Mechanics
03Kinematics of 2D Cable-Driven Robots
+ 2 more learning modules
28h5 modules
Explore Roadmap