
This video demonstrates how to create 3D printing filament from recycled PET bottles using a homemade cutter machine. The process involves heating the bottle neck over a flame to reshape it, cleaning the adhesive, cutting the bottle, and using a cutter machine with an extruder to pull the material into filament. The creator emphasizes that the bottle neck must be straight to prevent sticking, and the machine requires proper temperature control (around 220°C) and motor speed settings (around 20) for successful filament production.
How to Make Recycled PET Filament for 3D Printing: A Step-by-Step Guide
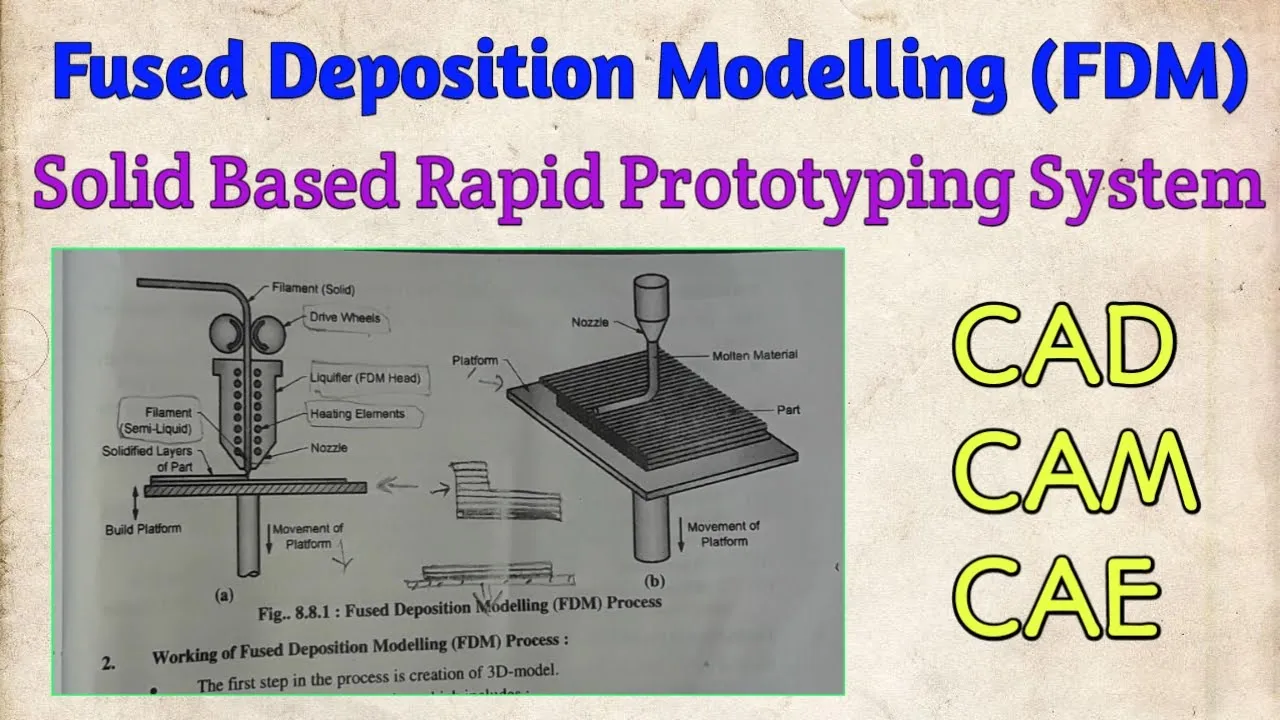
Added:Fundamentals of Fused Deposition Modeling (FDM) 3D printing, including nozzle operation, extrusion mechanics, and temperature controls.
Thermal properties of polymers, specifically Polyethylene Terephthalate (PET), including its melting point, glass transition temperature, and thermal degradation.
The importance of filament diameter consistency (typically 1.75mm or 2.85mm) and how tolerances affect 3D print quality.
Basic safety protocols for working with high heat sources, heating blocks, and mechanical cutting tools.
Slicer setting optimization (such as print speed, retraction, flow rate, and bed adhesion) tailored specifically to the unique properties of recycled PET filament.
Mechanical testing and quality control methods to evaluate the tensile strength, layer adhesion, and flexibility of prints made from recycled filament.
Advanced DIY recycling systems, such as building a plastic shredder and a screw-driven pellet extruder to process other post-consumer plastics like HDPE, PP, and ABS.
Life Cycle Assessment (LCA) and sustainability metrics of local plastic recycling versus commercial filament production and transport.
352 views11likes32:31Original Release: 2022-09-26
hello everyone welcome to my Channel today I decided finally to show you how I'm making filaments from uh pet bottles and uh yeah uh I know it's ridiculous the way I decided to film this to make this video but uh somehow I have to take a decision how to make a video in the same time to work on this machine so I know it's a bit ridiculous but let's do this let's do this Okay so first thing first yeah we have the bottle um okay this video will be long so um yeah we have to cut the I did cut it a little bit sticky yeah maybe a bit too much take it out so this material is thrown out this is how I make my uh this is how uh I make my filaments I know maybe you think you can brand your filament you can do something with this but uh seriously I don't find any solution for it or uses for it I don't know what to do with it so I definitely throw it out yes it is possible to make even waste but the the pet bottles even the waste from the bottle I don't throw it out I'll maintain it for the next and this is where I put all my waste and the ends of the filaments also here and yeah this is how I start this is how I do my uh my uh my job if I can say that okay before starting to make the filament we have to model to shape the bottle somehow so it will be easy to to cut and then start to make the filament and so the neck had to be straight if it's not it will stuck right here I don't know if I can show that but first thing first we have to shape the the bottle and then we can clean the adhesive or the glue from from the bottle okay so let's go to the kitchen and let's start the the method so here we are in the kitchen over the stove let's open the flame I hope it will not damage the okay the planes will be reduced but first thing first we have to clean inside the bottle foreign now we can start the the shaping the bottle the flame should be at lowest as possible we don't have we don't need the big droplets like this one okay just small one so it will make somehow the pressure inside it will evaporate the water and in the same time the pressure will start to accumulate and will it will start the shape the shaping approaches let's say that and the neck will start to to blow to grow let's say if I can say that I'm not very good at English so yeah I'm trying to find the right words to describe what I'm trying to do here so the bottle is starting to shrink because it doesn't have enough pressure but as it's heating up the water will start to evaporate and the bottle will start to blow it will take a while so let me pause for a moment and I will show you the next process and how it will be after okay so as you can see the neck is starting to blow a bit to grow and the butter is taking the no bar shape for the pet pot to make the filament it's a little bit bam because I started wrongly no but everything will be fine not always it's working perfectly sometimes everyone can make mistakes let's maintain the heat to the next so it will start to as you can see now the neck spray it's straight not perfectly but okay it's good enough now we have to make the bottle straight the brush is very high so you have to be careful if you want to try this at home but I shouldn't let you to do this because in the first experience it's a little bit harder when you start with this so you have to be very careful because this is like a bomb it will it it is possible to explode so that's why and now the bottle is shape it okay for me it's okay that's perfect let's find the spot where the K and now we can try harder to clean uh let me pause a bit okay so now the bottle is clean I still have the stickiness of the glue but that's not a big problem at least for me the bottle is cool down oh my God it was hard to clean that blue the bottle now it's okay let's go back to the room and start shape the start to cut the the bottle to make the filament okay so now let's start to cut the the bottle I need scissors are already there and let's start the process brushes the pressure from the from the water okay okay I hope you can see something yeah let's see supposed to close let's finish that okay and now we can clean inside from the water the the bottle inside is full of droplets but if you don't clean the bottle it will start to it will start to make the rust in the cutter from the machine so we have to clean it inside to dry it somehow so we don't damage the cutter from the machine almost done almost right not perfect but good enough okay okay start now okay so the bottle now is dry not completely but okay now let's start to make the string with the cheeser all right the point of the string should be something like this I don't know if you can see but I will show you foreign but don't worry about that okay so as you can see the string it's already made we need this point to fit in the extruder or pull stroller okay okay so now we have clean and cut the the bottle we have made the string the point as well and now let's take the old cap and I have already made another cap with a hole so it will fit perfectly here as you can see and now we put this one tight now we can put the bottle here into the cut and let's see it's not very easy to film in this position but I want to fit this filament now here inside okay so the filament this is inside the cutter and now let's try to pull a bit perfect everything is fine put the point here it's not fitting what okay in the meantime we can activate now the machine and start to heat up the extruder it's not possible to film anything but as always I will put the 220 yeah that's okay 221 don't worry about that okay and now we can try to fit the point inside I will try to find it oh okay it's perfect I can see already the point it's here and now we can wait to heat up the structure okay uh we also have to put some weight here okay it's perfectly fit and now we have to wait a while oh ah it's not focusing on okay in the meantime when the extruder is starting to heat up we have to pull the the filament to the wheel of the big wheel and then everything is fine it's almost there we can still pull the filament like this and now we can't wait to heat it up almost 200 now let's prepare the the wheel those are the holes where we can put the filament the end of it and I will show you how foreign continuously filament okay there is the end 210 almost there and now we can fit we can put the filament into the holes where I show you the holes are here and now we have two let me adjust a bit so the filament is here this is the filament I will try to reach okay perfectly okay the filaments will be on this small uh Drive wheel foreign like this and now we can put in the other hole over like this and you will understand why I enjoyed this because the big wheel the ruler will uh uh your tone in this position in this direction okay we have to put the filament over the end of the filament over the filament as you can see and then we have other holes right here so I can I'm trying to okay let me see if I can do it now okay perfectly uh word all right um I don't see the end all is there just a minute let me take this and pull it out oh perfect and now okay it should be like a next and then it should be the speed of the motor at 25 but uh I always do at 20.
we now can hold the filament and then we have to tune the knob the button be [Music] 20 almost there [Music] okay speed 20 as you can see now the end of the filament is already captured by the filament itself and you will see the results and now yeah it's very very slow but it works [Music] and it's coming right now okay as you can see the end is right here and it's capture captured by the filament uh and now it's very tight it will not run or slip somehow and as you can see let me show you no I'm not I'm just holding it and uh the entire bottle is turning and the same time it's cutting the cutter is working perfectly let me just [Music] okay and now we are making the filament the heat is good the temperature is good and the pulled shoulder now it's the string into the filament as you can see [Music] and everything on the ruler and now we can just pull a bit the filament like this and that's it that's all when it will finish uh all the bottle will be down it will end just with this part let me show you another bottle that I just made [Music] like this one as you can see this is how the remains of the bottle and the rest will be on the filament and everything uh the waste I made just a community accumulate here in the in my trash bin let's say this is not the only trash or waste bin I have I have waste here here those are here are it is so I have here here here as well and the other part I have just some filaments caps the rings from the neck and my tools the other tools I use to work on this machine and that's it that's how you have to know [Music] let's keep pulling that all of it but then here foreign [Music] [Music] like sunflower seed bundle don't worry about that the smell it happens sometimes don't worry about that smell it's not very toxic especially if you open the window [Music] foreign [Music] [Music] [Music] so you can see what is happening here foreign [Music] okay it's just perfect uh I want to show you something what I want to do on the next video [Music] foreign [Music] [Music] string that I made a very thin filament [Music] and I made this on my 3D printer and on the next video I will show you how I made this [Music] you can see it somehow now you can see it now you see it yeah almost can't see it so yeah I will see you on the next video [Music] thank you [Music] like I said this video will be very long and yes I made some changes on the cutter here and uh now let me show you the changes I made it's not now so those are the changes [Music] yes you can see it's much larger the string or the band I don't know how do you call it but it's much larger now stop calling me please okay so this is how this is how I made the filament [Music] this is all you have to know and I will see you on the next video bye
Up Next

1:54
Filament Diameter Dial Gauges: Checking Accuracy for 3D Printing
@KevinGroninga3D
346 views•2024-09-29

12:54
Triumph of Orthodoxy Icon: Byzantine Art & History Explained
@BenCallan
2.1K views•2024-08-06

9:49
FastAPI vs Flask vs Django: Choosing the Right Python Web Framework
@TechWithTim
302.5K views•2024-05-26

1:42
Game of Thrones Opening Credits: A Cinematic Analysis
@gameofthrones
46.3M views•2011-04-18
Related Study Plans & Knowledge Roadmaps
Structured learning paths in General & Interdisciplinary Studies
general-studies
Elevator Engineering: History, Physics & Cities
01From Hoists to Safety Brakes: The Dawn of Vertical Lift
02Hydraulic vs. Traction: The Engineering Physics of Elevators
03Modern Speed, Safety, and Algorithms
+ 2 more learning modules
12h5 modules
Explore Roadmap
general-studies
Rubber: Material Science, History & Geopolitics
01Origins of Natural Rubber & Mesoamerican History
02The Chemistry of Natural Rubber & Vulcanization
03The Geopolitics of the Rubber Boom & Colonization
+ 2 more learning modules
12h5 modules
Explore Roadmap
general-studies
Containerization: Evolution, Logistics & Trade
01Ancient Trade & Bulk Cargo: Amphorae to Barrels
02The Industrial Revolution & Cardboard Packaging
03The Containerization Revolution: Malcom McLean
+ 2 more learning modules
12h5 modules
Explore Roadmap
general-studies
Textile Tech: Evolution, Labor & Global Impact
01Pre-Industrial Textiles: Handloom & Cottage Industry
02Mechanization: The Spinning Jenny to the Power Loom
03The Factory System & Global Labor Transformation
+ 2 more learning modules
10h5 modules
Explore Roadmap