


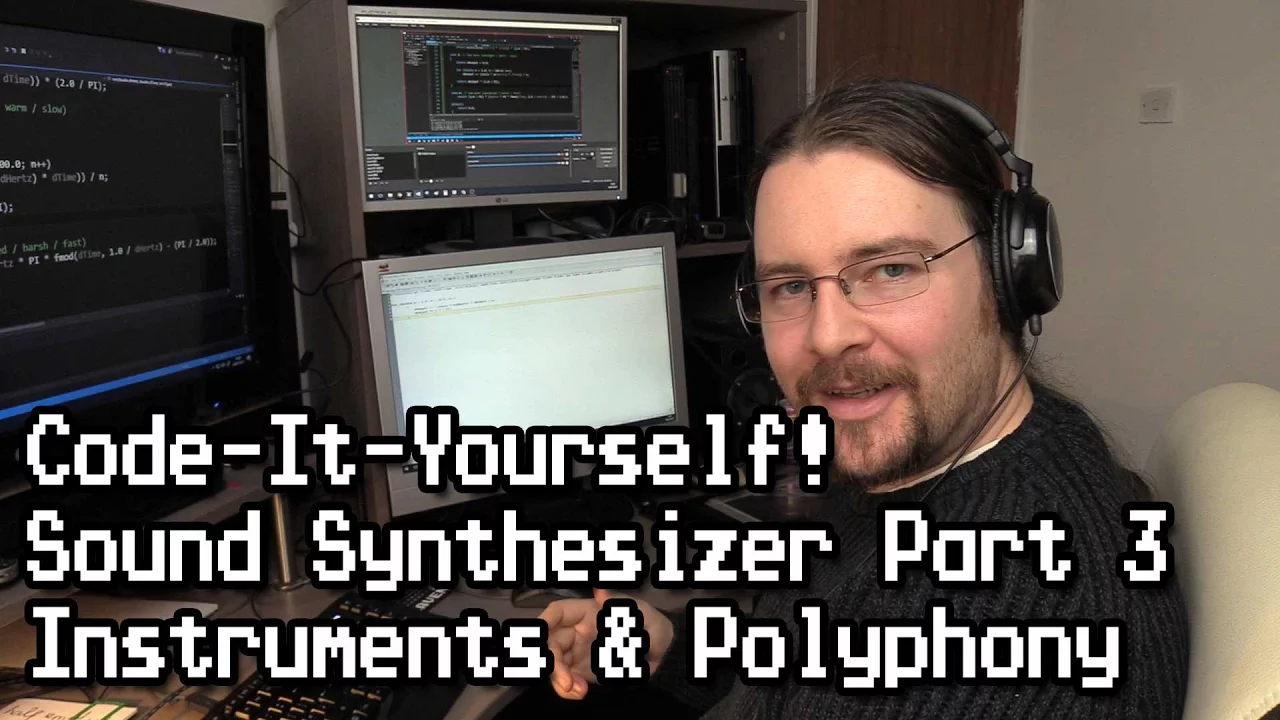













This video demonstrates how to build a fully polyphonic synthesizer (16+ voices, 14-bit pitch bend, 44kHz stereo output) that runs entirely on power drawn from the MIDI DIN connector, using an STM32 microcontroller with a ROM bootloader for firmware updates, and implementing envelope quantization and lookup tables to optimize processing power while maintaining audio quality.
Engineering the World's Smallest Full-Featured MIDI Synthesizer
Added:Fundamentals of the MIDI standard, including its serial communication protocol, baud rates, and the physical pinout of the 5-pin DIN connector.
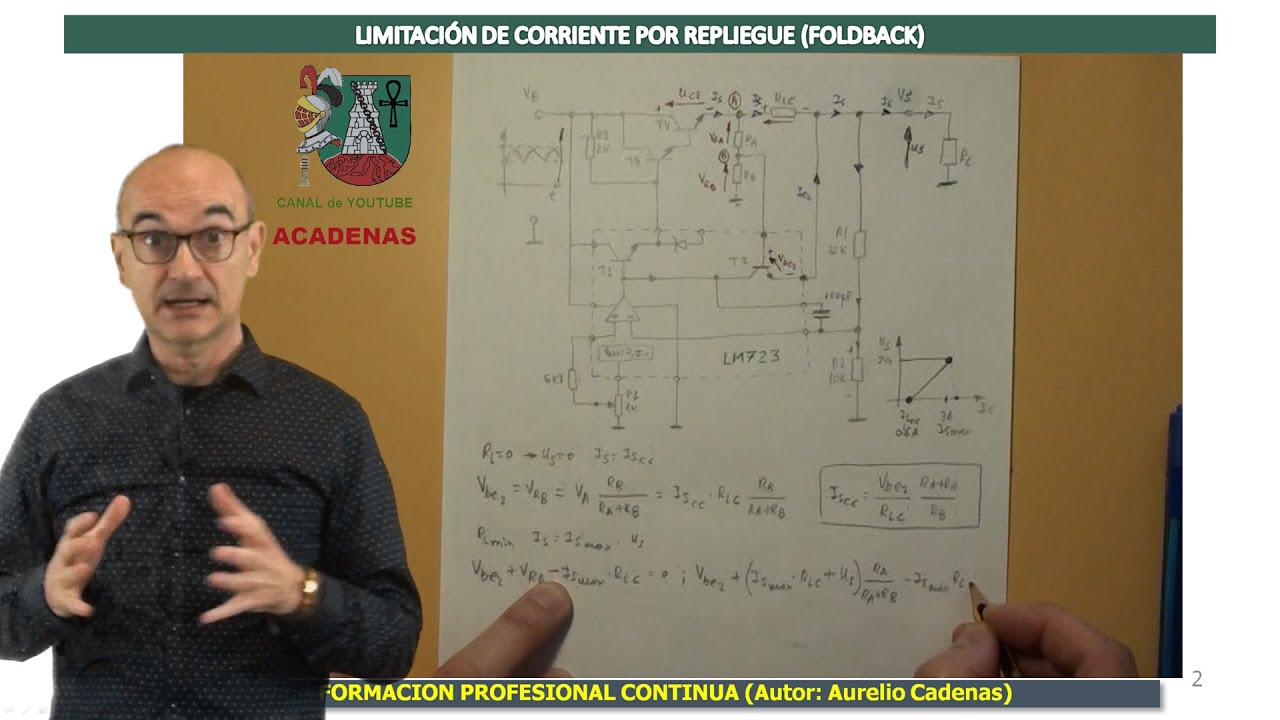
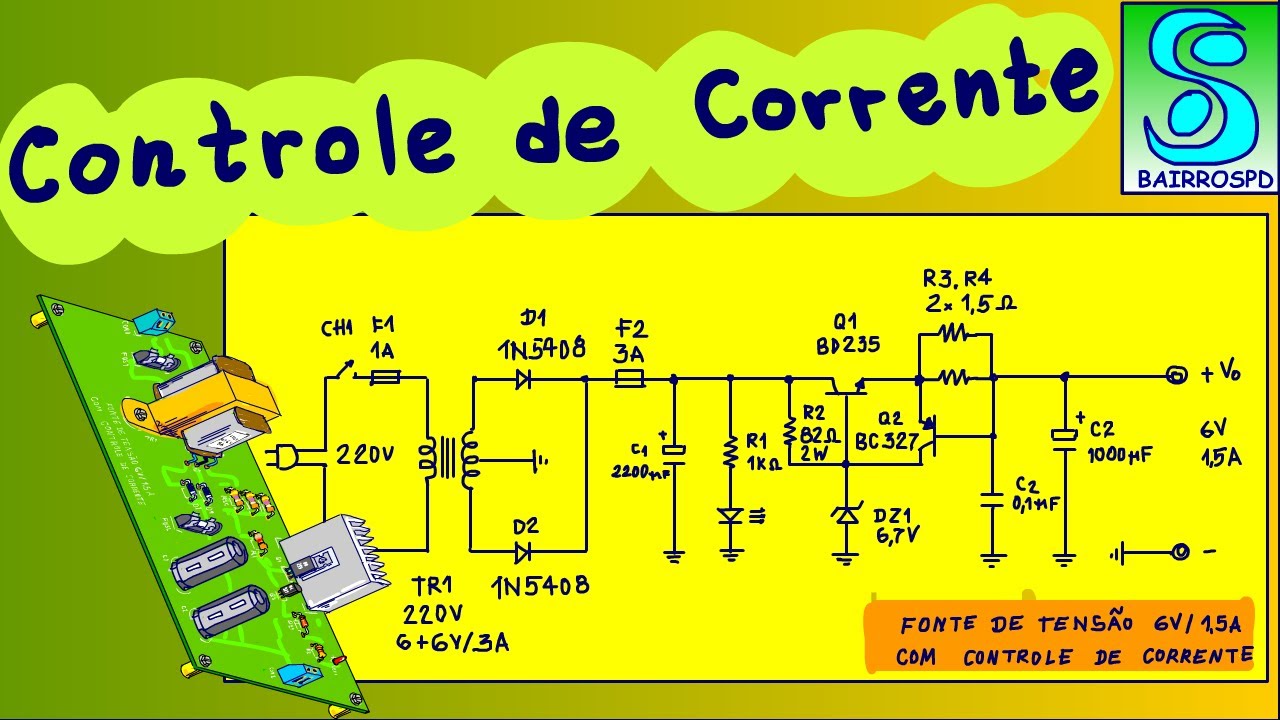
Basic electronic circuit design, specifically the concepts of parasitic power, voltage regulation, and current-limiting circuits.
Core concepts of digital audio synthesis, including waveform generation (sine, saw, square) and how polyphony is computationally managed.
Introduction to embedded systems programming and microcontroller constraints, particularly memory (SRAM/Flash) and clock-cycle limitations.
Advanced Digital Signal Processing (DSP) optimization techniques for executing polyphonic synthesis algorithms on resource-constrained microcontrollers.
High-density printed circuit board (PCB) design, focusing on ultra-small form factors, surface-mount technology (SMT), and thermal management.
Design of low-power energy-harvesting systems from non-traditional sources like audio jacks, USB data lines, or wireless signals.
Implementation of next-generation control protocols such as MIDI 2.0 or MIDI Polyphonic Expression (MPE) in custom hardware synthesis engines.
222.4K views9.2Klikes37:43Original Release: 2019-10-18
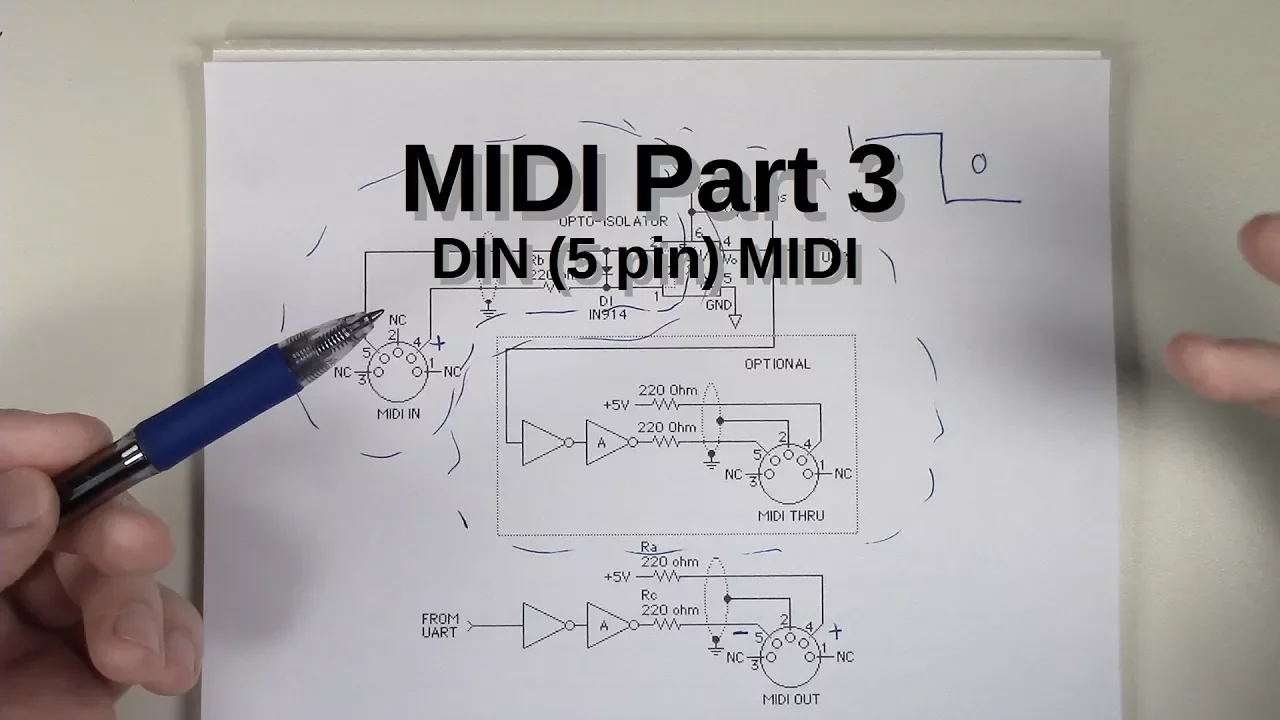
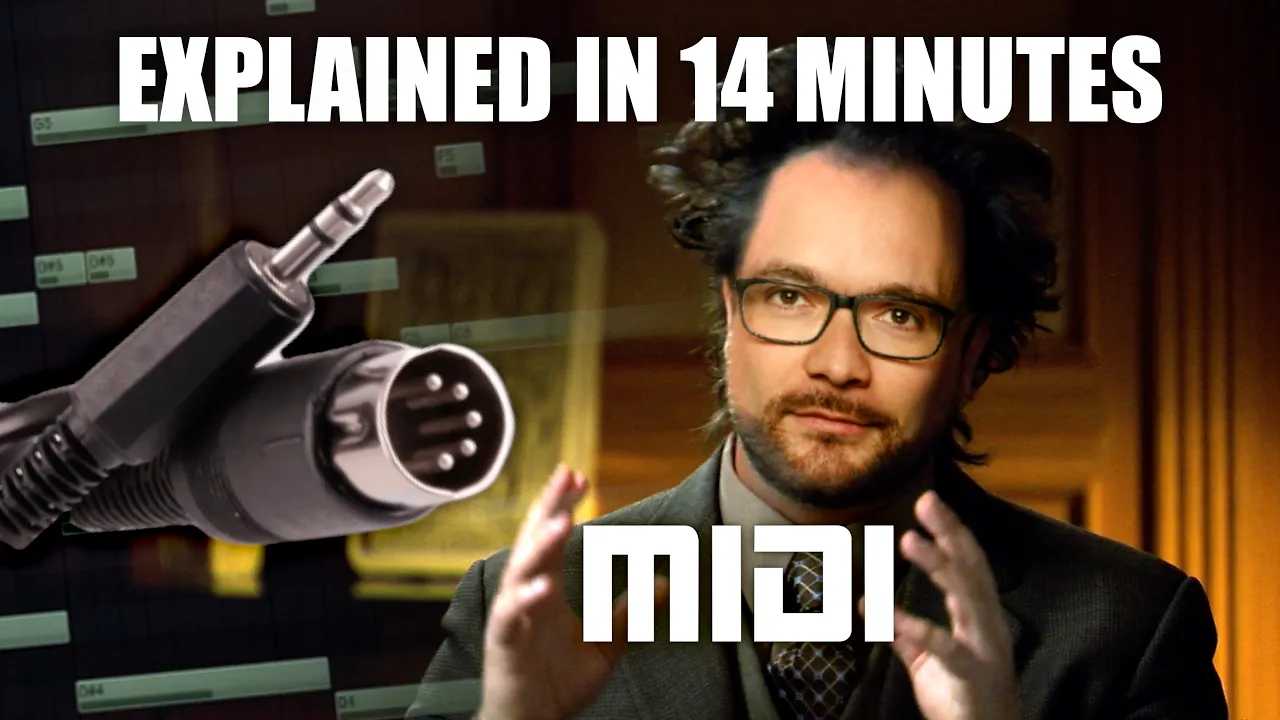
[Music] hello everyone today we're talking once again about MIDI let me show you my latest synthesizer the start of this project I got a message from a man named Aaron Andrew hunt and he'd seen my synth cable and my world's smallest MIDI synthesizer and he'd recognized the greatness here I mean okay they sound pretty terrible but there's such a great gimmick I mean come on it's it's the world's smallest MIDI synthesizer so Aaron had an idea he said to me what if we built one of these but made it good what if we had a budget and put some real engineering into it what if we made it a real synthesizer so what do we mean by a real synthesizer well we wanted to be fully polyphonic least sixteen voices we want full resolution pitch Bend none of this half-assed Bend stuff we want fourteen bit bend value and wanted adjustable range per channel we want envelopes we want different waveforms we want Doulos laters quad oscillators we want forty-four kilohertz sound output stereo 44 kilohertz sound output we want to take all of this and we want to fit it inside this tiny package or this one and most importantly it has to be powered parasitically no batteries no other cables every Joule is sucked out of the din connector copy done surely no one could build a fully polyphonic synthesizer in a tiny package that was less than five millions and has all of the features I just mentioned I did it I mean obviously I wouldn't be making this video if I hadn't already achieved it and as you can see it's had a materials upgrade a full metal housing because as we all know metal is better and makes a fitting enclosure for the upgraded electronic governs inside so ordinarily you would plug this into your keyboard and then plug your because directly into it in this case though I've got a rather elaborate collection of splitters set up so that we can record it and see it on the oscilloscope and record my voice at the same time the default patch count the oscillators you will have to take my word for it that the pitch Bend is 14 bit unfortunate this keyboard only sends a 7 bit bend value if you know your synthesizers you may recognize its first patch as a Classic FM setup we've got two operators and two envelopes per voice the first envelope controls the effect depth and the second controls the overall voice [Music] and in this set of both envelopes are tied to the velocity but an FM synthesis the thing to play with is of course the FM ratio we've got two controls for that one for course and one for fine adjustment [Music] [Applause] [Music] [Applause] [Music] [Applause] [Music] and as usual there is a low-frequency oscillator controlled by the mod wheel [Music] poor aftertouch that about sums it up for the first algorithm but there are multiple algorithms so why don't you stick around while I twiddle some knobs [Music] [Music] [Music] [Music] [Music] [Applause] [Music] [Music] [Applause] [Music] [Music] [Music] [Music] [Applause] [Music] [Music] [Music] [Music] [Applause] [Music] [Applause] [Music] [Applause] [Music] [Applause] [Applause] I've come up with something here a little bit like a Hammond organ and we don't yet have drawbars I could add drawbars I may add drawbars but in the meantime I've added a parameter knob for each waveform and in the case of the salmon dish waveform it does a binary permutation through most of the drawbar combinations [Music] [Music] so although polyphony is the thing we're going for here I couldn't not add an arpeggiator [Music] [Music] [Music] [Music] [Music] [Music] [Laughter] [Music] [Music] [Music] [Applause] [Music] [Applause] [Music] me [Music] Aaron my client is very much into micro tonal music now I'm a novice when it comes to microtonal music but Aaron is hardcore into it yeah she invented a microtonal keyboard MIDI as we know it can't really send microtonal stuff the only way to detune a note is to use the channel wide pitch Bend amount so on his keyboard when you clear court every note is sent on a different MIDI channel each with its own pitch Bend amount while this synthesizer supports that but if you don't own a microtonal keyboard the more conventional way to experiment with microtonal music is via tuning tables so I'm not one to shy away from a challenge on this synthesizer every note of every MIDI channel can be reassigned to be any frequency once again I am NOT a micro terminal person yet I haven't got a clue what it's about but just to demonstrate here is 13 notes per octave [Music] [Applause] [Music] and just from this ones back to front keyboard [Music] and the tuna can either be assigned on a per channel basis or all of the channels can have the same tuning it's completely up to you [Music] [Applause] [Music] [Music] [Music] [Music] [Applause] [Music] it's a synthesizer it makes a bunch of noises and it makes them in tune and this is by no means exhaustive it's designed in a way that it can accept new algorithms so who wanted to add for instance a more traditional subtractive synth patch we can do that if I hadn't yet mentioned it Aaron is planning to sell these at the time of filming I believe he is accepting pre-orders so I'll put a link to his shop in the description and that my friends is the demo out earth way which is fantastic news because it means it's now time for my favorite part the gory technical details how the hell do you make something like this just what kind of black magic optimizations do you need to incant to pull something like this out of the bag well before I reveal any tricks let's take a look at the bit I'm most proud of you can load new patches you can load new algorithms you can upgrade the firmware you can load custom tuning tables all of these are possible with minimal effort because of how I've implemented the bootloader the number one question here is why don't we stick a USB port on it and the number one reason is aesthetics to me there's a certain beauty about a tiny package that turns din into TRS if we had a USB port on it well for one people would expect it to be a supplementary power supply which means adding a mechanism to switch power sources it doesn't compromise on the parasitic power in any way not difficult of course but it would add to the bulk of the circuit board and don't get me started on the ground isolation we also want me USB port to act as a MIDI USB interface and also have an automatic method of switching between the DFU and then the USB MIDI and don't forget all of the physical difficulty of fitting a USB port into the design of the enclosure all of this is doable but it's tedious to implement and at the very least it would increase the development time so I said forget the USB port right so how else can we talk to the chip MIDI sysex comes to mind but let's just remind ourselves that MIDI runs at about 30 kilobits per second and Sizzix encapsulate seven bytes for every eight cent and the flash memory in our processor well originally was going to be one megabyte sending one megabyte over sysex is going to take many minutes but far worse than the fact it's slow is the fact it's unidirectional which means there's there's no feedback no acknowledgement you don't know if it's finished writing a page and you don't know if the check sums matched so all you can do is add delays and when you get to the end of your 20-minute transaction you may find it failed on the first byte and you have to do it all again so for me MIDI sysex firmware updates are right out but there's another problem that affects any bootloader that speaks the same protocol as the application if the transaction is interrupted if the memory is corrupted then there's a risk that the chip ends up unbootable or how some people say bricked there are defenses against this the most common technique is to double the amount of memory you've got and always keep a complete backup copy of the firmware image but that's ugly remember that more memory means more power consumption it's also a lot of work and it still doesn't entirely guarantee that the device is unbreakable the best defense against bricking is to use a ROM bootloader the chip inside of here spoilers it's an stm32 like most microcontrollers in its class contains a ROM bootloader that is it's a bit of code that cannot be overwritten and it contains a multi-protocol bootloader triggered by a hardware condition given the hardware condition sparing actual damage to the circuit that bootloader will never fail to run so I was looking at these two extra pins here these are not used in the MIDI standard that they're purely for future use the middle pin is ground and the other two pins are your current loop so my thought was could we make these two pins the differential pair for a USB connection now I never did make up my mind about whether that would work the problem is what do you do with the 5 volts do you put it into the normal power pin we'd have to had a 3.3 volt regulator and add it in such a way that it's completely off when the chip is powered parasitically so what seemed like a fairly simple problem turned out to be a bit of a nightmare but but if we go back to using a UART bootlegger and we write our synthesizers that it's normal MIDI receive happens on the same UART hardware that the bootloader uses they can share the RX pin then we've only got two things to add the TX and the hardware condition that triggers everything conveniently enough we've got two unused pins in the din connector now here's the clever bit the in MIDI mode we run at the standard 31 kilobits per second but when the bootloader is triggered we can ramp up the baud rate as high as it will go and because it's now bi-directional we've got acknowledgements and verification for the production run there'll be a programming box that you plug this into but for now I'm just using this USB serial adapter so this is not an active cable at this end this end has a FTDI chip but for this end all I've done is add one resistor and stick a DIN connector on it you plug the synth in you read write your patches you change the tuning tables you do your firmware update and even if you pull it out halfway through it will never get bricked because plugging it back in we triggers the bootloader oh by the way this cable does not function as a USB MIDI interface well it could do but it would be terrible because these serial chips do not use the audio streaming class they use the bulk transfer descriptors which have terrible latency let's talk power delivery so first of all this whole five me out thing is a myth yeah okay the original MIDI spec asks for a five me app currently but we're not using the same return path we're returning through the shielding ground and because the mini spec asks for an equal split on the output impedance above 220 ohms then every skip the return path we've immediately got twice as much current available maximum power would be delivered if we made our input impedance match the output impedance so that would be 220 ohms and in that case between 11 milliamps now I do know there is a 3.3 volt spec which compensates by having a lower output impedance so that would let us draw more power but the vast majority of keyboards use the old spec so we have to go by that if we've reduced our impedance we'd get more current but if we increased our impedance would get more voltage and voltage is important because our peak to peak sound output is going to depend on that the quality of the sound output is going to depend on the stability of the power supply and our processor is not it's not a resistor it's a complicated changing impedance so if we stray near that 11 milliamp number we will get an audible buzz we don't want that this here is a ceramic capacitor and this it's also a ceramic capacitor except this is one of the biggest surface-mount ones you'll ever see a hundred microfarads sounds great but this cap of capacitor is actually useless for our project we used to Romick all the time for filtering and decoupling and they worked really well because of their low series resistance but you may not know that ceramics were much less desirable characteristic their capacitance is a function of bias voltage there are different chemistry's for different ceramic capacitors some of the newer ones are much better but in general as you approach the voltage rating you lose more than half of your rated capacitance if you want the smallest size and the best characteristics the type of capacity you want is tantalum and something to watch out for on an electrolytic capacitor the white stripe there the polarity band represents the cathode on a tantalum capacitor the white stripe represents the anode don't get them confused choosing a chip and you can start I wanted to use 1d stm32 L for series the ultra low power microcontrollers and if you've ever looked into this you'll know there are hundreds variants we want the most processing power for the electrical power available the number we're looking at it's not milliamps but micro amps per megahertz the current consumption is a function of how fast you clock the processor and you can change the PLL settings while it's running so as long as we're in the right ballpark we can tweak the clock speed to match the power available we want a chip with a built-in stereo DAC that makes things so much easier and a floating-point unit with single cycle multiply surprisingly that doesn't limit our search very much so we just go for the chip that has the lowest power consumption of those results which turned out to be at the time of my search the stm32 l43 - arm is a strange architecture ARM processors and the arm GCC toolchain have evolved together like they're intertwined changes in the hardware reflected in the software but also changes in the software I reflected in the hardware one of the things that sticks out to me with arm microcontrollers is the ratio between RAM and flash older microcontrollers tend have 32 or 64 times as much flash memory as they have RAM even but a desktop computer I don't know what current specs are but my slightly old laptop has a terabyte SSD and 16 gig of ram so that's a ratio of 1 to 64 but these are microbes have ratios of 1 to 4 relatively speaking as that's a huge amount of RAM I think the reason for that is how you're expected to program them using the tool chain they provided they really don't want you to program in assembly everything is designed to work with their tool chain and there is no support at all for bare metal assembly a couple that with the fact we're doing floating-point stuff so tweaking algorithms and playing with sounds would get incredibly tedious if it was all V FPU instructions so I've submitted and I programmed it in C and immediately faced multiple situations where I said you know if this was assembly I would just do X but now I have to do Y Z UV and W just to get the compiler to comply in the most extreme case I just gave up fighting the linker script and added a post compilation step which modifies the binary we've got limitations here we've got serious limitations here but they are totally different to the limitations faced by the designers of the Yamaha dx7 the dx7 had a quarter wave log sign lookup table quarter wave because look-up tables were expensive and they could generate the rest of the table by flipping and mirroring and log sign instead of sign so they can do addition instead of multiplication because multiplication was really expensive we on the other hand have got bags of memory and a single cycle multiplied but what we don't have much of is processing power the chip is under clocked for power saving so everything that can go into a lookup table must I'm not going to go through every optimization here but let's just take a look at example envelopes so the classic way of doing this is you have a state variable you say am i attacking or decaying or whatever and then in the hottest part of your code for every sample of every voice you ask am i attacking and if so add something to my amplitude and then you check have I hit a threshold in which case you switch to the next state now you can optimize this a little bit by pre calculating the rate of change but the clever optimization to do is to quantize the transitions so that they only happen at the buffer boundaries the synth has a buffer it's sending data to the DAC in chunks of you know one or two hundred samples so that's as a tiny amount that's you know if it every few milliseconds if we change our envelope if we do a trapeze or little approximation just snap the nearest grid line no one's gonna be able to hear the difference now the hottest part of our code only has to contain amplitude plus equals Delta at some point in the future I will probably stick the full source code up on github but there's a certain amount of cleanup that needs to be done before then if you are planning to delve into that then I hope you like function pointers now for those of you still watching yes all three of you here's the payoff let's take a look inside I will state this is a development unit so the production run probably won't come apart this easily so there you go the only way to squeeze everything in was to roll it up on a flexible PCB you can't see very much but the qfn microcontroller is at the bottom yellow things the main capacitor and then there's a handful of passives dotted over the place the wires leading to the jack are stranded gauge 36 when I first started writing my own synthesizers there was something immensely satisfying about the process it's like not only did I write my own song but also wrote the software that generated the sounds in that song no at that time it was mostly playing around with the Web Audio API which is about as high level as you can get and though I later went on to write vsts that's still using the VST API which is running on a platform that I didn't write so in a sense this synth represents a level up for me it's not only could I write the bare metal software but I also design and build the hardware it runs on when I say I designed the hard way what I mean is I selected the components and arrange them on a flexible PCB but I didn't send the components I'm still wholly relying on the arm cortex chip in there and though I'd love to design my own processor I don't think I'll be getting into custom silicon any time soon I've no doubt that there will be newer chips available which draw even less power and could do even more processing but the whole powered by MIDI thing may have run its course um I'm not saying that didn't connect is going to disappear but any devices that do include it do so as a legacy option it's all it's all USB and the ubiquity of USB does make sapping your power from the din connector somewhat hollow endeavor so in some soppy sense this little guy represents the pinnacle the climax of my powered by MIDI adventure it's my love letter to the din connector the journey is not over yet but it's been a hell of a ride so far [Music] [Music] [Music] [Applause]
Up Next

10:19
Implementing Denoising Diffusion Probabilistic Models in PyTorch
@papersin100linesofcode
3.7K views•2024-06-15

57:48
Secure Multiparty Computation (MPC): Foundations & Challenges
@SimonsInstitute
7.3K views•2015-05-28

13:03
Bypassing Tor Censorship: Bridges and Pluggable Transport Guide
@Coding_ForEveryone
397 views•2024-06-11
18:41
Neural Networks Explained: Math, Layers, and Learning Fundamentals
@3blue1brown
21.9M views•2017-10-05
Related Study Plans & Knowledge Roadmaps
Structured learning paths in Artificial Intelligence
artificial-intelligence
Aligning LLMs: DPO, TRL & Custom Datasets
01Foundations of Python & Machine Learning
02Transformers and Large Language Models (LLMs)
03Aligning LLMs: SFT and RLHF
+ 3 more learning modules
24h6 modules
Explore Roadmap
artificial-intelligence
Federated Learning: PyTorch, Flower & Privacy
01Python & Machine Learning Foundations
02Deep Learning Basics with PyTorch
03Introduction to Federated Learning
+ 2 more learning modules
35h5 modules
Explore Roadmap
artificial-intelligence
Securing LLMs: Guardrails AI & NeMo Gateway
01Introduction to LLMs, Python, and APIs
02Understanding LLM Vulnerabilities & Threats
03Defending LLMs with Guardrails AI
+ 2 more learning modules
15h5 modules
Explore Roadmap
artificial-intelligence
Building Recommenders: Two-Tower & Vector DBs
01Foundations of Python & Machine Learning Basics
02Introduction to Recommender Systems
03Deep Learning & Representation Learning
+ 3 more learning modules
75h6 modules
Explore Roadmap