




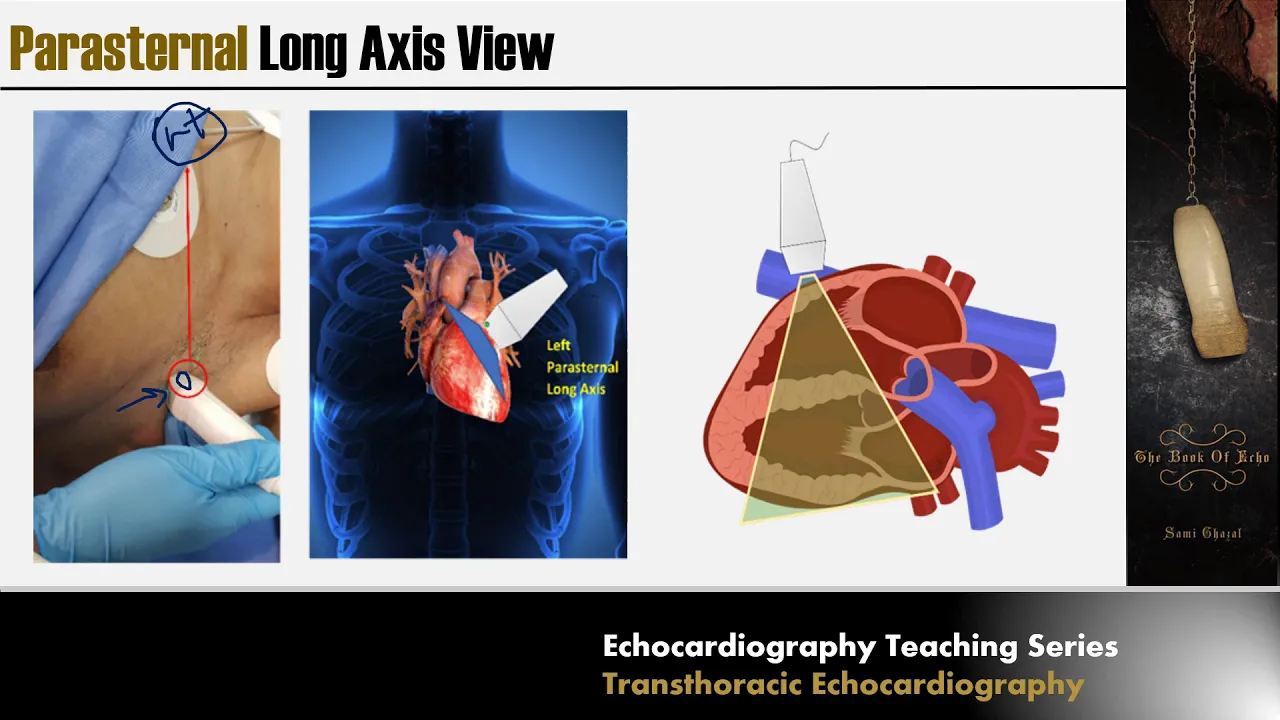











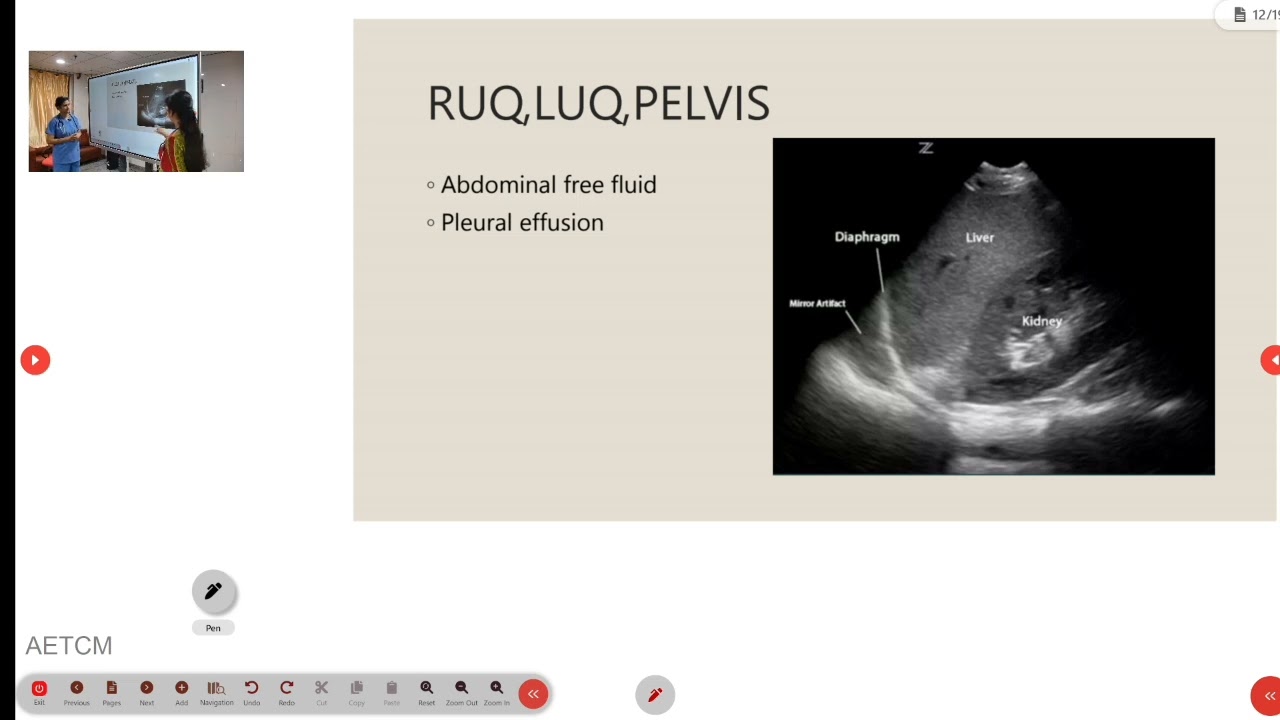





Focused cardiac ultrasound (FOCUS) is a simplified echocardiographic technique used by emergency and critical care physicians to rapidly assess five key parameters: pericardial effusion, right ventricular size and function, left ventricular size and function, and overall fluid status. The examination uses five basic views—subxiphoid four-chamber, IVC, parasternal long axis, parasternal short axis, and apical four-chamber—with the goal of quickly answering clinical questions rather than performing comprehensive echocardiography. The subxiphoid view is typically performed first as it provides immediate information about pericardial effusion and right ventricular function, which is especially valuable during CPR. The IVC view assesses fluid status by evaluating IVC size and respiratory collapsibility. Parasternal views provide detailed assessment of left ventricular function and regional wall motion. The apical four-chamber view offers comprehensive visualization of all cardiac chambers. This protocol emphasizes rapid image acquisition and interpretation away from the patient to minimize time spent at the bedside while still providing clinically actionable information.
Focused Echo in Critical Care: A Practical Guide
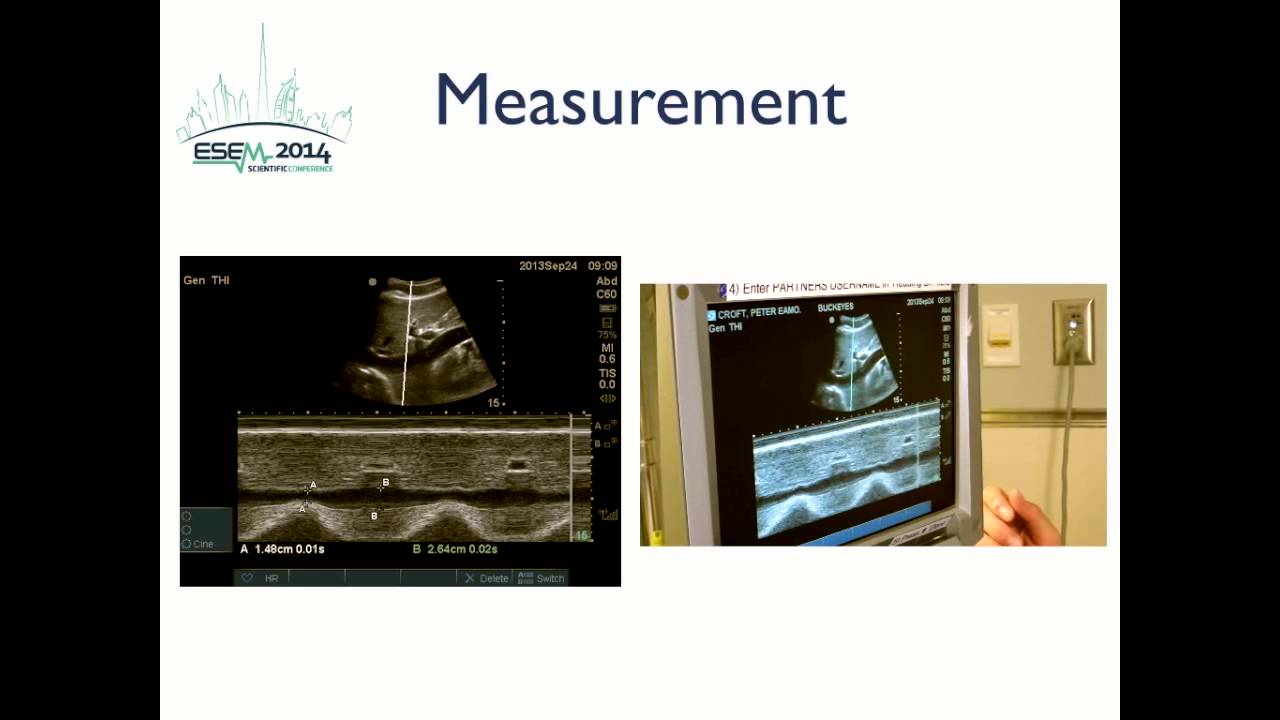
Added:[Music] today we're going to go through some basic ed echo or focus echo and life support videos to give you a bit of a demonstration of of what we do locally here in terms of using our ultrasound to assess some certain pathologies in critical care we're going to be using the philips spark today to do all the imaging which is our ultrasound machine that we have in our emergency department here so i'm based in toowoomba hospital and the protocol that we're going to go to through today is definitely a local protocol but it can be adapted to use anywhere that you'd like and the main focus of today is using simple 2d imaging to capture the views that we need to make some assessment in terms of critical care so the images that we're going to go through i'm going to talk through and go through a video around how to capture a sub-zippy four-chamber view then an ivc view we're going to go and do the paracernal short and parasternal long views and then an apical four chamber as you'll note when we do the videos there's no color or no doppler and that's to keep things really simple which i think is really important for emergency doctors and and critical care physicians who are definitely amateur sonographers not pretending to be an echo sonographer or a cardiologist we're doing very simple image acquisition to answer some simple questions looking at left ventricular size and function right ventricular size and function is there a pericardial or fusion or not and what is the overall fluid status of our patient so what we're going to do here is really just go run through the five basic windows that you use to assess the major pathologies that we're looking for in a focus echo this is by no means as we talked about by no means a full extensive echo and what we're really doing is just focusing on the major pathologies that we're looking for which is going to be pericardial fusion right ventricular size and function left ventricular size and function and then fluid status in life support so jerry's our model which is great we've got him in the position here which is normal which is supine to start with i'm just going to run you through we've got the philips spark how we go and set up an exam as well so to start with you want to record these so you go start and end you want to start with a new patient for our protocol up here what we do is we put the ur number in which for today we'll just use today's date followed by my initials and then the last name of the patient and for this purpose we're just going to put jerry and then if i was supervising somewhere or proctoring someone then i'd put myself as a performed by person in this exam as well we go across here to choose our transducer or preset we want the cardiac probe or sector probe and we want the cardiac preset and then across and save and exit so that sets up a window now which is specific for jerry which will record and document under his name and ur number when you're doing it in real life next part so we're going to start with the sub xiphoid view we're going to look first at the subsidy 4 chamber view and then we're going to flick and have a look at the ivc purely pragmatics is the only reason that i start here one it's the view that you're going to get if you're doing it in cpr and two it actually gives you a lot of information about the big things that we're looking for straight up which is going to be pericardial effusion fluid status and also for right ventricular size and function in terms of a pulmonary embolus which when you're doing cpr they're the main things that you really want to know straight up so if you sternum probe marker to the patient's left shoulder or to three o'clock go down until you get a loss of resistance there and then just gentle pressure and then tilt in and hopefully what you see is some good cardiac activity there which you can see with jerry now we're just going to give ourselves a touch more gain and a touch more depth so you can see here the view is not too bad to start with he's a pretty easy specimen which is excellent so we've got right ventricle left ventricle right atrium left atrium and what we'd be looking for here is some of those pathologies that we talked about it's a bit foreshortened so we'll just come in and try and extend that out a little bit so that's pretty good there if you wanted to we'd get jerry to take a deep breath in and then you can see that it crisps up that image nicely there as well if you if your patient is able to use respiration so breathe away normally so from this view here after you're acquiring so you want to acquire a cine loop here so we go acquire all right so that's you can see up in the window there now that's saved from here if you flick that marker probe up to 12 o'clock and then across slightly to the patient's right you'll get the ivc so 12 o'clock and then across to the patient's right so you can see that's a really nice window there we're just going to drop our depth a touch so that we can put that in the focal point and what you're looking here is just assessing obviously size and collapsibility so try and get that nice window there and we can just make an observation about that with respiration so that it's collapsing down with inspiration which is good uh we'll just acquire that one there again [Music] if you can try and capture the hepatic vein coming in that's where you really want to do your measurements but for our protocol we're just going based on eyeball without measuring that so if we can get jerry to take a sniff you can see that real collapse there now we're going to go to our parasternal views so for these you've got a couple of options really it's better if you can have your patient on the left hand side for all the chest views so what we'll do if your patient is obviously an extremist and that's that's not feasible then it's fine you can do it with the loan flat you'll just find your views harder to get so if they're able to always roll your patient over to the left hand side so jerry just roll slightly over to your left for me you can tuck a pillow in behind there or what i tend to do is just put my left hand on the shoulder to give them a bit of support so we're going to start with the parasternal long axis so third or fourth intercostal space marker probe this side is going to be now over to the patient's right shoulder okay and you're just going to put it down and see what you can see so you can see again we've got a young healthy skinny male with excellent windows so when you're trying to acquire you we'll just acquire that there just lengthen out that ventricle a touch by just rotating the probe a little bit so require that what you can see here is we've got the right ventricular outflow tract left ventricular outflow tract here and then left ventricular inflow here through the mitral valve aortic valve up here so that's your parasternal long axis from this position here to get your short axis where we're going to cut through here when we spin our marker probe around to the patient's left shoulder or around to the three o'clock is where you're going to cut through so depending where you want the mitral valve or whether you want the ventricular muscle you can either sort of slide around and make that where you want to go through so we're going to aim to cut through here through the ventricular muscle so we're going to switch that around around the patient's left shoulder and you can see here we got a really beautiful view of the left ventricle with the fish classic fish mouth view so if we come down a little bit further we'll go through a papillary muscle there so from an ed or critical care perspective this is the most there's a really useful view for left ventricular function and then extending that on to regional wall motion abnormality which isn't part of our protocol locally here so you can see if you wanted to look for d of the ventricle in terms of a pe this is the best for you to do that on there so you can see there beautiful view we've got right ventricle over here left ventricle there so we'll acquire that one and our last view of the chest here is our apical 4 chamber so from where we were before we're going to do now is basically you want to put your probe on the apex so jerry's a young skinny fellow his apex is likely to be down around the nipple area or probably a bit further out okay so what just pop your probe down and really just see what you can see and your marker probe again to the left hand side so i think what we do in ed generally is we don't go laterally enough there we go that's a bit better so as you can see there we've got left ventricle right ventricle right atrium and left atrium with our valves there so if from this point of view so we'll just acquire that one there you try and make that that apex as thin as you possibly can thin walled as you can and if you wanted to here you can make it a five chamber by just tilting up to try and capture the aortic valve we're not going to get a beautiful view here basically the beds in the road so we could even just roll jerry back over a little bit more there we go then we get a much nicer view there the full chamber and again tilt up if we can and you get the five chamber coming in we're just on a rib there so once we've captured all of those image we can then end the exam so from our perspective what we do from here is you can lie your patient back hit start end and study and that will store that for you my recommendation would be if you're doing this in a critically unwell patient capture those images as quickly as you can store them and then move away from the patient and actually do your temp your interpretation away from the patient rather than stuffing around trying to get the perfect view because you want to get in and out quickly and then you can actually do your interpretation later by having a look at the images on the machine so that concludes our video tutorial for focused echo and life support or basic edie echo thanks for watching hopefully it was helpful for everyone happy scanning you
Up Next

Basic Transthoracic Echocardiography Tutorial | 2D TTE Image Acquisition
@ThomasEdrich
170.3K views•2012-04-27

Triumph of Orthodoxy Icon: Byzantine Art & History Explained
@BenCallan
2.1K views•2024-08-06

FastAPI vs Flask vs Django: Choosing the Right Python Web Framework
@TechWithTim
302.5K views•2024-05-26

Game of Thrones Opening Credits: A Cinematic Analysis
@gameofthrones
46.3M views•2011-04-18
Related Study Plans & Knowledge Roadmaps
Structured learning paths in General & Interdisciplinary Studies