![Fundermentals: Accounts, Instructions and Transactions [Solana Basics Day2] - Feb 7th '26](https://i.ytimg.com/vi_webp/fXKyOrudpgA/maxresdefault.webp)




![[Solana Bootcamp Summer 2024] #1 - Kick off | Introduction to Solana](https://i.ytimg.com/vi/8kkGIod41rg/maxresdefault.jpg)



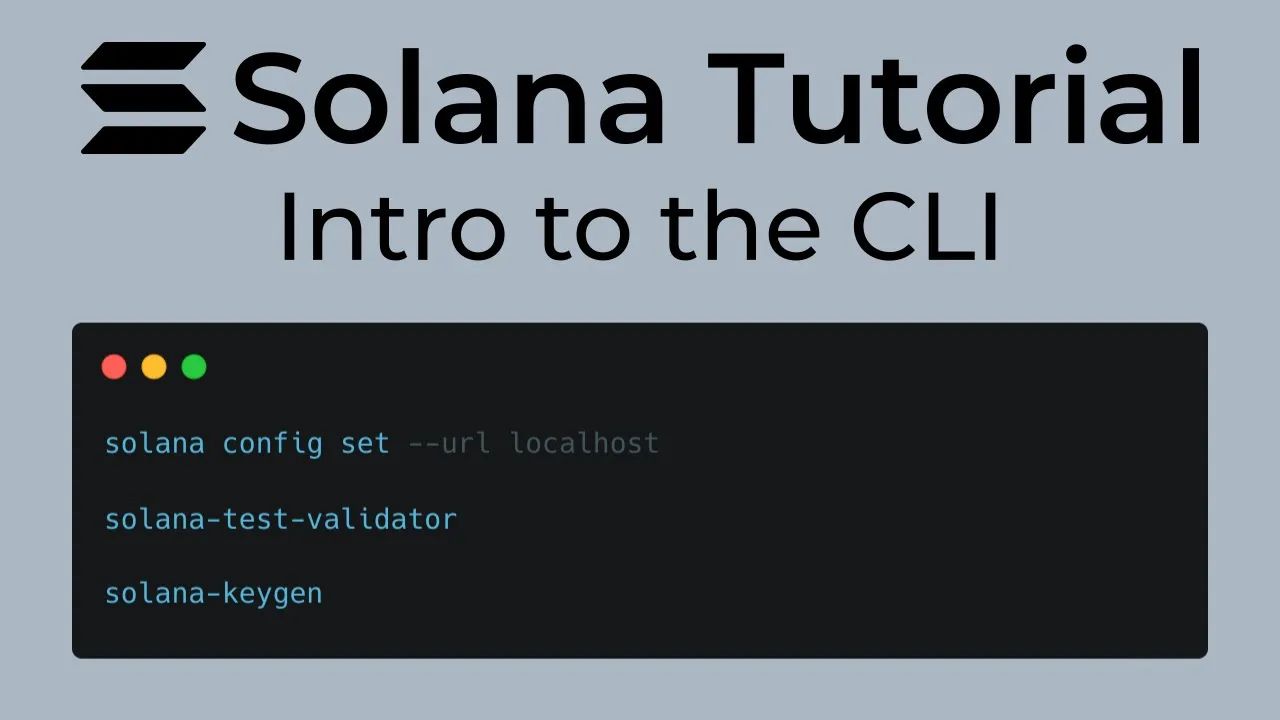
![How To Read Data From The Network [Solana Development Course: Module 1, Part 1] - Aug 1st '22](https://i.ytimg.com/vi_webp/HavGDGUTmgs/maxresdefault.webp)





![Deep Dive on Metaplex pNFTs [Solana Tutorial] - May 3rd '23](https://i.ytimg.com/vi_webp/CnQxY7Or3wY/maxresdefault.webp)



To deploy an NFT collection on Solana mainnet, developers must configure the Solana CLI for mainnet-beta, generate a new secure key pair, fund the wallet with SOL, configure the HashLips Art Engine with collection metadata, upload assets to Metaplex, create and update the Candy Machine with price and start date, and finally configure the Minting DAP to enable users to mint NFTs.
Deploying a Solana NFT Collection on Mainnet: A Step-by-Step Guide
Added:Fundamental understanding of the Solana blockchain architecture, specifically how accounts, programs, and rent work.
Familiarity with the Solana Command Line Interface (CLI) and basic command-line navigation.
Basic knowledge of Solana NFT standards, particularly the Metaplex protocol and how token metadata is structured.
Understanding of crypto wallet mechanics, including keypair generation, public/private keys, and the operational differences between Devnet and Mainnet-beta.
Implementing advanced Candy Machine Guards (e.g., allowlists, Merkle trees, and bot tax) to secure the minting process.
Integrating and customizing Web3 minting dApps using frontend frameworks like Next.js and the Solana Wallet Adapter.
Exploring Metaplex's programmable NFTs (pNFTs) and implementing creator royalty enforcement rules on secondary marketplaces.
Developing custom on-chain programs (smart contracts) using the Anchor Framework and Rust to add utility to the deployed NFT collection.
42.5K views1Klikes24:33Original Release: 2021-10-21
hey how's it going guys my name is daniel aka hashtag and welcome to the channel where i teach you about code this particular video is a follow-up on the create a solana nft collection on the devnet if you want to know how to do everything beforehand i highly recommend watching the previous video if you already use dusalana and how to work the command line interface this video will show you how to exactly do what we did in that video but instead on the devnet we are going to deploy an actual collection on the main network [Music] [Applause] this is going to be a way shorter video than the previous one but in the previous video i explained the bulk of what you need to know regarding deployments on solana so go ahead and watch it that video's name is create nft collection ultimate guide devnet i'll leave a link in the description after you've watched it and you still get stuck go ahead and join our discord or telegram channels it's always good to become a part of this community let's dive in and see how we can now deploy on the main network on solana just a quick recap we need the hashtags art engine repo especially version 1.0.8 so go ahead and download that we also need the metaplex repo so you can clone this code as well and we also need the candy machine to create our dap but we've done this in the previous tutorial so we have those three folders ready and set up and we've changed the ui a little bit of the candy machine mintingdap so i'm gonna go ahead and just open those folders and make the necessary changes for the mainnet nft deployment here is our three main folders those main repos that we will need so like before we're going to open the hashtags art engine main to generate our nft collection now i am doing this again because i want to change the address that needs to accept the royalties to a new address that i'm going to generate on this machine so i'm going to go ahead and go to visual studio code i'm going to say open going to go to desktop solana and open the hashlips art engine i am going to keep everything exactly the same as the previous video the only thing i need to change is this wallet address i want to change it to the wallet address that i am going to generate now because previously i've generated addresses on this machine but i have exposed the key phrases which is not good and a security risk so this time i need to open the terminal so that we can run a new command currently if i type in solana you can see that there's all the commands that i can run i can also type in solana address and then i can see this is my current address but like i mentioned i've generated this hot wallet on this machine and in the previous video i exposed the key secret phrase which i have to now regenerate let me show you how you can regenerate a new key pair and save it safely which i will on a later stage then take off the machine so it's even more secure for myself i am not going to expose the key phrases this time this time i'm going to keep it secret because that's my wallet address that i'm actually going to fund with money from my live wallet let's just jump back to the metaplex docs so i can show you how we can set up solana's configuration so here we set it for the devnet like before so if i open any terminal or any command line like i said this is how you can do it in the command line if we type in solana config and then get what will happen is i see that i am pointing to the devnet and this is generated and this is my old key pair which i would like to now regenerate but the first step is to switch your environment this environment to the main network so let's go ahead and do that in your terminal over here or in visual studio over here you can do this you don't have to be on the metaplex repo in order to communicate with the solana cli i'm going to do it in my normal terminal let's keep the docs open and go over there we can see that we can type in this phrase and i'm going to copy and paste this but this time i'm going to change it instead of devnet i am going to type in mainnet beta so i'm going to say this is going to be the api and then this is going to be the main net dash beta like so just make sure you type in main net then i'm going to hit enter your url should now be pointing to the mainnet dash beta how do i know what to type well if i go to the solana cluster docs i can see that we've got the definite and here are all the configurations that i can run for the devnet and if i want to do the test net i can do the test net and if i want to do the mainnet then i have to enter this command that we've just entered now how you know is configured correctly like i mentioned is if your rpc url changes to main network we still need a new key pair this one automatically updates like i mentioned so now let's generate a new key pair that i can keep safe on my computer to generate that key pair again remember i've got to run this command now this part here even though it says devnet this is simply the json file name so you can call it anything i'm going to go ahead and copy this go to my terminal and run it here below but this time instead of calling this devnate.json i am going to call this hash loops and then dash main net and that is going to be my keypair file now keep in mind after i generate this it's going to create for me that key phrase which i have to go and save i will not be able to show you this but keep in mind if you do this please save that information in a safe place after that command has run successfully you'll get something that looks kind of like a bunch of lines with words and your public key as well as your location of your key pair what i then do is i create a info file like so and i paste in that information over here there are some extra information that i've excluded for this tutorial series and i'm also going to move my key pair of this machine after this tutorial but that being said this is very important the next step that i want to do is actually point this machine to use this key pair let's see how we can do that well in the terminal let's go and open the documentation the next thing we can run is this command this is solana set and then the key pair we're going to set as this so i'm going to copy that line go to the terminal paste that in there go to my place where i've saved the location and in the terminal add it to the end when i click enter you'll see that it's now configured to point to the main network its main network on the rpc and it has my main network path of my key pair this is a good point to basically hook this up to your cloud wallet if i can put it like that so what i like to do next is go into my phantom wallet and actually go and import that wallet all you need to import it is basically your key pair so i'm going to log into my phantom wallet and then when i go over here you can click add and connect wallet click on import private key and then you're going to locate that file and import it into this wallet so click on import private key and give this a name i'm going to call this my hashlips main and then i'm going to paste the private key over here that you'll find in the dot json file i can now say import and i can see that there is my address i can verify that it ends with a y a v p so if i go to visual studio there is my public key and it is correct so you need to go to this path copy the contents and import it into your phantom wallet at this point it's a good idea to also switch over to the main network beta so that we can see all of our wallets i don't really want these test wallets here anymore so i'm going to go ahead and remove them so to remove a wallet you click on the wallet you want to remove go to settings go all the way down and click on remove wallet the only two ones i now have is my main one and the hash flips main one at this point it's very good idea to go and send some soul to this main address i have some soul in this account so i'm going to say send click on soul and i want to say this is my recipient address and then the amount i think 0.1 or 0.2 would be enough to launch this collection but let's just be safe and put 0.3 i'm going to say next and send this will be transacting and sending to this wallet what would be very cool now is if we can see the balance that we've sent to this wallet that's on our local machine so if i type in solana and then address right i can see that this is the address that's on my machine but if i type solana and balance then i should be able to get the balance which is now 0.3 sol this is on the main network and that is enough to deploy our collection so let's go do the rest of the steps let's now jump back to visual studio code and copy this public key that i've just sent the soul to i'm going to replace it with my address over here for the creators and then i want to make sure that i update the rest of the info seeing that this is a collection all about eyes i'm going to call it the seeing eyes or the seeing eye and here i'm going to just where it says remember to replace the description i'm going to type and say this i sees all right and that seems cool and for the symbol it's going to be s e and i am happy with my base fee of 2.5 percent this share should be a hundred percent and once you've set everything up like this remember if you want to learn how to use the hashtags art engine go and watch the previous video but all i need to do now is run npm run generate once i do that i will see that my build is successful and i have got my images and my json it is now time to go and replace the assets in the metaplex repo so now that we have the artworks and the json we can simply go ahead and do the same that we did the last time we're going to create a new folder call it asset like so and then we're going to open the hash labs build file where all of our images sits we're going to take everything and drag it into the assets folder as well as all of our json don't pull in the underscore method data json file now that we have done that we can see that our assets have all of our files we can now go ahead and drag the assets in the metaplex it's going to ask us to replace it and i want to replace it before we go and open metaplex i have my info file here as well so i'm just going to copy this then i'm going to say file open and go to my metaplex now that we are in the metaplex repo go and click on the info file that we've created from the previous tutorial go ahead and paste what we just copied and you will see something like this that we've been creating together so you might not have this if you haven't created this but these commands are the ones that's needed to upload our collection this is the upload create candy machine and update candy machines price for our collection and the start date go ahead and write these in your info file right now by pausing the video i'm also going to scroll to the end so you see everything these commands will also be in this video's description for you to use if you are making use of the same repo that you did in the devnet tutorial series then you don't have to set anything up apart from clearing this cache that we tested with so i'm going to delete the cache file and then go ahead and run the first command before i do i need to go and replace my key pair file everywhere where it says path so over there over here as well as here at the bottom now i'm going to run the first command which basically will set up the assets and upload them to the decentralized storage this process checks now the assets image and it checks its json it will also create this dot cache file which we will use later for now it's just going to check and verify if everything is healthy while it's uploading it to the cloud next we are going to run the create candy machine line this will set up candy machine and its configurations it will also give us then the candy machine id which we are going to use we don't have to save any of these important keys because they are saved inside the dot cache file let's wait for this all to upload before running the next command awesome we can see that this was now successful now we can go ahead and run this command and this will set up candy machine remember to make sure that you are on the dev network on the main network sorry and not the dev network so for all of these this will ensure that we upload this to the main network as well as your solana cli needs to be configured to the main network like we've done in the beginning of this tutorial this will only take a second and once it's done we can go ahead and update our candy machine variables we are going to update the price as well as the start date i am going to choose a prior start date to today so that i can start minting immediately i'm also going to make my nfts super cheap because i want to be able to mint them all i can see that candy machine has successfully ran and now it's time to run the last command let me copy paste and hit enter and that command ran successfully we can now see that the timestamp as well as the price was updated we can go and verify this by going to our browser then clicking on phantom wallet make sure that you are logged in after logging in go to your wallet that we deployed this from go to the transactions and click on this very last one this will take you to the solana explorer while this loads i am going to however copy this transaction and go and paste it in the soul scan this is a way better scanner for me so i'm going to paste the transaction and hit search you'll be able to see here it was successfully updated there we can see the price is now that as well as our go live date great all we have to do now is set up the mintingdap remember that is a simple process all we have to do is go to this.cage file and go and copy a few variables i'm going to hit command s to save this file i've set up visual studio to organize json like this for me basically what you'll need is this config so i'm going to copy and paste it here my info then i need to go back and all the way to the bottom copy these three variables down here the one you can see is the config we have the authority the candy machine address and the start date i'm going to copy this and then i'm going to open candy machine so i'm going to click file open solana candy machine we have altered this candy machine instance in our previous tutorial so if you want to see how to get the ui looking kind of like this you can go ahead and do so remember the only thing we need to change is in this dot env file so let's go and paste our variables down here we are going to put the configuration here at the top for the config the authority is basically this treasury wallet then the candy machine id is the candy machine id and then our start date once we have that we can remove that we can say save and now we need to update this the only part that we have to update as well here is the network so we're going to say this is on the main net dash beta and we're going to put the same for here in the api call so the main net dash beta there we go now we can hit save i can also run yarn start this is after installing the dependencies remember we are working from the previous tutorial i like to mention that so that you know exactly what we are doing at all times this is going to start up a instance now and here we can see it i can now go ahead and click connect to phantom and then say confirm there's my wallet i can see my wallet balance in here and the supply is 0 out of 10.
if i now go ahead and click on mint it's going to ask me to mint one i'm gonna say go ahead and do so we can wait for this transaction to finish but we can also go ahead and go to phantom and check here and it is already successful this means that our nft on the mainnet is now mine and should be here let's wait for it and see so it's loading something it's definitely there but we just have to load for the image to basically load it says here that the mint was successful so maybe it only went through now let me go and first check out the transaction by clicking on that successful transfer over there if i go and copy the signature again i can go to soul scan paste it in there and search for it there we go i can now see that this indeed transferred that nft to my wallet how cool is that like i've shown before what i can also do is go to my wallet address so i can click on phantom copy my wallet go and paste it in here and then because this is now pointing on the main network let's just make sure this is main network i can see there's my token i can also click on it and have a lot more information on this token here we can see it is the ce seeing eye and it is token zero now the image is not loading and it might be just because it's still loading the metadata and there we go after refreshing i can see it i can also see this if i go to my phantom wallet and click on my nft section down here so this should pop it up and i can open it i can send it it has all the attributes that it needs it's amazing and there we can even see the external url that goes to my youtube page now like i said if you leave a comment in this video i will select someone to give an eye to which is pretty cool there's only 10 of them i am going to go ahead now and mint the rest when we get back to our dap we can see that the supply indeed is now 1 out of 10.
i can go ahead and mint all 10 and then send them to a lot of fans which is pretty cool the last part of this tutorial is however not ending with this section you still need to build this to go and host it on a hosting service maybe a linux or a github page or even on ipfs whatever you want to choose in order to do that what you'll need to do is cancel the execution and then you say yawn yarn build by doing this you are telling this program candy machine to give you a build that you can upload on a server to host as a static web page once it's done you will find all the build files in this folder and there we go it is complete so when you go to your file system and you go to candy machine go to the build folder this is all the contents that you need you can basically go right click compress on create a zip file and upload this to any hosted service once you do that people will be able to go to your instance of candy machine and mint your token and that's how simple it is i truly hope you guys have enjoyed this video thank you so much for the 14 000 subscribers that's following this channel and learning more about code every day with me if you want to watch the previous video like i said in depth you can go and watch this one it says create a solana nft collection the ultimate guide i've uploaded this just an hour ago and it's already having 300 views that's pretty good for my channel i hope it reaches thousands so that everyone knows how to do this process by the way if you get stuck you can always go to our website and join our discord or telegram page there's a lot of devs that's willing to help till the next video cheers for now
Up Next
146:26
Build a Solana Blog DApp with React and Anchor
@CleverProgrammer
31.2K views•2022-09-26

12:54
Triumph of Orthodoxy Icon: Byzantine Art & History Explained
@BenCallan
2.1K views•2024-08-06

9:49
FastAPI vs Flask vs Django: Choosing the Right Python Web Framework
@TechWithTim
302.5K views•2024-05-26

1:42
Game of Thrones Opening Credits: A Cinematic Analysis
@gameofthrones
46.3M views•2011-04-18
Related Study Plans & Knowledge Roadmaps
Structured learning paths in General & Interdisciplinary Studies
general-studies
Elevator Engineering: History, Physics & Cities
01From Hoists to Safety Brakes: The Dawn of Vertical Lift
02Hydraulic vs. Traction: The Engineering Physics of Elevators
03Modern Speed, Safety, and Algorithms
+ 2 more learning modules
12h5 modules
Explore Roadmap
general-studies
Rubber: Material Science, History & Geopolitics
01Origins of Natural Rubber & Mesoamerican History
02The Chemistry of Natural Rubber & Vulcanization
03The Geopolitics of the Rubber Boom & Colonization
+ 2 more learning modules
12h5 modules
Explore Roadmap
general-studies
Containerization: Evolution, Logistics & Trade
01Ancient Trade & Bulk Cargo: Amphorae to Barrels
02The Industrial Revolution & Cardboard Packaging
03The Containerization Revolution: Malcom McLean
+ 2 more learning modules
12h5 modules
Explore Roadmap
general-studies
Textile Tech: Evolution, Labor & Global Impact
01Pre-Industrial Textiles: Handloom & Cottage Industry
02Mechanization: The Spinning Jenny to the Power Loom
03The Factory System & Global Labor Transformation
+ 2 more learning modules
10h5 modules
Explore Roadmap