


![Learn Rust Programming [Day 1] -- LIVE!](https://i.ytimg.com/vi/zNpmH2SU2wI/maxresdefault.jpg)







Rust is a statically-typed, compiled programming language that offers high-level features with low-level control, enabling developers to write efficient, scalable systems without the complexity of C/C++. This tutorial covers the fundamentals of setting up Rust on Windows, Mac, and Linux platforms, writing your first Rust program using the main function and println! macro, and compiling and running Rust code to produce standalone executable binaries that can be distributed across different operating systems.
Rust Programming Tutorial: Installation & First Program
Added:Familiarity with using a Command Line Interface (CLI) or Terminal to navigate directories and execute basic system commands.
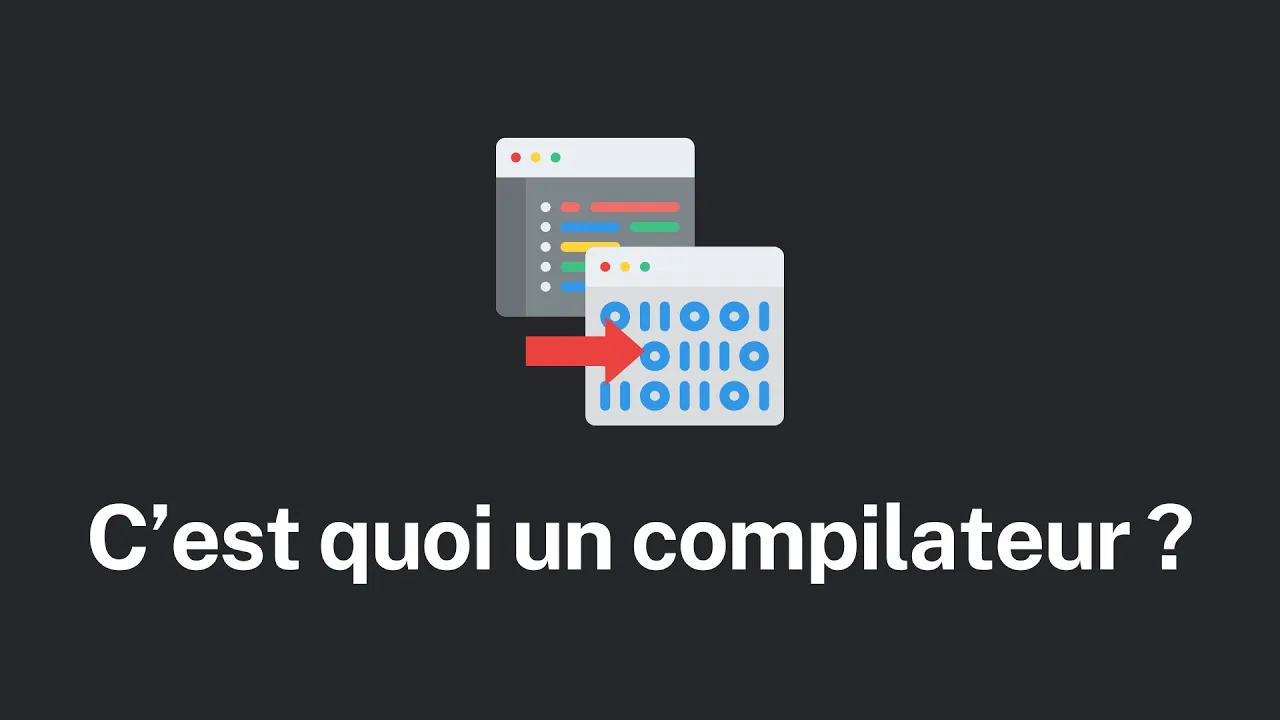
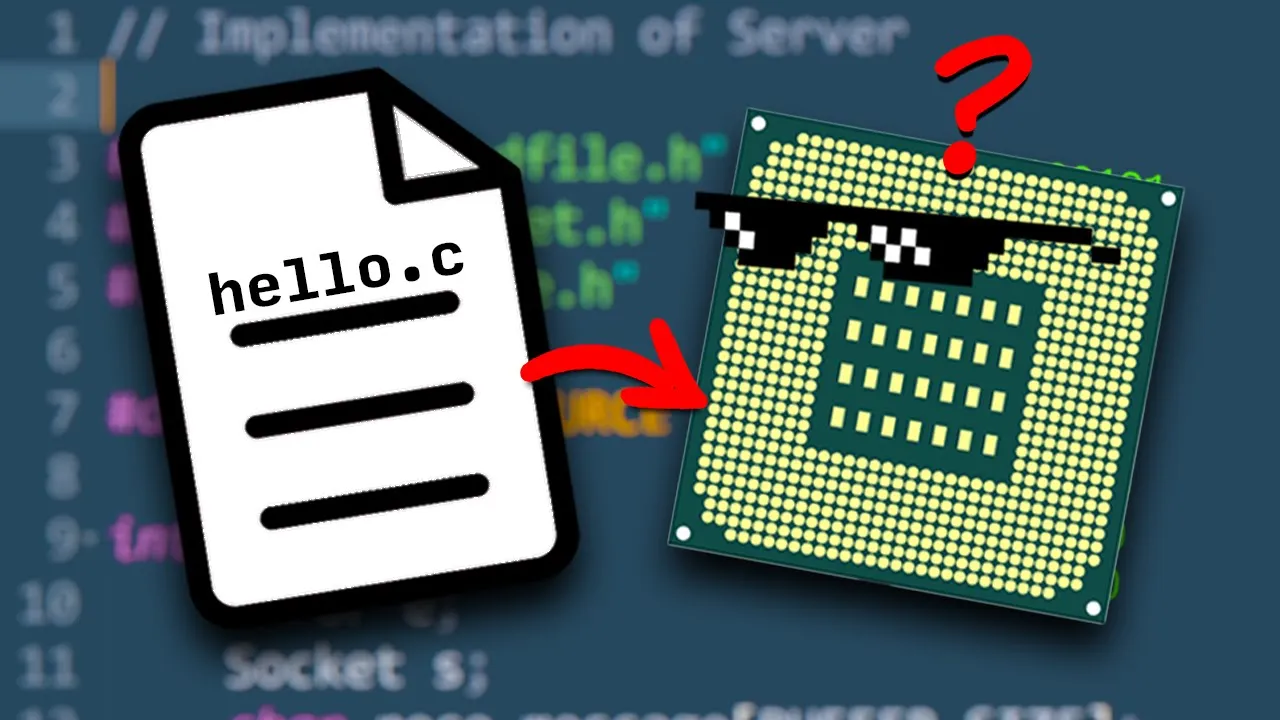
A basic understanding of the compilation process, specifically how source code is translated into executable machine code.
General awareness of how operating systems manage system environment variables, such as the PATH variable, to locate executable programs.
Mastery of 'Cargo', Rust's build system and package manager, to create projects, build binaries, and manage external dependencies.
Understanding basic Rust syntax and language fundamentals, including variables, mutability, data types, and functions.
Deep diving into Rust's unique memory safety model, focusing on the core concepts of Ownership, Borrowing, and Lifetimes.
Learning Rust's approach to error handling using the 'Result' and 'Option' enums rather than traditional exceptions.
581.1K views11.1Klikes15:08Original Release: 2022-05-09
So hello, everybody, and welcome to a brand new tutorial series on this channel where I'm going to be covering the rust programing language Now, I'm super excited about this series.
Rust is an awesome programing language.
I've really been enjoying it over the past few days, and I think you guys are going to enjoy it as well going through this series.
Now a big shout out to my Discord Server Discord.gg/twt You can join that from the link in the description for actually recommending this video idea and kind of constantly bombarding me about rust because now I'm finally making it.
They have convinced me I'm going to go through and teach you the rust language.
Ideally here we're going to have between 15 and 20 videos in this series.
I'm going to cover everything from the complete basics of setting up your environment to some more advanced rust concepts and show you some of the power of the rust programing language With that said, I will quickly, quickly mention here that this series is not designed for complete beginners.
I'm assuming you have some familiarity with programing.
You've touched programing languages before, or at least one before.
Otherwise, it will be a little hard to follow along here.
However, if you are a beginner programmer, that's fine.
I'm just assuming you kind of know what a variable is.
You understand what a command prompt in a terminal is, and I'm not going to explain all of the super basic stuff that I imagine most of you are familiar with.
And with that said, if you are a complete beginner programmer or you're kind of in the beginner stages and you're looking to get better at programing, you can check out my course programing expert so you can use discount code.
Tim that is literally the best resource.
It's interactive and it will teach you how to get up to a software engineering level and programing really as fast as possible.
So check that out from the link in a description And with that said, let's get into the rust language here.
I'm going to give you a quick intro to the language, show you how to set up your environment for Mac Linux and Windows.
Then we'll write and compile our first Rust program.
So as I was saying, I'm just going to give you a quick intro here to Rust.
Spend a minute or two talking about some of the benefits and features of the language.
Then we'll get into the installation So Rust is a statically and strongly typed programing language. It's also compiled.
And what that means is that if you write a Rust program, you compile it into a binary executable file, and that file can be ran by anyone who doesn't actually have rust installed.
So this differs from something like Python or JavaScript or Ruby, where you actually need a Python interpreter, for example, on your system to be able to run the code.
This is different.
Someone does not have to have Rust installed to run your Rust program, assuming they're on the same operating system that you are on when you compiled the program.
Continuing here, Rust is known as a very fast and reliable programing language.
It's very good at error handling and catching bugs, and a lot of developers use it because it is very efficient.
Like it's a very fast language in terms of execution speed, but it also is not extremely difficult to write it.
The main benefit of Rust is that it has a bunch of high level features, but it also gives you control of lower level features and code without kind of the difficulty of languages that typically do that, like C or C++.
So really that is why you would use rust.
You want to make an efficient, scalable, very fast system of some sort, but you don't want to deal with kind of the annoyance of writing code, for example, in C, yet you still want to have the control of those low level features.
Again, this is super high level overview of the language.
There's a ton of other awesome features and I have a little list here.
I'm going to read off of some of the things you can make with Rust.
So Rust allows you to make command line tools, web services, dev ops tools, embedded devices or embedded systems, cryptocurrency related stuff, bioinformatics, search engines, machine learning.
And it's actually used in part of the Firefox browser.
And if you want to learn more about this language, I will link the rust programing language book in the description.
This is a completely free this is the official kind of rust documentation here for getting started and learning some concepts.
And really what I'm going to be doing in this series is following along with this book and kind of just picking out the more important information and giving you a almost summary overview of the important topics without getting into all of the super kind of nuanced details that you don't really need to know to quickly pick up the language.
So if you want kind of a text based resource here to follow along with, go to this book again.
Everything I'm teaching is going to be pretty much directly from here.
Although I'll come up with my own examples and kind of add some more detail to this.
So with that said, that is Rust again, a great programing language, relatively easy to learn, at least from my perspective.
With that said, let's get into the setup and start writing some Rust Code.
All right, so now we're going to move on to installation.
Now there is different steps here for Windows, Mac and Linux.
So just go to the appropriate timestamp in the video player for which operating system reflects yours.
Now, I'm going to show you Windows first.
So to install Rust on Windows.
First of all, you can reference this page right here.
This has all of the installation instructions in case for some reason what I'm showing you doesn't work, although it should.
Anyways, what we need to do on Windows is go to this page right here.
I'll leave this direct link in the description and we need to download the graphical installer for rust so we can download Rust and Netscape.
We're going to use the 64 bit version unless for some reason you're on a 32 bit machine, although I imagine most of you are on 64 bit.
So just click on 64 if you're unsure.
Anyway, you're going to download that.
That is going to give you a program that you can just double click on wherever you download to.
So I'm just going to load it up.
I already do have rust installed, but just so you guys can see how to go through this, and all you have to do here is hit one, so you're going to proceed with the installation, just the default.
You don't need to mess with anything and then hit enter. Now already have this installed, so went very fast.
Before you guys, it will install rust and then you should be good to go.
Now there is one more thing on Windows, however, you do need to install and this is going to be the Microsoft C++ build tools.
So I'll leave this link in the description.
Go here, download the build tools.
This is the 2019 build tools, which is what we want.
And then when you go through this installer here, mine probably looks a little bit different than yours.
So I'm not actually going to run it.
But as it says here in the installation documentation ation, you need to make sure that you select C++, build tools and the Windows Ten SDK as well as the English language pack.
Now I think by default it will install these for you.
At least that's what it did for me.
But if for some reason you're having some options, you need to select in or select from.
Just make sure you select these ones right here.
So C++ build tools, Windows Ten SDK and the English Language Pack.
After that, you should be good to go.
And if you want to test if your installation is working.
Open up your command prompt on Windows and just type in rust. See?
And if you get some output from this command, then you're all good to go and we can move on to the next step.
Now, let me show you the installation on the Mac.
All right, so I'm now on my Mac computer.
I'm just going to quickly run you through the steps.
This will be the same on Linux as well, by the way.
So I'm on the page for Rust installation.
Notice now it's not giving me the windows download buttons because I'm on Mac and all I'm going to do here is just copy this.
Now, this link will be in the descriptions.
If you want to find this command, just click this link.
And what were you going to you're going to do here?
Sources open up a terminal window.
And we're just going to paste this in.
So I believe I can use command V to paste that.
If that doesn't work for you, then try right clicking on your mouse and it should paste that into your term.
Now, what you can do here is hit enter and this should actually download the installer for you and run through the rust setup.
So here we're getting the same thing we got in the Windows installation.
All we need to do is hit one to proceed with the default installation and then hit enter, and it should install rust for us.
Now we do also need a C compiler here to be able to run Rust on Mac.
However, you should have one installed by default.
And once this is finished, I'll show you how we can test the installation to make sure it's working.
All right.
So as you can see here, Rust is now installed.
However, before we can get Rust to work, we do need to restart our terminal window.
So I'm just going to close the terminal here.
I'm just going to open up a new window.
So let's go new window here.
And inside of here, I'm simply going to type the command rust.
See, now, if this command works for you, then you have successfully installed rust, and you are good to continue on with the video.
If this did not work, then please check the installation documentation again.
It will be in the description.
There may be an additional step that you need to follow or you may have not actually ran this command correctly without some.
That's all that I have for you for the installation.
Now let's actually write some rust code.
All right.
So I'm back on my Windows machine, and I think as I mentioned, I'm going to be using sublime text here as my code editor.
You can use whatever you'd like, but this one is free and what I'll be using.
So you can download this from the link in the description if you want.
And I have it open here now to start writing our first rust program.
I'm just going to go here to file new file.
Let me just close this one here, and I'm just going to save this file.
As something that ends and dot RSS for now.
I'm going to go with main port R's and R's is the rust file extensions you need.
You can call this whatever you want, but don't have any spaces in the name.
And if you wanted to have a space, then put an underscore.
So if you want to do like Hello World rather than not do like Hello Underscore World, that's the convention for naming.
So for now, though, let's just call this main chorus and now we have a rust file.
Now you should automatically get syntax highlighting for this.
If you're in vs code, you may need to install the rust extension, but let's write our first rust program.
So to do this, I'm simply going to say FN standing for function.
I'm going to write the main function I'm going to put a set of parentheses, a set of curly braces like this, or brackets, whatever you call them.
And then I'm going to write print.
Alan, exclamation point.
I'm going to put a set of parentheses and instead of here I'm going to put a string that I want to print out.
Now, of course, we need to do Hello World.
That's what we do for our first program is every time.
And let me save this file, and I've now written my first rust program.
So quickly, break this down for you, then I'll show you how we actually run this.
So f n stands for function.
We'll get to functions later, but the main function is a special function in Rust.
It's going to be executed automatically when you run your rust program.
So you need to make sure you call this function main.
It's kind of the entry point of your code, and anything inside of here will run immediately.
Now, in Rust, you're supposed to have, I believe it is, four spaces not tabs for indentation, although let me check on that.
So Rust does actually recommend that you have four spaces as opposed to tabs for your indentation level.
It doesn't matter so long as you're inside of the correct set of parentheses.
I'm actually just going to use tabs because they're easier.
But just wanted to mention in case any if you're wondering for spaces rather than tabs continuing here we have print Ala.
Now this stands for Print Line and then we put an exclamation point.
Now, the exclamation point actually means that we're running something called a macro.
Now, I'm not going to get to that for a while, but this is different than a function.
This is actually a rust macro.
And this is going to take one string argument here that allows us to print this out to the screen.
So it's really all we're doing.
We're printing the string hello world to the screen.
And this is a string because it's surrounded in double quotation marks. Okay.
So let me save the program here.
Now that we have our first program, we need to know how to run this.
Now, the steps will be very similar on Mac or Windows. Same with Linux.
We just need to open up a terminal or a command prompt All right.
So now that you have a terminal or command prompt open, what you need to do is get into the directory where your rust code is.
So first you need to know where you saved it.
I imagine you guys can figure that out, but mine is actually in a folder called Rust Tutorial, which is on my desktop.
So from my command prompt here, I'm going to type CD Standing for Change Directory and I'm going to change into the desktop directory.
Then I'm going to change into the rust tutorial directory.
And now that I'm here and I type else, you'll see that I see the main port R's file.
Now, all of these commands will work on any operating system so you can run them on, you know, Windows, Mac, Linux, etc.. Now that we're here, we can actually run the rust, see command, which stands for Rust compile, followed by the name of our file, which in this case is mandatory.
Now, when we do this, what's going to happen is we're going to compile what's known as our source code, which is this file right here into an executable binary file, which will be executable on the operating system in which we ran this code.
So if I run this or write this command, so if I run this command on Windows, then the executable file I get runs on Windows.
If I do it on Mac, then it runs on Mac, but I do it on Linux, it runs on Linux, etc. And actually, I think if you do it on Mac, it will run on Linux or Mac, and same on Linux, it'll run on Mac and Linux.
Anyways, let's hit enter here.
We shouldn't get any output but what should happen if we type LS after this is we should see that we have a mean file or just a file called main or main points or something. Along those lines.
If you're on Mac or Linux.
So this is actually the executable binary file and this is what we can give to people.
If we wanted them to run our rust code without having rust in stop.
So rather than giving them the source code, which is in our RC file, we give them the dot xy file.
I no need to worry about this third file right here.
So now how do we actually run our code?
Well, we've just compiled the code.
Now we have the executable file.
And to do this, it's a bit different on each operating system.
But on Windows, it's going to be dot backslash and then main. Don't do you like that?
When we run that command, it should spit out Hello World.
So that's what we have inside of the code here.
And if you're on Mac or Linux, it's going to be dot, the slash is going to be in the other direction.
And then I believe it's just going to be mean.
I don't think you're going to have a DOT extension on there.
So you would just do dot slash mean and you should get the same output there in your terminal.
Okay.
Let me just clear this with SEALs.
Again, the command is Rosie, the name of your source code.
So may not RC it then gives you some type of executable file.
You can then run that executable file and there you go.
You have ran and executed your first rust program.
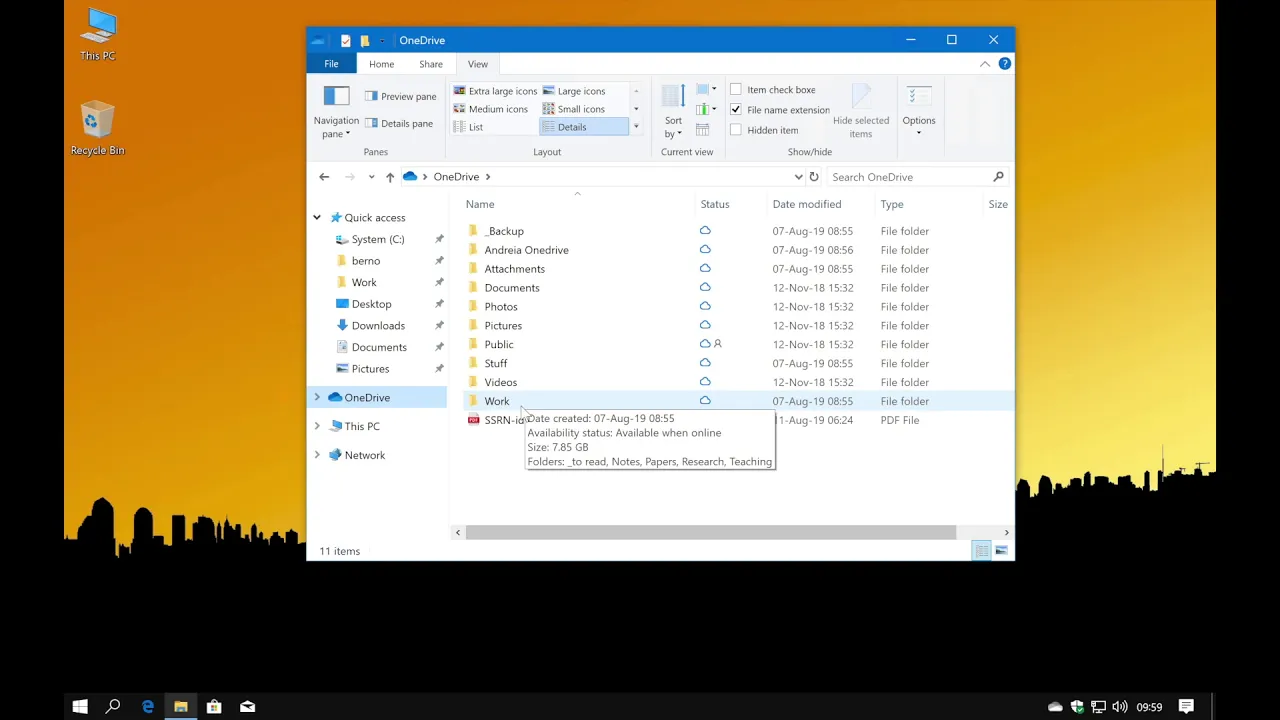
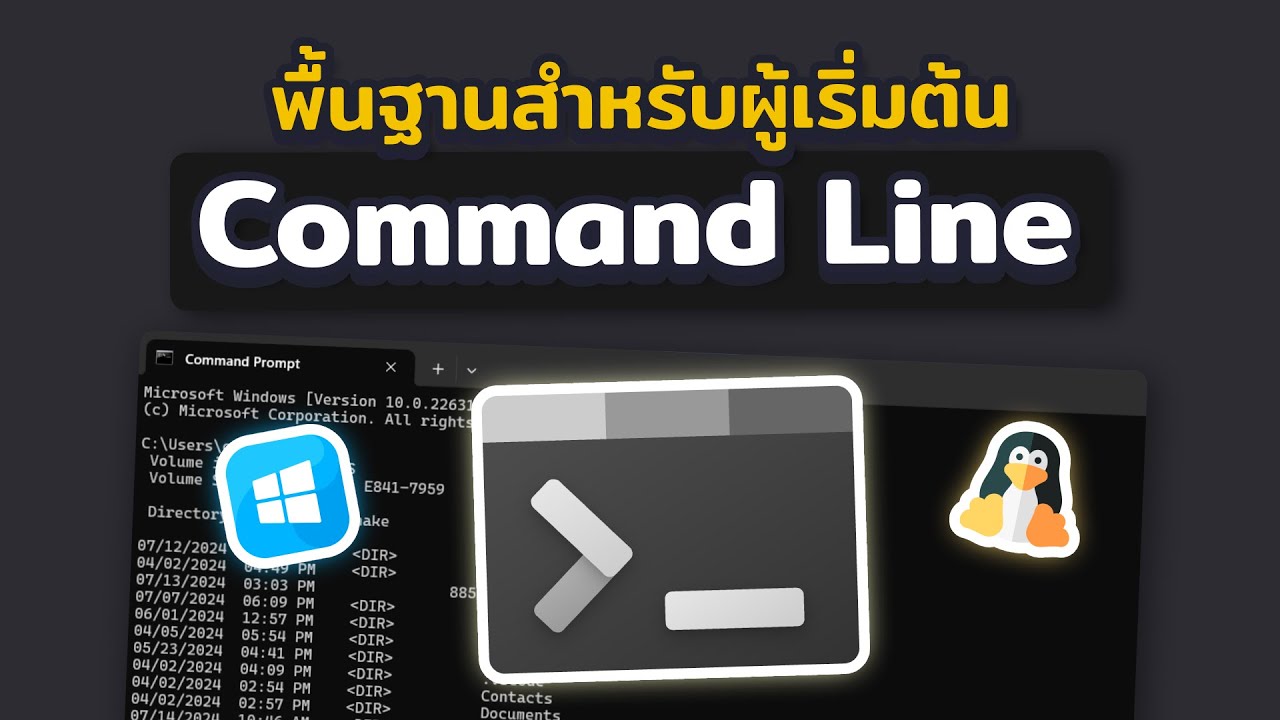
Now, if you're having trouble navigating here in the terminal, I will leave a video in the description that shows you some basic terminal commands.
You do need to be familiar with this to be able to execute your rust code properly.
And I won't go through explaining all the key commands.
So a video in the description if you aren't able to follow along with these steps.
All right.
So that's really all that I have for you in this first video.
This is our first rust program.
We've got the installation.
We are now able to actually run and compile our what is it, rust code.
And in case you are confused there.
Again, we need to compile first into that executable.
Then we could run the executable.
And now that we have the executable file, we can give that to anyone.
And regardless of their environment set up well, their operating system will matter.
But other than that, they should just be able to run that.
So with that said, I will wrap up the video here and the next video I'm going to show you some Rust Command line tools.
I'm going to show you how to better set up a project.
Then we'll move on to some more rust features, some more syntax.
I look at all of this stuff that you'd expect in a programing language.
You guys Android, make sure they like subscribe to the channel.
Don't forget to check out programing expert audio from the link in the description and I will see you in the next one.
Up Next

31:10
Two Leaks in the Great Firewall: Hacking DNS Injectors
@mediacccde
32.4K views•2025-12-27

12:54
Triumph of Orthodoxy Icon: Byzantine Art & History Explained
@BenCallan
2.1K views•2024-08-06
21:16
Python API Tutorial: FastAPI, Ollama, LLM Security & Deployment
@TechWithTim
125.8K views•2025-02-21

1:42
Game of Thrones Opening Credits: A Cinematic Analysis
@gameofthrones
46.3M views•2011-04-18
Related Study Plans & Knowledge Roadmaps
Structured learning paths in General & Interdisciplinary Studies
general-studies
Elevator Engineering: History, Physics & Cities
01From Hoists to Safety Brakes: The Dawn of Vertical Lift
02Hydraulic vs. Traction: The Engineering Physics of Elevators
03Modern Speed, Safety, and Algorithms
+ 2 more learning modules
12h5 modules
Explore Roadmap
general-studies
Rubber: Material Science, History & Geopolitics
01Origins of Natural Rubber & Mesoamerican History
02The Chemistry of Natural Rubber & Vulcanization
03The Geopolitics of the Rubber Boom & Colonization
+ 2 more learning modules
12h5 modules
Explore Roadmap
general-studies
Containerization: Evolution, Logistics & Trade
01Ancient Trade & Bulk Cargo: Amphorae to Barrels
02The Industrial Revolution & Cardboard Packaging
03The Containerization Revolution: Malcom McLean
+ 2 more learning modules
12h5 modules
Explore Roadmap
general-studies
Textile Tech: Evolution, Labor & Global Impact
01Pre-Industrial Textiles: Handloom & Cottage Industry
02Mechanization: The Spinning Jenny to the Power Loom
03The Factory System & Global Labor Transformation
+ 2 more learning modules
10h5 modules
Explore Roadmap