




















This video demonstrates how to fine-tune the LLaMA 3.1 8-billion parameter model using custom data to teach it specific skills, such as generating Python functions, and then save and deploy the trained model on Hugging Face and Ollama platforms for practical applications.
Fine-Tune Llama 3.1 with Custom Data and Deploy to Ollama
Added:Basic understanding of Large Language Models (LLMs) and the Transformer architecture.
Familiarity with the Hugging Face ecosystem, particularly the Transformers, PEFT, and Datasets libraries.
Foundational knowledge of machine learning training concepts, including loss functions, learning rates, epochs, and overfitting.
Experience in Python programming and preparing structured training data, such as JSONL files, for instruction tuning.
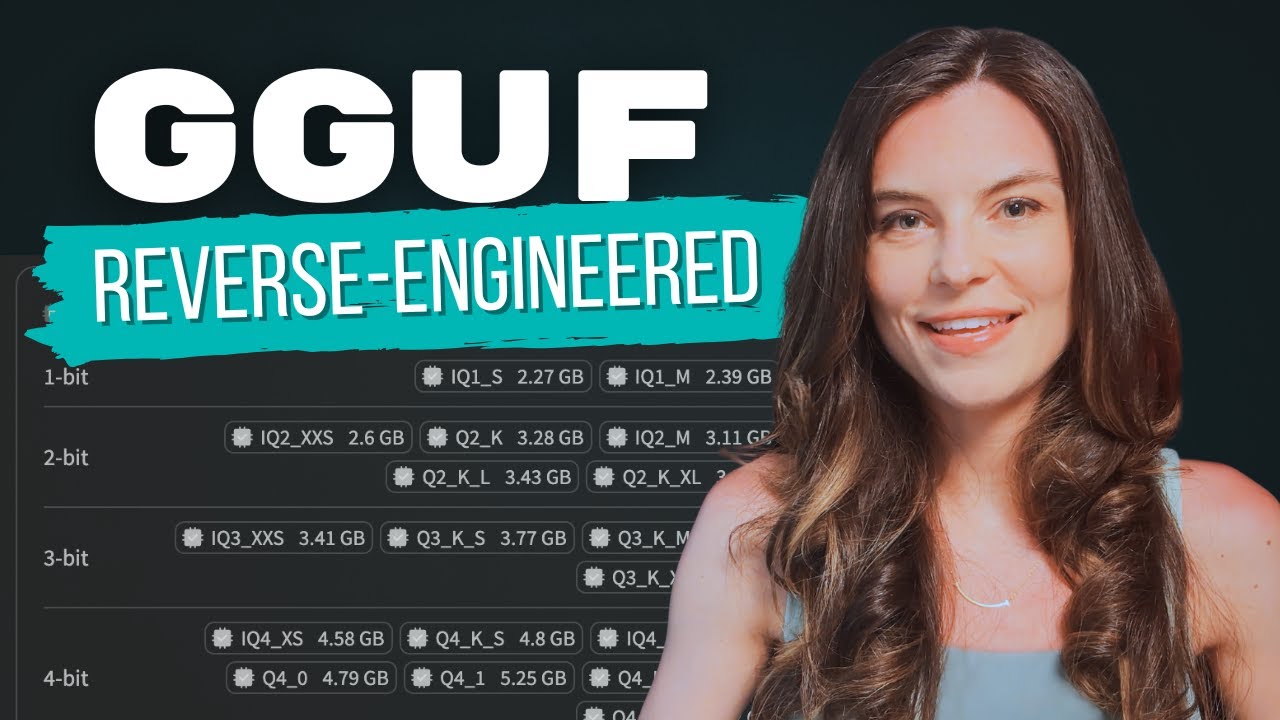
Techniques for model quantization (e.g., converting models to GGUF or AWQ formats) to reduce memory usage and optimize local inference on Ollama.
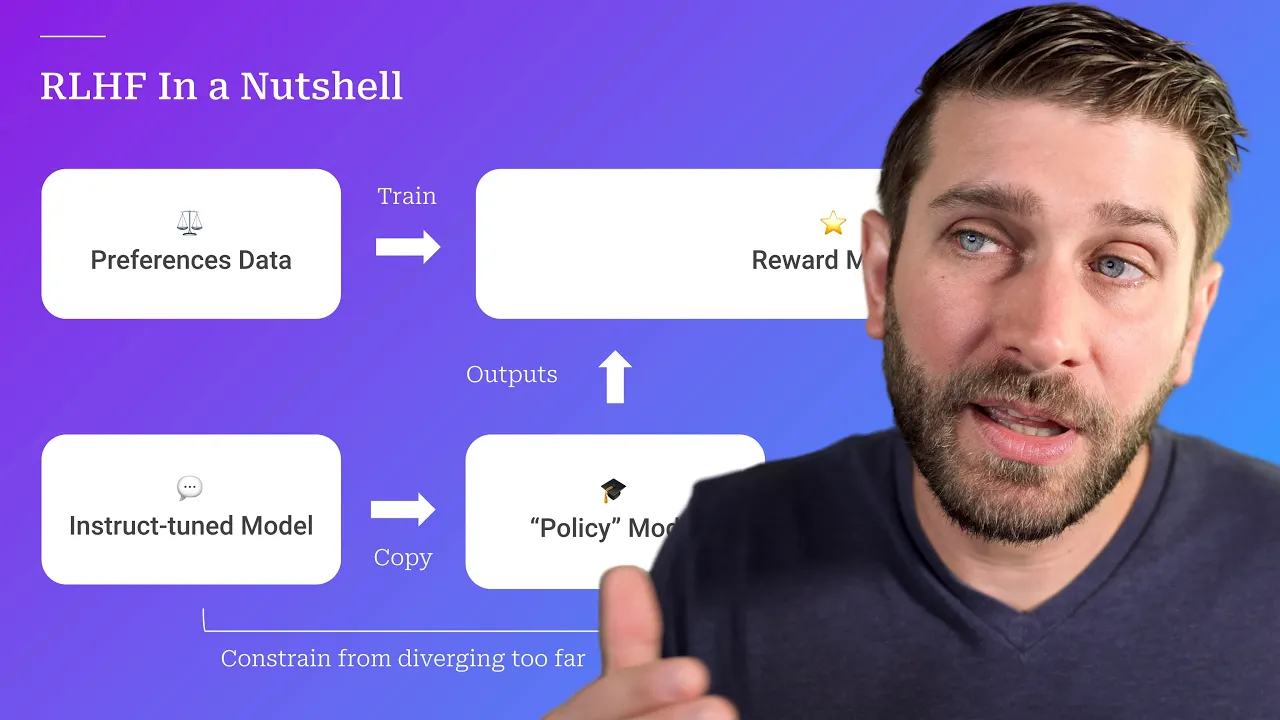
Advanced alignment methodologies, such as Direct Preference Optimization (DPO) or Reinforcement Learning from Human Feedback (RLHF), to better align model outputs with human preferences.
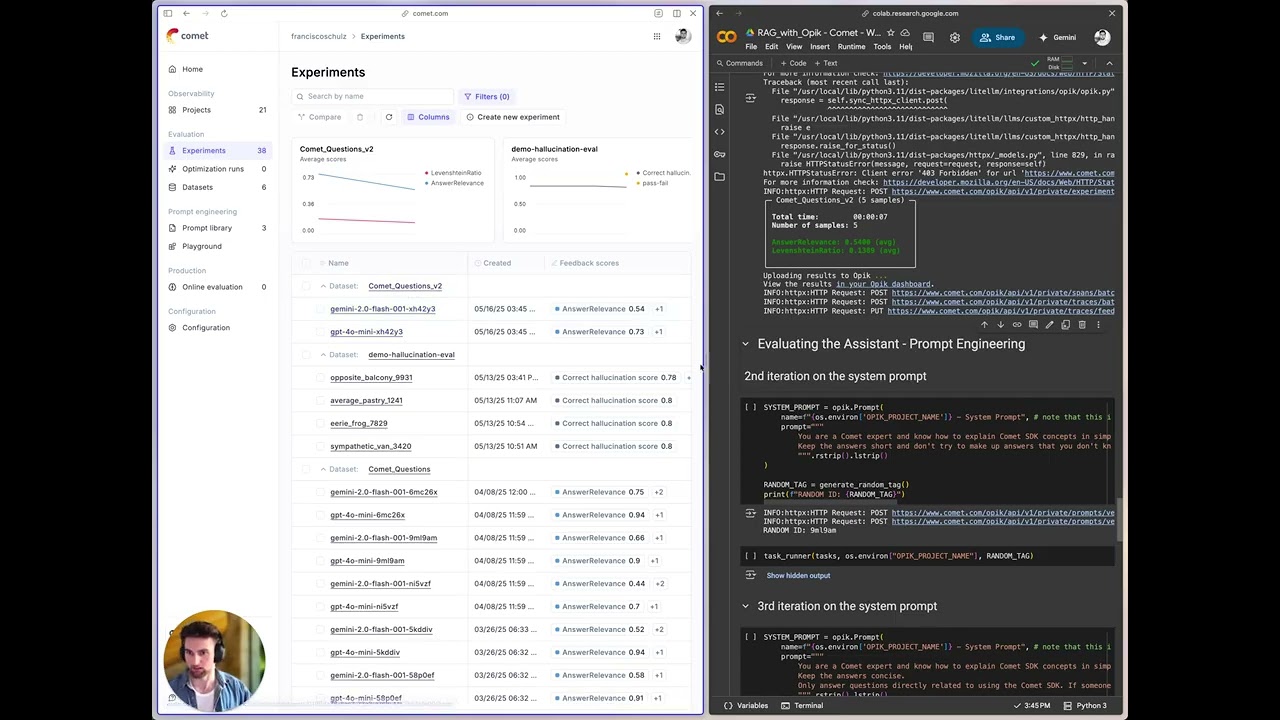
Systematic LLM evaluation frameworks to benchmark the fine-tuned model's performance, checking for regression, bias, or hallucinations.
Integrating the fine-tuned model from Ollama into production applications using frameworks like LangChain, LlamaIndex, or building Retrieval-Augmented Generation (RAG) pipelines.
73K views2.1Klikes14:51Original Release: 2024-07-25
this is amazing now we're going to see about llama 3.1 finetuning so why we need fine tuning so if you have your custom data or your private company data llama 3.1 doesn't know about that you need to teach llama 3.1 to be able to answer specific questions that's when you need to train this model in this we'll be training the 8 billion parameter model by the end of the video you will learn how you can train using custom data that is your own company data how to fine-tune how to save that to hugging face as you can see here then finally how to save that to olama as you can see here so I can even just copy this command after uploading just copy it run this locally on my computer and it will automatically pull the model and then ask a question create a function to add 1 2 3 4 5 and you can see it automatically created this function this is a custom model which I created trained and up up loaded in O Lama you are going to learn that that's exactly what we're going to see today let's get [Music] started hi everyone I'm really excited to show you about llama 3.1 fine tuning in this we are going to fine tune a model and teach python so generally if you ask the model to create a function to add few numbers it is going to randomly choose a programming language and create that function for you but I want this model to be trained on Python Programming so that whatever question I ask it should generate Python program so fine-tuning or training a model is nothing but teaching how to respond for the particular question so in this we'll be seeing how to configure how it looks like before training how to load the data how to train then how it looks after training and then how to save it but before that I regularly create videos in regards to Artificial Intelligence on my YouTube channel so do subscribe and click the Bell icon to stay tuned make sure you click the like button so this this video can be helpful for many others like you I'm going to use M compute and use Marin prisoners coupon code to get 50% off I'm inside uh the MOs computer now and this is my configuration I'm using for NVIDIA RTX a6000 but just for fine-tuning llama 3.1 one graphic card is enough and we'll be using UNS sloth to fine-tune our model UNS sloth helps us to fine-tune two times faster and also with less memory so in your terminal pip install hugging face hub and then all these packages unslot packages and then click enter I'll put all the code and the commands in the description below after this export your hugging face token like this in your terminal you can generate hugging face token from hugging face this is used to upload the fine-tuned model to hugging face sometime this also required to download a model after this click enter next let's create a file called app.py and let's open it inside the file from UNS sloth import file F language model then importing torch OS text streamer load data sets sft trainer training arguments is B flat 16 supported now we'll be using all these packages to start training so first step configuration so configuration maximum sequence length dtype loading in 4 bits and providing the alpaka format is just the instruction input and the response these are just basic configuration so when we give a instruction and input we expect a response from the logge language model that's what this prompt template mean next we are going to predefine some questions such as an instruction create a function to calculate the sum of sequence of numbers and we are providing the numbers so when we provide this instruction and input here what is going to be the response before training we're going to see that so step number two before training step number two before training and then loading the model and organizer using fast language model which we defined that earlier here then fast language model. for inference this is to speed up the inference then we are converting the input into tokens that means numbers so why we need to convert the instruction and the input which we Define here to numbers or tokens using tokenizer the reason is because generally all large language models are trained with token or numbers so these log language models understands only numbers that's why we are converting the input text that's the instruction and input to numbers next text streamer to stream the output and finally printing out the response so this will allow us to compare how it looked before training now next loading the data so we need to load the data that is Step number three this involves defining the end of sentence token then create a function for formatting The Prompt then after that using the load data set function to load the data from here this is the python code instruction data set so if we open this python code instruction data set here is the data set so if you view the data you can see it consists of instruction input output and then the prompt so generally for alpaka data set we'll be giving the instruction and we'll be giving the input as we saw before we are giving the instruction like this and the input like this and we are expecting a response or the output like this so in this way we teaching a log language model that if we provide any information like instruction and input it should automatically give you the output like this similarly we are having totally 18,000 rows and we are going to feed that and train this large language model so that's why we defined that here so if you want to use your custom data set you can just create a CSV file or Excel sheet with just three columns one is instruction another one is input and output so in this case I'm using this custom data set and going to train LMA 3.1 8 billion parameter model so next step I need to convert that file to the required format that's why we use formatting prompt function that's what we Define here so we are just taking the instruction column the input column and the output column and we are merging all those columns together in this way we are telling the log language model if we provide an instruction and input like this I need an output like this so that's why we created this function earlier so that is loading data completed next training the model to do that and training the model here we are using fast language model get P model which means we are not training all the parameters in this model we are training only few using this PFT method you can modify this configuration based on your requirement now next we need to define the trainer that is sft trainer and this is the main training function where we provide the model the tokenizer the data set the data set is a text field maximum sequence length the optimizer maximum number of steps and you can modify this based on your requirement finally it's going to save that in the outputs folder next I'm going to add some optional values just for monitoring the memory so these are just optional just for us to understand the GPU and the memory usage then the key area is this trainer. train this is the main training function to train the model so after that I'm going to print the stats again even this is optional so just to understand the memory usage and other stats so keep this and this as optional next we need to see how after training is going to look like so step number five after training just making sure that we call this function to make it fast inference next inputs equals tokenizer same as before providing in the alpaka data set format then text streamer and model.
generate will generate the response so this is after training how it will be looking like and the final step is saving the model that is six save model model do save pre-trained and then mentioning the folder that is Lowa folder and tokenizer Lowa folder then pushing to HUB this will automatically push the model to HUB and also the tokenizer to HUB generally when you up Lo the model and the tokenizer it includes only the adapter so generally these adapter are the key files which we fine-tuned and we can merge that with the main model using this merged function that's it as a quick overview we Define our configuration and created a question or instruction and the input for us to compare before training and after training step number two setting up before training that is loading the model and testing how it looks like before training step number three is loading the data set step number four training using sft trainer then step number five after training how it's going to look like and step number six saving and pushing into Hub now I'm going to run this code in your terminal python app. pi and then click enter now it is starting the training now if you see the instruction create a function to calculate the sum of sequence of integers and the input is 1 2 3 4 5 the response is giving is Javascript but we need python as output that's the ultimate goal so now it's loading the data set now the training is in progress and we gave 100 steps you can see the loss is going down that's what we need now it's near to complete now it is all done you can see the memory usage everything here and as expected we ask create a function to calculate the sum of sequence of numbers and now it is giving me the correct answer in Python this is exciting next we are saving the model in this location and you can see the model here in hugging face you can see this got saved just a minute ago with the model and with the adapter file you can now use the model directly in your own application we have completed the step of saving to hugging face now final step is to save to ol saving to ol involves four different steps simple and easy steps first to create ggf format second create model using model file third olama run to test the the model finally ol push to save the model to ama.com first let's see creating ggf format so first we need to save this in ggf format as you can see here save pre-trained ggf and you're passing the model and the tokenizer and the list of quantization method similarly push to HUB to save that in Hub that's it now we are going to run this code Python local.
py and then click enter now you can see it's saving the token on the model in GG UF format it'll try to save in various quantization methods as you can see here it is going through various steps currently it's working on q4k quantization and in our code we are using three different quantization so next it will go through 80 and 5km now we can see all the version such as Q5 km Q4 km q80 everything got uploaded to this location and you can see those ggf format here uploaded in this location next we are going to see how we can create a model that is olama model using model file next create a model file m modl f i l e this is for O then inside that file you can see I mentioned the path where my ggf file got stored which you can see in my folder structure the GF got stored in this location in this path and you can see the list of files here so you can even just just right click copy relative path then paste that here in this location that's it so these are default templates which I'm using you can also copy the same template and create this model file now after this in your terminal I'm using Linux so I'm using this command to install olama but in your case it could be your own Mac computer or desktop so you can directly download from their own website so you can see it's downloading Ama and it is running in this URL now after this o Lama create hyphen f model file that is the model file and then the path to the model me is my username which I created from ama.com just go to o.com and you should be able to sign in create your own account to publish and share model in olama so that is my username and the model name and then click enter now the model got created next we run oama run to test the model that is oama run me/ Lama 3.1 hyphen Python and click enter now the model Got Loaded I can say create a function to add these numbers 1 2 3 4 5 click answer and it's able to generate the function now clicking back slash exit to exit the final step is to push that model to oama to do that you might need to generate your sh key using this and then click enter enter so now the key got created in this location I might need to move this to a different location as well so I'm going to type PSE sudo and copying the saved private key in this location after this click enter now it got copied now you need to get the public Key by typing this command and then click enter so now you're going to copy this public key go to olama after logging in go to settings AMA keys there you should should be able to add your public key click that add the key and click add that's it now coming back to our terminal ol push me and the model name and then click enter this will automatically save the model remotely in Olo now it's all completed by going to my models you should be able to see your model listed there updated just now now you can run this command anywhere in any computer and run the mod model which you have just trained as simple as that now you are able to create your own model train your own model with your own custom data save that in hugging face save that in olama so that anyone can use it I'm really excited about this I'm going to create more videos similar to this so stay tuned I hope you like this video do like share and subscribe and thanks for watching
Up Next
22:02
Fine-Tune LLMs for Ollama: Step-by-Step Guide in Python
@TechWithTim
245.9K views•2025-06-27

12:54
Triumph of Orthodoxy Icon: Byzantine Art & History Explained
@BenCallan
2.1K views•2024-08-06

9:49
FastAPI vs Flask vs Django: Choosing the Right Python Web Framework
@TechWithTim
302.5K views•2024-05-26

1:42
Game of Thrones Opening Credits: A Cinematic Analysis
@gameofthrones
46.3M views•2011-04-18
Related Study Plans & Knowledge Roadmaps
Structured learning paths in General & Interdisciplinary Studies
general-studies
Elevator Engineering: History, Physics & Cities
01From Hoists to Safety Brakes: The Dawn of Vertical Lift
02Hydraulic vs. Traction: The Engineering Physics of Elevators
03Modern Speed, Safety, and Algorithms
+ 2 more learning modules
12h5 modules
Explore Roadmap
general-studies
Rubber: Material Science, History & Geopolitics
01Origins of Natural Rubber & Mesoamerican History
02The Chemistry of Natural Rubber & Vulcanization
03The Geopolitics of the Rubber Boom & Colonization
+ 2 more learning modules
12h5 modules
Explore Roadmap
general-studies
Containerization: Evolution, Logistics & Trade
01Ancient Trade & Bulk Cargo: Amphorae to Barrels
02The Industrial Revolution & Cardboard Packaging
03The Containerization Revolution: Malcom McLean
+ 2 more learning modules
12h5 modules
Explore Roadmap
general-studies
Textile Tech: Evolution, Labor & Global Impact
01Pre-Industrial Textiles: Handloom & Cottage Industry
02Mechanization: The Spinning Jenny to the Power Loom
03The Factory System & Global Labor Transformation
+ 2 more learning modules
10h5 modules
Explore Roadmap