



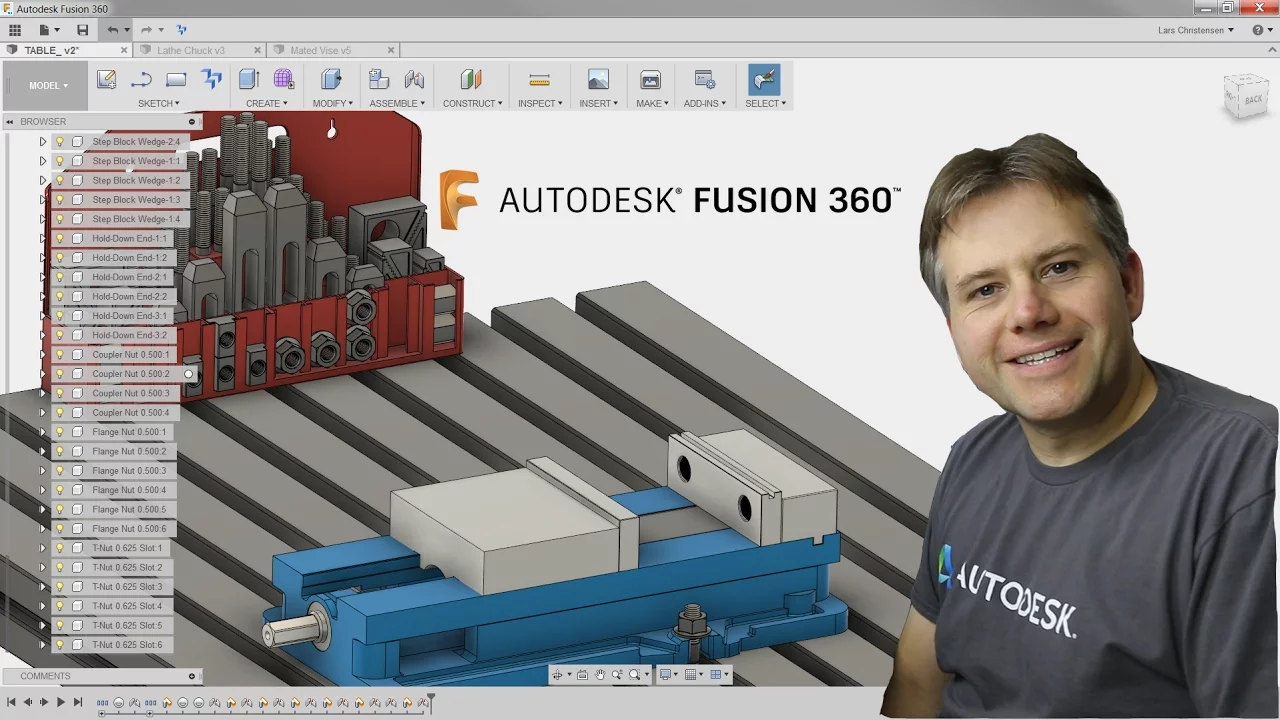
A Scotch Yoke mechanism converts rotational motion to linear motion through a pin sliding within a yoke, and successful design requires careful attention to contact surfaces between components to prevent disengagement during operation; the tutorial demonstrates iterative design improvements in Fusion 360, including adding motion links between components to maintain contact and ensuring proper alignment of all moving parts for reliable mechanical function.
Scotch Yoke Mechanism Design Tutorial in Fusion 360
Added:Basic proficiency in Autodesk Fusion 360, including sketching, extruding, and organizing designs into distinct components.
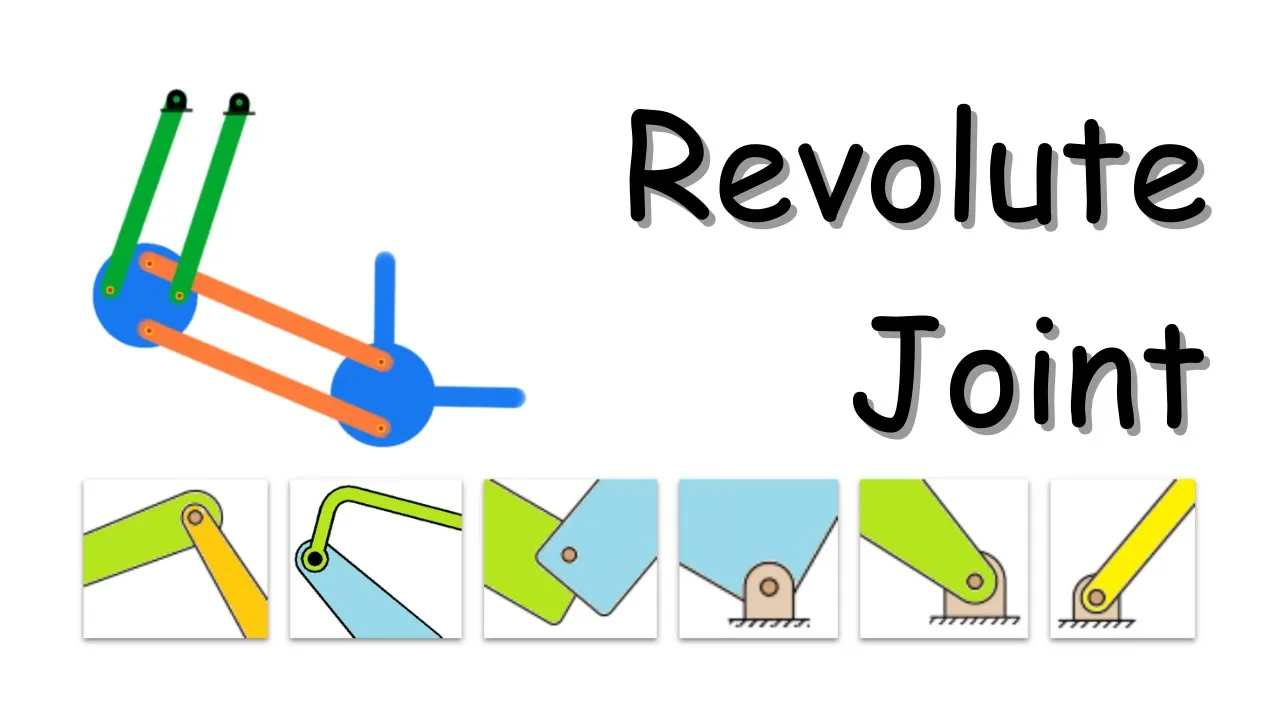
Understanding of mechanical joints in CAD, specifically how revolute, slider, and rigid joints constrain degrees of freedom.
Fundamental knowledge of kinematic principles, particularly the conversion of rotary motion into linear reciprocating motion.
Familiarity with standard mechanical components such as cranks, pins, and guide tracks.
Advanced motion simulation in Fusion 360, including using Motion Links and Contact Sets to analyze real-world mechanical behaviors.
Finite Element Analysis (FEA) to study stress distribution and wear on the pin and slot interface under dynamic loads.
Exploring real-world industrial applications of the Scotch yoke mechanism, such as in control valve actuators, reciprocating pumps, and marine engines.
Parametric design implementation, learning how to use user parameters to dynamically scale the stroke length and velocity profiles of the assembly.
Manufacturing preparation and tolerance design (GD&T) for physical prototyping via 3D printing or CNC machining to ensure smooth sliding fits.
1.6K views17likes48:11Original Release: 2022-05-28
H good afternoon YouTubers I went through several iterations about this Scotch joke mechanism and trying to improve this contact here sometimes driving me crazy uh but this is how it works just just in case you want to take a look at it I mean everything works okay in fact the first version also work okay but I cannot put too much speed because all the contact between the this pin and uh and the yoke is lost and so this second iteration or third I would say so this is version three and uh I add a motion link to make life easier on the contact so SK for one second there's a between this guy uh the turning and this so let's put this in front so you take a look so between this guy and this guy I create uh a link between those two and uh so that kind of uh make the trick for this to not to lose the contact so I would say it works okay uh but still like bothers me a little bit um I mean you cannot move this too quick because you know can lose the cont between uh there's still yeah I would say it's okay there yeah it's still doing good I don't see much of a big deal let's do a demonstration because basically the idea here is to quickly do a demonstration and do a uh finally U how I put this together you know this video is about that uh and uh so that anybody can will be able to do it easily so let's see all right so now let's do actually which one I was messing with okay that that okay good so let's see yeah this is zero okay now so let's do uh motion start and that will be with that one now it's in zero so the next step is just to put this like for example The Last One 360 for the all around that's let's say this 100 and um so mhm and let's see how this work good so we can do it back and forth and we can do the one that kind of cycle which is the most logic one so let's get this somewhere here and uh so let's take a look how this work in general um let's close these so kind of speed up when you have your mouse press so that's basically it no no much to it now you cannot put too much speed like for example let's see what happen when you start to increase the speed here about there still getting no B a little bit more still okay faster um I have to say that my first version never was able to run this fast without disengaging from between the Ping and the the crank and the Yol never was able to get this fast this is this looks good A lot better than my uh first version now faster it's still working good almost there and he's maintaining the contact that's a miracle faster gone see that's what I was saying to wait too fast it [Music] disengage um uh well but it was good I mean it was fast enough I mean you can try to put this slow again but you have to stop the whole thing uh and restart again and uh there we go so you're ready back again to do whatever you want and you keep at this speed no problem but it was kind of fast and and I was able you know to make it work that's basically it uh this is version three I don't know would I improve anything on this version I don't know maybe I don't know why it disengage here still I might put kind of post this on Fusion 360 community and see what they might tell me um but that's basically it now let's get busy and let's get this design rolling all right so here we are for the new design and let's see uh what we need and uh how can we do this quick going to make a base the first thing is make making a base let's check the the unit our millim that's okay and uh so let's use this let's make a base for this um and this vase will be 350 oops only 50 times UH 60 okay and [Music] um cize this a little bit and that will be uh 75 and uh [Music] that would be 30 all right so uh let fix the way I want it um Let's do an extrusion on this and let's yeah let's say 10 that's okay it's going to be a new body okay and um and let's start to make the pole for the crank and uh we're going to use this surface and uh with that let's make here somewhere um okay so let's put some distance between this and this that distance should be I don't know 27 you can use anything pretty much uh about from here to here the distance should be about 15 and uh the dimension this will be about a and uh and this one here H SK one second that will be about six all right so I got other the dimension and that will do so let's finish that and let's go up on that one to about 40 and that would be a join that's okay and now um let's do uh fill it here and that will be this guy and this guy um that would be about four per uh that would be okay and let's make um the chaft for the crank so that would be on this surface and what we need is to make that one about 8 mm and that will do and Let's do let's do a finish here and let's say that I want this to be about um sometime you can make this big it doesn't matter I mean as long you're trying to get things aligned sometimes a little bit better to make it longer I would say 15 is okay and uh let's say okay and it's a join because everything is together so it's one piece the base these and these because you want this to roll to rotate there so let's say okay now let's work now on the crank and let's see how will that work um let's use these and uh and let's start to make few circles here all right so let's make one about 60 let's make one about 60 and uh let's create another one um about 30 and another one I don't know about um 45 maybe yeah I would do I'm going with the flow here so now let's see let's put some construction line here and there let's see how this work from here uhhuh there all right and uh maybe another construction line somewhere here uh okay all right so now let's see um I need maybe uh let me put another construction line here all right so now uh to make the crank say 45 F there and and uh and uh from here to here uh 45 as well now I need to make a circle right at the middle here let's see that's not good uh what should I do is use a line but not a construction line actually going to make a solid line right there and uh let's see what should be the size of that line This distance should be then um 19 actually 15 which is half of this distance here the radius plus the difference between these two that differ um is 7.5 divide by two so I don't know 15 plus I'm not sure 7.5 IDE by 2 excellent there we go is the distance is actually 18.75 that will do why we need that just to make this right where we want it that Circle oops should be right there and it's tangent with this and now it's perfect um now it's where I want it and uh so I need another one I can certainly do a copy here or something but I rather do this way way and do a line up to and that line will be 19 [Music] 18.75 18.75 and uh that will do because then what I have to put here is this until big enough until hit the wall or somehow there we go uh not sure if it's touching or not uh let me fix this in a second let's do that and this there we go now it's fixed all right so I have that and the idea is that we're going to create a channel from here to here and um I think that will work let me see something here so I would say got that I don't need these I don't need that no I can L it on deleted let me cut what I can cut that it's gone so good now that looks super actually now I can delete anything that I don't going to be using um make life easier I don't need that I don't need that either and uh you can see that I have that and I have everything else how was this how about this this looks good so I would say that's okay looks like I got everything that I need to make this fancy crank finish and um H this got a little bit undefined that would not be a problem but let's see uh that will be this this this I kind of wondering did I did the center I mean let me do let me do a cancel here for one second and let me go back here and and uh and let me be sure because I don't think that I have it that I have this center 8 mm all right that will do and let's finish sketch and um what that is doing there let me I don't remember this there we go and uh and uh all right so let's see that that that mhm now that's going to be a new body and let's rotate this so I can move it later on let's see what will be a good distance about eight about 10 nine 10 mm let's rotate this uh looks good looks good let's say yes for the time being operation is not join is new body and let's say Okay looks ugly huh yeah looks very ugly looks like one of those uh bra I have seen before robot yeah that's kind of weird face there now um I need to put these back here and that will looks better definitely um so what should I do let's do a pattern here it's going to be a circular pattern and let's see I'm going to select maybe this face this face [Applause] uhhuh this pH I have what I'm selecting I have the chief you know press it and that face have all the face yeah and now let's select the axis for these circular axis um uh three will be too much you know the piece will be very weak because of this big gap so two will be more than enough and will be where I want it so let's say okay and there we go so you got kind of a pretty um design of your crank uh everything start to look good so I will say now I will say let's see the next bar will be putting together the pin so let's see so I got two at this point uh two bodies the base and the crank so the third body will be the pin I'm going to put the pin right here so we so let's start to work on that let's put this in front and let's use these and um and let's move this where I need to move it so make life easier and um let's see let's make some working lines here mhm actually I'm going to leave that there then I delete it later it should be working actually let's see there we go and let's put that one there as well and that should be also uh a working line now um let's say that I'm going to get my um let's make a hold somewhere here and uh um let's say six and let's locate that from here to here let's make that distance about 19 and that will work okay so we're going to make a a hole there so let's say finish that sketch and now um that will be a cut and uh I cut C okay M perfect so the pin will rotate there that's the idea now um so let's see um let's start to work on the pin now and let's put this in front of me again and okay o no corner on front there we go and let's work here so um two things for the pin we're going to have um the pin will be something on this Center will be the same diameter uh if you want to bring this to 3D printing or something like that then you will have to worry about a little bit about those gaps uh otherwise you would have to use sandpaper to get to get things properly you know fitted the way it should now um so I got that let's finish the sketch for one second and uh and let's do an instruction here and let's take a look here one second now that instru instruction is see how about symmetric uh I don't know uh maybe it's too much no shouldn't be symmetric I'm I tell you why one side maybe um let's see let me see let me see not two side actually two side and uh that side should be long enough there we go that will cover you know you can see it in the outside good now this one um it shouldn't be that big because this one will have uh I will connect something to it to make easier on the joke so [Music] um it's separated good enough 2 mm uh and uh and it's coming in the other side good so with that said let's say okay but it's not join uh that's a new body always remember that at the end before you hit okay check if it's going to be a new body or because otherwise it's going to be problem later on so it's a new body so at this point we have this the B the crank and the pin and uh they's say okay now the next step is stepping here and uh and let's say let's say front and let's say new sketch and that pin we're going to go center now if we can get uh let's see this guy I like that guy and I'm right at the center so we can make you can make like that and that would be perfect oops that was too much there that's perfect it's going to be 6X 6 uh you can I mean you can write it down it's not a big deal it's going to be six by six all right and uh and check this out finish cach and what we we wanted to go do is actually uh take the whole surface let's increase this take that surface actually that surface that surf this one and that one and now make that I don't know how much contact you want between this and the Yol I will say six mm and that will do so let's say now join yes because the whole thing is a pin is the PIN let's say join okay so now I got let reduce this let's see I got three bodies now we're going to go for the four body which is the um uh the Yoke so that will do now let's see look good let's say escape from here and uh I'm going to use this surface to do the Yoke part and for the joke um go here for one second all right so to make the joke actually all right to make the joke now let's see I need let's see if I can align these [Applause] [Music] um just for alignment that's so what I'm throwing the line there so um the idea would be let's see uhuh now uh the distance here will be this guy should be 60 and um so let's see okay let me let me see if I can get I got that let me make a construction line right here so I get this right mhm and what's the story here story is that this part here and this part here that distance there why is there that distance should be 30 there we go now we're talking about now um this distance here on here it's about six now I can make it a little bit larger uhhuh let's make that a now okay now we need to put that right at the center of this guy right okay meaning let's see from here to here that this stand thing we do there we go right at the center that I wanted good and uh it looks like everything is is full where where it should be because it's well aligned it's right at the middle and everything look good um okay how about this line is a what it's a should be a construction line and that will do I think that we we we are ready now let's say this is okay actually not it's not okay um I see it's not okay because I need that guy to now the question is nope should be the other way um there we go now a little bit more how about how thick three was mhm mhm let's say okay now we're perfect finish and now let's go here and let's rotate a little bit [Applause] and mhm okay let's select this guy that guy that guy that guy and we're going to go this way near I okay looks like we pretty much are ready here to rumble now one thing that you could do we can certainly start to mess around with these um but but uh before I start to mess with it um I want to ensure that I align everything so going to put here the Piston part and and let's see how this will come out all right so um going to use this surface here to do that and um so um that's 60 the this one here is 60 so I have to make I can certainly make mhm and we align this in a second going to use a square to you I mean and then so let's see well let's figure it out in a second let's start to make some Dimension here so I know what I'm doing um that should be six to make life easier and this should be six as well good now um the distance this should be three so the distance from here is actually I have to be careful here is where well actually because originally this is 60 here to here is 60 but I increased 3 mm so that's going to be 63 so let me do some math here let's see if I got this right so just to be sure that we are in the center the distance actually let's see if I can do this can I pick that guy versus that guy H maybe maybe yes so that dist stand should be 27 should be 27 because should be 3 mm Up 3 mm down yeah 27 just to make numbers right and that will do from here to here 27 + 3 that's 30 half of that total Gap distance there on the other 30 for the 60 all right so with that said finish catch and now we can take this guy and do the proper EXT um I don't know let's go by the flow I might go like 40 let's sco 40 actually put a little bit more 50 any problem later now it's a joint part so let's say okay so what is left is to make the whole thing surface here here and um let's make now from that surface right from the center actually why I can't see the center on that surface well I don't see the let's see then let me let me it's just for the timing just I want to be sure why I cannot see the center all right so let's see if I can get this there we go there we go now let's say that this cylinder will be about 20 mm and um let's delete what I don't want mhm all right so finish gas and now that and this will be a joint and that will be 20 all right okay so um what I'm going to do now is the cylinder for that and let's see if if I can align everything cuz this is interesting I want to see if I can align everything in one chat the way it is right now so let's do that let's pick this guy and let's do that right here here so what we're going to do is good there we go let's make that one uh 20 and let's make another one umm um 25 good so now let's um let's do should I do the base right now I can certainly do the base okay let's finish C and let's do the cylinder [Music] it's going to be that one going to be this one actually two sides it's going to be that way and I'm going to get that way as well let's see um I don't have a blueprint so I go by there you know later on I might check something just to ensure I uh put this proper size 40 and 20 it's going to go back that way and right now the crank is about from here to here is 19 so my expectation is that this start to move 19 that way where it's located so [Music] um maybe 30 is okay we'll see we'll see let's say okay now now that part is not joint that's new new body and let's say okay now what is left now is to do the support for that um for that cylinder so uh what we can do is pick that one that surface hit here make this smaller and now let's see I can certainly do about if I do this and um so let's see if I can get this right mhm and let's actually sometime I leave it right there this line going to align that line a second now let's align this line and this should be all right that will do now how about this one I don't see it align well with this now it is so looks like we got that right finish cash now what we could do is pick the and drag it now um let's let's let's do that let's do that let's um um let's pick this and let's do that one that one will go down up to there let's see looks good now the question is join to what well right now that's one thing I think it's going to be joined to the cylinder so the cylinder and this base support will be part will be one body so let join two let's see if it can set okay now um let's see I got body one body two body three body four one thing that I could do now is make the all the bodies uh create components and uh and start to see whether this will work so um I'm going to move that guy the idea will be that guy this part here actually before doing anything let's make oops let's do un undo there that movement is enough to get this gra so let's make component one uh ground now with that said I can take that one with this one and uh and let's do a first joint here uh joint now that first joint need and that's what I told you be sure that that joint get to where you have it at the beginning because things will get crazy and nothing will work okay let's say um okay and oops there's a problem here I forgot let's edit that joint that need to rotate there we go good let's say okay now the next that guy this guy need that guy there so we do Point again and uh motion is circular and let's see how much it got it is not aign so we need to go a little bit uh from where it is right now let's put this right there we go right should be on the C Direction meaning um let's see if we move that way uh minus one min-2 that would do minus two is right where we want it so let's say okay now all right so the next bar is we're going to do we the height you know make that invisible so we align this guy with um put it back with that guy and now let's do join uh R rotation the motion looks weird is that that's better and uh position um try to align the way it was you know there we go because otherwise you're going to it's going to get crazy there we go now it's perfectly align everything looks good let's say okay I don't see any bad coming here saying that there's a problem with the joint so far so good let's say okay and well now the next part is let's say um that this two will be um actually enable contact set and now let's add a new one that's going to be between um this body and this body let's say okay and now let's add um join join I have here uhhuh let me add um a motion link between this guy and this guy so they're well aligned let's hit okay and um well this is pretty much done now let's hit um this guy and let's say anime model and um let's say it's a little bit of a problem between I see this kind of a turning kind of strange let me go by here now let's [Music] see this motion link has a problem and uh let's see this picture [Music] angle let me see 0° let me see okay oops motion link canot resolve uhhuh that motion link has a problem edit feature again um rot see me hit the 360 here for a second um sometime you have to be careful with these in the way that they turn like for example Le you see it's trying to turning the other way so when I move this way the this is moving uh in a different in a different direction so um they got synchronized they have to be synchronized so the way they're built right now they they need to move to the same um the same angle the same direction and that's not good so the motion link got to be fixed edit feature and I can change any of them like for example let's make rep two negative of the other one so uh you can see that this go that way and this in Ence will go we try to go like for example let's move let's move move you see now it's perfect now it's staying the way it is so it's well align it is it is well align and now he's doing the trick perfect you see that was the only bad part here you got to be careful with those motion link but now I'm Miss sometime he misses a contact not a big deal uh it's just that probably it's an issue with surface I mean with surface Conta I'm not sure what's going on now another thing is as you can see uh I need a little bit more cover for the for this for this part here not a big deal um for that part there just um Do complete a small capture position do a small another a little bit of a more extration so that you get what you want up to you what you want like for example there will will do okay now let's say okay so um end up being longer than what it's supposed to but it's not big deal just just go with the flow and then you adjust whatever you have to adjust so now it looks like um we can do an anime and everything should work excellent there we go that's basically idea of this uh this scope Yol mechanism and I like you can give more space here and uh you can see that it's kind of hold for a few seconds and then keep going for the other side now is the part of getting this pretty uh you can do this very straightforward you can put you know you can do whatever you want at this point like for example one thing that definitely make this a lot better is uh let's see let's SK from here let's do is these um actually let's see uh let's use flet and uh let's Sho that one um that one um 3 mm let's see how that looks like uh start to make the your uh crank elector and uh let's say okay now let's get this corner actually sorry for the noise let's get this corner um all them um I don't know maybe about let's see three could be more five maybe five let's see five look good although kind of mess with this part here so let's leave it a three there we go now um definitely can um let's see how about this part here um let's do again let's do the whole thing and let's make this one as [Music] well mhm let's see the other side yep look good so um let's say three and as you can see start to get a lot better as we go along now letc again and uh you can certainly do all these but I will leave it like that so the next part that I'd like really to make uh to stand up is just writing something here so let's create a text you can put the text whatever you want it um maybe this is the front so so I will create it right here and uh so learning power and let's made a uh I don't know it's five maybe uh smaller four let's see what we'll do and let's align these where we want it let's say uh Center is okay there we go let's say okay and uh uh finish cash maybe distance of two and let's say okay and pretty much you have it right there as I said you know you can later on try your make your own blueprint change Dimensions do whatever you want but uh at this point it looks like everything is well set and you can do animation like for example you can pick that one um actually let me put that in zero so make life easier and then pick actually pick that one go back here and do motion study and let's get this out and uh with that let's say the last point I want that point to be 360 so it turn around that will be Point number 100 the 100 and uh so let's see this that's that's super that's super let's do actually let's do a back and forth let's see how this work mhm and now let's make a a round completely there we go and that looks a lot better actually to make this bigger and um that's nice you get that now the speed I don't know maybe faster sometime you do too fast it will miss the contact I don't know that's I would say if it works like this it should work at a faster speed but somehow there's an issue with uh Fusion 360 that it missed the contact and I did I mean this is an improvement from the previous one uh the previous one uh the way I did the contact was not like this so it was different and but this seems like a you can get enough speed and still the contact will still remain and that's good so I didn't bother to add another pist on this on this side you can certainly do that it's going to be straightforward maybe for a third video on this series I might do that but somehow at this point um I think that this is more than enough that I want to discuss on this um uh please leave comments I always like to improve myself and uh find out what I'm doing wrong certainly doing anything wrong but I'm just sometime go with the flow and try to get through a certain way to do things and all a suddenly I get into a point that I kind of hang out myself and say wow let me get let me bail out from here and do a different route and until things start to work um but again U there's no blueprint I just put it together the way I think is on my head and uh and sometime the way I think it might work but it would not work at all so that's why I'm open to you know for suggestion as always be safe uh whatever be your your final destination have a great day bye [Applause]
Up Next

26:27
Gyroscope & Accelerometer Explained: Drone Stability & MPU-6050 Tutorial
@u.robotics
157 views•2024-12-10

12:54
Triumph of Orthodoxy Icon: Byzantine Art & History Explained
@BenCallan
2.1K views•2024-08-06

9:49
FastAPI vs Flask vs Django: Choosing the Right Python Web Framework
@TechWithTim
302.5K views•2024-05-26

1:42
Game of Thrones Opening Credits: A Cinematic Analysis
@gameofthrones
46.3M views•2011-04-18
Related Study Plans & Knowledge Roadmaps
Structured learning paths in General & Interdisciplinary Studies
general-studies
Elevator Engineering: History, Physics & Cities
01From Hoists to Safety Brakes: The Dawn of Vertical Lift
02Hydraulic vs. Traction: The Engineering Physics of Elevators
03Modern Speed, Safety, and Algorithms
+ 2 more learning modules
12h5 modules
Explore Roadmap
general-studies
Rubber: Material Science, History & Geopolitics
01Origins of Natural Rubber & Mesoamerican History
02The Chemistry of Natural Rubber & Vulcanization
03The Geopolitics of the Rubber Boom & Colonization
+ 2 more learning modules
12h5 modules
Explore Roadmap
general-studies
Containerization: Evolution, Logistics & Trade
01Ancient Trade & Bulk Cargo: Amphorae to Barrels
02The Industrial Revolution & Cardboard Packaging
03The Containerization Revolution: Malcom McLean
+ 2 more learning modules
12h5 modules
Explore Roadmap
general-studies
Textile Tech: Evolution, Labor & Global Impact
01Pre-Industrial Textiles: Handloom & Cottage Industry
02Mechanization: The Spinning Jenny to the Power Loom
03The Factory System & Global Labor Transformation
+ 2 more learning modules
10h5 modules
Explore Roadmap