
















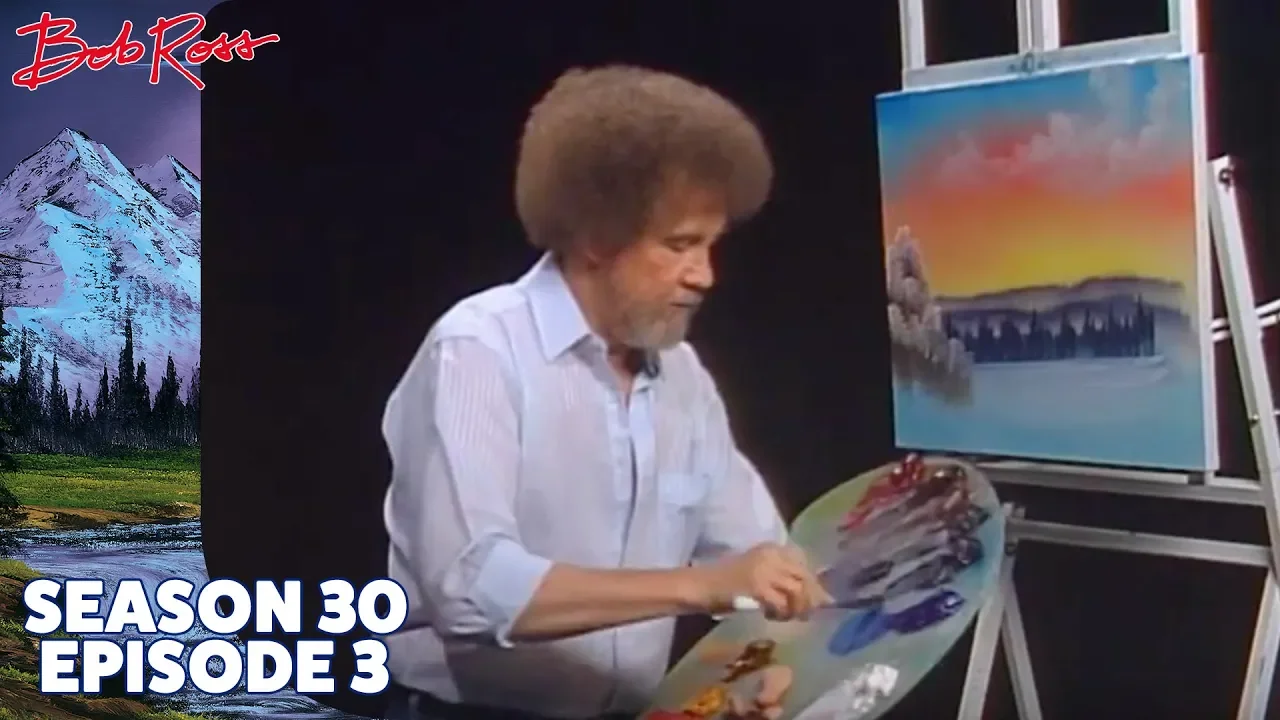



This video teaches five essential wet-on-wet painting techniques: (1) Preparing the canvas with Magic White by dabbing and scrubbing to create a thin layer that helps subsequent paint layers adhere; (2) Loading brushes by pulling paint away from the pile rather than dipping into the center to maintain thin layers; (3) Creating sky color by starting at the top corner and applying crisscross strokes, allowing Magic White to naturally lighten the color as you work downward; (4) Painting water with long horizontal strokes starting from the bottom, letting Magic White mix with the paint to create lighter values toward the horizon; (5) Using thick, firm paint (with less oil) for better results, and if paint is too thin, leave it on paper overnight or on the palette to oxidize and thicken.
Wet-on-Wet Painting: 5 Essential Techniques for Landscape Art
Added:Hi, it's Laurie Anderson.
We have a real treat for you today.
In this short video, we are going to unpack five tips that will help you understand bills Wet-On-Wet Technique, even better.
Into the evening sun, into the evening sun.
The Magic White is on.
Without it, don't go home without it.
Tip number one is prepping the canvas with Magic White.
It's really important we talk about this right now because Bill doesn't show that very often on the beginning of his show.
He will say the Magic White is on, but that's because he was limited with time.
And so I want to talk to you about, just exactly how he prepped that canvas, because this is the most important step of the wet on wet technique.
If you don't get this layer right.
You're going to struggle with everything else you do.
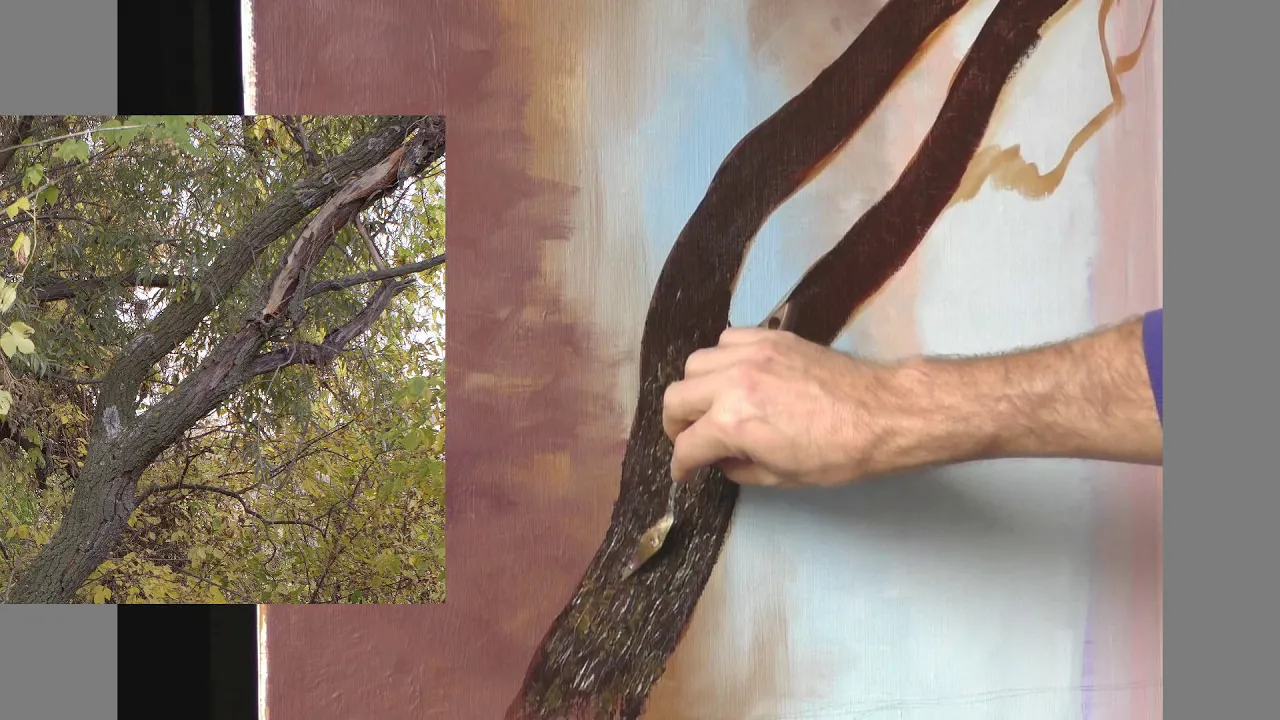
So the way Bill did this, is he would dip his brush into the Magic White, and he would just dab in some spots and add the Magic White directly to the canvas.
And then he would take his brush, a bristle brush, and he'd scrub it.
He'd scrub that paint into the canvas because he wanted all that Magic White into the pores of the canvas.
And so he would scrub it all in and then he would just do long strokes.
He'd wipe off any extra and he'd make sure that he had an absolute thin coat.
Because what he wants is the next layer of paint, he wants the canvas to be able to grab that paint.
It's going to be important that the thick paint goes on over this.
If you get too much Magic White on it, the next layer of paint is just going to slip and slide around.
So that's really, really important.
If you find that you get too much Magic White on your canvas, it's really easy to remove it.
Take your palette knife and just scrape it off.
And then, uh then just put that paint right back down on the palette.
You don't have to waste it.
And then the other thing you can do is you can take a paper towel and you can wipe it down.
But this the steps really, really important because if you get this one right, you'll be more successful at the next steps.
You have to kiss it because that knife does a fantastic job.
Okay.
First I just color her my sky.
Tip two is about loading the brush.
Look at Bill's palette, and notice how little paint he's adding to his brush right there.
One of the mistakes that a lot of people do when they first start painting, is if they want to load the brush, they take the brush right into the center of the dollop of paint.
And what happens is they end up with way too much paint in the brush.
And so they have a choice.
They can either go to the canvas and apply too much color onto the canvas, or they can wipe the paint out of the brush.
And neither one of them is a really good option because when you wipe the paint out of the brush, you're just wasting paint.
So what Bill did here, he took the bristles of the brush and he pulled just a little bit of the blue, away from the pile of paint.
And he spread it out so he could work and notice that he only wants a little bit of the blue paint because he's only staining the canvas at this point.
He doesn't want to apply a lot of paint, because he's going to be painting over the top of this layer.
He still wants to keep this layer thin.Tip number three is tuning the sky color.
You notice Bill starts up at the corner, the left corner, in this case, and, he is applying the blue paint, starting at the top of the canvas.
Now he starts up there because that's where he wants the sky to be the darkest.. So he's applying the crisscross strokes, which is putting character in his sky.
But as he works down the canvas, two things happen.
One, the brush starts to pick up some of the Magic White and it changes the value in the brush.
And so the sky color is going to get lighter.
The other thing he does is he applies less pressure.
The more pressure you apply with your brush, the more paint that's going to come out of your brush onto your canvas Fire the same.
I take it off of here again.
See like this, fire it right into the water.
Tip number four is painting the water.
Bill went back to the palette and picked up a little bit more of a sky color on his brush.
Again, a very, very thin layer.
He started at the bottom of the canvas because that's where he wants it to be darkest.
And as he's working his way up towards the horizon, The Magic White is mixing with the paint in the bristles of the brush, and it's changing the value to a lighter color.
He also will apply less pressure as he comes up towards the horizon.
Now notice he's using these long horizontal strokes.
The reason he's doing that is because he wants the water to appear flat.
Look at the difference between the water and the sky.
You notice up in the sky he wanted a lot of motion, and character up there.
And so he used a different kind of stroke and down here at the water, he wants it to lie flat.
So that's the way he's painting it with these long horizontal strokes.
Water I always like to paint this way.
Then you can see you lie it flat, it's laying flat.
That's good.
Tip number five is using thick paint.
This is probably one of the things that cause people to struggle with the wet on wet technique, more than anything else is having the proper consistency of paint.
Bill liked a very, very thick from dry paint.
And the reason he did is because when he applied that to the canvas, he then could go on with his highlights.
He could add a thinner layer on top of it.
But he needed that really, really thick firm paint to be able to paint wet on wet, to paint quickly.
Now here's an extra little tip for you.
If you can't find thick paint or you think your paint isn't thick enough for this technique, what you can do is you can put your paint out on a paper towel or a newspaper or some kind of paper, and leave it overnight and let the paper absorb the oil.
Thick firm paint just is paint with less oil in it.
And so you can pull some of that oil out to make your paint thicker so it'll work better.
Another way to do it is just to leave your paint out on the palette.
You can leave it out for days and the longer you leave it out and the more it will oxidize and the thicker it will become.
Think about it, don't have to be in the middle,, fire in here.
There you have it.. Be sure and look for these techniques as you're watching Bill's other videos.
To watch the complete episode, click on the "To The Summit" link on screen now.
Thank you for watching as Bill would say, happy painting.
Up Next

PyTorch Dataset & DataLoader: Efficient Data Pipelines Guide
@pydjango-tutorials
465 views•2025-11-24

Triumph of Orthodoxy Icon: Byzantine Art & History Explained
@BenCallan
2.1K views•2024-08-06

FastAPI vs Flask vs Django: Choosing the Right Python Web Framework
@TechWithTim
302.5K views•2024-05-26

Game of Thrones Opening Credits: A Cinematic Analysis
@gameofthrones
46.3M views•2011-04-18
Related Study Plans & Knowledge Roadmaps
Structured learning paths in General & Interdisciplinary Studies