












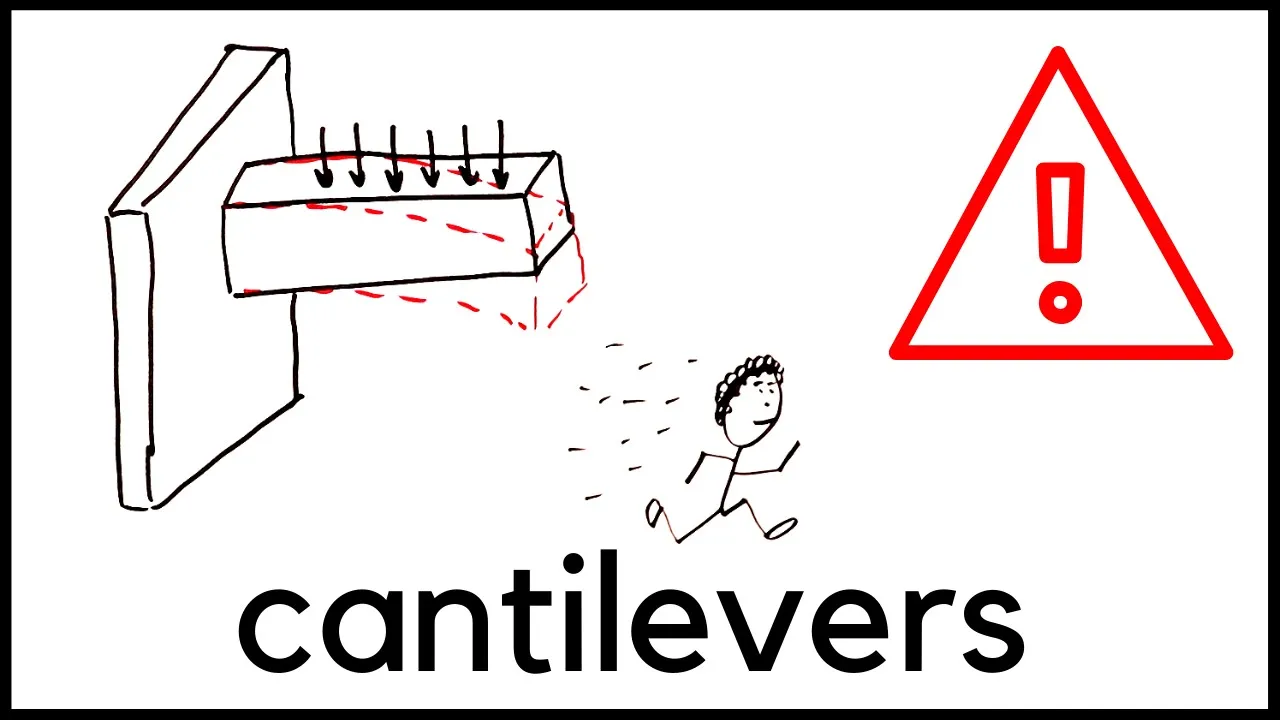





Boomilever is a Science Olympiad event where students build cantilever structures that extend horizontally from a wall and support a load, with forces approximately three times greater than those in towers and bridges; successful design requires understanding tension and compression forces, selecting appropriate wood densities and cross-sections, and applying the scientific method through iterative testing, failure analysis, and single-variable corrective actions to optimize structural efficiency (load-to-mass ratio).
Science Olympiad Boomilever Building Tips: Webinar
Added:Understanding of structural forces, specifically the difference between tension and compression in structural members.
Basic knowledge of material properties, particularly the strength-to-weight ratio of balsa and basswood.
Fundamental physics concepts of static equilibrium, moments, and torque acting on a cantilevered beam.
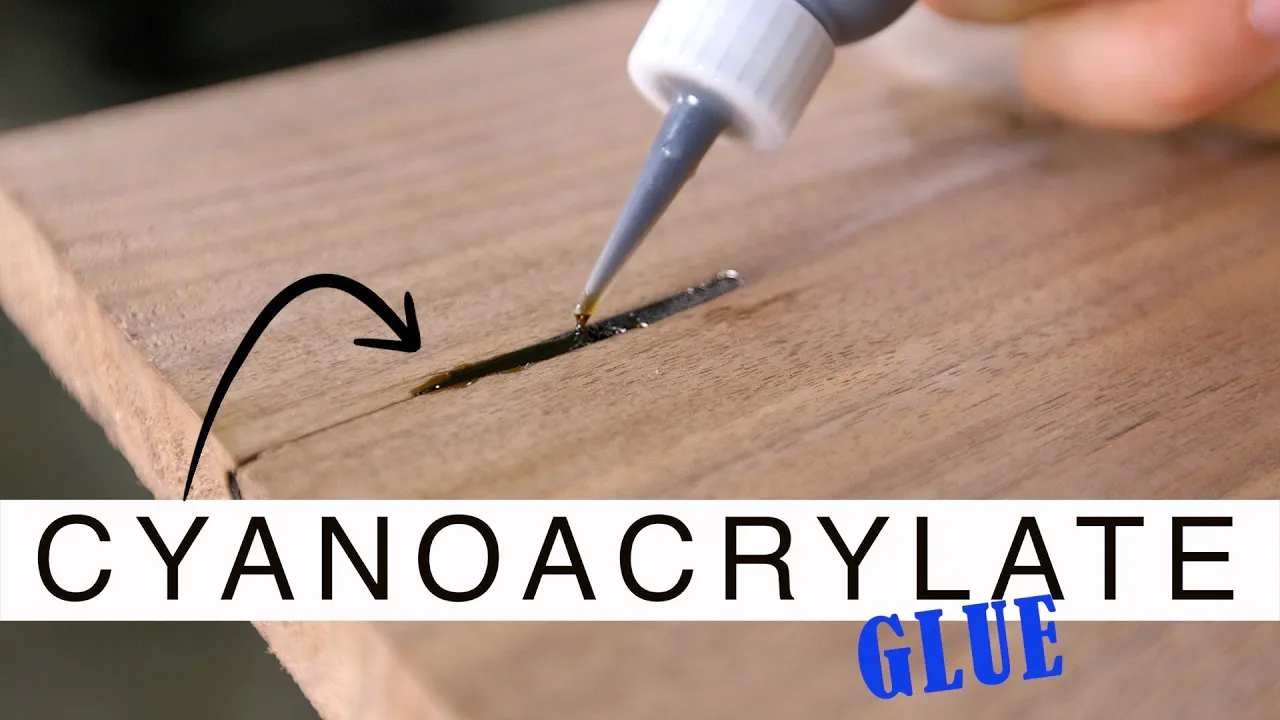
Familiarity with basic wood joint designs (e.g., lap joints, gussets) and the properties of different adhesives like cyanoacrylate.
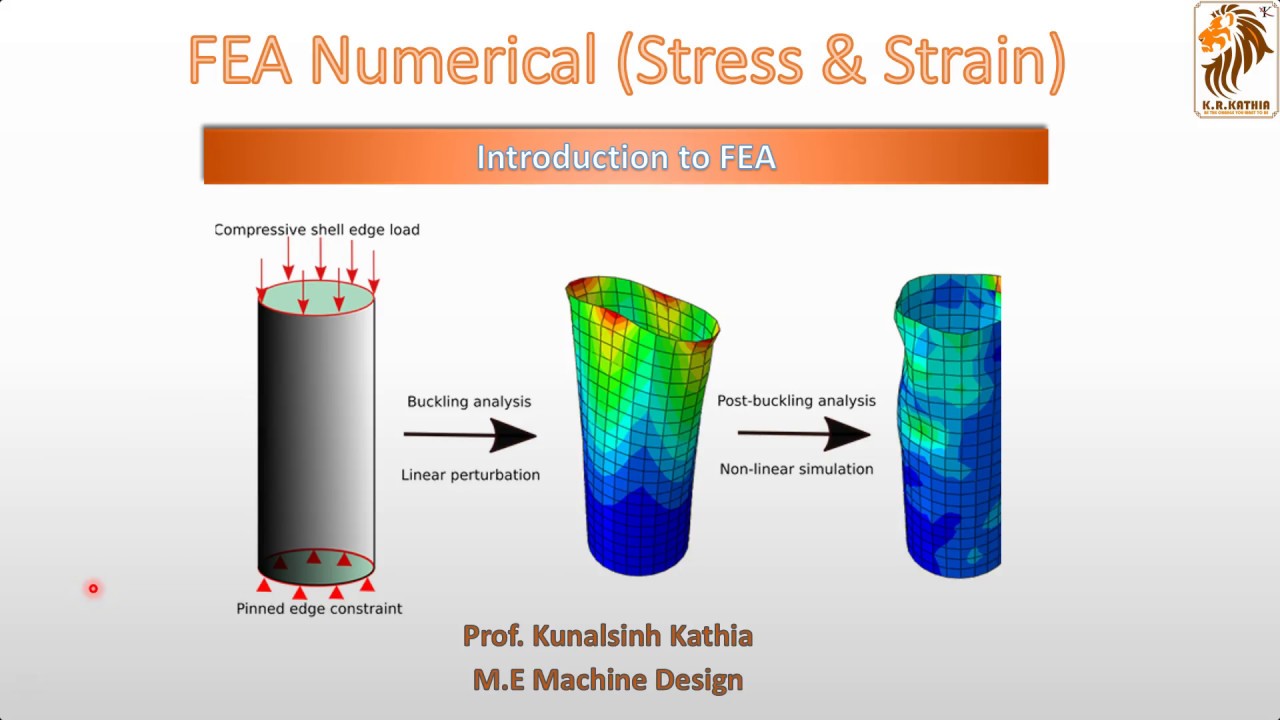
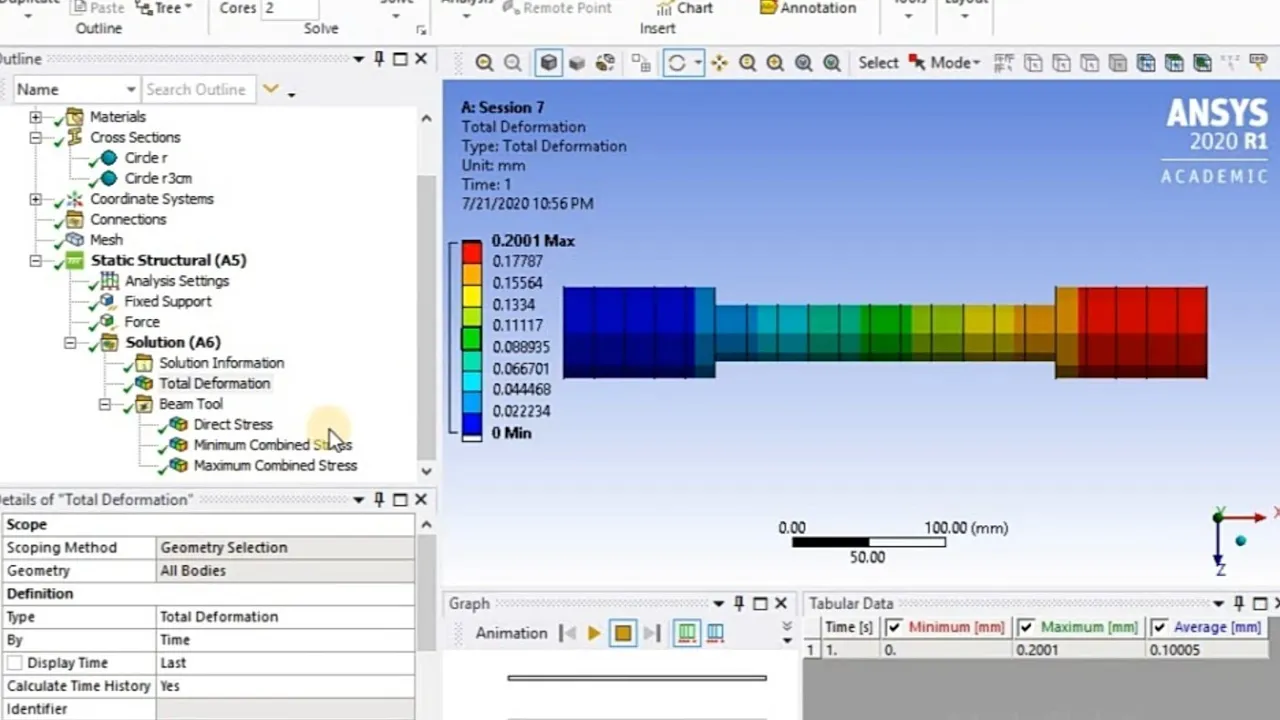
Application of Finite Element Analysis (FEA) software to digitally simulate stress and strain on structural designs.
In-depth study of structural failure modes, such as member buckling, and how to optimize member cross-sections.
Exploration of real-world cantilever engineering projects, including crane designs and cantilever bridge construction.
Iterative design testing methodologies, including collecting and statistical analysis of load-to-mass ratio data.
7.1K views55likes54:07Original Release: 2025-09-29
All right. Hello everybody and welcome to this evening's webinar. Um I'm Dr. John Lur from the national office. I'm excited that you're here and super excited about this topic because I think one it's I mean anything we do with the structures is one of the coolest events we have going and nothing beats kind of the tension that builds uh as you're watching people put more and more weight um on their structure and but also what I really love about this one is we have some fantastic people um to present. Um, so tonight we're going to have uh Greg uh Marinette is hopefully going to be able to join us on over the phone and um in person here on the video we get uh Chuck uh Sakovic, our wonderful uh national event supervisor out of Arizona. So couple of quick uh pieces of business for everybody that's here. If you have any technical questions, please go ahead and put those in the chat. So this is Hey, I'm not hearing something.
the layout's bad? Um, did the screen freeze? Any of that kind of stuff, please put that in the chat. If you have questions, um, for Chuck and Greg to answer, um, please use the Q&A feature that you'll find in the, um, the Zoom toolbar. It's usually off on the right hand side. It's a little box with a question says Q&A under it. If you could enter your questions in there, that would really help us out. Um, so other than that, it Oops, I just jumped ahead.
Um, this will be recorded and you guys will receive a copy of the recording, uh, as well as we're going to post it on our YouTube channel and, um, Chuck and Greg are going to refer to some things.
That information has already been posted to the event pages that you'll find um, for Boomiever off of the Science Olympiad uh, national website. So, at that point, I'll go ahead and you let you take it away, Chuck.
>> Thank you. Uh, thank you, John. And I'm visible now. I'm joined, right? So, I'm all good to go.
>> Yep. I believe be good to go.
>> All right. Hey, uh, welcome to the boom lever event. This is a new um, structure type. Uh, we've transitioned from the towers from last year to boomver. Uh, and just quickly, it's a can lever device. But, let me, uh, introduce myself and Greg. Uh Jonathan, go to the next slide. Um we're both uh considered uh industry volunteers. Uh we're both uh have tons of experience in the industry uh and are pretty much retired and we're reaching back and continuing our help with Science Olympiad at the state level and also at the national level for quite a few years. Uh Greg and I have been team together to write the rules and to provide these instructional videos. And we absolutely love this event. We like the design aspects. We like to test aspects and uh you can tell the difference between Greg and I. We're about the same size, about the same age, but I'm the one with the gray hair.
That's how you can tell the difference.
Um so, if we can go to the next page here, John had mentioned that uh just recently uh we had posted quite a bit of information that says new for um 26.
It's the uh the video guide which is a short video that Greg shows the test stand and how the structure is mounted to the test stand. But there's also a boom lever presentation which is a quite in-depth group of pictures and descriptions that I highly recommend you step through and and study each one of those pages. It's got a ton of information. We'll be refer referring to some of those pages in this briefing. Uh we've also made a template for beginners um that you can use and there's some instructions along with that template to help you learn along the way and build a compliant uh boom lever as well as a 9minute video I believe that shows you how to build it and has some slow motion video of testing that's really a good learning to tool to start um uh you know for beginners for this uh new event. So, we're gonna we're going to jump right into the requirements here. And if we could uh get uh Greg to come in on the call here. We can start with the pictorials of various boom levers. Greg, you're online there.
>> About that. Uh a little difficulty getting on tonight, but I'm here. So, we should be on a page that shows a whole bunch of boom levers. And what uh we want to tell you here at the start is that there's many, many designs for the boom lever that will meet the rules that we'll talk about. We're going to use one example boom lever. It is not the only option. However, it's a good way for us to demonstrate and show to you how the rules work. Then it's up to you and your students to be creative and use their inventive juices to come up with a boom lever that uh really wows us as uh as as judges and uh people watching the the uh event.
If we could move on to page five.
So on page five, we talk a little bit about the requirements. And what I did was I put together a drawing and I do show the three different positions. You only build one boom lever. One of those color be uh only one of those uh designs, something like that. But I show all three on here so we can talk about all the rules for both the the base events for BNC as well as the bonus events.
First thing is the first two rules haven't changed any. Uh the structure is a single structure. It's constructed of wood bonded by glue. And so that's the same and it's been that way for years and years.
However, over on 3C across on the right hand side of the page, we did change the attachment uh device. We used to have a Ubolt there or a Jbolt and now we're using a uh furniture bolt. We think it'll provide a better experience for the kids. It'll be uh easy to uh change on the test stands. And so we've decided to make that change to make it a little different challenge. And we think it provides a fair way for them to uh to attach their boom lever. It should just simply set on there and then uh rest up against the wall with the uh with the the truss side of the boom lever at the bottom. Like I said, I show three different positions. the very lowest position, the green one, is the base for division B. And so, uh, that you cannot score bonus on, but it's it's the base.
And so, uh, you will get the full points on it. The middle one is the base for division C as well as the bonus for division B. And if in the bonus situation, you have to do two things.
Build to this configuration and then hold the whole 15 kilograms. And finally, the top one, the black one, is the one where uh it's bonus for division C and you have to uh be above the 10 the 10 uh cm line and uh and hold the whole weight.
On the left hand side of the page, uh we show the uh the 40 cm coming across and then five more centimeters. So from the side view, you have to have the center line of the chain. And if you look at the bottom one, the one in green, I kind of show the wing nut and the loading block and the uh the chain starting to go down. The center line of that chain needs to be within those five centimeters from side to side. What or yes, from side to side when looking at it in the side view. When we go to the top view, the next page, I'll show you where it needs to be. uh you know side to side from looking from the top.
Um and so yes, that loading block can be in any any position in there as long as that center line of the chain. So it will impact the way you design and how you attach the uh the tension members.
I think we can go on to the next page, please.
So on the next page is a top view and I had to separate those views. The one on the the very top is a division B and the one on the bottom is a division C.
Because in touching the wall the uh the contact width is 4 cm each side of the center line of the uh connector bolt. And so you on division B you have to be between those lines. In division C you can only touch outside of those lines. And so uh so that's an important distinction between the two. So it changes the challenge quite a bit. And then looking at it from the top, it's the same 40 m 40 cm and 5 cm distance out from the wall that you have to be.
However, the uh the chain has to be within 2 and 12 cm either way of the center line of the uh of the uh the mounting bolt in order to be legal. So, you've kind of got that red square there, which happens to be the same size as the uh the loading block where the chain center line needs to be.
Now, to make this a little easier for some, because I know not everybody likes drawings, on the next page, we show a couple pictures. And the one on the left really just kind of shows the base for division B. And it's described uh clearly in rule 3G.1 or the the way it looks. And the one on the right is division C. And and and division C is in the same rule number. It's just they're slightly different. So you can see the 40 cm the 5 cm from out from the wall.
You can see the loading block at the top with the uh the the bottom of the uh the boom lever no lower than the 20 cm line for uh division B and in division C no lower than 15. One other thing I'd like to point out to you is you can play with this a little bit. And the loading block actually needs to stay above that same line. So the loading block in this picture is a little higher than it needs to be, but that's the way this boom lever is built. It could rest on the bottom members if you wanted it to because the bottom of the loading block cannot be any lower than the uh the horizontal contact line. At the bottom, we give you some information just in a chart form of all the lengths and widths and all that. So, that's just two minutes on the rules. Hopefully, it helps you visualize what a boom lever uh needs to do in order to meet the rules.
Chuck, I'll turn it back to you.
>> Actually, uh Greg, can I get you to answer a question? Tal threw an an early one in here concerning attachment bolt.
Okay. And I'm just going to read you what he dropped in the Q&A. Um, and it says, "Does the device attachment to the bolt need to simply rest on it?" And he goes on to ask, "Could you can that portion of the device be designed to grip or hold the bolt or potentially a section in which the bolt should be inserted?"
Um, so is he is he suggesting that maybe um the device might have a spacer in it so it kind of wedges in between the bolt and the and the wall. Is that >> um I think there's some of that.
Honestly, I was taking it more to be that he's thinking could could I notch you know that crossmember that's going to attach >> Oh. Um, >> oh, >> on, you know, it's essentially >> absolutely you can, you could make a absolutely I agree. You could you could make a U-shape uh in the in the wood so it it kind of notches in there. It just has to set on it. It can't, you know, it it can't uh somehow have to take something apart to put it together. Like there's a hole through the the back plate of the boom lever and you have to take it apart. You can't take it apart.
It simply has to set on. But if you want to build it so it goes over the bolt or around the bolt and still can be set on, I don't see any problem with that.
>> Okay. So, tell do you get that? It's it is okay to design your bumma lever so that you can um shape it so it sets or rests on the bolt um differently. But you cannot do like uh you can't have a piece where you gota you drill a hole and the bolt's going to get passed through it. The event supervisors are not going to take that bolt off. It's going to be set and the whole object is your boom's got to sit on top of it. So, thank you. Right. Perfect.
>> Yeah. And and it needs to be one um one complete assembly. You can't have two pieces that are put together uh when you put it over the uh bolt.
>> It either needs to lay on top or it can fork it on the side like I'm like I'm kind of showing with my fingers. You know, you could have a left and a right side that can hold onto the bolt, but you cannot take that bolt assembly apart.
>> All right.
>> So, there was another question here. How can I make the stronger where the boom liver holds onto the bolt? Well, that's one of the the tricks that I'm going to talk a little bit about in the design side because that is one of the three challenges with the designs that you'll have to figure out a solution.
>> So, just hold that thought. Um uh this is probably a good time too to say, you know, we're just we're just touching um a lot of these requirements and we really really recommend that you go look at the uh rules. We we spent quite a bit of time this year and providing more fidelity information uh descriptors in the rules. So there's five pages for the division B and five for division C with all the specifics. And I really really recommend that you read every single paragraph and understand what that means and then go back and take a look at those other packages that are on the web page and the video on how to build the template that will make it a little bit easier for you to understand some of those other rules as well. So again, this is just a a very very abbreviated rule summary summary for this webinar.
>> Anything else, Greg?
>> No, that's good. I'm glad you you mentioned that we added a lot to the rules, a lot more drawings and sketches.
So hopefully that'll help clarify also.
>> All right, moving on to the next slide then.
>> Yeah, so we're gonna we're going to go into the design aspect of it. And I like the the collage of photos that you saw on page three of this presentation.
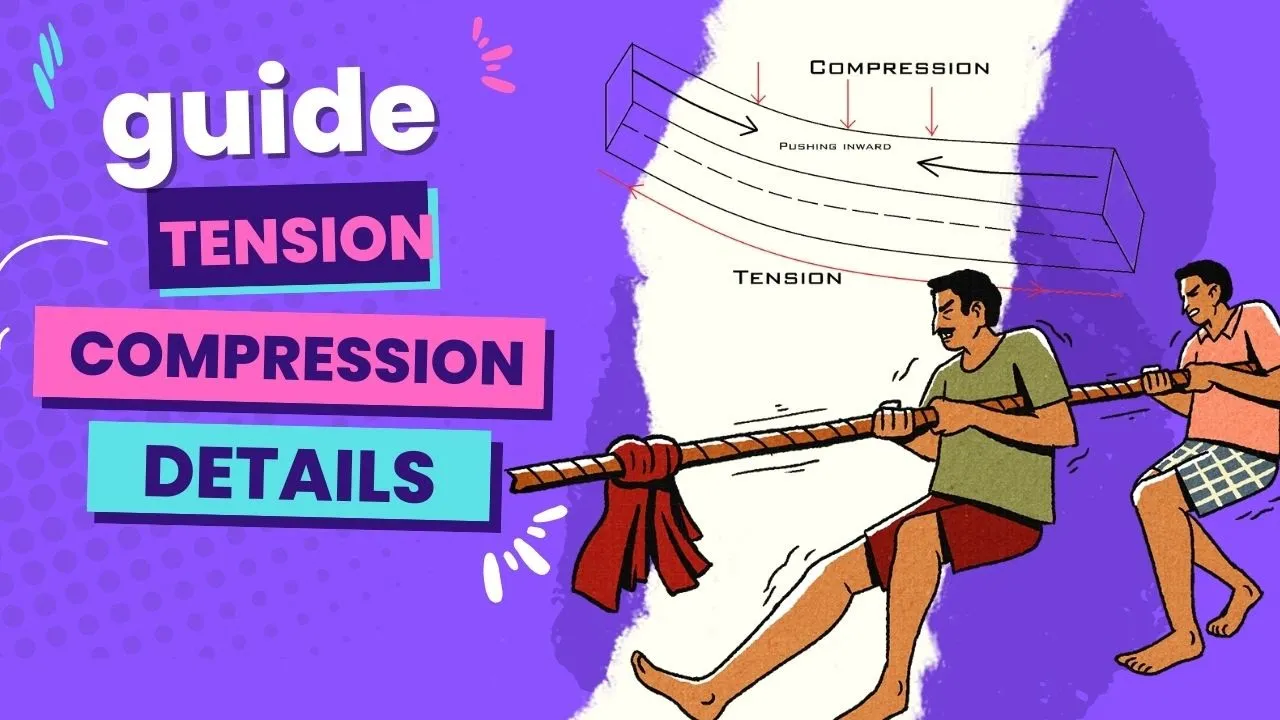
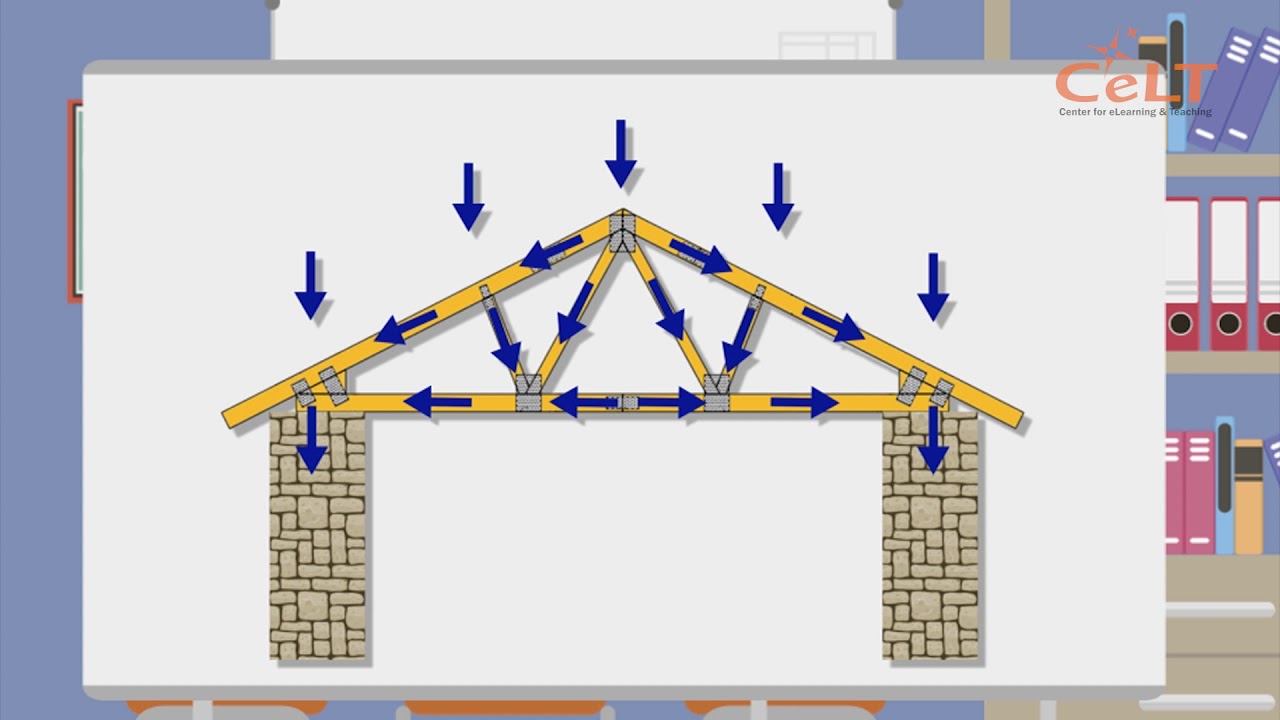
There's all kinds of solutions um that you'll have to come up with. And you really have uh three problems here um for these requirements. One is that that connector bolt attachment. And how do you design a piece that's going to be either lay on top or uh grab from the sides or fit over the top that's strong enough to hold uh the the very very large forces that this type of structure provides. Uh and and there is there are tricks to that. There's the density of the wood, the size. Uh you may try lamination. Um that's all part of the experiment to try to figure out what what works best and how do you make an attachment point that um is strong enough and light enough to hold that connector bolt. Uh also no matter if you have the design where the block is on the upper part of the boom lever or on the lower part of the boomver these structures by the geometry and I'll call it polar to rectangular rectangular to polar conversion in forces uh create extreme forces and tension and compression. Now, it depends on what type you have. And and the uh diagram that Greg has showed um that boom lever is called a a tension boom lever because the longest member um is in tension when it's loaded. So, we call that a tension.
But if you flipped it upside down, it had a load block on the top. Well, that would be called a uh a compression boom lever because the longest member would be in compression on that. And of course, there's hybrids that the load block could be mounted anywhere in between there. And then then you would have to figure out the forces that are involved. But if you look at the packet that we provided on the web page, it does go through and do some u trigonometry and some geometry as well uh to tell you the kinds of forces that that are involved in this with the 15 kilogram maximum load. And I'll just tell you the answer right now. Those tension members and compression members are a factor of almost three times more than what you've seen for towers and bridges. And so you're really going to have to take some of the skills that you have learned from bridges and uh from towers uh and use that. But um those will not be strong enough to support this structure. So you're going to have to figure out a design that's going to hold those extreme tension um forces and those extreme compression forces and all the dynamics about how wood performs under those circumstances. So the good news here is that the science limbriad you know we came up uh and we made a template that is a compression type I'm sorry is a tension type boom lever and it's mostly for beginners to show them how to to build a boom lever that's compliant uh that should get you into tier one and if you build it uh with a medium uh density and you uh pay attention to construction uh and look at the video that we show on how to build it you should be able to have a boom lever that uh it will break, but it'll score around, you know, the 500 to 800 to one strength ratio. And it's a really good starting point. Um I ended up taking pictures of of the assembly itself as it's going forward. But what's really good in the video of the template is um I I took slow motion video of four or five of these and uh we showed where some of the failures will occur on this.
Um, and it's really good to be able to diagnose and see what you're doing wrong and try something else afterwards. So, it's a great thing for beginners uh to start off with to get familiar with it.
And there's instructions uh in the packet itself and in this packet of what the next steps are once you get some results from that. So, um I would highly recommend you look at the uh template itself and understand it and it looks kind of like the diagrams that Greg showed earlier and also look at the video and see the step by step. It gives lots of building tips uh and ways that you can uh make this boom lever as strong as a design will allow it to be and to score as I uh describe. And so the the next um page is the the competition process itself. And it's similar to how we have the the bridges and well back one John how we have the bridges and towers where um the students will come with a pre-built assembly and they'll present it to the judges for compliance checks and some measurements that the measurements will be the length and and contact depth and width and we'll measure the mass of the structure those kinds of things. Um but then uh a after it's checked in, the students will take that structure and all by themselves go up to a test stand and within a six minute uh period uh put the boom lever on the stand and do a load test either to destruction or to hold the full load. Now the the diagram that we show here uh is an extraction from that uh 26 page uh packet that's available on the website happens to be page 21. That is the process step by step as you go through. And so it's it's not that easily read here in this packet, but I'm really trying to support uh you going back to that other packet that's on the website and find this page and take a look at that process and it'll walk you through it. Um and and in order for the students to score, um they would have to be able to hold the minimum load, which is an empty bucket.
uh and they will provide a load by sand pouring into the bucket either by scoop or by a hopper system. Uh and we actually do a structural efficiency uh or a strength coefficient where we take the load that's held by the structure divided by the mass of the structure and that's the score you get. Now, we have a tiering um just like we did with bridges and with towers that if you're compliant, fully compliant um uh and you can hold the minimum load, then you'll be in tier one and all the tier one scores will be ranked from highest to lowest. And if there was some violation either through construction or some other process kinds of things, um you will uh be ranked from highest to lowest in tier two. Uh and if um um you're you are unable to load, uh there's a criteria for how those are ranked in tier three, but you really want to be in tier one, which is understand all the requirements um that you have to meet to to keep in tier one and be able to do a compliant test. And so that's where uh reading the rules and knowing the rules paragraph by paragraph and checking yourself to make sure that there's no surprises when you come up uh and take a look at the test stand and understand how to use it to be able to do a compliant test and get yourself into tier one. Now Greg had talked about some bonuses. Um there are some requirements that add additional challenges uh to the structure itself. So it'll be harder for the structure to hold a load. Um, but if you do hold that for the full amount, hold the maximum load, 15 kilograms, you end up getting a bonus of five kilograms on top of the load. And so you'll have to do a trade on um what what uh what that challenge uh will cost you as far as mass uh and what kind of score uh you'll get on whether you want to pursue that or not. Um, but as that u the structure gets taller closer to that connector bolt, the harder and harder it is for that structure to hold and the more forces and tension and compression that that structure will have to hold.
Um the next uh chart here has to do with um if you can go to that John uh some tips and all. Again, this references a chart uh back in that packet that's on the website here, but I'm going to talk a little bit about some of the other things. You could read through the 1 through8. There's even more uh tips and and tricks uh that are in that packet that I think you should go through and look at. But uh for those who who are beginners and just don't know where to start, um obviously I'm I'm pointing you back to the things that Science Olympiad has provided you as a starting point for beginners. But there's also other sources as well. YouTube is a great uh tool. It has a lot of legacy things on there from boom leaders the past several times that uh they've been executed. Uh and uh just be careful though um because some of those are old rules and so you have to be sure that you understand the new rules and the things that your your design has to accommodate. But it's good to see what other people have done and have tried. Uh and there's some really good technical ones more towards the high school level that um you know talks about some of the physics and material properties and some sophisticated testing and things that you can do uh to kind of solve those three independent uh issues. You know connector bolt assembly, how do you address the tension, how to address the compression um that there's a series of videos in there that are pretty good, but it's kind of like buyer beware. Um there are some sophisticated tools and equipment that aren't necessarily needed by everyone to build these boom levers and our approach by giving you the template is a good starting point with very very lowcost uh handheld tools to be able to to to make boomvers that you can be competitive at invitationals and regionals and it's a good stepping point to be more competitive for state and even uh for nationals. Um but the my biggest advice uh to anyone who is building these things is uh uh the attention to detail on everything. The type of wood that you select, the density, the imperfections in the wood, the type of glue you use, how repetitive your bonding is, how straight your members are. Uh not to create any creases or any damage to the structure as you are building it, storing it, or mounting it on the test stand.
Everything that you do matters on this and it's a really good life lesson to to make sure you pay attention to everything because everything counts. Uh and and all it takes is just a small u mistake or imperfection. You live in an imperfect world uh that will make these structures fail before you would expect they would be. So u the packet that we provide uh gives you a lot of the tips to take a look at uh on what to pay attention to. Um, but my advice here in summary is you're gonna have to pay attention to everything and you're going to have to build a lot of these boomeral levers uh to get better at it. But one of the best tools that uh I've used um is your smartphone. And your smartphone has the ability to do slow motion video.
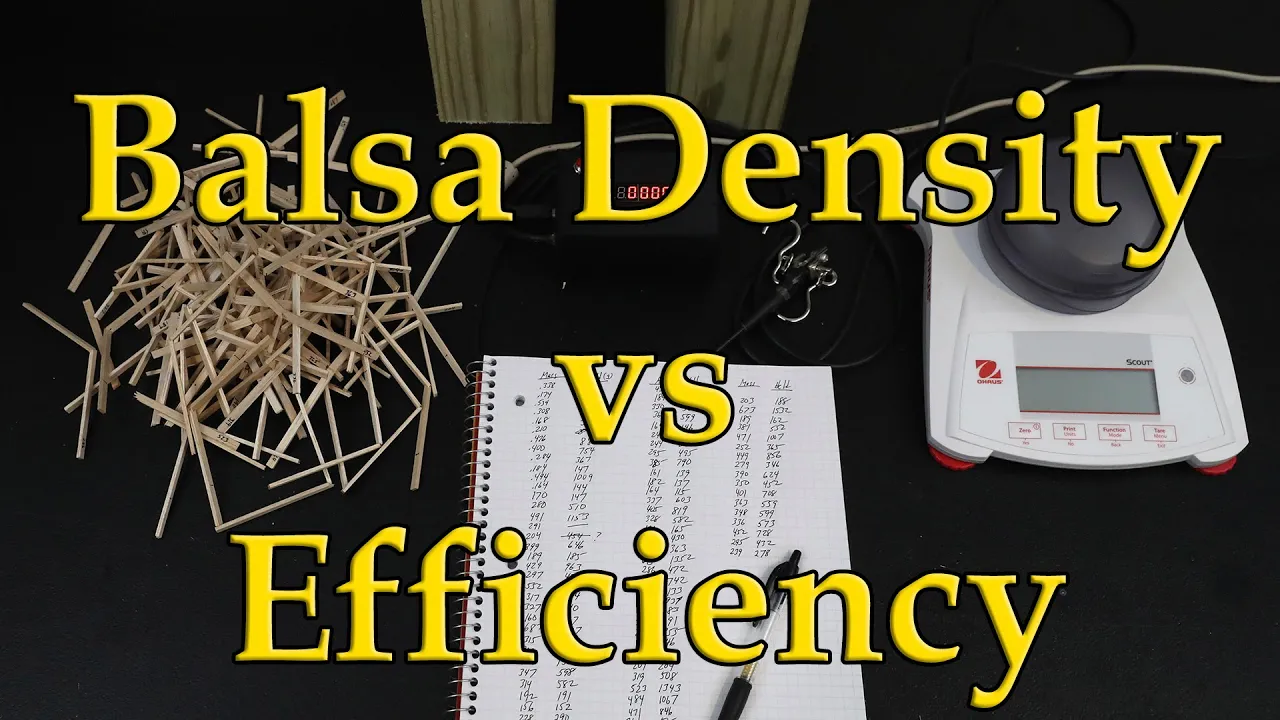
And if you do testing, whether it's at your school or at competitions, uh, or even in your your garage, um, being able to capture the video and see where the first failure occurred, not the other secondary failures or the collateral damage from from things after the first breakage, but where the first primary failure was, is really important for you to decide where the next step is and what you're going to do in order to improve that design. So, I would highly encourage everybody to who has a smartphone to understand how to use that slow motion feature and how to edit so that you can look at it frame by frame to see the first member that breaks to know whether you've got a bond failure, a wood failure, whether it's compression type of failure or a tension type failure and where it occurs on the boom structure for your next steps. Um and we really advocate the scientific method and that process of um coming up with a hypothesis which is basically your fundamental base design for your uh boom lever. You do your testing. You look at the forensics uh see what breaks. Try to determine the root cause. Uh make a single corrective action on it. Change one thing at a time. Try it again. Look for the improvements that are made uh in score. Uh also uh videotape them and see if the the design changes you made address the failure that you had on the previous one and where's the next weakest point and what that failure is and continue that process on your second, third, fourth, fifth build as you go forward and get better and better to know that you've had the optimum things you could do with that design to know what score you can get and it will help you determine whether you need to make a design change to try something else because you've made that structure as optimum as the design will allow. So I would really really uh hope that all the students and the coaches would stress the scientific method and that process and we'll talk a little bit about that here in the next couple of charts. Um and it's it's very important for the learning aspect of this. Um, the wood itself, uh, I would recommend too that, uh, you pay close attention to the grains in the wood and the densities and any imperfections and to screen the wood as best as you can. You don't necessarily have to go out and buy competition wood, but if you have stores that give you uh ability to actually hold the piece of wood and maybe even measure it, like uh um you know, measure all equal lengths to determine what is more dense or even take a look at the color to see the darker ones are more dense and the lighter ones are lighter density to start off with mid mid-range densities. uh and to practice practice building learn how to bond well have confidence uh in your bonding skills and uh you know learn from this as well as the the lessons learned that we're providing in these packages for you to do better and better as you go forward and prepare for national competitions.
>> Hey Chuck, could I ask a question real quick that Mia threw out?
>> Sure because it it ties in what you're just talking about. So she wanted to know do you think that balsa wood u basswood or a hybrid of the two in their construction would be is a the right approach to go?
>> Yes. So that's a great question. On on some of the other uh structures uh our default is always uh balsa wood. It has uh a really good strength to to weight uh ratio. But, you know, for these designs with booming levers, like I mentioned, there's extreme tensions and extreme compressions. Uh, and that connector block is going to going to take a lot to hold that that you might consider using some nonvalsa wood pieces. Uh, as you know, uh, wood is a lot stronger in tension than it is in compression. So, you might take a look at that trade to see what cross-section and what type of wood, whether it's basswood or some other type of hardwood, is a better choice and works better for you um for a score um rather than having a default where you're going to make everything out of balsa wood. So, yes, I've done that myself. I've even laminated pieces of balsa wood to batch wood and very small cross-section pieces to make even stronger uh members. Um, so I would say what what works best for you. Just remember that that that more dense wood is a little bit heavier, but uh there is a place uh that it could be used. Uh and that's all part of uh you figuring out how to optimize your design. So great question and the answer is yes. And it depends uh where you put it whether it's effective for you or not.
>> All right. Do you want your next slide?
>> Yeah, please. And uh let me let me start on on this Greg and you can jump in on the the next one. So here's that same diagram of what the template looks like.
And again this is a uh a tension boom lever where there where that long member is the tension assembly and the compression assembly is the truss below.
Uh and what we what we've done with this chart this is all our part of the learning aspect. You know in the uh technical community there's a thing called a failure tree. um where you take a look at uh the failure and try to drive down to its root cause and deter to determine corrective actions. And as you're filming these, you'll see that you might have failures in the A part, which is up by that connector assembly.
And there's some pictures there showing uh that connector block of wood behind it breaking. Uh and there's pieces there that show the wood coming un uh detaching from that uh block because the bonding joint isn't very good. And then there's a picture there that shows that there's a wood failure from a tension failure where maybe the cross-section or the uh density of the wood wasn't enough. So, you're going to have to figure out uh with trades and and trial and error what works out best to hold that block into place. And there could be uh also tension failures in the B segment there as well as C. Uh there's some pictures on the bottom there that show compression failures for that truss. uh and it shows some other tension uh failures as well when the wood pulls itself apart. And it's really important for you to identify that first um source of failure because as this thing comes apart and falls through uh there will be secondary failures that really um you should ignore and you should be looking at the first failure that occurred. So that slow motion video will help you identify that. And so we we've identified here A, B, C, and D where typical failures will occur for this example of the template that we use. And so focus in on those areas when you do the testing and then do the the forensics and looking at where the actual failures occur. And it's important for you to document those things, too. And we'll get to the next chart here. We'll have Greg walk you through why it's important for us to to be able to to track those.
So yeah, um on this next chart is uh you saw the chart with Chuck with all the pictures on it. That kind of pictorially told us what was going on. Now what we want to do is take the time to write it down and really start to think about it.
And so you start with the the idea of a boom lever and where it might fail. And here we we just started a chart here with the tension and the compression uh assemblies and what might happen there.
What kind of failures might you have have observed? what you might expect to happen and then start uh detailing where why you feel that way through these artifacts and this information that you've looked at from the different tests that you did. From there you can then drive to the root causes the red box and start to list out was it a glue failure? Was it a wood failure? Was it maybe undersized? All kinds of things that you can start thinking about and then that drives how you might build the next one. So it's truly a part of our scientific process and really understanding what happened there and then getting information. So when we go back to build another one, we don't build the same thing we built last time and accept expect something different to happen. We change something where we can then figure out how we can improve this boom lever over time. Is there anything you wanted to add to that, Chuck?
>> No. Um and I I think it's important that uh when you look at corrective actions that you only change one thing at a time. um because if you try to change more than one then you don't have good traceability to the root uh cause for that. And so documentation is important.
It's not required that you submit any of these things but it's part of the learning uh and that scientific method to really help you get to a level um that you need to be faster. Um so no I think Greg that was a good summary and and I would say too that um in industry when we have failures and do these failures trees there are massive things because there's all kinds of different sources for failures and the arms and tentacles on these trees go just like the roots on a tree. But what what it really boils down to is there's just a handful of corrective actions. If you do the the drawing trees correctly uh in industry they generally boil down to just a handful of corrective actions.
And we've we've identified here that there's design improvements, there's process improvements, and there's attention to details, but are all corrective actions that you could do to improve the performance of your uh boom lever. And so for the next page, John, if you can go to that, um we've uh identified just a list of of things that we would say that would be good corrective actions under the category of design improvements. Now we're referring back to the template here which has that truss assembly on the bottom and the tension members on the top. Um that uh your selection of density for those members um is up to you. The template itself uh talks about cross-section and a suggest what cross-sections to use.
But uh it's up to you to pick out what densities you think are appropriate.
Some pieces aren't going to be carrying the heavy loads and can be less dense.
which will help you in the reducing the mass of the structure. Some of the densities that you selected aren't strong enough and you need to increase that density to hold some of those other forces that are created in that structure. So, you'll be looking at those trades to see where you want to move that mass of wood or piece of wood um density to make it stronger. The same kind of trade applies with cross-section. You know, the template itself suggests some eighth by eighth pieces, suggests some 8 x 16. you might want to take a look at um having a a wider uh piece or longer piece or thicker piece or even laminate some of the pieces and that trade also comes into play here where you're increase or decreasing the mass of the structure. So you want to make sure that the load is increasing on that too um and so that you you get the benefit of making that design uh change. Now the the third item here um is with respect to the truss itself on the bottom. The height of it uh will matter um and uh you know the width of it will matter um because you'll see some of the failures that will occur uh from compression as well as some flexure that you'll have because of imperfections. And the stronger that truss is, the more amunable it is to some life imperfections that'll make it want to twist or bend. And so you might want to take a look at uh that trade study as well, making certain pieces of that bottom section taller or wider or narrower and taller as a trade. All trying to make sure that you keep the mass low uh and that you're scoring a higher load after each of those decisions.
Uh number four um I believe the number of segments that we suggest in the template is is 12 or 13. Um and you've learned from the towers that the number of layers or segments that you have on the tower really matters as compared to the vertical members that you select and the densities just you need to think of the boom levers as a tower on its side for those compression assemblies. And when you look at the the packet that we have and you see that the forces are three times more than the tower sees, you'll you'll immediately recognize that you're going to have to have increased densities and even more segments that you had uh for the tower um for this compression u uh truss uh for the boom lever. So you might want to increase the number of segments from the 12 or 13 to 14 or 15 to see if that trade works out for you. Again, it's about uh adding some mass but getting a benefit of holding more loads. You have your score in increases from that uh improvement in the vine. Again, it's all a trade. Same thing with the vertical support members.
Um they uh if you model it, uh you you'll know that it doesn't carry very much load. So, they might not need to be as big um as you need. And even the tension members because tension members uh wood is much stronger in tension than is compression. You can go a lot smaller than what you think. And so how small can you go? Well, it's up to you. Uh it's up to you in the decision of your cross-section as well as the density of wood that you select. And so those two go hand in hand. And again, it's all about, you know, being able to solve that uh that massive load that you have in tension there and whether that wood can support that. Also, I would I would uh suggest, like I mentioned before, doing some lamination and and I'd even say, you know, that's probably a good idea for that connector block because you're going to find that there's a lot of forces in there and it'll it'll break and and maybe crisscross of grain and uh laminate a couple of pieces of uh basswood, the balsa wood. Maybe that's a good solution. But I would say that you should probably target that connector block to be less than 4/10 of a gram.
So, it's going to have to be pretty darn small uh and pretty light because you don't want that to work against you and the mass of the structure. So, I would say lamination is a good good thing to take a look at at certain places, but just be aware that it's going to be heavier. Um, but it needs uh if you need the strength in that area, it might be a good design uh decision on that. And um also, you know, some of the the design u pieces that we have in the template may not be needed. So, you might want to take a look at eliminating some pieces or moving those pieces elsewhere where they might be needed to help that structure um hold more. So, those are just a listing of, you know, seven items that uh off of Greg and and my top of my head on design improvements that you can look at just for the tension assembly uh as you go forward. Take a look at the forensics and what caused that failure and some of the design efforts that you can do for that improvement. Greg, you want to hit the process improvements and attention to detail?
>> Sure. Um, so process improvements is really how you build it and a lot of practice is necessary to build well, but there are some things that you can do to help yourself. Uh, one of them, of course, is to build some uh some templates and some tooling to help you get more precise geometry. The real issue here is when something is crooked, something is offset a little bit, it exaggerates the forces and puts some twisting motion uh some twisting forces into the structure which causes to fail earlier. So getting everything very straight, very symmetrical is critical here in order to do a good job.
And then um I wanted to really stress it's important that the kids are able to practice putting the boom lever on the test stand. And so having a test stand or at least a wall that they can practice with is important just for the placement, getting it on there square, not getting it crooked, not getting it cockeyed. Um, and because of the way the boom lever works, you can also um lose your uh relationship between the tension members and the compression members and maybe twist it a little bit and that can cause additional stress on the glue joints on the uh connection between the tension members and the compression members. So, um, having having that template, having a a testing wall to build on and to test and practice on are all really important things for the students to learn. And then it's really about attention to details. And Chuck's mentioned a lot of this stuff, uh, about the screening of the wood. I like to screen the wood by looking at the wood, then checking the mass of the wood and getting it into similar piles, and then uh checking how bendy the wood is and what what type of flex it has by just simply folding it off the end of the table and maybe putting a half gram weight on it and just measuring the deflection because on the compression members especially, I want to make sure that they're all going to react the same way when they're in one structure and not some are more like uh you know, spaghetti noodles and other are stiff noodles that haven't been cooked. So, we want to make sure that that structure can take that that uh those forces and and distribute them evenly through the structure.
Understanding uh the bonding and having good bonds is is critical here. Uh I see many many towers over the year. I I'll see, you know, a couple hundred uh excuse me, boomma levers. And often it's really around the glue joints and really understanding how to put together glue joint joints, not have too much glue, but have enough. And and in this structure, you're going to want to make sure that where there's wood in contact with itself, you probably want to have a complete glue joint because you you got to move a lot of force through those glue joints, but you don't want glue hanging out. So, it's really uh important to, you know, practice gluing things and then testing how well that gluing worked. Sometimes I simply have the students glue just two pieces together, let it dry, and then test it and see which approach to gluing and the glue that they used seem to hold the best by, you know, testing it till it breaks. So, it's a quick way to do it.
It's kind of fun and you didn't have to build a whole boom lever to find out that you're not building good glue joints. And that's one of the critical things here.
And then uh I mentioned this before.
It's just getting that boom lever on the test stand exactly right, the way you intended, not that the compression members an eighth of an inch high or an eighth of an inch low, which changes the whole uh set of forces on the the structure and can cause premature failure. So that's kind of it, Chuck.
That's what I was thinking.
>> Yeah. And and I'd like to add to that, too. something that um you'll see with a lot of the pictures that we have in in the the web page and all that is we use a lot of lap joints um and there's a reason why and I would say too like like Greg said you know practice doing lap joints you don't have to do as much surface prep uh when you do with like butt joints and some other joints you do like notch joints and all that uh tend to be dicey and and risky and you could have uh created some damage in the wood.
So, uh I think practicing in all that uh is very important. Um because you know the the it's not just the design, it's not just the wood, it's also the builder um that will have a good competitive boomer. And I think it's a a good good uh point to answer some questions here, John. I see two of them that popped up.
Uh, and since we're we're talking about glue, um, one question I've been asked a lot is, you know, how much glue is is too much glue? And and what kind of effect does glue have on the overall structure? And and I would say, um, you know, if you can see the glue after it dries, um, uh, then you probably put on too much. And, uh, some students use the the CA glue, some use water down wood glue. Um, but I would say, you know, some students do fill it uh on all the joints to make sure um that you've got plenty of u uh gluing surface. Uh and you might need that in certain places and all that, but I would say, you know, for the structure that we have, it's probably going to be uh one one and a half kind of grams of glue that you're going to use to keep these structures together. So that dubtales right into, you know, what would be the optimal score for these kinds of structures? And I would say from the results that we've seen from the last time we we did these, which is 2019 and I'm sorry, 2019 2020, that for division B, we saw national winners that were in the uh 2000 range. Now, if you do the math, um you know, if you're if you hold 10 kilograms um and you have a 10 gram structure, well, that's a thousand. So you're really talking about holding 10 kg and having a 5 g structure. We we think that that uh we're probably going to have on on division B side somewhere between 10 and 15 grams for division BA levers and somewhere in that same category for division C and scores will be around the 2,00 to 2500 or 3,000 to1 scoring.
That's we would expect. Um we will get some that'll be less than 10 grams. Uh but again, you know, they have to hold the full load to get a good score. Um so it's all about that score, not just necessarily how light the the structure is. Um but uh I I would expect a national winner to be 2500 or 3,000.
>> Will the wood be the same density and size, have different deflections?
Absolutely. Um and so and even you know even pieces from the same um I'll call part of the tree uh is not uniform and so the left side uh might be different than the midsection of that piece of wood versus the other side. So that's that attention to detail on screening it and I know that even on my smartphone there's a magnification app there that you can look at the wood in five times magnification. It's important to take a look at the grains as well. And as the forces go through that part of the wood, it it uh might act differently and be brittle and might be uh uh a point of deflection that you really don't want.
And so, you know, some people will say, "How do I pair up the densities?" Well, if you cut the same uh length piece of wood with the same cross-section and you measure the mass, that'll tell you that they have the same density. But again, you're making the assumption that there's uniformity in that density throughout that member. So, you really need to put your eyes on it as well. Um, and not just measure it, but both and be real critical about screening those woods that look a little different.
So, for the execution portion of the boomer, do you have any tips on how to hold the bucket or how to pour?
>> Um, I would say again that's that's part of the students being comfortable. Um I I know even at the national level where some of these students have done this many many many times before. It is kind of a nervous kind of thing and you sure don't want to bump a bucket um and you know get a violation because you touched it with your hands. So practicing and and calming yourself during that is is pretty important especially for test stands that have the manual pouring with cups or scoops and those kinds of things. And and I would say too that a lot of students um think that they have to coat the whole bottom of the bucket and they try to move the scoop around the edge and it gets themselves into trouble where they could bump it or have it sway. And and I always tell them that, you know, you can just pull it right in the center. It's going to form a cone and it's going to self center.
You know, that that single chain comes right up from the handle and goes right up to the load block. So it doesn't matter if the buckets a little crooked because the horses go up that chain in that single direction. Um but uh I would say um uh just practice um and and get comfortable and um make sure that they don't make a mistake like touching the bucket and and even using the stabilization sticks that we allow. You know, sometimes you don't need that. Uh and if the students are confident, um they they probably don't need to use it.
And if during competitions there's a hopper system. Uh it's much much easier than scoops and more consistent on the pores and it's more about time management uh than it is anything else.
I don't know if that answers it, but I gave you like six different answers to that question.
>> Yeah, I think you covered all the aspects. I agree with you on the uh the hopper system. The stabilizing sticks probably aren't necessary ever. Um and but when you're doing it by hand, sometimes they're necessary, but it's important not to try to hit the bucket.
That sideways loading that you get through hitting the bucket is the thing that's going to cause a problem. Even if the bucket isn't h uh hanging perfectly straight, the chain can't uh uh transmit any any of that with the bucket hanging a little crooked. It only can transmit some forces when you actually push the bucket off to the side. So, um just being careful not to touch the bucket is a big thing on the hand pour in my mind.
>> Yeah. So I don't I don't see any other questions and I just wanted to kind of conclude here again. Um Greg and I and with some help with some other um state event supervisors have put a lot of time in that packet that has been posted on the web page and I again strongly recommend you looking at every single page. Uh there's quite a bit of detail and information on there that I think will really help you. So please take a look at that. Uh take a look at the the video on on how to use the template.
Consider using the template, especially if you're a beginner. And if you're an expert, it's still a good idea to take a look at the verbiage on there that talks about next steps and some design decisions and maybe be helpful in the approach that you're going to use that's different than the template. Uh, and the video on how how to build uh you know, we might have shown you some uh tips and tricks on how to build that you can use.
Uh, and it steps you through that whole process. And I think if the students look at that, they'll find that that it's a lot easier to build these than what you think. And it's a lot quicker than what you think. You can you can build a boom lever in three hours, allow it to dry, and test it later on in the day. Um, and we kind of did that on uh several workshops uh and and uh experienced builders can build these things in just a couple of hours. And so it's really about practicing and getting the students comfortable with uh uh building these. Uh and so please take a look at that video as well. And so, um, again, thank you for having Greg and I, uh, talk you through this during the webinar. And, uh, back to you, John, for closing this up.
>> All right, real quick. Um, before I let you guys totally off the hook, um, Vernon slipped one more question in here, and his is asking about if you have any recommendations for precision gluing. Uh, he currently is just using thin balssa sticks, but he feels like there might be a better method out there to apply the glue.
Yeah, we've we experimented with a couple of those during the bill clinic.
Um we used pipets.
Um and that's a good way to transfer small amounts of glue, even with toothpicks, small amounts of glue from a puddle uh to the structure to minimize the amount of glue used. Also, there's these really small little half ounce um uh paint bottles uh that you can fill and put little droplets of glue in there instead of using these really big uh glue dispensers that provide you too much glue to that point. So, I think if you consider looking at that, and I think I think some of that is in that packet. If you take a look at it, you you'll see some of those examples. And I know I used that uh little tiny bottle uh during the build of the boom lever.
So, there are some things out there um that using balsa sticks is not a bad idea. Uh but there's other alternatives and and the pipets and those small bottles of tiny small bottles of glue are a good idea to use to minimize glue.
>> All right. Um so, if there are no other questions, I'm going to ahead and stop sharing here. Want to thank everyone for coming out. Um definitely please I mean if you would in the chat and you know thank Greg and um Chuck for taking their time to do this this evening. Again as I said I always love hearing these guys um talk about it because every year I learn more and more. Um and you know little tips and tricks that I I never would have thought of. Um the other thing I just want to point out if um so this one was this webinar was about boom lever.
Um but uh we'll have one on October Wednesday, October 8th is going to be mission possible. So if you happen to be a middle school student um or a coach, middle school coach, we're going to uh tackle mission in our next one. And if you go to um the workshop page at sinc.org, you can see all the webinars we have scheduled. We have them um pretty much every Wednesday um out through uh the mid December. Um so we got most of the the rest of this year we got our webinars scheduled. We'll be adding probably maybe one or two more um before the uh the new year and then we'll pick the program up again after the holidays.
So again, thank you very much. Hopefully you got uh um you know uh get something out of this.
You guys will be getting the recording and it will also be posted up on our Science Olympiad YouTube channel. So have a great night, have a great season and thank you again to Chuck and Greg.
Up Next
15:46
Model Bridge Construction: Balsa Wood Design and Engineering
@PitscoEd
53.1K views•2020-03-24

30:32
Ultrasonic Transducers: Resonant Frequency Measurement and Horn Design
@imajeenyus42
229.9K views•2017-02-22

54:16
Polymer Environmental Degradation: Mechanisms & Stabilization
@iit
1.8K views•2012-07-10

33:39
How a Student's Question Saved a NYC Skyscraper from Collapse
@veritasium
22.8M views•2025-04-26
Related Study Plans & Knowledge Roadmaps
Structured learning paths in Engineering
engineering
Building Acoustic Levitators: Physics & Arduino
01The Physics of Sound and Standing Waves
02Piezoelectric Transducers and H-Bridge Drivers
03Arduino Programming: Generating 40 kHz Signals
+ 2 more learning modules
14h5 modules
Explore Roadmap
engineering
Building Peltier Cloud Chambers: Particle Tracks
01Cosmic Rays & Cloud Chamber Physics
02Thermoelectric Cooling (TEC) Fundamentals
03Custom Liquid-Cooling Loop Design
+ 2 more learning modules
18h5 modules
Explore Roadmap
engineering
Yagi-Uda Antennas: Modeling, Build & VNA Test
01Introduction to RF and Antenna Fundamentals
02Yagi-Uda Antenna Design Principles
03Antenna Modeling and Simulation in 4NEC2
+ 2 more learning modules
18h5 modules
Explore Roadmap
engineering
ECG Monitor Design: Op-Amps, Filters & Noise
01Electronics & Breadboard Basics
02Op-Amps and Instrumentation Amplifiers
03Bioelectricity and ECG Fundamentals
+ 2 more learning modules
18h5 modules
Explore Roadmap