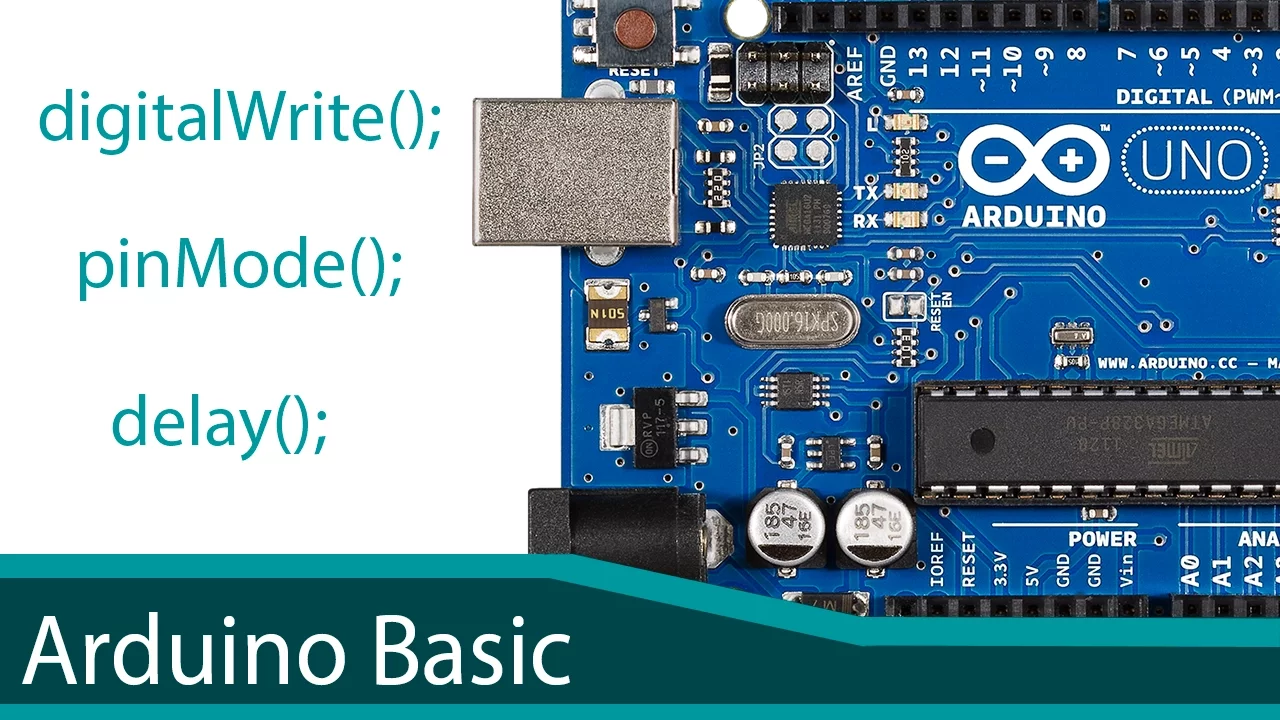

![#2 Instrucciones Básica [ pinMode, digitalWrite, delay ] - Curso Arduino 💻](https://i.ytimg.com/vi/dwet3or5rmQ/maxresdefault.jpg)

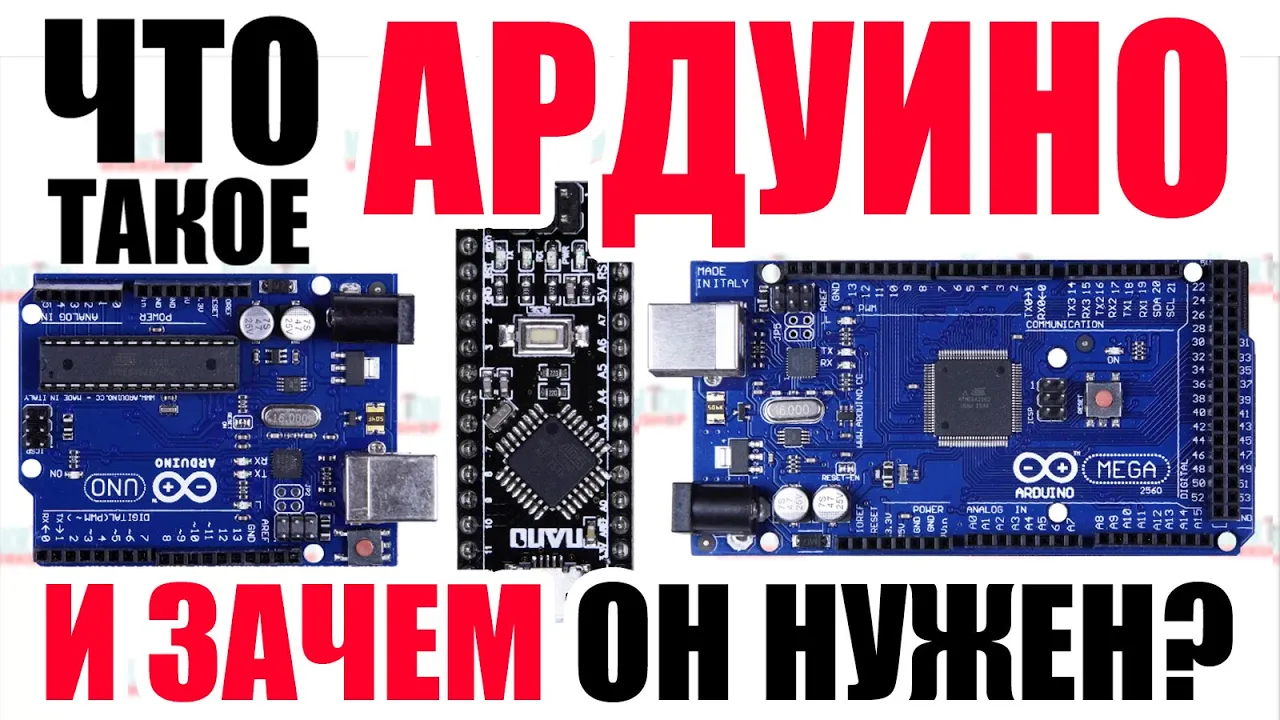

























A delta robot is a parallel robot that uses three actuators to move three arms and position an end effector while maintaining constant orientation, commonly used in industrial packing and 3D printing; this project demonstrates how to design, build, and control a 3D printed delta robot using Arduino Nano with inverse kinematics calculations to control XYZ coordinates and end effector rotation, featuring wireless Bluetooth control and battery-powered portability.
Building a 3D Printed Delta Robot with Arduino
Added:Basic Arduino Programming: Familiarity with C/C++ syntax, microcontroller architecture, and controlling servo or stepper motors.
Trigonometry and Coordinate Geometry: Understanding of Cartesian coordinate systems (X, Y, Z), vector algebra, and basic trigonometric functions which form the basis of kinematic calculations.
Fundamental Electronics: Knowledge of circuit design, power distribution for high-current motors, and serial communication protocols (such as UART) used by Bluetooth modules.
Basics of Mechanical Assembly: Conceptual understanding of linkages, joints, and 3D printing tolerances required to assemble mechanical components.
Advanced Kinematics and Dynamics: Studying forward kinematics, Jacobian matrices, singularity analysis, and joint torque calculations for parallel manipulators.
Trajectory Planning and Motion Profiling: Implementing algorithms for smooth acceleration and deceleration (such as S-curves or trapezoidal profiles) to prevent mechanical vibration.
Computer Vision Integration: Adding cameras and image processing libraries (like OpenCV) to enable the robot to perform automated visual sorting and intelligent pick-and-place operations.
Robot Operating System (ROS): Integrating the delta robot into the ROS ecosystem to leverage advanced path planning tools, simulation environments, and multi-robot coordination.
114.2K views2.2Klikes16:26Original Release: 2019-04-08
this is my 3d printed delta robot platform a dell travel is a kind of parallel robot that uses three actuators to move three arms to position the end effector the end effector remains the same orientation regardless of position due to the parallel grounds formed by the links of the ball joints delta robots are commonly used for industrial packing applications and in more recent years some 3d printers use a delta configuration to position the extrusion nozzle the delta i have designed uses four servos three two conditions to be armed and one modified for continuous rotation to rotate the end effector using inverse kinematics the xyz coordinates of the end effector can be controlled the rotation speed and direction the end effector also control wall bar the micro servo the end effector has additional mounting holes which allows for attachments to be added for more functionality i designed the robot to be wirelessly controllable via bluetooth and battery-powered which makes it very portable and easy to set up anywhere the positions of the end defector can be recorded allowing a series of movements to be repeated as desired so why did i make dodge robot because i've always loved how delta troubles move and i want to have a go at calculating the universe kinematics required so i designed and built one i also have a few fun things i want to do with it and robots are really fun to play with [Music] anyway [Music] i also have a few practice applications i want to experiment with such as computer vision helping up some repetitive movements such as agitating some chemical solutions for chemical etching [Music] so [Music] the delta robot is controlled by arduino nano so it's programmed in c plus plus using the arduino ide i'm not going to go into the detail of the code because it'll take too long but you can find it on my github repository there are three files this project the main.ino the c source file and the corresponding header file the header file contains all the defines and buckling prototypes the c plus source file contains all the functions that actually make the robot work as with most of my projects the components were individually modeled using autodesk inventor then an assembly was created to check they all looked right fitted together properly and moved correctly the parts were then exported with stl files so they could be imported into slicer for 3d printing the g-code was saved in sd card and transferred to my 3d printer all the 3d printing is done on my peruser i3 using pla the parts were designed so not require any support while printing this was just to make the cleanup easier i use 15 to 25 honeycomb infill for the various parts as this easily makes them strong enough all the stl files are available on thingiverse link in the description [Music] [Music] [Music] [Music] initially i prototyped this circuit on a breadboard to check it all worked before soldering the components onto a protoboard to fit all the components on the protoboard i'm going to have the butt converter in the top corner because it has little legs i'll be able to put some resistors and wiring underneath it the arduino will just go next to it and because i don't want the htm5 bluetooth module sticking vertically up i'll add some little wires to it so it can then move about and probably just be folded on top of the arduino nano i'm going to cut off three pin headers for all of the servos and place them next to the arduino as the signal pins will come from it i want the arduino nano to be removable as well so i'm going to cut some of these female headers down so it can plug in and be unplugged as necessary hopefully i'll be able to find all of those it turns out i could not find a little room so let's cut some more i'm now cutting the female headers for the arduino nano and the hc-05 module [Music] i want to cut off six pins for the bluetooth module even though it only requires 4 to work this just hopefully means i won't put it in the wrong position [Music] this should be all the components i need for the circuit i have screwed the butt converter in the corner and marked where the other hole needs to go for the screw so i'm just going to drill that out with my dremel we now have the all-important question of does it line up and it looks like the answer is a no not at all i have now so elegantly made the hole a bit bigger so now it should fit i drew the circuit schematic in keycard it's fairly simple and revolves around an arduino nano there is a battery for the power and a switch a potential divider was needed to step the battery voltage down to a safe level for the arduino analog pin to read and determine the remaining battery level here's the equation i used to calculate the resistor values the battery feeds into the nano's v-in pin which has a five-volt linear regulator the suggested input is seven to twelve volts but the absolute maximum rating is twenty volts as the battery will vary from twelve point six volts when it's fully charged to nine volts when it's drained it'll be fine to feed directly into the vm pin the hc05 bluetooth module requires another potential divider reduce the voltage to the rx pin as it's rated for 3.3 volts not 5 which the arduino uses again here are how i calculated the resistor values the servos require six volts and a significant amount of current so a buck converter is used to step down the battery voltage the servos can create quite a bit of electrical noise and fluctuations in the voltage as you can see here on my oscilloscope so capacitors were added to help smooth it [Music] [Music] [Music] [Music] [Laughter] [Music] so i was just putting this away and i realized i had forgotten to solder all the pins for the ht05 module so they don't connect to the arduino which obviously means it would not work at all so let's quickly fix that i've managed to jam all the components in the components cover so now all i have to do is attach the servos and then test if the delta robot works let's switch it on and see what happens that's good that's its boot up sequence it should now move up and down five times that looks pretty perfect and let's try rotating the top unfortunately the way the servos are mounted isn't that rigid which allows them to flex and move a bit creating quite a bit of play in the end effector so i'm going to try and fix this with a brace it'll simply slot on top of the three servos connecting them together making them more rigid i'm going to model and 3d print brace and then we will see if it works i've printed and cleaned up the brace so now it should just slot on top and hold the servos there are little cutouts in the brace to allow space for the servo wires to go past the robot actually feels quite a bit more rigid now so that's exactly what i wanted in another revision i might extend the components cover to incorporate the cross brace so it'll be all one piece and that will allow them both to pull off together and go back on together so it has a slight issue that the plastic obviously is not very grippy so things slide off when i am moving it as you can see he's sliding all over the place oh no he's dead so i thought our design and laser cut a bit foam just to give it a bit more grip [Music] [Laughter] [Music] so here's the uh design so then that will just uh stick onto there and hopefully that'll stop my uh little duck friend from falling off i don't like the end effector server as well just being loose as it could catch on something and cause some issues so i'm going to run it down the side of one of the arms of the robot to keep it out of the way i'm going to use a bit of wire threaded through the holes for the springs in link two to hold the servo wire in place and i'll use a cable tie around the arm of the servo on link one i have now attached the wire to the arm using the holes the springs as you can see here and i've used a cable tie around the servo arm as i said this allows for full range of movement with the wire out of the way for the end effector of the robot i wanted to make something with continuous rotation because it was more interesting for me so i ended up creating this design it uses a micro server that's been modified for continuous rotation which drives the rotation through this elastic band and elastic band is not a great solution for this because it can stretch too much and create some jerky movements so i want to get some flexible 3d printer filament and print out a belt for it the design is fairly simple the outer part of the platform houses half the track of the bearings and the inner part houses the other half there's a little cap to allow access to add the bearings in and remove them if necessary i have found that the bearings can be a little bit grindy so i'm going to add some lubricant to them and hopefully that will make them run smoother i'm just removing the bearing cap so i can put lubricant in i've got all the lubricant in there now and put the bearing cap back on it feels like it's moving a lot smoother so i'm going to put the elastic round back on and test out the servo as you can see it now runs a lot smoother link two for the arms of the delta robot has a cup at each end to connect with the ball studs on the end effector and link one they need to be held under constant tension so they don't fall off the ball studs thus requiring tension springs the mounting holes for the springs must be higher than the central rotation of the ball joints in order to prevent link two from twisting the springs i used have a complete coil at either end which would make it very difficult to attach them so part of the loop was cut off to leave a hook i have now designed and printed a replacement for the cross brace and components cover it's basically then both just merged together all i need to do is clean up the prints and check it all fits [Music] [Music] [Music] this is my completed delta robot here you can see it going through some test movements in the x y and z axis and then drawing some circles in the air [Music] i can move the robot and record its current position then move it to a new position record that and so on until i'm happy with the series of points recorded i can then execute the program making the delta robot move through all the recorded points interpolating between them to give smooth movements when executing the program you can pass it a parameter to how many times to repeat the movements [Music] thanks for watching if you enjoyed the video please leave a like and consider subscribing for more
Up Next

57:41
Inverse Kinematics for Industrial Robots and Manipulators
@maplesoft
2.4K views•2022-02-22

58:25
MathWorks Virtual RoboSub Simulation Environment | Webinar 2026
@RoboNationInc
209 views•2026-03-10

11:04
How to Build a Self-Balancing Robot: Arduino Nano & MPU6050
@easytechzones
16.8K views•2022-03-09

25:22
Micromouse: The Fastest Maze-Solving Robots on Earth
@veritasium
23.5M views•2023-05-24
Related Study Plans & Knowledge Roadmaps
Structured learning paths in Robotics
robotics
Building Delta Robots: Kinematics & Pico
01Foundations of Delta Robots & Mechanical Design
02Electronics and Microcontroller Setup with Pi Pico
03Delta Robot Kinematics and Coordinate Math
+ 3 more learning modules
65h6 modules
Explore Roadmap
robotics
Building Ballbots: Dynamics, Kalman & LQR
01Embedded Electronics & Omniwheel Actuation
02Ballbot Kinematics & Rigid Body Dynamics
03IMU Sensors & Kalman Filter State Estimation
+ 2 more learning modules
42h5 modules
Explore Roadmap
robotics
Micromouse: Hardware, PID Control & Flood-Fill
01Electronics & Teensy Microcontroller Basics
02Sensors and Actuators: Motors, Encoders & IR
03Precision Movement: Implementing PID Control
+ 2 more learning modules
35h5 modules
Explore Roadmap
robotics
CDPR: Kinematics, Arduino & Winch Control
01Foundations of Arduino & Basic Electronics
02Stepper Motors and Winch Mechanics
03Kinematics of 2D Cable-Driven Robots
+ 2 more learning modules
28h5 modules
Explore Roadmap