

![ওহমের সূত্র||কারশফের সূত্রাবলি||Class12[Sem:3] Physics 1-SHOT|UNIT:2|Current Electricity Bangla](https://i.ytimg.com/vi/sBCf0LZVyoQ/maxresdefault.jpg)








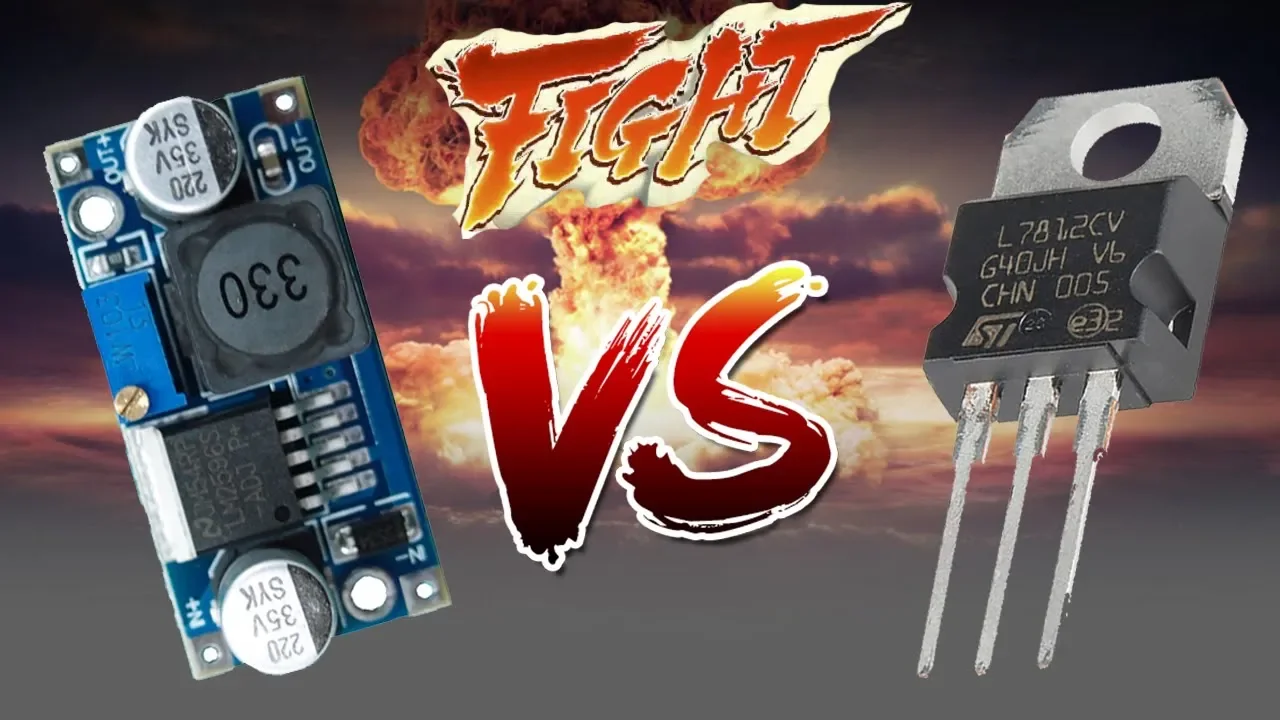

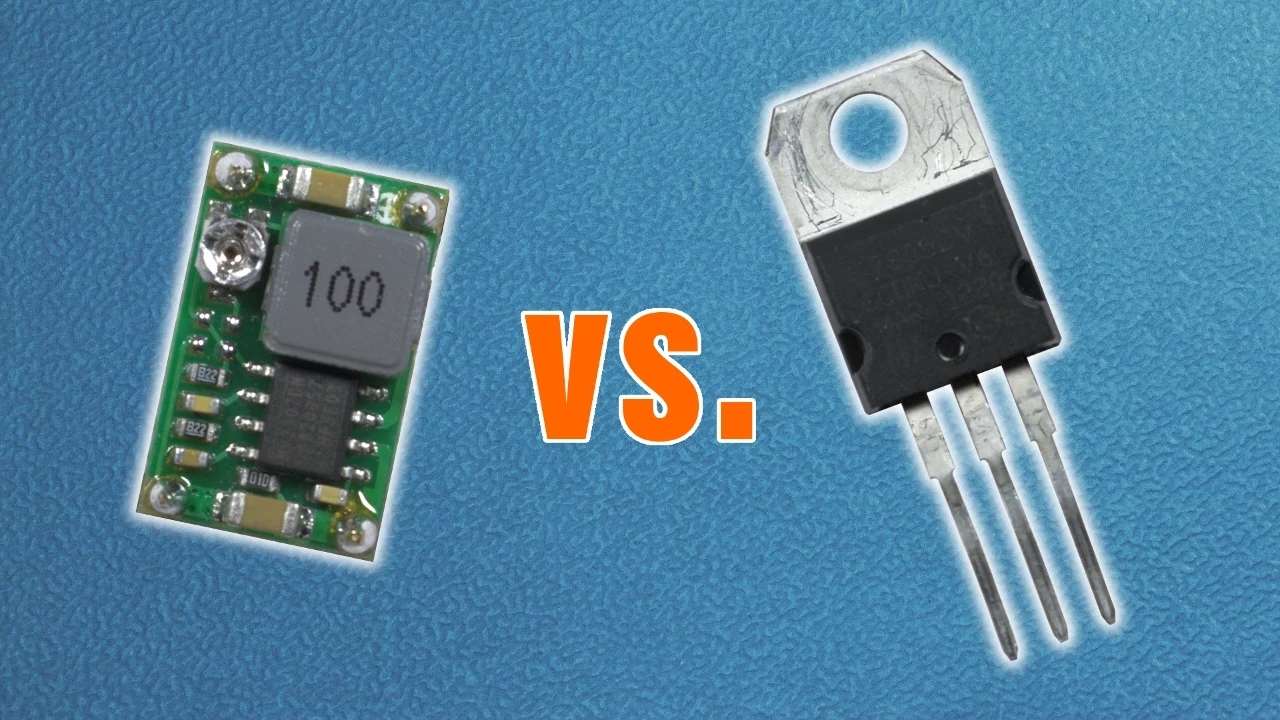
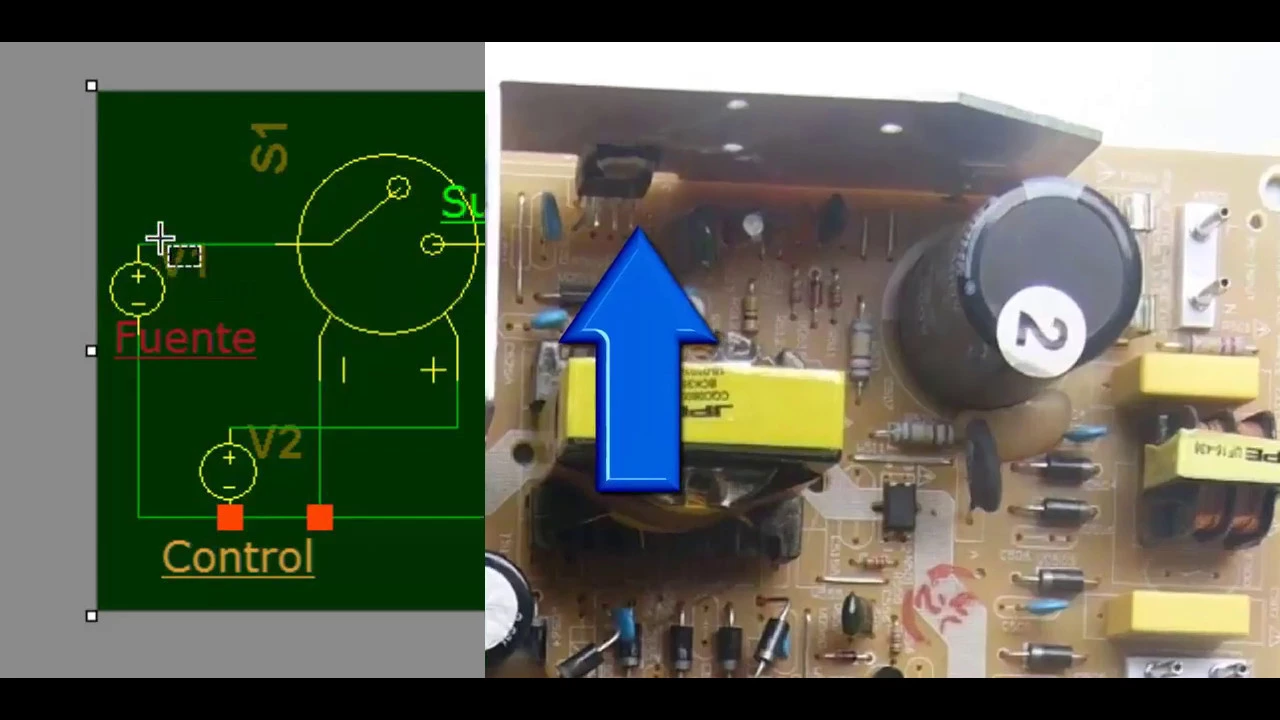


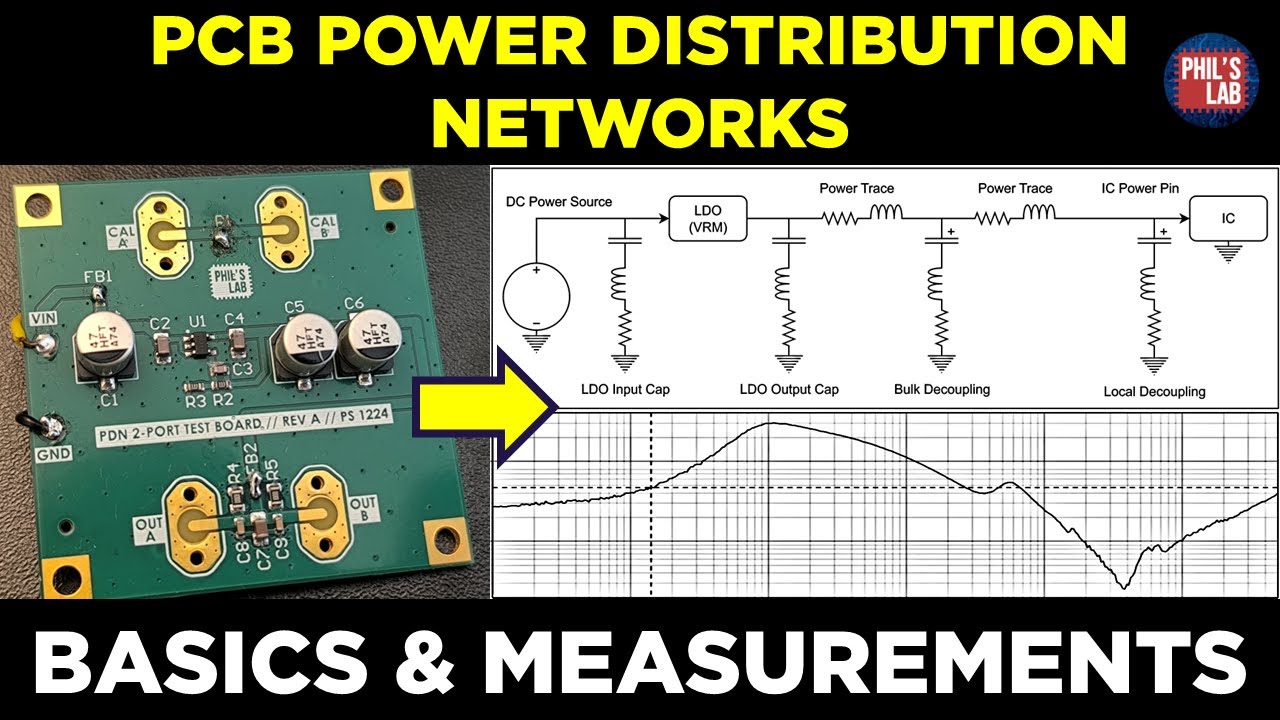





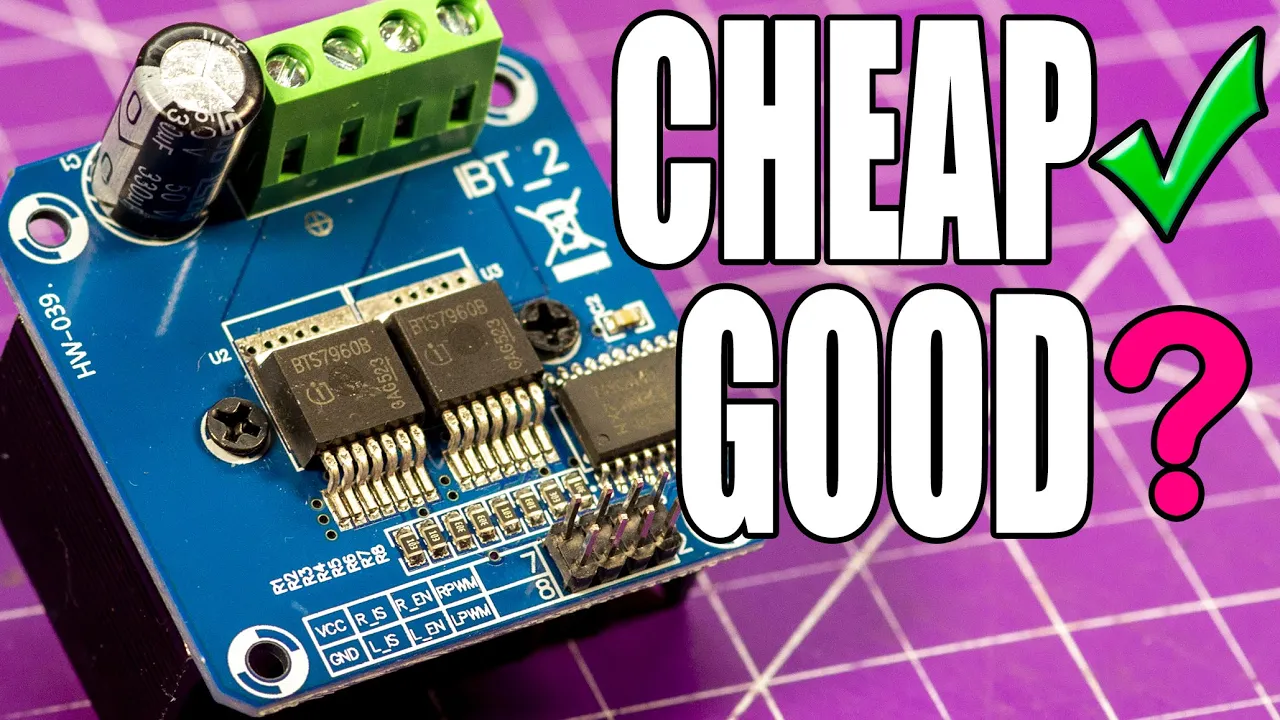
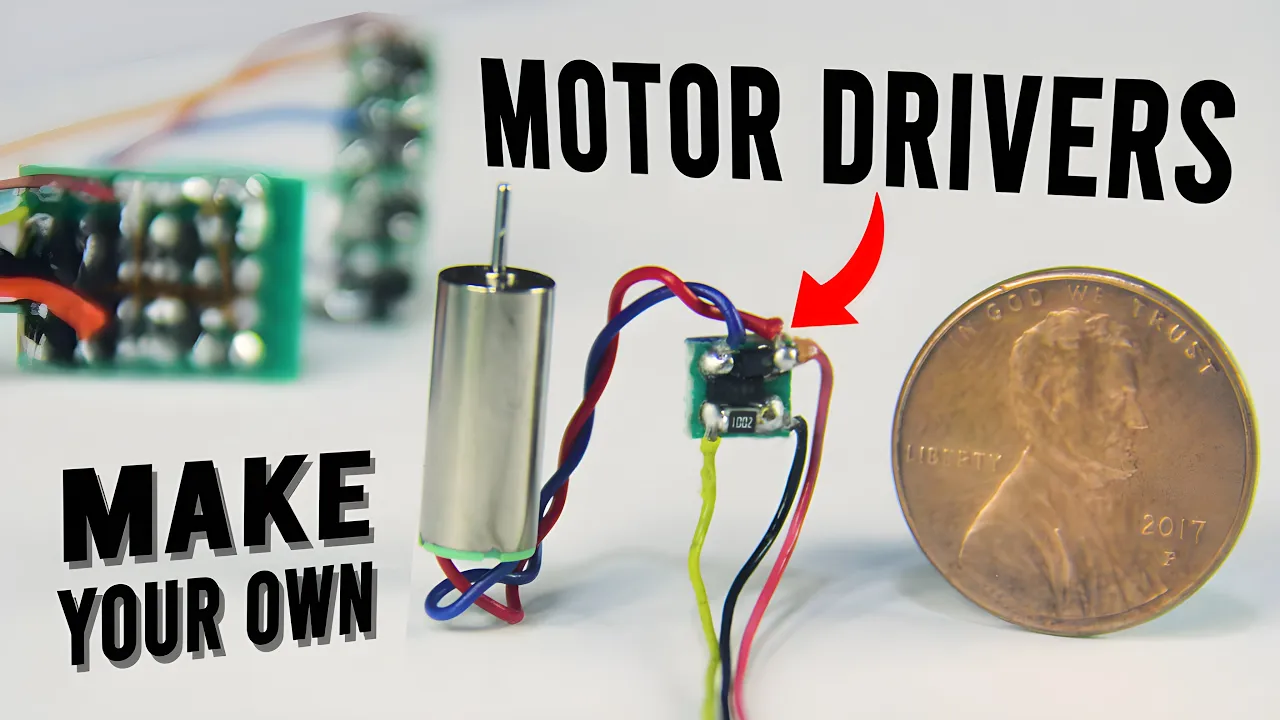
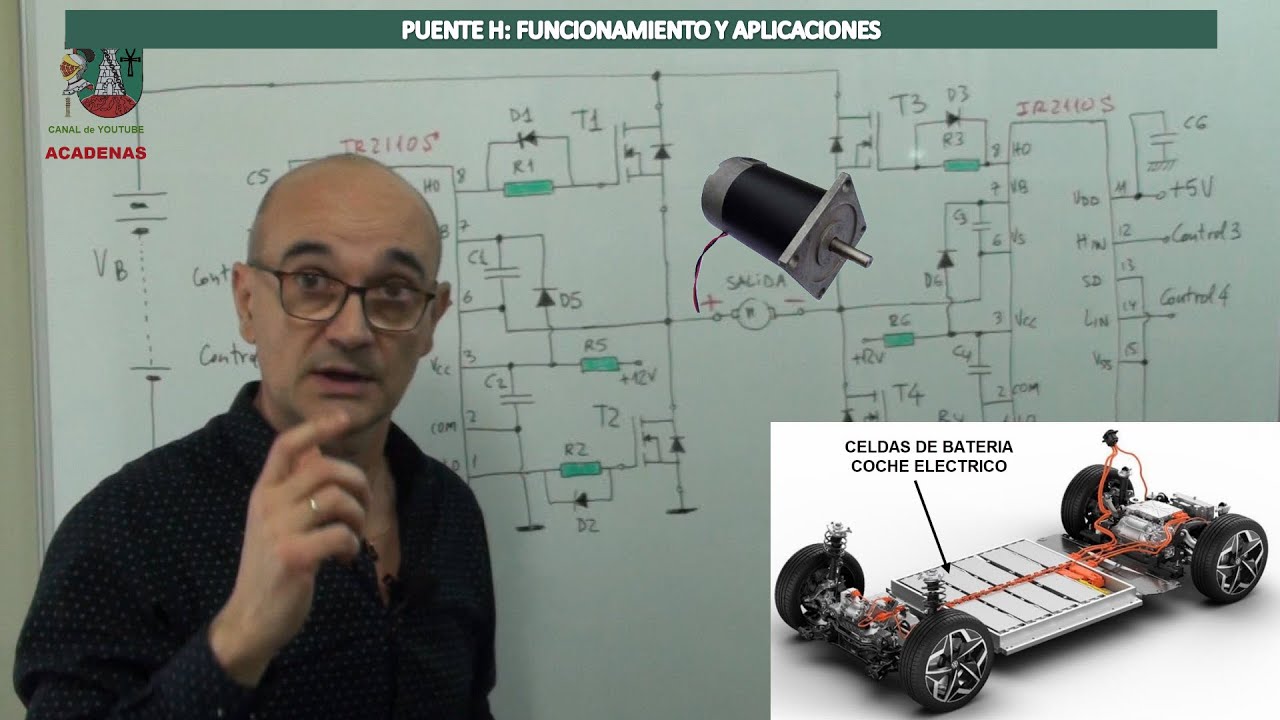
In micromouse robot design, power delivery is critical and requires careful selection of battery types (lithium polymer batteries are preferred for their energy density and form factor), proper voltage regulation to maintain stable 3.3V for microcontrollers despite motor-induced voltage fluctuations, and strict safety protocols including avoiding battery damage and monitoring charge levels above 3.0-3.4V per cell.
Micromouse Lecture 1: Power Delivery & Voltage Regulators
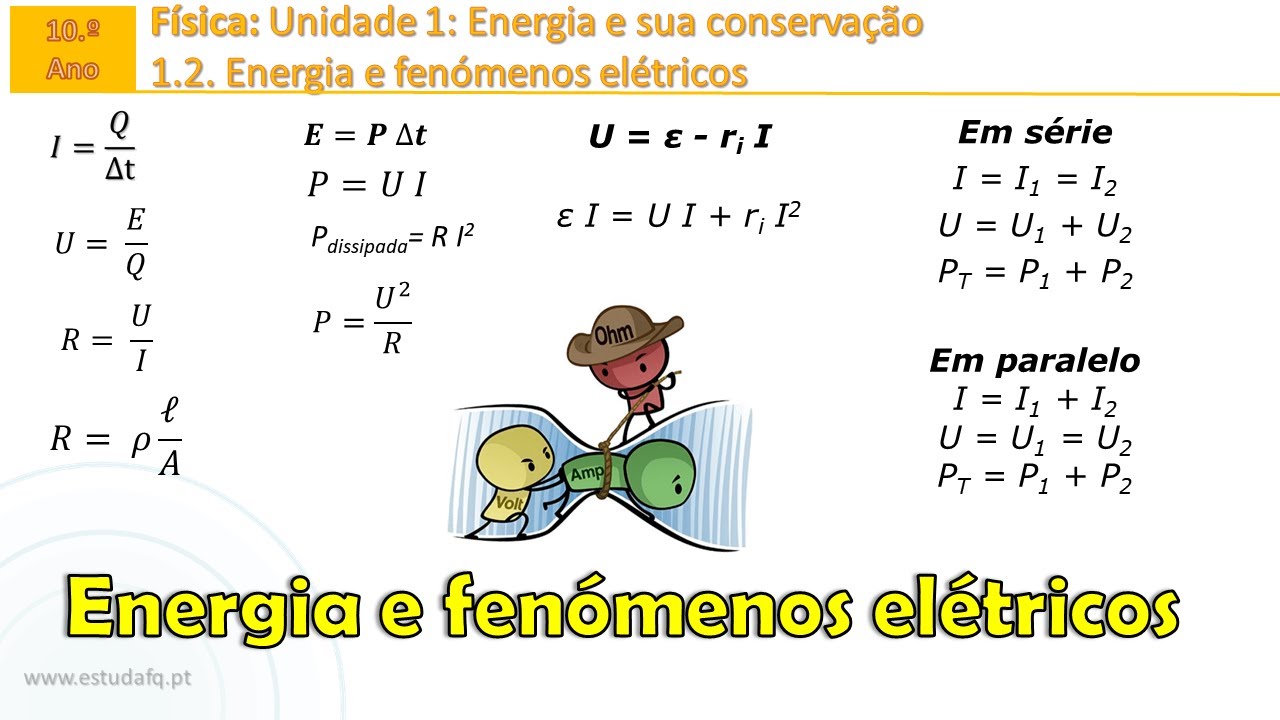
Added:Basic DC circuit theory, including Ohm's Law (V = IR) and Kirchhoff's circuit laws.
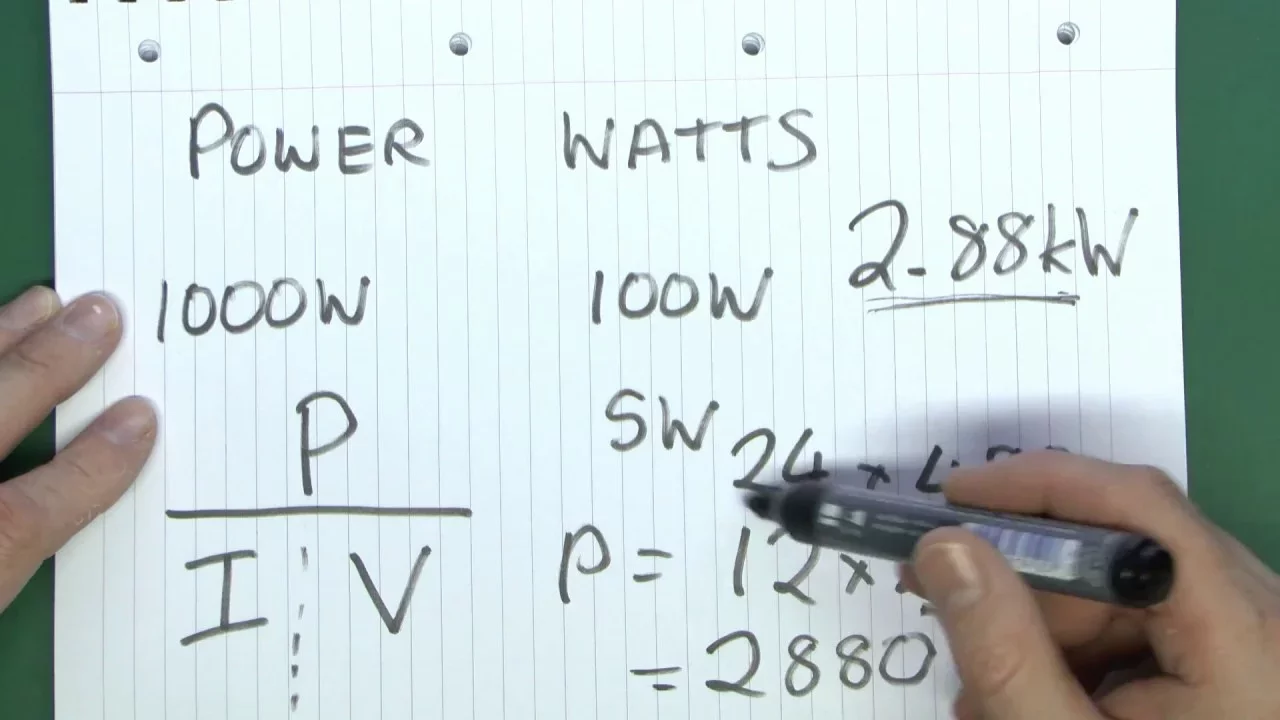
The fundamental concept of electrical power (P = VI) and how energy is dissipated as heat.
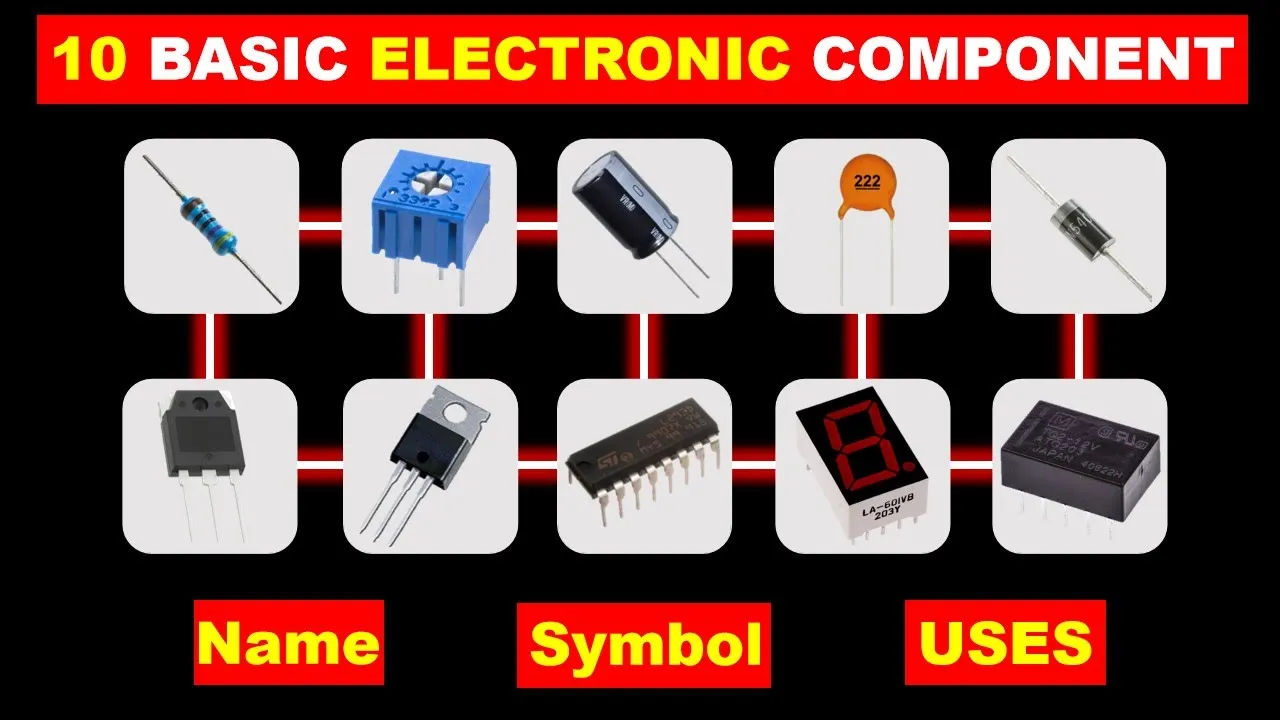
Familiarity with passive electronic components, specifically resistors, capacitors, and diodes, and their basic functions.
An introductory understanding of battery characteristics, such as nominal voltage, capacity (mAh), and chemistry types like LiPo.
A comparative study of Linear Regulators (LDOs) versus Switching Regulators (Buck/Boost) focusing on efficiency and heat dissipation.
Designing Power Distribution Networks (PDNs) on a Printed Circuit Board (PCB), including the strategic placement of decoupling and bypass capacitors.
Interfacing power delivery systems with microcontroller units (MCUs) and sensor arrays, ensuring clean voltage rails to prevent resets.
Implementing motor driver circuits (such as H-bridges) that handle high-current inductive loads alongside sensitive digital logic.
2.7K views47likes36:31Original Release: 2023-10-24
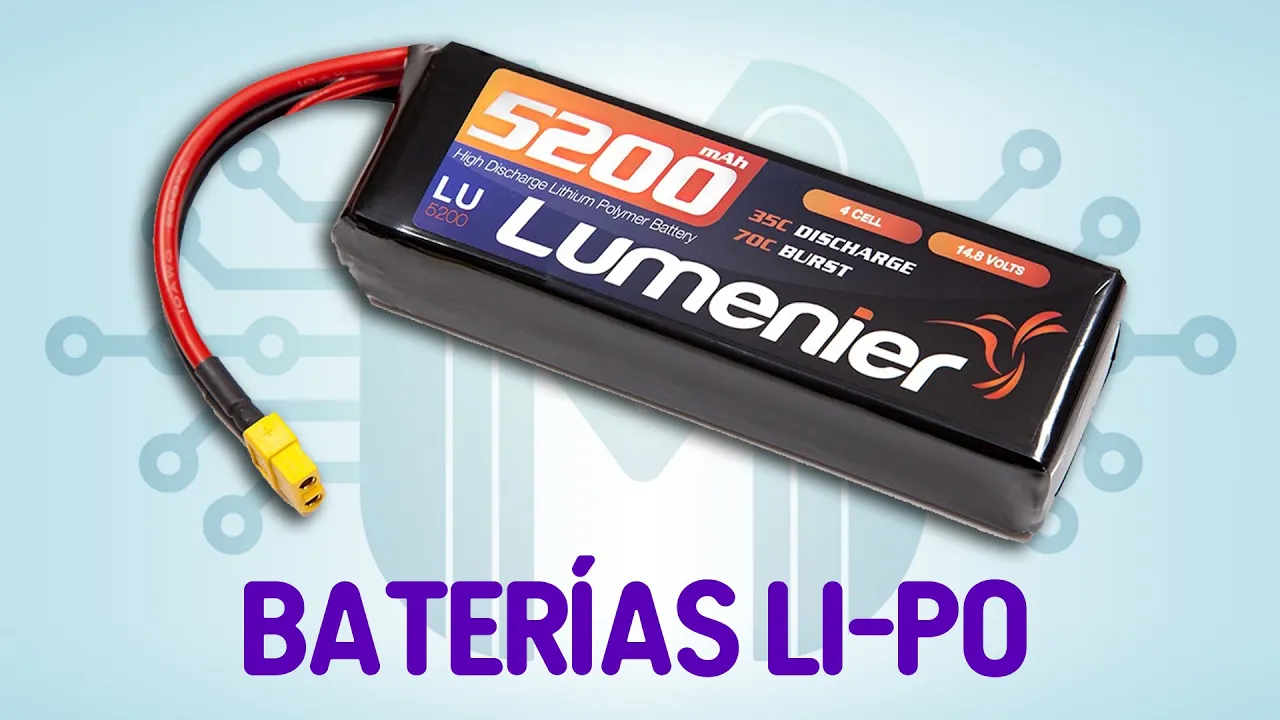
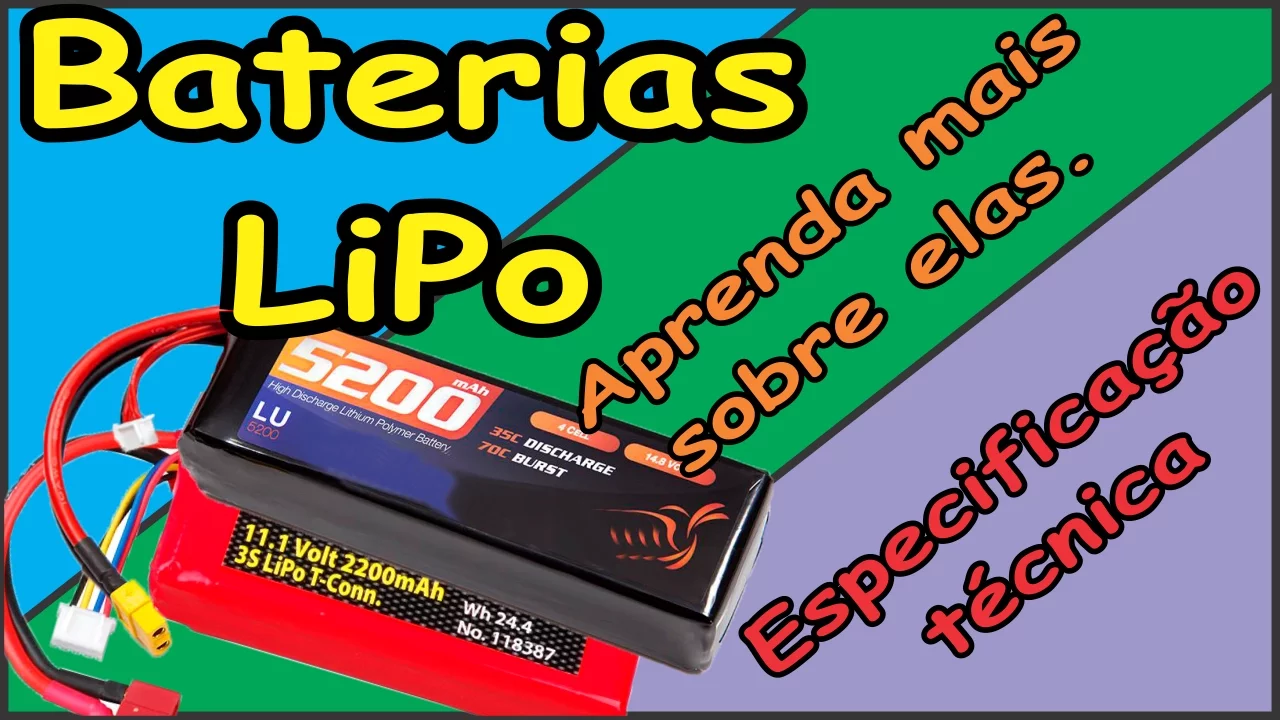
I guess I guess if you're in that already you can afford a party all right hello everyone we'll get started now okay so last chance has anyone not yet filled out the sign in form for attendance anyone still need it yes okay it's fine if you don't do it right now I'm pretty sure it's at the end of this w we can also just come back to the slides yeah all right so welcome to micromouse uh first we're going to go over a little introduction of me and the runin hi my name is par I'll be one of your micromouse leads this year um you can disregard this third thing it's not I don't think it's even true but some of my uh some Cas you should know about me is that um the mouse that I competed with last year was called bigger chunky aply named after a spoiled can of milk that we left in our dorm over over winter break and some of my hobbies include chess and B all right and I'm Marin the other Michael Mouse lead and uh don't worry about this Insurgent number 14 reference maybe if the dve leads next next year keep up the reference you'll know about this and I love Legos and anything to do with Legos and anything also to do with Star Wars don't talk to me about that I'm always here open to listening and who just walking in start the lecture so okay so first we'll go over some uh details and Logistics so first of all regarding uh the deposits so please send $50 to the UCL uh but I will iterate again as we also put in the project application if for some reason if for if due to a financial burden uh that you cannot pay Theos $ please reach out to us for a deposit reduction and we'll we give it to you on a no questions asked basis and please also join our Discord as it's our main method of communication so that's how you'll hear any updates from us and also if you need any help we can help you up through Discord and add the micromouse RO to yourself so you can get our announcements and also see the micromouse uh and uh if you haven't joined already please join using the link but we can also just bring up this bring up this QR code later on you guys want to join all right so let's go over what today's topics will be so the main point of today's lecture is to go over how we do power delivery in micromouse so we're going to be going over the batteries uh over what a voltage regulator is and how we use it for micromouse and and over battery safety uh along with that we're also going to be briefly touching the different softwares that we're going to be using throughout the program including Fusion 360 which we'll use for PCB and schematic design and the cube the stm32 cube ID to program your microcontrollers oh and then also we'll be going over to syllabus so first let's go over the batteries so there are different types of batteries to we so we have these uh very bulky heavy Le acid batteries that are cheaply easy to charge but of course we can't fit this onto a small robot and then we have uh these nickel metal hydri batteries which have a limited lifespan and also they have limited output but they are cheap and easy to charge and then we also have lithium ion or Polymer batteries which are very dense energy dense mean mean that they can have a lot of power output and they also have like a wide range of form factors meaning like shapes and their sizes and and then they also are but they are expensive and also have complex charging methods uh which may have to detailer to your specific use but as part say we will use so the batteries that we're going to be using in micromouse are two of these Lithium Polymer or LiPO batteries now here are some specifics about the batteries that we're going to be using but really the most important things that you should take away from this slide are that each of the battery is 3.7 volts and if we put them together we can get a series voltage of 7.4 volts which is like more than enough to power our Motors so each of I think our Motors need like six volts to power them so putting two batteries together should give us more than enough power or more than enough voltage to run the motors and if you if we only use one battery which is 3 which will only provide 3.7 volts we would not be able to run our motor at full capacity that's resulting at a lower speed and now battery safy yeah so the basically for battery safety just don't do dumb things don't like take a screwdriver or pencil and just like start stabbing your battery don't try to solder on your mouse when the batteries are plugged in or if they're like really close because that might cause them to well it might cause you to lose your hands or something I don't know um but yeah just if anything if you think your battery is looking a little sus ious like if it's getting like puffy or squishy just let us know as soon as possible so that we can we can take care of the battery and also if one of the wires gets disconnected from the battery please do not try to re please not try uh resing yourself let let me part'll do for you we'll give you a new battery which is much simpler and so some basic tips on battery handling so use the charger that we give you which looks like this and is this um and uh never so the thing is you want to keep it at a optimal like a at a specific range of charge and so that means don't discharge it below 3 point volts per cell so basically if it starts if the microm mouse uh starts acting slow or isn't responding as well uh to what you're responding as well to the program then that means it's probably on a low battery and you want to replace it or recharge it and so a good lower limit is 3. Vol 3.4 volts per cell and uh charge both when they get low and again as part mentioned if anything sucks about the battery just let us know immediately oh actually one thing that I want to add to this one um if you want to figure out what voltage your batteries at you could just use a Multimeter and there's like two leads at the bottom of the battery or at the bottom of the charger so you could just like plug the battery into the charger and then just like touch the two leads to the bottom to see what voltage each battery's at and now voltage Regulators Okay so a lot of you might be wondering what is a voltage regulator and why do we need it don't we want like maximum power going into the motors at all times well that's not always ideal so basically what a voltage regulator does evident in its name is that it regulates the voltage that the microcontrollers get from the batteries and the reason why we do this is because when we turn on and off the motors it can lead to like spikes or drops in the voltage that the MCU gets which is a problem because if the MCU randomly gets a drop in voltage it could just restart the MCU causing your mouse to like restart trying to solve the maze so it'll just like mess everything up so the way that we come back this is with a voltage regulator which uh gives your MCU a nice stable 3.3 volts and as you can see right here so this will be like the input from the battery which is like unstable and oscillates a little bit but then your output is just stable 3.3 volts which the MCU can take and now some more about linear bu regulator so you can safely just uh ignore the the second bullet point because it's a little complicated and requires some knowledge in a more complicated class but for the first bullet point so just imagine that it behaves like a variable resistor so this means that it will drop whatever voltage that it takes in to the to the to the necessary or desired voltage needed for the microcontroller unit or the MCU so for example if it's at a really high voltage Peak then it will drop it to 3.3 volts but if it's at maybe like a lower voltage Peak it will still drop to 3.3 volts thus it's a variable resistor because it will drop different Vol it'll drop the voltages accordingly and again it just essentially just burns off any excess voltage uh that will prevent uh any harming of the compliance on the micr actually before we keep going does anyone have any questions about what we've gone over so far all right awesome okay so the voltage regulator that we're going to be using on the rat is that one that you can see there it's a through hole component which means that you literally just like put the wires through the PCV and solder the bottom um it outputs a 3.3 Vol 800 milliamp output current which is exactly what we need to power our microcontroller unit now the nucleos or the nuclear that you you will be using for your rats they do have their own voltage Regulators but we're not going to be using those because when you make your actual Mouse you need to use your own um voltage regulator because when we use or when we make the mouse we're not going to be using the nuclear nuclear boards we're going to be using like the actual MCU and over here you can see the uh schematic for the voltage regulator um during your voltage regulator assignment you'll actually learn about what these capacitors do but does anyone already know or have an idea of what the purpose of these two capacitors are yeah for noise filter yeah so exactly so they're decoupling capacitors used to make sure that the signal is clean and also as part said he referred to a nuclear board and also the MCU chip so when you're making the rat so like they your first iteration of the micromouse you'll be using this big uh White nuclear board and essentially like M said it has a built-in voltage regulator however when you make your microm mouse make your own design in witch quarter and spring quar the chip that that you will use control your micr mouse will fit on the tip of your the mic control will fit on the tip of your finger so it's really small and thus doesn't have a built-in linear voltage regulator so that's why we want you to learn how to make one right now instead of later on has anyone have any questions about this slide or any of the components that you see here U just just maybe just in case so VN is basically just the the input the voltage input from the battery v out is what comes out of the Min voltage regulator and then this is just the symbol for ground and these are this these are the schematic symbols for a capacitor and this of course is a Min voltage regulator itself any other questions please don't please don't be scared to ask everyone is here to learn I actually want why do we need a capacitor at the at the CL like like it's just a stupid question no that's not a stupid question um basically if you have capacitors in for the in and out it makes sure that like whatever signal that it's outputting is actually like always 3.3 volts with like very little noise if any at all you'll learn about it a little bit more in the actual assignments that you do so like when you make this schematic in Fusion 360 like we'll talk about exactly what the purpose of each of those capacitors is so even though like the linear voltage regulator's purpose is to like kind of filter out the noise and like make it a stable output it may not be always perfectly stable so we is why we also have another decoupling capacitor just to make sure it's truly stable any other questions that was a great question yeah is it possible to use SMS instead yeah so most teams for their Mouse actually go with the S smt linear voltage Regulators we're just using through holes or along with through holes we're going to be using like slightly bigger components for the rat because a lot of people for a lot of people this is going to be like their first time soldering and soldering SMD component going to be really painful especially if they're smaller so we're just going to be going with the the big one and this this clarification for anyone who's wondering like what does through hole mean and what does SNB mean so basically through hole components so as you can see for this volage regulator uh these are the three legs that it has and it literally will go through the board as you can see like these like these things sticking out from the bottom um but then for other components such as these tiny components I know you guys probably can't see you guys can come up and see later these tiny capacitors that you see at the front here you can't see their legs because they don't have any legs that go straight through the board so they're literally just mounted directly onto the top but don't have anything going through the board itself um SMD stands for surface Mound oh smt surf surface mount technology oh any other questions right oh did you have a question okay okay so now going over the software so obviously electrical engineers love to code and maybe some of you might recognize these two faes on this slide uh if you guys don't know who these two people are yet you will find out don't worry well actually maybe you won't find out about Professor Edgar at the top because he might not be here next year but we'll see okay so we'll be using stm32 QB to program our micromouse so it's an eclipse based programming uh suite and it's it is definitely definitely more powerful than the AR IDE and it gives you a lot more options um and you can and it gives it's much more usable and much more complex than AR ID at the same time obviously because it's STM is a very uh ised like STM is used s products are used in industrial applications so uh that's why it's much more complicated and and the pro the language that be programming it programming our micromouse in is C so I know a lot of you guys or maybe a lot of you guys have not coded and C um but trust me you will come to maybe love it as I do but most of you probably won't come to love it um but you'll still be coding and C anyways um and but C is a very low low level language uh and it's definely a very good skill to know as an elal engineer or computer engineer and then you'll be doing your schematic design or PCP design so schematic is like the electrical s you start earlier of the linear voltage regulator that's that was that was that was a circuit schematic and then the PCB design uh is pcbs are just like the printed printed circuit boards and that's literally just this uh black board that you see right here and auto desk Fusion 360 allows us to do both schematic and PCD design and now just go over the syllabus oh yeah how do we get the software um so we'll we'll this well the assignment uh one be that we will release after this lecture we'll go over how to install the software and everything yeah any other questions oh yeah what assignment a uh so assignment okay all right so we'll go with this at the end of lecture but might as well just bring it up now so assign 1A is where you will start soldering components onto your PCV so that way you can get your micromouse uh powered up and you can like make sure that it actually works uh and then so that so the a assignments are usually associated with um soldering components on and programming the microm mouse whereas the v b assignments are associated with schematic design and PCP design and you do the assignment you do the a assignments with your team so you guys do do it together and then your B assignments are on your own so each person does it on themselves any other oh question oh I I guess we'll later do we have like Auto subscrition yes so yeah so all of you will have a student free student license for both I don't think2 requires it doesn't need that's free anyways but this you have a free license any questions all right now for the syllabus um well for the well is there any question about the syllabus because we can go over it but I mean it is no questions about it I think we should over okay sure second okay so zoom in there we okay um so just to begin with here are contacts you guys need reach out to us on Discord or our emails but we prefer pretty please pretty please reach out to us on Discord because it's much easier and you also just check it like way way way way way more often also because we have like notification on Discord on all the time so it's much easier to use um again if you haven't joined the Discord already please join the I at like literally after this Le like join just join and then uh just to go over like the uh plan for the year so we have so Al we have three quarters in in in how our school Works yay uh so first quarter so this quarter fall we'll be making a rat so why if you're wondering why do we call it rat don't worry about it it's just something that's stuck with like for years so we just call it the rat but we'll be providing you a PCV and all the components that you need to make a fully working microm mouse or in this case rat um and we'll also teach you how to code it completely and you will have an working micromouse or rat at the end of this quarter and you'll be able to participate with it in uh our fall rack competition at the end of this quarter and win some prizes and some of the lectures and assignments that we're going to be giving you guys will cover things like schematic design P or not PCV design yet we're going to be going over the power motor and IR sensors and like the electronic designs for all of those how they work stuff like that we're going to be going over embedded software but like not as deeply as we will in next quarters and we're also going to be teaching you guys how to solder and um just also to add on uh so basically this how micr mouse works is is very font heavy just to give it to you straight so because we're literally teaching you everything that you need to know about microm Mouse and how to make a microm mouse in this quarter itself so that way next quarter we can like let you guys go and make to make your own micr Mouse designs U completely from scratch so this so if you can get to this quarter it it it'll be great and we we ful in all of you guys like just just make sure you guys stay on top of the assignments make sure you guys stay on top of the soldering uh part always here to help you along with like literally three generations of other micromouse leads and we all be able to help you um and so if you have any questions just let us know and proba going describe the winter and spring yeah sure um so in the winter your main goal is just to finish the PCB for your actual mouse that you're going to be using in AMC at the end of the year so the main things that you're going to be learning in winter quarter are how to design on your PCB and in addition to that there's going to be some guest lectures from this Project's faculty adviser Professor gard and he's a controls Professor here here at UCLA and for spring your main goal is just to finish your mouse and spring is also going to be very software heavy so that's when or we'll start it in the winter but most teams finish their M solving algorithms in spring so get ready and get excited to look at code for hours on end not meant to intimidate you just yeah hours of coding what will be required um so some prerequisite knowledge literally just if you can do if statements functions or Loops that's all you need to know if you have questions about any of that though please let us know of course we are always here to help um but that is just all the PRX knowledge you'll need to know we'll teach you everything else you guys need to know about the software uh this is irrelevant to you guys now but if you guys do plan on doing micr Mouse returns in the future you guys can redo micr Mouse and make your designs even better and try for Glory and victory again okay so this is actually kind of important so we're going to be releasing a groups sign up form later tonight but basically the way that this program works is that you're going to be in teams of three people and I think we're going to be pretty strict about the three people per team unless there's like like two people left over in which case you're just a team of two but um yeah if you don't already have a team don't worry about it the social after this lecture is actually so that you can meet other people and create your own micromass teams and even if you're not able to find people then we'll just pair you up with other people who don't have teams um yeah that's basically also please talk to me in at the social you know we don't want to be lonely we've talked we've talked a lot but also talked to us you can like get to know all you guys um and again uh there's a $50 deposit but if you're unable to make it due to being a financial burden please let us know so that we can give you a deposit reduction again there a no questions asked basis because we don't want money to be we don't want money to hinder you from doing a project because we believe that everyone should be able to do a project if they desire actually uh one more thing to add about the deposit we're also going to be releasing a form where you just like take a screenshot of the ven mode transaction and submit it so that we can keep of who submitted what oh yeah okay another form I'm sorry there's like a lot of forms that you have to keep track of but the the final form hopefully that you need to worry about is the lab safety form so basically to be able to solder your to be able to solder in the lab at all you need to finish four lab safety Trading and they're all going to be online uh I believe we've sent the links to everyone already in the email that we sent out yesterday but if you haven't just let us know and in the email I think we said three trainings there's actually four trainings sorry about that but once you're done with the trainings just download the completion certificate and submit it to the form that's Linked In the syllabus okay so for the check off policy so this is regarding the assignments so again we highly highly recommend and desire that you guys finish your assignments on time but in the that you in the scenario that you guys can't please out please reach out to me in part uh so that way we can give extensions um and just stay on top of the assignments is mainly for you guys because if you guys put off the soldering or the coding too long then it'll become like a 20 hour work week at the end of the Fall quarter so just to make sure that it stays like as a 3 to four to 5 hour commitment please stay on top of the assignments um and again the lectures are all recorded not only are these lectures recorded but the lectures from like the past two to three years four May four years of microm mouse lectures are recorded so you guys can also reference those and um also the I lab is open uh during all the weekdays from 10:00 a.m.
to 6:00 p.m. and if par and I aren't there please feel free to reach out to the other uh I officers it is more than it is more likely than not then one of them was probably a a past micromouse lead um and because there just so many micromouse leads that we still have in in our it officer board um and also just coming to the it lab and U and you can visit visit the I at UCLA website to see when part I specifically are will be in the lab there a else you want to add um even if actually to add on to what said even if like the other officers haven't micromouse most of them have done micromouse so you could always just drop by and ask anyone questions the question what's the weekend schedule it's not open I mean okay there might be work sessions on the weekends but we'll let you know about that in in advance although we do not plan on doing work session over the weekends yeah but we will be available for text over the weekends you can still like talk DMS and stuff for help yeah and then U so besides the micromouse lectures that we host we will also have the work uh work sessions so we highly recommend that you guys come to them because this will these will literally be hours that part and I uh will be helping you guys make help you guys finishing the assignments um and this is a great way to like again Ask part for help get soldering done get your coding assignments done any debugging any issues like with debugging come part the I will help you guys out because it can get very nasty when you guys get the P ID section um and uh yeah that's all so there's any questions about any of that that again please don't feel please don't be scared to ask all right and yeah thank you for joining us in this journey and yeah we promise we promise you guys will love it it'll be really fun all right back to the okay so yeah so now we're going to be just briefly going over how to upload or a small walk through of what the STM Q by looks like I sorry one second guys take little to load okay okay so I know you guys probably cannot see or read it but maybe that's the better because it's my code um that I'll be using to compete with u just kidding no so basically um so so here is so I'll just be show the Q while part gets his loaded up we bought his micr Mouse here today so he can show you like it's like the whole micr Mouse running be able to see live Expressions which you guys probably don't know what means yet but you will in a moment so again Q by is what we'll be using uh to learn uh sorry is what you'll be using to code your micromouse and again all in C uh so here I like a few uh project names on the side so I can just show you maybe my my first mm project which is my R code from last year so I'll just close all these so we first have this file called a dooc it will take a second to load um basically what a ioc file is very convenient to use because it will show you the entire pin out map of your microcontroller or your nuclear board sorry guys there we go okay so this is uh these are all the pins on the uh nucleo or like the micr controller that the control that'll be using for your R design and as you can see you can configure these pins to different modes so these grof pins I'm not using uh these green ones I am and then I also named them for the different functions that they're doing so for example for the left Ritter this is for like the uh left motor encoder and of course you guys don't know what that means yet but we'll be teaching you through the course of this quarter what they mean and what they do and again it's is very convenient compared to like arino or whatever else because there'll be a lot of pins that you have to sift through and this just puts in a nice Qi for you or user interface and then you guys get to the actual uh coding part of it so if we look into my source files here's our main.c and here's like where you do uh some of the beginning coding assignments and um yeah that's basically it uh for the uh the Q just like an overview of it but parts will show you his his code working in just a second are there any questions though while we're waiting are there any questions none okay and I know C May C may seem daunting at first because it's much more lowle and complex than python or whatever else you may have coded with but again just ask for help chy is also out there um and then also uh just ask the other [Music] officers [Music] really should have m there we go all right so a little walk through I guess of the main.c file so this is where you're going to be putting like all of your really important codes so like all the function calls that you need and stuff like that but basically there's like this infinite Loop here called the while one and you can just like put whatever you want the mouse to continue doing over and over again in this Lo so for example over here commented out is like what I would have uncommented if I wanted it to actually solve a maze right and it's like calling a bunch of other functions that are in some of the other files that you can see on the left but one of the cool things that you can do with theq by is that if you upload the code oh to upload the code you just click this button by the way again we'll show you guys how to do all this in the assignment itself so don't be scared you can't Dr all with it right now we're just trying to show you like the features that that you guys have with this CU okay but okay so once you click debug on the right over here there's this thing called live Expressions which oh sorry um there's this thing called live Expressions which allows you to see the values of the of certain variables that you wanted to see uh in real time so for example the top two over here are left and right counts which is which represent how much the left and right motor have turn so if we just run the code right now and I and I were to like turn the right motor you can see that it's changing the value for right counts and if I start turning the left motor it starts changing the values for left counts so this is just like one of the many features of the IDE but yeah we just wanted to display it and thought it was pretty cool and we go ahead I say we highly recommend it uh when you guys do debugging of your code it's a very useful feature to know like any La Expressions maybe if you want to Output the state of your program you guys can also use the lab Expressions the mouse have like a buil-in potentiometer is that how it's do we need to know how to like fix something okay so I don't think the Mouse has a potentiometer on board but the way that it's um displaying the left and right pounds is based off of encoder values so you'll learn about MERS and encoders in a future lecture so the encoders um so the encoders are not built in so the encoders we we buy an attach it to your motor and so that way you can keep track of how much the wheel is turning and then the SDM QB has a very convenient library that allows you to configure those Motors without having to like code it yourself which is like which would be really complicated any other questions I saw another hand up no okay all right thank you forti thank you for hanging on guys we're almost done and piz will almost be ready okay so just some last again last reminders do your safy trainings uh come here come to the work session uh on the 27th again we'll put up another uh announcement about this so don't worry about this right now and then our second lecture is planned for October 24th uh we'll put in more details about that in a future lecture sorry in a future announcement um but this is again this is a very heavy lecture and it's very very useful to come to and know about and ask questions in so please try to come to this lecture if you guys can because that's the lecture where you guys learn about how the micr mouse moves how you keep track with movement and uh how to actually code the encoders and motors and how the motor look like and how to make and um so for now so we will be assembling your rat kits uh like literally tonight so that we can give it to you guys uh for your next work session and please please go to the social right after this that way you guys can form your teams unless you guys have already formed your teams but still come to the social you guys so you guys can get your pizza um and also talk to me in part and uh again complete your lab of safety trainings otherwise you can't really the project and please also sub me your deposits and reach out to us if you guys need a deposit reduction and are there any questions nothing all right if you guys any questions like that you guys want to ask ask to everyone just come me individually and thank you so much guys thank you so much foring with us and come to social andb right now and anyone didn't get the side L at very for like minutes
Up Next

54:45
Micromouse IR Sensor Circuits: Emitter, Receiver, and ADC
@UCLAIEEE
737 views•2025-01-15

58:25
MathWorks Virtual RoboSub Simulation Environment | Webinar 2026
@RoboNationInc
209 views•2026-03-10
37:58
Micromouse PID Control: Lecture 3 Tutorial for Maze Navigation
@UCLAIEEE
1.3K views•2023-11-12

25:22
Micromouse: The Fastest Maze-Solving Robots on Earth
@veritasium
23.5M views•2023-05-24
Related Study Plans & Knowledge Roadmaps
Structured learning paths in Robotics
robotics
Building Delta Robots: Kinematics & Pico
01Foundations of Delta Robots & Mechanical Design
02Electronics and Microcontroller Setup with Pi Pico
03Delta Robot Kinematics and Coordinate Math
+ 3 more learning modules
65h6 modules
Explore Roadmap
robotics
Building Ballbots: Dynamics, Kalman & LQR
01Embedded Electronics & Omniwheel Actuation
02Ballbot Kinematics & Rigid Body Dynamics
03IMU Sensors & Kalman Filter State Estimation
+ 2 more learning modules
42h5 modules
Explore Roadmap
robotics
Micromouse: Hardware, PID Control & Flood-Fill
01Electronics & Teensy Microcontroller Basics
02Sensors and Actuators: Motors, Encoders & IR
03Precision Movement: Implementing PID Control
+ 2 more learning modules
35h5 modules
Explore Roadmap
robotics
CDPR: Kinematics, Arduino & Winch Control
01Foundations of Arduino & Basic Electronics
02Stepper Motors and Winch Mechanics
03Kinematics of 2D Cable-Driven Robots
+ 2 more learning modules
28h5 modules
Explore Roadmap