


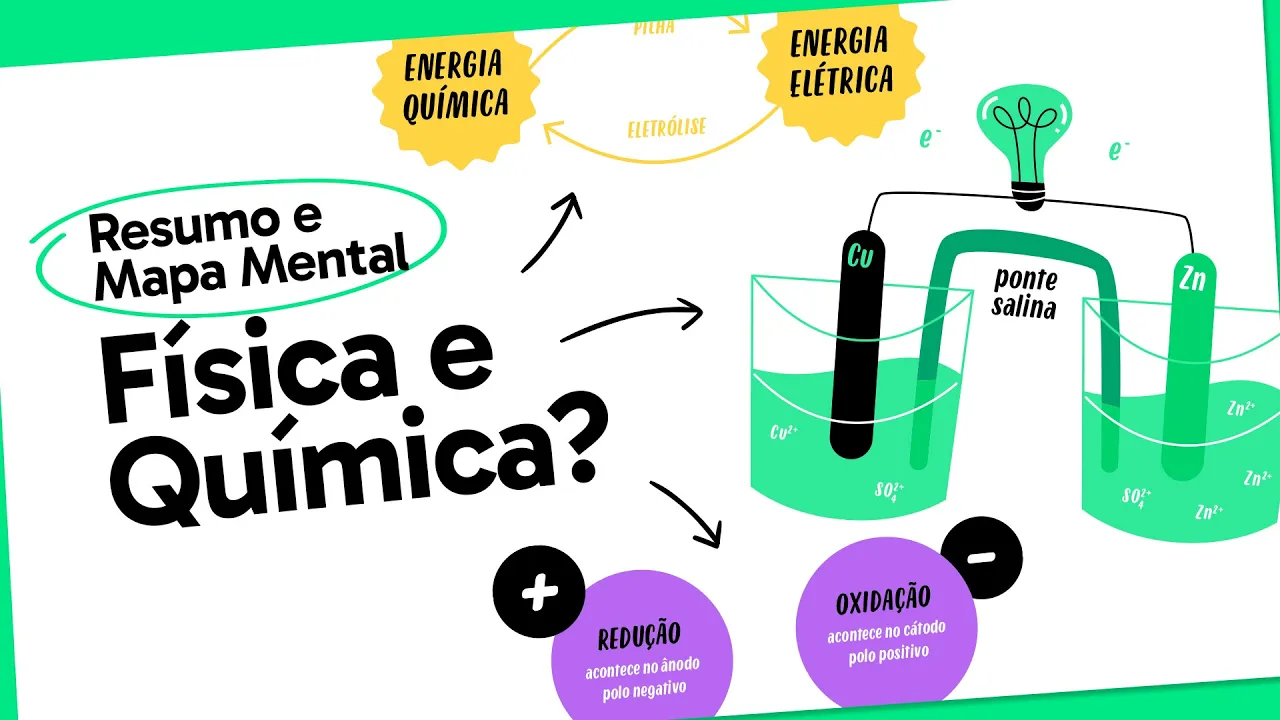
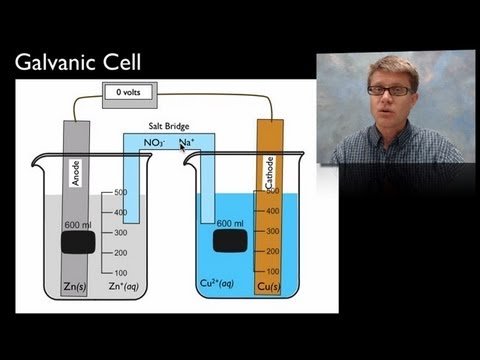























A microbial fuel cell generates electricity by harnessing power released by microbes; to build one, coat stainless steel mesh with carbon powder using epoxy to create maximum surface area for bacterial colonization, then layer wet mud containing diverse microbes between the anode (bottom) and cathode (top with oxygen access), and connect a 100k ohm resistor between electrodes to create a complete circuit that encourages microbial growth and sustained power production.
Build a Microbial Fuel Cell: Step-by-Step DIY Clean Energy Guide
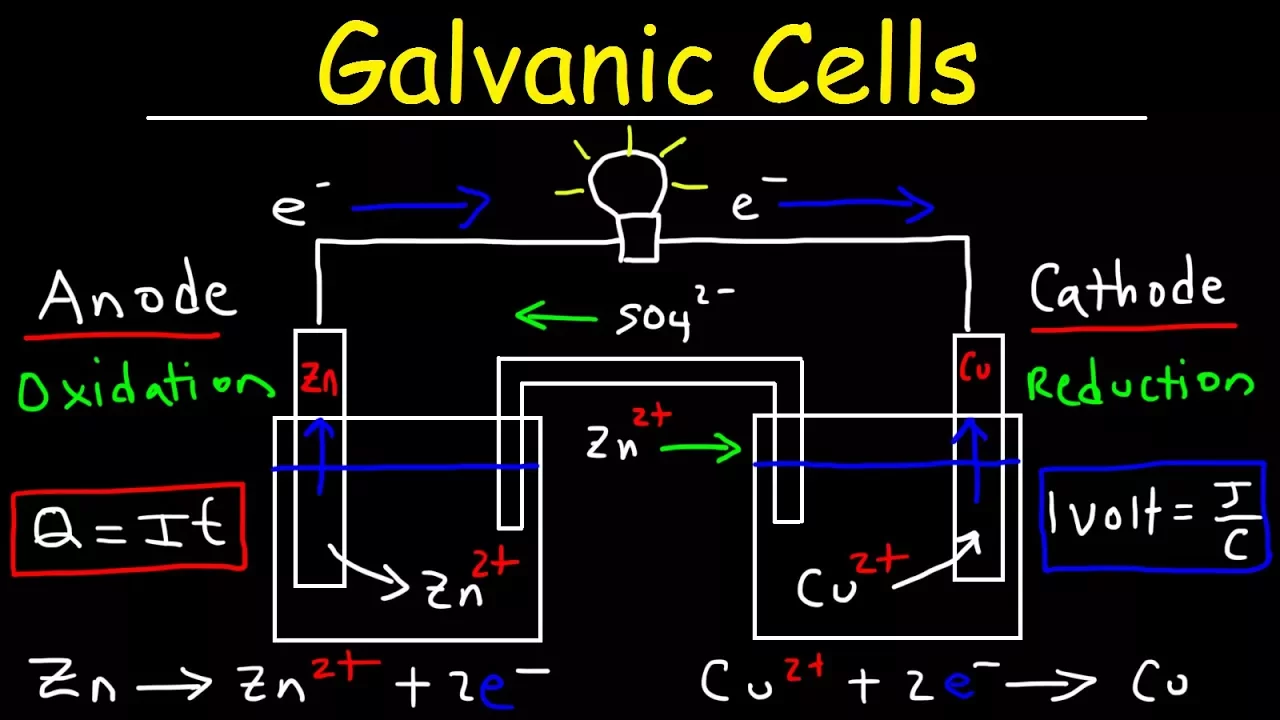
Added:Fundamentals of electrochemistry, specifically oxidation-reduction (redox) reactions and how electron transfer generates electrical current.
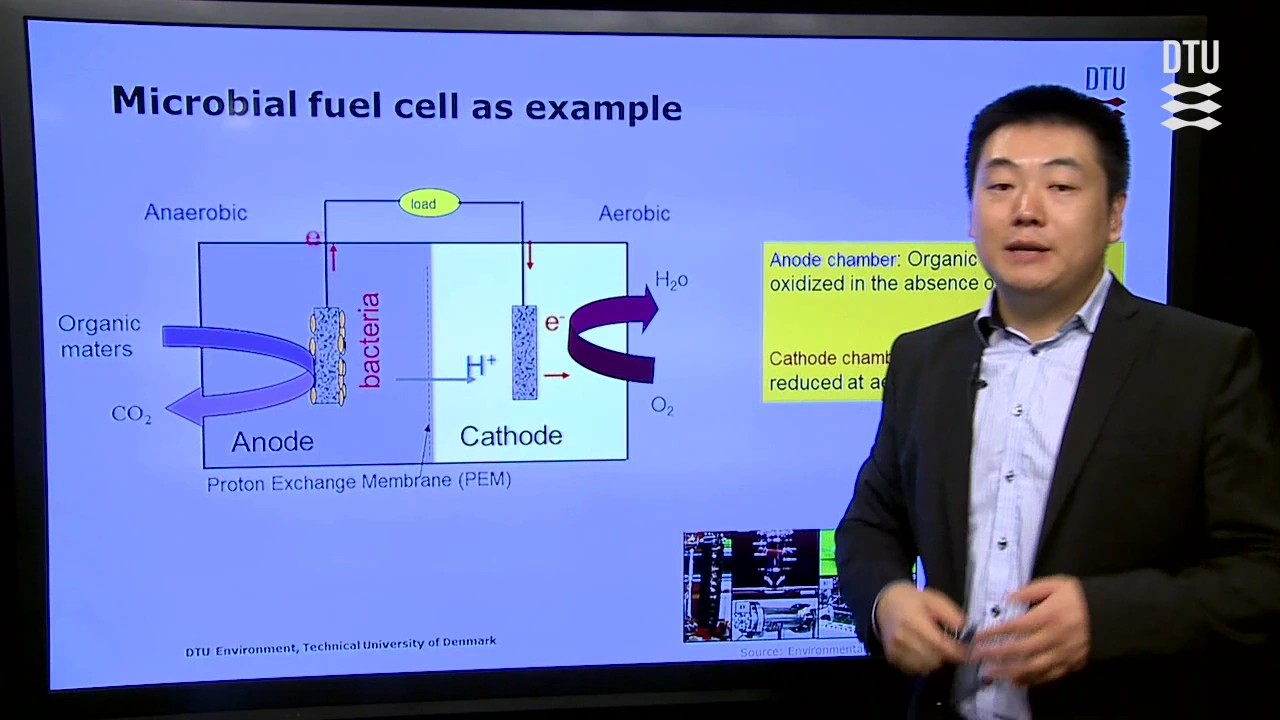
Basic microbiology concepts, particularly the distinction between aerobic and anaerobic respiration in bacteria.
Introduction to electric circuits, including the concepts of voltage, current, resistance, and how to measure them using a multimeter.
The role of organic matter and microbial decomposers in soil and sediment ecosystems.
Methods for optimizing power output in MFCs, such as experimenting with different electrode materials and increasing surface area.
Scaling up bio-electrochemical systems, including connecting multiple microbial fuel cells in series or parallel configurations to increase voltage or current.
Applications of MFCs in bioremediation and wastewater treatment, where bacteria clean contaminants while simultaneously producing electricity.
Advanced bio-energy technologies, such as Microbial Electrolysis Cells (MECs) for hydrogen production and Plant-Microbial Fuel Cells (PMFCs).
41.8K views704likes9:40Original Release: 2018-09-23
hi there I'm gonna take you on a quick step by step on how I have successfully made some microbial fuel cells or bacteria batteries or mud batteries I'm so far made three cell cell one is about 15 days old and it is currently a little over half a volt five point one seven volts yesterday should be higher today their series voltage currently is one point three four seven volts they're climbing every day I don't know how high they're going to go but I'm gonna make one more cell just to do a demo okay first thing I did was take a small container and I have some of the stainless steel mesh that I got on Amazon fairly cheap for another project I just happened to have it what I've done is I've taken I've cut a rectangle out of this folded it three layers and I've took my little shears and trimmed around the edges so it fits in the container don't want to go all the way to the bottom just most of the way because what we're going to do is going to do a layer of mud and your anode another layer of mud your cathode so how I'm going to make these now and though there's negative have to think about that for a second I take a piece of wire stainless steel is what you want you don't want to use aluminum because it will corrode you don't want to use steel because it will rust stainless seems to work fine so I'll take a piece of wire you can't saw our stainless steel so take a piece of wire and I just weave it in and out through the holes several times so I have a fairly decent connection then when you're done weaving you end up with something like this I'm going to mix up some epoxy don't use quick epoxy don't use 5 or 10 minute you want long by 30 minutes is what I'm using it seems to work well I tried 5 minutes the first time I didn't have enough time to to get it taken care of before it set take the epoxy and just paint it onto the screen although then lay it on that bed of carpet put a bed of carbon down already in order to coat this side well do the next layer more Hey top layer make sure there's plenty on there you don't want your your pork piece to stick to the wood okay so I just made a sandwich layered in there and then I have to crush it and we need to crush it crush all those little carbon pieces together so they make really good contact with the stainless steel and I don't have a shop press so I'm tempted to use the weight of my car and a jack across this I haven't tried this before but I don't see why wouldn't work make sense see use the front of the car because that's where the engine is that's where the weight will be the engine this car [Music] because I only have one Jack and one car I am making my cathode using C clamps and some pieces of 2x4 just squeeze it in there I won't get as much crushing power this way but it'll work hey while I'm waiting for the glue to dry I'm gonna drill a few holes in the top so oxygen can get to the cathode then I'm also going to drill a hole in the front so the wires the anode and cathode wires can come out of the front previous versions I've had the wires come out at the top but lesson I learned was sometimes I want to take the top off and when I do that it pulls the wires and it just causes little problems so I'm changing it to there all right I've removed pieces from the clamps the car-crushing worked quite well the c-clamp worked well too I lost a little bit around the edges with that spine I should take this opportunity to say that there are plenty of other ways to do this carbon works graphite would work better I think because of the way the molecules are aligned it should be a better conductor I've wondered if just a sheet of stainless steel might work I'd like to try that maybe another time what we've accomplished here is creating a lot of surface area I have done this with just the stainless steel mesh it didn't work just not very well there's not enough surface area so coating it with the carbon gives it a lot of surface area it's very porous and we're trying to create an area for the bacteria to colonize we want lots of contact so that's what's happened here and now we're going to assemble it all right time to assemble it go ahead here's a bucket of muck I've gone to a local pond and gotten some mud from the bottom of the pond and mixed it with some mud from my backyard and then mixed that with some compost goal there was to get a large variety of microbes and you know good good nutrients what lots of lots of the food for the bacteria to eat so first thing we want to do is put a layer of mud into the bottom this is very stinky somebody here would probably be a good option - and you want this very very wet but not necessarily soup yeah this is this is pretty wet water conducts electricity you want that okay putting the anode in the bottom Oh want the wire to run out to the hole I drilled that on the bottom you're going to push it on down in there we want lots of contact even what as little air as possible yeah well hinder the power production okay that's in there this is different way there's lots of biomaterial in there a little bacteria to feed on hopefully we'll get some longevity out of this and what's that's in there with the catheter now you want your cathode to make good contact with the muck but also good contact with the air Tapan and we're done let's check the voltage okay it's been about 18 hours since I got this all put together since then I put a 100k resistor in this case I just had two potentiometers that I used but you can use 100k resistor between your positive and negative leads 100k is not a magic number you can go up or down with it I'm sure and be fine but the reason you need to do this is the electrons that are being produced down here at the bottom want to get to the top they want to get to the oxygen available at the top so in order to do that you have to have a complete circuit you don't want to dead short you need some resistance in there and this current flow encourages the microbes at the bottom to start producing more and reproduce that you want them to colonize and fill all those little pores down there so last night when I test it and it was point 1 4 3 volts oops currently point 1 8 5 volts it's gone up quite a bit it will continue to rise and maybe I'll post an update later
Up Next

4:58
Building a Microbial Fuel Cell: Pond Sludge Energy Experiment
@cindycollins4990
122.4K views•2015-10-08

12:54
Triumph of Orthodoxy Icon: Byzantine Art & History Explained
@BenCallan
2.1K views•2024-08-06

9:49
FastAPI vs Flask vs Django: Choosing the Right Python Web Framework
@TechWithTim
302.5K views•2024-05-26

1:42
Game of Thrones Opening Credits: A Cinematic Analysis
@gameofthrones
46.3M views•2011-04-18
Related Study Plans & Knowledge Roadmaps
Structured learning paths in General & Interdisciplinary Studies
general-studies
Elevator Engineering: History, Physics & Cities
01From Hoists to Safety Brakes: The Dawn of Vertical Lift
02Hydraulic vs. Traction: The Engineering Physics of Elevators
03Modern Speed, Safety, and Algorithms
+ 2 more learning modules
12h5 modules
Explore Roadmap
general-studies
Rubber: Material Science, History & Geopolitics
01Origins of Natural Rubber & Mesoamerican History
02The Chemistry of Natural Rubber & Vulcanization
03The Geopolitics of the Rubber Boom & Colonization
+ 2 more learning modules
12h5 modules
Explore Roadmap
general-studies
Containerization: Evolution, Logistics & Trade
01Ancient Trade & Bulk Cargo: Amphorae to Barrels
02The Industrial Revolution & Cardboard Packaging
03The Containerization Revolution: Malcom McLean
+ 2 more learning modules
12h5 modules
Explore Roadmap
general-studies
Textile Tech: Evolution, Labor & Global Impact
01Pre-Industrial Textiles: Handloom & Cottage Industry
02Mechanization: The Spinning Jenny to the Power Loom
03The Factory System & Global Labor Transformation
+ 2 more learning modules
10h5 modules
Explore Roadmap