











![[CAPACITACIÓN]▶️Optimización de sistemas de ósmosis inversa con los productos químicos King Lee.](https://i.ytimg.com/vi/Qm0-fraxtAo/maxresdefault.jpg)













Installing a sailboat watermaker involves connecting the membrane unit to the water tank through carefully routed hoses, installing a two-way valve for flushing, and creating a brine discharge system that routes concentrated saltwater away from electronic components, enabling the boat to produce fresh drinking water from seawater.
Sailboat Watermaker Installation Guide: Fresh Water at Anchor
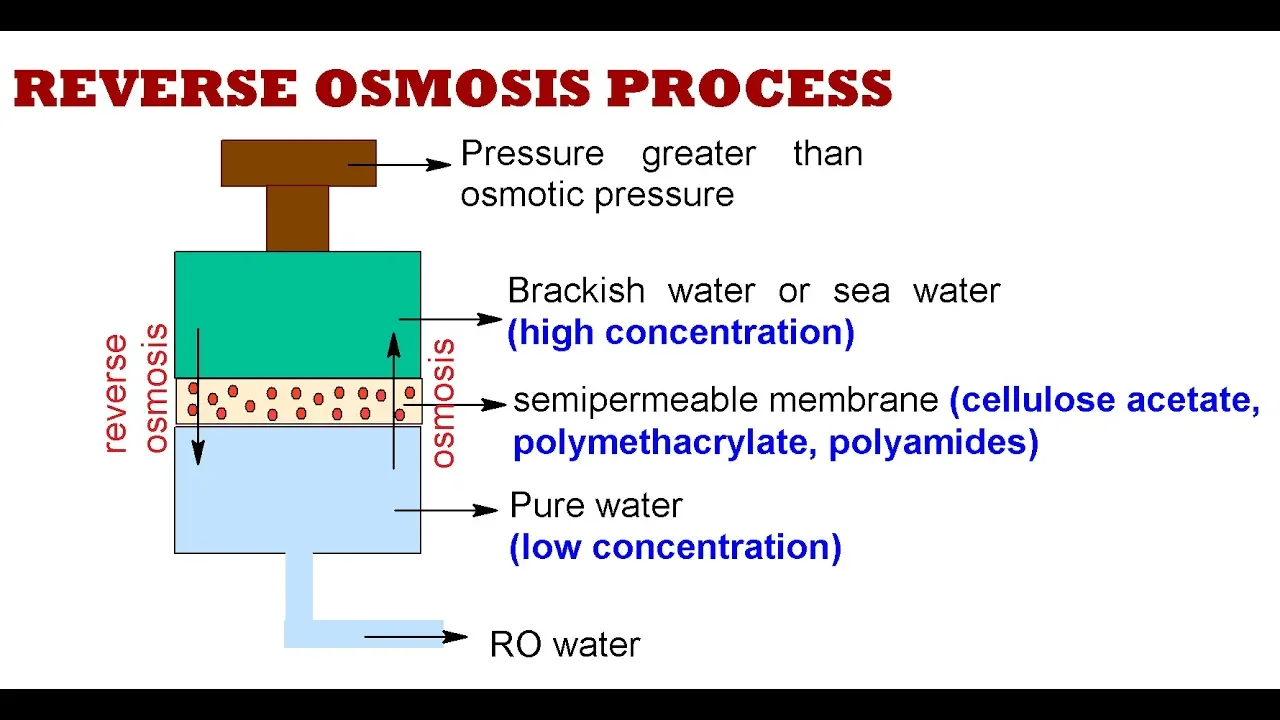
Added:Understanding the principles of Reverse Osmosis (RO) and how semi-permeable membranes separate fresh water from saline solutions.
Basic knowledge of marine electrical systems, particularly AC power generation, inverter capacity, and circuit protection (ABYC standards) on a vessel.
Fundamentals of marine plumbing, including thru-hull installation, seacocks, raw water strainers, and high-pressure hose connections.
Concepts of primary water filtration, including sediment pre-filters, micron ratings, and the damaging effects of chlorine on RO membranes.
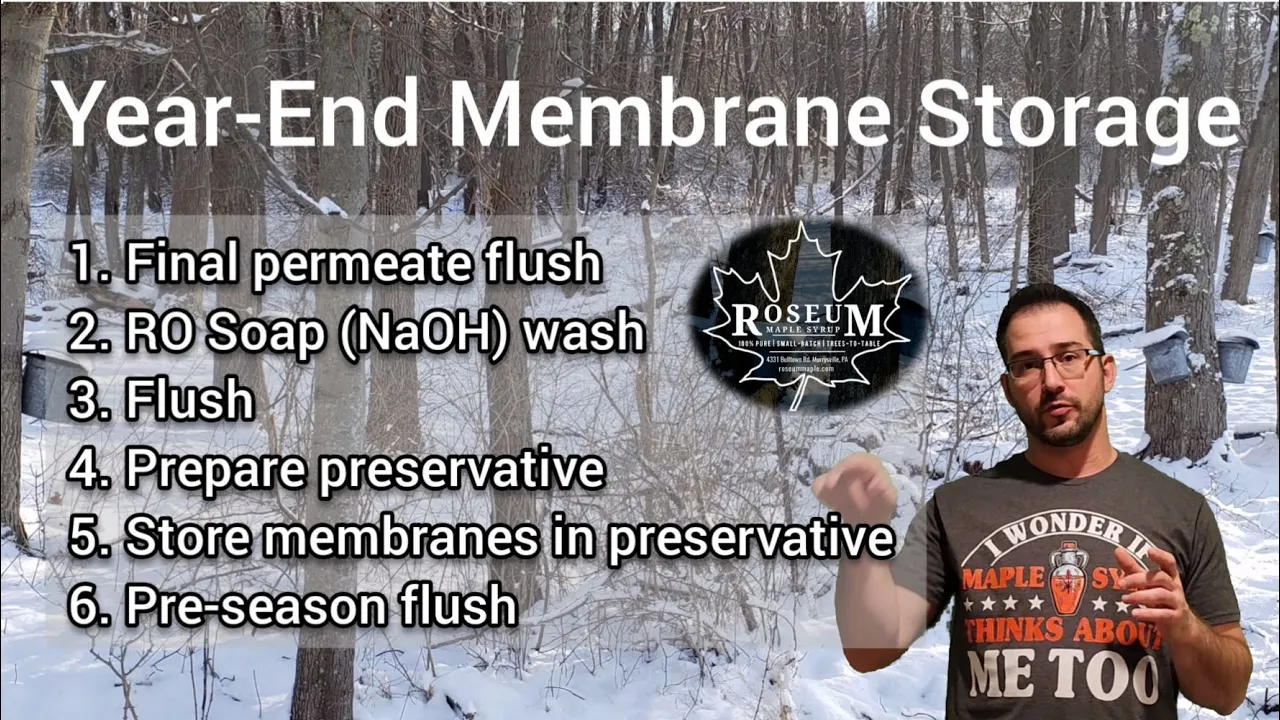
System maintenance and preservation procedures, specifically 'pickling' the RO membrane to prevent biological growth during periods of non-use.
Water quality analysis and monitoring, using TDS (Total Dissolved Solids) meters to verify purity and understanding the need for post-treatment mineralization.
Onboard energy budgeting, analyzing the daily amp-hour draw of an AC watermaker against the sailboat's battery bank and charging sources (solar, alternator, generator).
Troubleshooting common marine RO issues, such as low system pressure, high salinity output, system leaks, and air lock prevention.
55.6K views1.7Klikes16:06Original Release: 2023-04-14
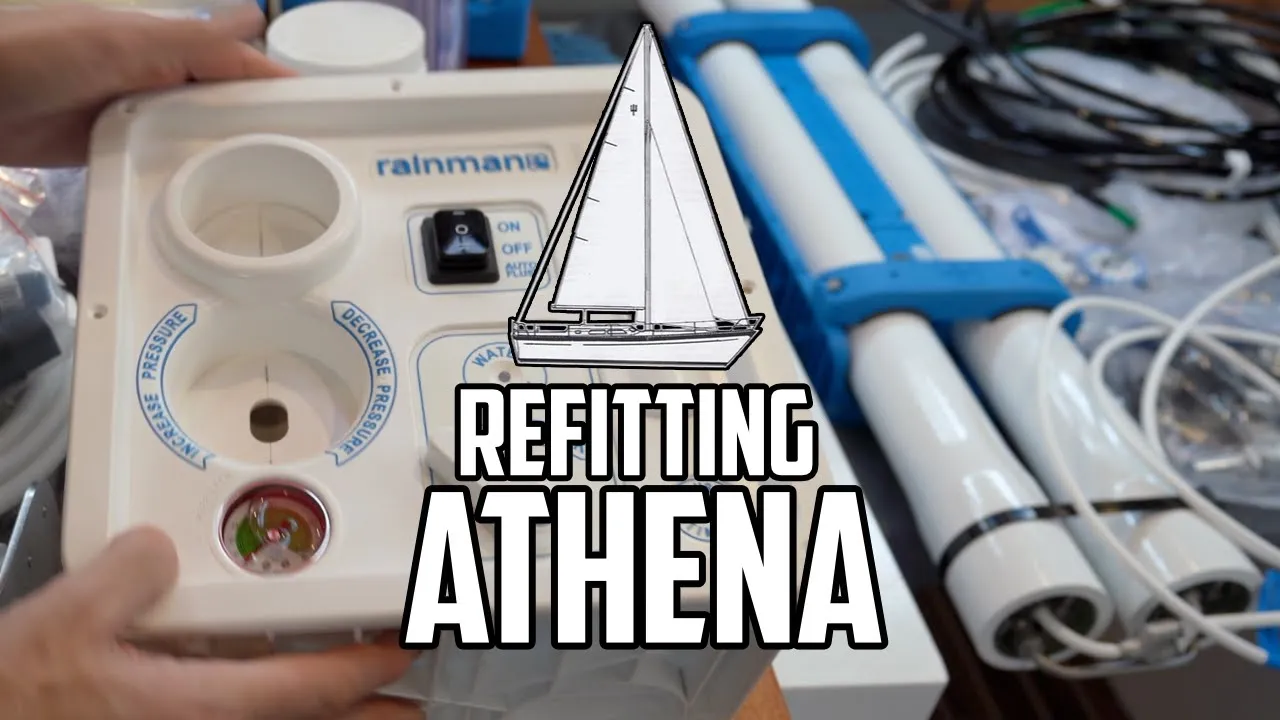
[Music] today we are installing a Rain Man water maker [Music] all right so first thing here let me explain what's happening we have already done what is I guess a semi installation or a soft installation something like that what I mean by that is we already have the membrane in place and also the high pressure unit mounted in the engine room check this out inside this cabinet here which is next to our little dinette area right off of the companionway we have mounted the high output membranes so here's the engine room there's the engine and then sitting right here on this platform is the pressure unit to start this off what we're going to do is install a two-way valve directly under this pressure unit and that way we're going to be able to turn the valve from basically salt water that's going into the unit or turn it over to fresh water in order to flush the unit foreign [Music] here we are back in the water maker membrane cabinet this is the water that will ultimately end up in our water tank so we have to run this hose from the membranes over to the water tank but to do so I think what we're going to try is going down under the floor here underneath our battery bank right there underneath the floor here and then coming out inside this cabinet here which is where the water tank is [Applause] what's your leg doing back here [Music] [Applause] just keep doing what you're doing okay just okay do that okay okay I hit something that's okay thank you Mama you're welcome okay so the membranes are over in that direction and then the hose goes down through the wall over here and then it comes out right there and then it goes into the floor there so now we need to basically get the hose that's poking out from under the floor there hooked or grabbed or otherwise pulled over this way underneath the floor to come out of that hole right there so that we can get it going into the water tank but it's very tricky to get to back there luckily we have a few different tools to possibly help out with this we have a long piece of wire that's kind of hooked at the end we have a grabber thingy and we also have a digital boroscope and this really sounds like a job for [Music] eign [Music] [Music] thank you and after much contortion much trial and error much tribulation uh quite a bit of foul language from the Admiral but the house is over here all right now we just need to install a fitting that would allow us to connect this hose to that water tank Molly with whoa what are you doing did I interrupted yawn yes are you okay yes all right with this tool what's the name of that one ratchet ratchet and what is that a ratchet socket thing with that ratchet socket thing remove those nuts from that water tank lid [Music] foreign [Music] yes I'm sorry you got aluminum shavings in your carpet that's okay [Music] all right [Music] so there's only a couple things left to do and the next thing on the list is actually finding a place to run this hose somewhere here in the engine room so that we can discharge What's called the brine water out of the boat so trying to find a place in the engine room to make it leave the boat there are some options here and I think I have found where it's going to go but let me explain my logic here so let me just give you a look around so you can kind of get your bearings this is looking forward in the boat down there is the engine and this brine tube right here is coming out of this wall the membranes are just on the other side of this wall this black hose here is actually the output from the high pressure pump that's going to the membranes and then again the grain is the brine so I was thinking about tapping into this pipe here which is one of the cockpit scuppers you can see right here there's already a little hose tapped into that the reason I don't think I want to do that is I don't like the idea of this brine hose and connector being so close to all this electronic stuff I mean I've got a breaker there I've got fuses here and here I've got a shunt there for the the batteries got this I've got that I've got the inverter you know lots of electronic stuff going on over here so what I think I'm going to do instead is actually run the hose over here somehow and tap into this Plumbing this is basically where the bilge pumps exit the mode and the idea I have in mind is actually taking this little T connector and cutting this hose here inserting this t-connector actually it would end up being maybe up here somewhere uh and then that way I will have a place to run that green brine hose out of the boat so it'll go in here and then out the boat that way the tricky part with using this fitting is that it's actually a little big for this hose so what I have to do probably is shave these barbs down to make it fit and then I'm going to have to figure out a way to get this little push to connect fitting uh installed here so I'm probably going to heat this up uh get it soft enough where I can get this kind of inserted and screwed in possibly even put a hose clamp on it I'm not really sure but this is the idea it's going to be a little macgyvering necessary to get this little assembly installed up there but I'm actually pretty good at MacGyver so we're gonna make it happen I think let's try it foreign [Music] [Music] [Music] foreign [Music] all right so at this point the installation is pretty much complete of the Rain Man water maker so what we're going to do next is work on getting power to the unit we're going to get the generator fueled up get the cords run and then fire up this baby no can't quite get it uh okay all right let me snooze if I can get it done okay go ahead all right here yep all right now it is time to start sending the water to the tank so all we're doing here is opening this valve to send it to the tank and then closing this one to stop the flow from the test line all right ladies great job on the Rain Man water maker installation nothing pumps out some water it does and it tastes great I think that's a big upgrade in quality of life out here while cruising around just be able to make your own water so I'm pretty darn excited about it yeah being able to burn some gasoline and fill our tanks with water it's kind of it's really cool it's almost like magic yeah yeah so ladies I think there's really only one thing left to do [Music] foreign [Music] [Applause] [Music] oh [Music] foreign [Music]
Up Next

4:10
Zero Liquid Discharge: Advanced Solutions for Industrial Wastewater
@AlfaLaval
115.2K views•2022-12-01

12:54
Triumph of Orthodoxy Icon: Byzantine Art & History Explained
@BenCallan
2.1K views•2024-08-06

9:49
FastAPI vs Flask vs Django: Choosing the Right Python Web Framework
@TechWithTim
302.5K views•2024-05-26

1:42
Game of Thrones Opening Credits: A Cinematic Analysis
@gameofthrones
46.3M views•2011-04-18
Related Study Plans & Knowledge Roadmaps
Structured learning paths in General & Interdisciplinary Studies
general-studies
Elevator Engineering: History, Physics & Cities
01From Hoists to Safety Brakes: The Dawn of Vertical Lift
02Hydraulic vs. Traction: The Engineering Physics of Elevators
03Modern Speed, Safety, and Algorithms
+ 2 more learning modules
12h5 modules
Explore Roadmap
general-studies
Rubber: Material Science, History & Geopolitics
01Origins of Natural Rubber & Mesoamerican History
02The Chemistry of Natural Rubber & Vulcanization
03The Geopolitics of the Rubber Boom & Colonization
+ 2 more learning modules
12h5 modules
Explore Roadmap
general-studies
Containerization: Evolution, Logistics & Trade
01Ancient Trade & Bulk Cargo: Amphorae to Barrels
02The Industrial Revolution & Cardboard Packaging
03The Containerization Revolution: Malcom McLean
+ 2 more learning modules
12h5 modules
Explore Roadmap
general-studies
Textile Tech: Evolution, Labor & Global Impact
01Pre-Industrial Textiles: Handloom & Cottage Industry
02Mechanization: The Spinning Jenny to the Power Loom
03The Factory System & Global Labor Transformation
+ 2 more learning modules
10h5 modules
Explore Roadmap