


















A smart bartender can be built using a Raspberry Pi 3 to control six peristaltic pumps that mix ingredients simultaneously, with the system managed through a custom Python program that allows users to configure drinks via buttons and an OLED display; the key components include a Raspberry Pi 3, 8-channel relay board, 12V power supply, peristaltic pumps, food-grade silicone tubing, and a 3D-printed manifold, all controlled by code that defines drink recipes with specific ingredient volumes.
Build a Raspberry Pi Powered Smart Bartender: DIY Engineering
Added:Basic GPIO Control: Understanding how the Raspberry Pi uses General Purpose Input/Output (GPIO) pins to send digital signals to external components.
Relay Operations: Comprehending how relays function as electrically operated switches to safely control higher-voltage external devices like pumps.
Peristaltic Pump Mechanics: Familiarity with how peristaltic pumps transport fluids using positive displacement, making them ideal for precise food-grade liquid dispensing.
Fundamental Python Programming: Knowledge of basic Python scripting, specifically timing functions (like the time library) and GPIO libraries to sequence events.
Volumetric Calibration: Learning how to calculate flow rates mathematically to calibrate pump runtimes for precise, consistent liquid measurements.
Graphical User Interface (GUI) Design: Developing a touchscreen interface or web application (using Flask or Tkinter) to allow users to select and customize drinks.
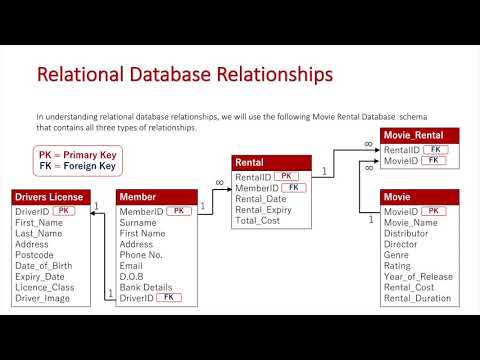
Relational Database Integration: Implementing a database (such as SQLite) to store drink recipes, track ingredient inventory levels, and update menus dynamically.
IoT and Voice Integration: Expanding the project to support voice activation (via Alexa or Google Home APIs) or mobile app ordering using MQTT protocols.
991.2K views22.5Klikes15:09Original Release: 2018-04-29
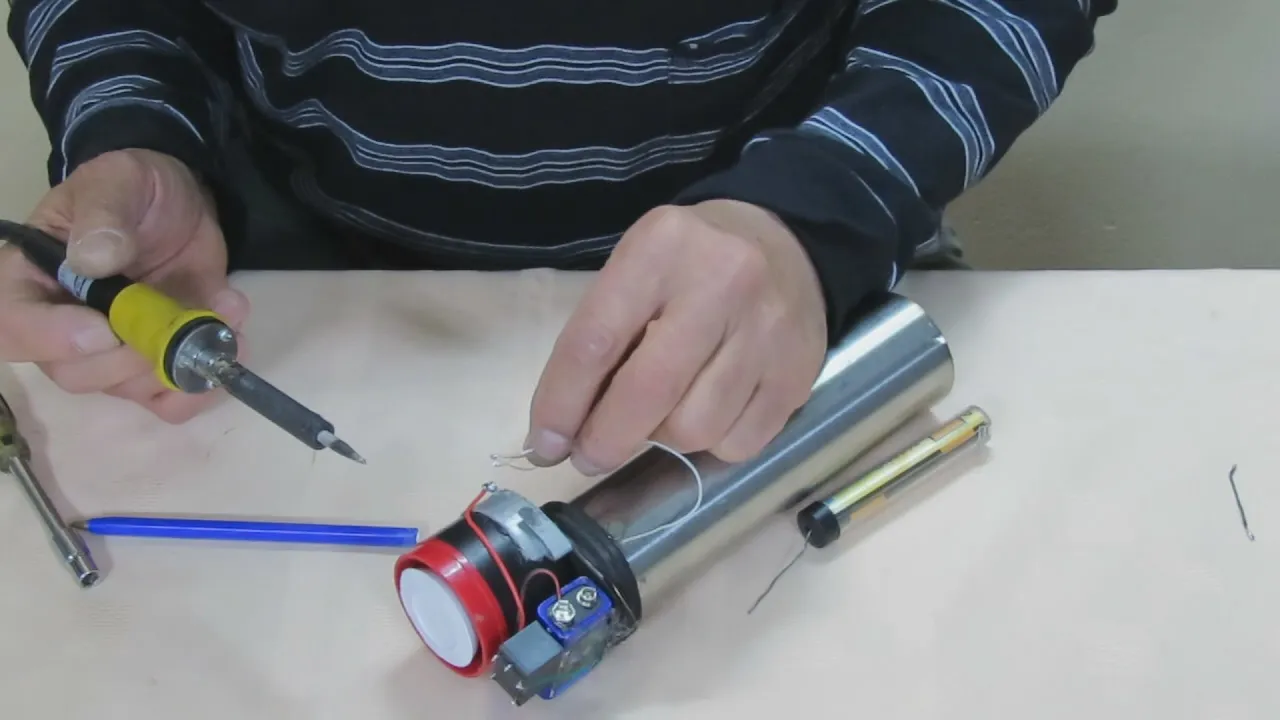
hey guys welcome back we built two robotic bartenders in the past one was slow one stopped working and a lot of you guys we're actually asking about why we stopped making videos for that second one but this time we're gonna build a new robotic bartender it's going to be more portable sleeker and smarter because that's what we do on this channel let's get started using your trusty mitre BOTS we cut four pieces of 16 inch 1 by 2 flames using our electric miter saw we cut four pieces of 16 inch plank four pieces of nine-inch plank and six pieces of 7.5 inch plank these will be used to build the frame of our bartender we use some screws to screw two pieces of 7.5 inch planks to two pieces of 16 inch planks to form a box it was helpful to use a small drill bit to drill a pilot hole before we screw the two pieces together then we repeated the process to make a second square we then attach the two pieces with some nine-inch planks and we use some long screws for this part two more pieces were screwed to the top to form a cube we then measure three inches from the bottom of the cube can't do this with my left hand well add some supports here for the drink platform grabbing the last two pieces of 7.5 inch planks we fitted them in place and then screw them in with some more screws these are the pumps that we're going to use to draw the liquid from the bottles into the cup they're called peristaltic pumps and they have a very consistent flow rate so we'll know exactly how much liquid goes into the glass this is what the pump looks like when it's disassembled we have a simple 12-volt brush motor which is used for any pump and then we have the pump head which looks like this there's a single silicon tube that wraps around these three rollers when the pump turns it draws a liquid through this tube without any of the mechanical parts touching the liquid for this project we're using a small food grade funnel to channel all the liquid from the pumps into the glass we have a small 3d printed part to hold it in place at the top of the bartender it was printed in two parts so we use some gorilla glue to attach them together after gluing them we let them dry overnight [Music] Davis measured the outer width and depth of the bartender in order to make a platform for the drink to sit on we use some MDF and this one had a black top so it looked nice and marked out the spots that we needed to cut with our jig saw this piece was 12 by 9 inches we cut some 1.5 by 0.75 inch slots from the size of the platform in order for it to slot in and sit on top of those supports that we screwed in earlier finally we cut one last piece of MDF that will serve as our electronics tray for this project [Music] speak in the electronics we're using a Raspberry Pi 3 to control this project there's also a power distribution board to power the pumps and those pumps will be powered by a 12 volt power supply the voltage will be stepped down to 5 volts for the Raspberry Pi with a 5 volt regulator and all the pumps will be triggered with an 8 channel relay we use our favorite 3m outdoor mounting tape to mount the electronics to the electronics tray [Music] to make the bartender look nice we use some PVC project board to make some side panels it's really easy to mark up and then cut with a box cutter there are too many sizes to list out here so I'll just throw those on the screen for you we couldn't access panel out of the side piece to slide the electronics panel and then we made a cutout in the front panel this lined up with the top of the drink platform and was 8.5 inches by 10 inches [Music] [Music] using some more screws we screw the side panels in place make sure you don't screw these too tight because they'll warp the plastic next I found the center of the top of the bartender marked it out and then screwed in our funnel bracket after that was done I started wiring out the bartender it's probably too much to cover here in the video so I'm attaching a wiring diagram and you can also find this on the hackster site and you'll be able to download a full high-resolution photo of this so you can follow along and see exactly what we did if you have any trouble with this post a comment on the hackster page and somebody should be able to help you out [Music] I took a break from the wiring and screwed on the back panel on the bartender we're using six pumps for this project and all six pumps were screwed into the one by two pieces of wood you can use more pumps if you want but it'll take some setup in the code we'll need to pass the wires through the back panel so I screw to half inch holes at the bottom of it to give the bartender some extra flair we also add an LED strip to the top of it and secure it with some mounting tape meanwhile we had some 3d parts printing so the company Robo that makes our 3d printer just hook us up with a bunch of free foam so I'm using that one now to print the manifold for our bartender thanks for a bow the manifold routes the tubes from the pumps into the funnel so that they can be poured in the drink we marked out some points to drill some holes so that the tubes could pass through the top panel we kind of just eyeball these by it letting the manifold up with the panel you want to get some food grade silicon tubing so it doesn't leach any nasty chemicals into your drinks we got a few lengths and this is some two millimeter inner diameter tubing we attach them to the pumps and fed them through the manifold into the funnel manifold will screwed onto the back of the bartender with some more screws we took a soldering iron and wired up all the pumps you want to make sure that you wire these pumps up in the right direction to pump a liquid three of ours were wired counterclockwise and the other three were wired clockwise we're using an old computer cable to supply some AC power to our 12-volt switching power supply generally the green wire is hooked up to ground the white wire is hooked up to neutral and the black wire is subject to load [Music] oh hey didn't see you there we're going to add a mini screen on the front of this it's pretty small but it's an oh le d-- panel with high resolution so it should be completely fine for this project we cut some holes for the button and the screen and then attach those to the panel [Music] for the screen we use some 2.5 millimeter screws and then attach the front plate to make it look nice [Music] well that was drying we printed a cup holder with our fancy new logo the couple there has some notches on the back so we drilled some holes in the drink platform to mount it it was easiest to do this by marking a center point and then using a protractor to mark some 120 degree angles from the center point [Music] [Music] the last thing we did was hook up some input tubes to the pumps and screw the front panel onto the front of the bartender [Music] as a finishing touch we took some outdoor mounting tape and stuck the electronics panel cover onto the side of the bartender the code has a few different files for this project there's the bartender dot py file which is the main file pumps config dot Jason in a drink py file the drinks are py file has a list of different drinks that the bartender can make there is a name and then a set of ingredients each ingredient has a value in milliliters there's also a drinks list array which contains all the possible drink options for your bartender you can customize both of these however you want the pump config file has all these stored information about which drink is hooked up to which pump and you can modify this file through the config menu on the bartender there are also a few variables in the bartender dot py file that you can modify such as the flow rate for the pumps or the pins that some of the electronic components are hooked up to to run the bartender make sure you first install these dependencies with sudo pip install - our requirements txt then you can start the bartender with sudo python bartender py when the bartender starts up you should be able to see a list of drink options and a configuration menu option to configure the bartender all the documentation about how to run the code will be available on the github repository which will be linked on the hackster Daioh page there's also a section about how to run the code at startup so that you don't have to log in and type some commands in the terminal to run the code so we just went to the grocery store and picked ourselves up a bunch of adult beverages kids don't try this at home you can probably replace this with some fruit punch or something like that but we're gonna go ahead and crack these bottles open and hook up the bartender you might notice that what the coke that we have hooked up so our bartender we're losing all the fizz right now but one thing you can do is take the cap and drill a hole through it and stick the tube through this hole and the cap back on to the bottle there are two buttons I control this menu the left button is the advance button and the right button is the select button if I want to configure the drinks for the bartender I go to the configuration menu hit select and then select into one of the pumps that I want to configure there are a bunch of drink options in here and you can advance through the drink options and in this case we have pump one hooked up it's tequila so I can select tequila as my pump and then the drinks on the main menu will be filtered by the beverages that you have configured for your pumps hey you want a drink what do you want watch this oh thanks what do you think it's actually pretty good ratio is good yeah pretty good alright so in honor of Cinco DeMayo that's coming up in a few days we're going to end this video with a few margaritas [Music] let's make that a double alright that's it for this video in the future we want to add alexa integration to this project so we can make voice-activated commands like a bartender make me a drink or something along those lines you want to build one of your own we always put a hackster that io link down the description below on that link we'll have all of the instructions materials 3d printed parts and also a link to the code and wiring diagram we really appreciate your support so if you like this video make sure to show us some love and hit that like button you can also add a comment down below if you want and you know let us know if we did something wrong or if you want to see us add anything new to the bartender in an upcoming video you may have noticed that we don't post videos super often so if you want to stay notified of our videos make sure to hit the subscribe button and also hit the bell icon if you want to get notifications when we post something new but until then see you next time hello world
Up Next
24:12
Optimized Academic Title
@Jayztwocents
2.9M views•2022-04-22

12:54
Triumph of Orthodoxy Icon: Byzantine Art & History Explained
@BenCallan
2.1K views•2024-08-06

9:49
FastAPI vs Flask vs Django: Choosing the Right Python Web Framework
@TechWithTim
302.5K views•2024-05-26

1:42
Game of Thrones Opening Credits: A Cinematic Analysis
@gameofthrones
46.3M views•2011-04-18
Related Study Plans & Knowledge Roadmaps
Structured learning paths in General & Interdisciplinary Studies
general-studies
Elevator Engineering: History, Physics & Cities
01From Hoists to Safety Brakes: The Dawn of Vertical Lift
02Hydraulic vs. Traction: The Engineering Physics of Elevators
03Modern Speed, Safety, and Algorithms
+ 2 more learning modules
12h5 modules
Explore Roadmap
general-studies
Rubber: Material Science, History & Geopolitics
01Origins of Natural Rubber & Mesoamerican History
02The Chemistry of Natural Rubber & Vulcanization
03The Geopolitics of the Rubber Boom & Colonization
+ 2 more learning modules
12h5 modules
Explore Roadmap
general-studies
Containerization: Evolution, Logistics & Trade
01Ancient Trade & Bulk Cargo: Amphorae to Barrels
02The Industrial Revolution & Cardboard Packaging
03The Containerization Revolution: Malcom McLean
+ 2 more learning modules
12h5 modules
Explore Roadmap
general-studies
Textile Tech: Evolution, Labor & Global Impact
01Pre-Industrial Textiles: Handloom & Cottage Industry
02Mechanization: The Spinning Jenny to the Power Loom
03The Factory System & Global Labor Transformation
+ 2 more learning modules
10h5 modules
Explore Roadmap