

Filament tangling on the Snapmaker 2.0 A350 occurs because the print head moves rapidly to the top of the Z-axis rails at the end of prints, causing the filament to become loose and potentially trap loose filament underneath when re-tensioned for the next print. A filament guide solves this by loading filament from underneath through a tube that extends to the printhead, maintaining constant tension throughout the print since the filament length remains fixed between the printhead and the tube gap. This prevents the filament from becoming slack when the head moves around the bed, eliminating tangling issues caused by printer design rather than filament quality.
Snapmaker 2.0 A350 Filament Guide: Eono PETG Review & Tangle Prevention
Added:Basic understanding of Fused Deposition Modeling (FDM) 3D printing and how the filament feed system operates.
Familiarity with the Snapmaker 2.0 A350 printer architecture, specifically its default spool mounting and filament path configuration.
Basic knowledge of 3D printing filament types, particularly the thermal and chemical properties of PETG compared to standard PLA.
Awareness of common 3D printing failure modes, such as tension-related extrusion issues, nozzle clogs, and spool tangling.
Optimization of slicer parameters (such as retraction speed, print temperature, and cooling) specifically tuned for PETG filament to prevent stringing.
Design and implementation of advanced filament management systems, such as active heated dry boxes to prevent PETG moisture absorption.
Utilizing CAD software to design custom functional printer upgrades tailored to specific hardware modifications.
Exploring multi-material printing setups and managing complex filament routing paths for dual-extrusion systems.
4.9K views101likes13:06Original Release: 2021-03-18
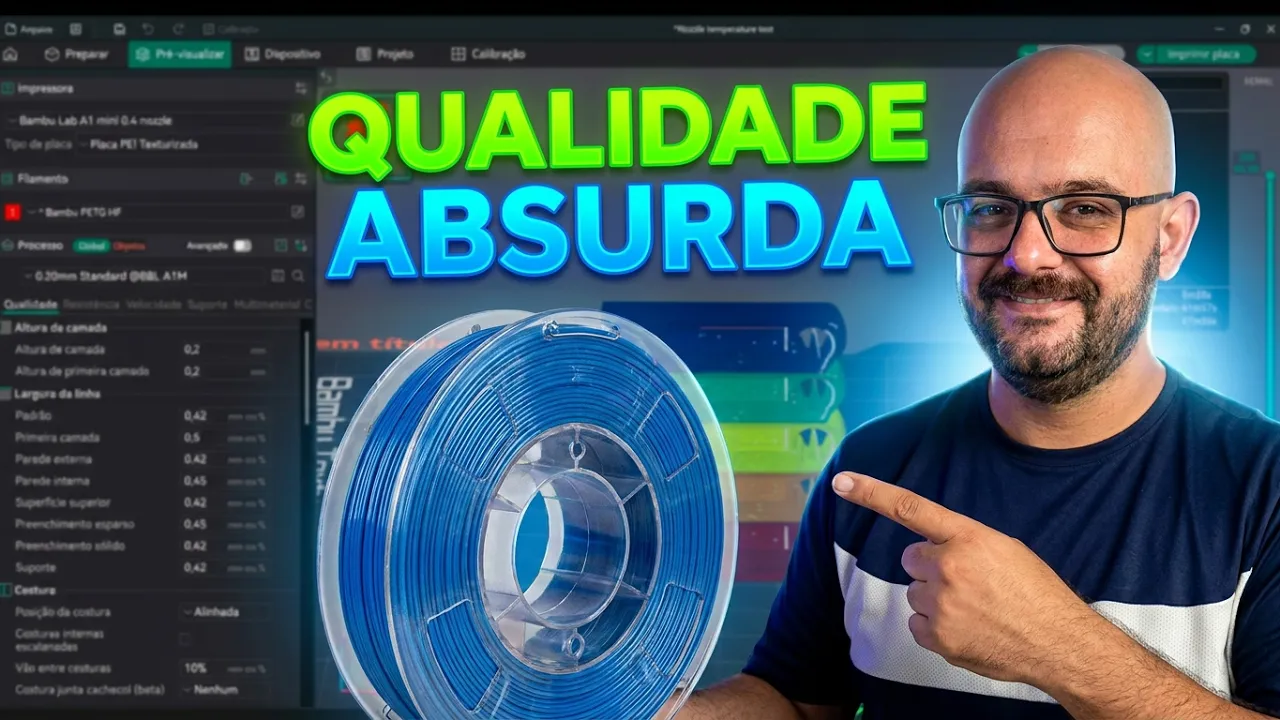
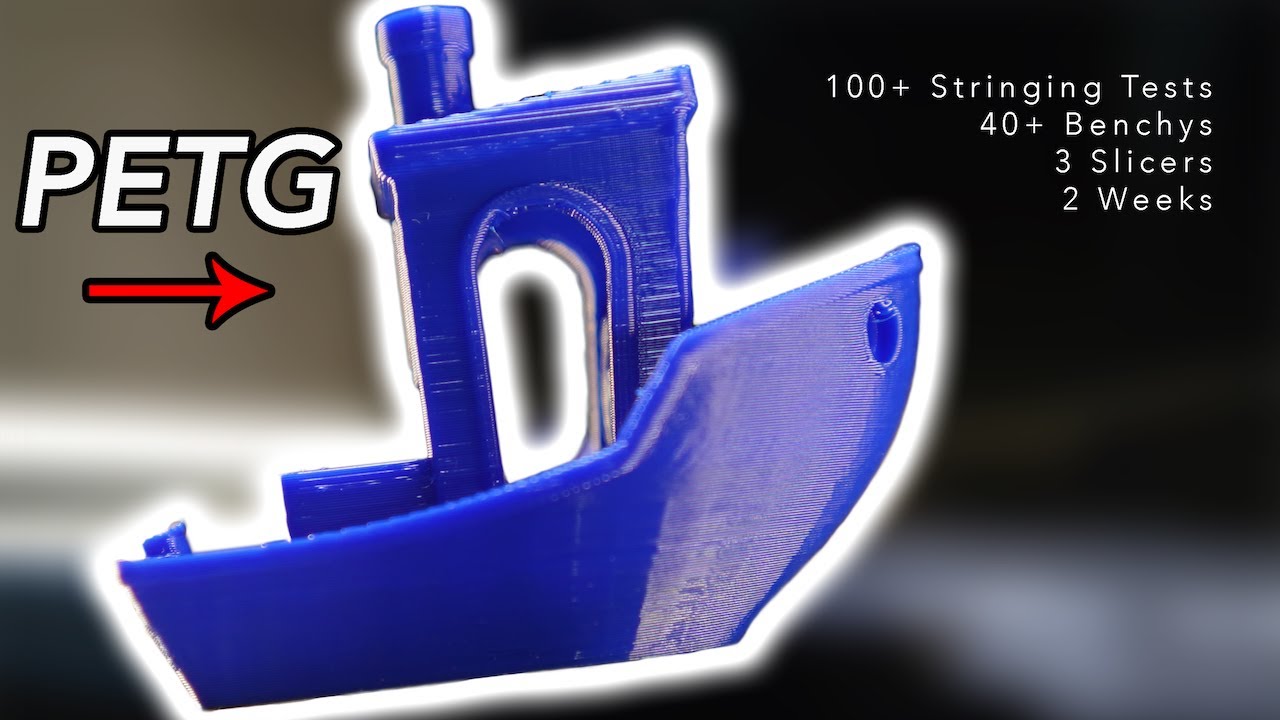
okay you will all have petg profiles for cura for the snap maker 2 very soon i'm not releasing them just yet but i am working on them and i've been sent some petg to try out by iono i thought that while i'm working on the profiles let's do a review of this stuff and make something useful for the snap maker 2 while we're at it so how about we make it so your filament never tangles again i know some of you have seen this thing sitting on top of my printer in past videos and commented about it in the snapmaker facebook groups and i'm going to talk about it today what it is what it does why how all the rest of it but let's take a look at this filament first this is iono petg they sent me a couple of rolls to try one gray and one black we're gonna be trying out the gray filament for this one because it's easier to see on the camera and we'll come back to the black for a future project i have a specific idea in mind for it i've created a basic cura petg profile for the snapmaker 2 as a base using some fairly conservative settings and it's similar to my pla normal profile but with a higher nozzle and bed temperature and slower speeds initial tests with petg filament i know to be good seems to have proven quite well so far so i think these will be a good test for iono it comes in a pretty normal branded cardboard box and inside we have our filaments and on the top we get all the usual things 1.7 mil diameter print at 230 to 250 bed temperature 80 to 90 net weight a kilo one of the things that i like about this and this is a first for me i know some of you have seen this with some brands but this is the first time i've had a roll of filament from anybody that has a resealable bag which is awesome normally they're just vacuum packed and sealed and that's that but this one's actually got its own little resealable lip once we tear this off there we go so once we turn it off we just open it up and there's our filament with our bag of silica and it looks gray let me grab my calipers real quick and we'll find a piece of this up here well that's not a good sign this might be a little bit hydrated diameter is pretty much spot on at 1.75 millimeters so we'll cut a piece of this off feed that back up through here and into there so it looks like that bit that cracked off was just an anomaly because of stress yeah so this is this is bending quite well it's not snapping it feels good so it's not dehydrated but right we'll come back to this in a little bit so far it seems quite good it's it's it's wound pretty well it's not perfect but it's not terrible i've seen a lot worse but we'll come back to the iono filament in a little bit and for now we'll focus on that thing that sits on top of my printer so what is it and why do we need it well it's a filament guide and the way this one's set up is often referred to as a reverse bowden its main goal is to create an even constant tension throughout the print to prevent your filament from getting tangled spools don't get manufactured tangled people who say that they do are just buying into a myth it's physically impossible for that to happen due to the way they're made iono so confident about this claim that they even advertise their filament as tangle free and they even put it in the name right there any time you experience tangling it's either down to user error or just a function of certain printer designs that increase the chances of it happening and even if the filament does come to you tangle free like this eono ptg it can still become tangled while using it it's not something i've experienced with the snapmaker 2 myself yet although its design does potentially pose the risk of it happening how though well without the guide when the snapmaker's finished its print the ex-gantry homes itself to the top of the z-axis rails this means it moves very quickly upwards towards the filament spill causing it to become loose then when you start the next print the exchanger moves back down again and the spool gets re-tensioned potentially trapping loose filament underneath and that's what causes tangles filament getting loose and then tightening back up around itself and then it's trapped when you try to use it you can get around this by printing an auto rewinding spool holder and that's absolutely a great way to go but a filament guide is a lot easier the way this one works and it's available to download from today from my mini factory is that the filament loads in from underneath through a hole where it enters the tube that goes all the way down to your printhead this way the only tension or slack is between the printhead and that little gap at the end of the tube when it prints it's pulling filament through the tube when it's not printing and the head's just moving around the filament stays inside the tube which is always the same length so when the head rises and flies back up to the top at the end of a print the filament never has a chance to become slack on the spool so it's impossible for it to tangle once you've loaded it in properly so this one i designed in fusion 360. it mounts to the top of one of the z-axis rails using four m4 screws and it has a hole for an m10 tube clamp thing there are no threads in the hole on the bracket you just screw the fitting straight into the hole and it cuts its own threads and this is why we're using ptg it can take any potential strain better than pla and it's easy to screw things into petg and not worry too much about it working loose over time the one i've been using on my printer here was my first prototype it has a bunch of holes along it that are all slightly different sizes so i could figure out which one works best to screw in the m10 fittings but i did print it out of petg on one of my i3 clones and now that i've figured out which hole size works best you can see in fusion 360 that now we just have one hole so our goal is to print one of these today and we're going to take the iono filament we're going to put it on the printer we're going to do a couple of quick test prints maybe a benchy and then we're going to get to printing our filament guide bracket [Music] so let's see how it did with a couple of tests this first one is actually something i'm including as part of the filament guide download it's a cutting guide for your ptfe tube and it's turned out to be quite a good little test for stringing and blobs as well as bridging on small holes the way it works is that you push your ptfe tube through this hole and then you can use this slit to make a nice straight cut in your tube and if we look at it you can see that there's no stringing in the thin gap here where we might normally expect to see some and there's none in the hole either we can push our ptfe tube right in there and it cuts just fine next up i tried the bench sheet and it's not perfect but it's no worse than the benchy i printed using the exact same cheat code with known good ptg that i used with my other printers the issues that show up in the gray one with the iono filament are also present in this black one so they're the fault of the profile and not ionofilament if anything it actually printed a little better than the filament that i normally use and i can't tell you what brand it is i got like 20 rolls of this stuff a while ago in a bulk deal and it hasn't got a brand printed on it but i'm happy enough with this benchy so let's go print out the filament guide [Music] well this printed out quite well except for a couple of little issues one end lifted off the bed a little bit so i guess i need to knock the z offset down on the snapmaker a little bit but there's not a lot of string in though there's a little bit in the holes but that's just the nature of ptg really and it's nothing that can't be easily picked out there's no serious overhangs or bridging on this model but the walls are straight with little stringing and even with straight walls you can often get little strings flying out with ptg there's no big gaps that would suggest any flow or clogging issues and the part feels good and solid using the same top bottom wall and infill settings i use for my original part on my i3 clone but while this one will work i'm not happy that it peeled up off the bed on this end so i'm going to adjust the offset re-slice with some slightly different settings and print another one [Music] so that's done and for some reason this one presented a little bit more stringing on the outside like i said with ptg sometimes it can appear even on straight sides but i don't think this is the fault of the filament it's more than likely just my retraction settings and possibly the temperature as it was virtually none in the previous print at all and i did adjust my retraction and temps a little bit for this one to see if it would help clean up the holes and it's actually done the opposite but what do we do with this thing now that we've printed it well the first thing we want to do is put the fitting in there to pull the ptfe tube but i want to clean up the hole so i'm just going to use my little knife for that and it cleans it up really easily and now it's time to fit our m10 ptfe tube grippy thing so the trick to installing this because it can be a little awkward especially if you've not got any threads to go into is you need to make sure to hold it sort of fairly straight on to the end and then turn it with your other hand and a 10 millimeter spanner or adjustable wrench is gonna be invaluable here but we just need to hold it and turn it with the other hand until it bites in and then we can just turn it once it's in there all the way it's going to be good and solid and it's not going to work itself loose there are four holes in the top here that take m4 screws and i'm just going to clean those out as well and there are plenty of spare screws that came with the snap maker 2 in the toolbox that we can use to attach this these m4 by 10 millimeter screws should be plenty long enough for this and this just bolts straight onto the top of the z-axis so let's head over to the snap maker and we'll get this fitted you might notice that i'm placing this the other way around compared to how it was before this is for one simple reason you'll need to lower the filament roll down from its usual mounting spot and feed it from underneath with this guy so that it goes straight up when it's coming out to make sure it stays above the print head if you keep the filament on the inside of the rail when you blow it down you won't be able to get the print all the way over to the left edge of the bed at any kind of real height if you do then when the bed moves backwards anything there will impact the spool so we're also going to dismount the spool holder and flip that around to the other side too but this makes it easier at least for me to load spools and feed them into the tube too because i get easier access but now when the head goes flying around the bed it's not pulling out extra filament from the spool and it's not causing it to go loose when it goes back up to the top at the end of the prince so you've got constant tension all the time so no tangles ever at least none that are the fault of the printer or the filament manufacturer you still want to make sure that you keep the roll tensioned when you're loading it and unloading it as for the eono ptg so far it seems to print quite well it flows great out of the nozzle with no clogs no extruder clicking and the prints feel good and solid just like you'd expect with petg the only issue it's presented so far was that little bit of stringing and given that it only really appeared on one print that's almost certainly down to my profile and not the filament at the moment it looks like ionofilament is only available in the uk and the eu through amazon but i'll put a link down in the description to where you can find it i have a few more prints i want to do with the oh no filament and i have a whole other roll of black here for a special project but i'll have more videos coming using yono ptg as i tweak the cura profiles for the snapmaker 2 and get those projects done and i'll make those cura petg profiles for the snapmaker 2 available for you guys to download on github just as soon as i'm happy with them if you like this video give it a thumbs up share it with your friends subscribe if you want to see more and don't forget to hit that notification bell i have a few more brands of petg here that i want to test over the coming weeks once i've got the profiles dialed in so if there's anything you want me to try or compare or test or if you have any questions about petg drop them down in the comments below thanks for watching and i'll see you next time [Music] foreign
Up Next

8:06
Calibrating Your 3D Printer Extruder: Step-by-Step Guide
@MadeWithLayers
377.2K views•2014-04-06

12:54
Triumph of Orthodoxy Icon: Byzantine Art & History Explained
@BenCallan
2.1K views•2024-08-06

9:49
FastAPI vs Flask vs Django: Choosing the Right Python Web Framework
@TechWithTim
302.5K views•2024-05-26

1:42
Game of Thrones Opening Credits: A Cinematic Analysis
@gameofthrones
46.3M views•2011-04-18
Related Study Plans & Knowledge Roadmaps
Structured learning paths in General & Interdisciplinary Studies
general-studies
Elevator Engineering: History, Physics & Cities
01From Hoists to Safety Brakes: The Dawn of Vertical Lift
02Hydraulic vs. Traction: The Engineering Physics of Elevators
03Modern Speed, Safety, and Algorithms
+ 2 more learning modules
12h5 modules
Explore Roadmap
general-studies
Rubber: Material Science, History & Geopolitics
01Origins of Natural Rubber & Mesoamerican History
02The Chemistry of Natural Rubber & Vulcanization
03The Geopolitics of the Rubber Boom & Colonization
+ 2 more learning modules
12h5 modules
Explore Roadmap
general-studies
Containerization: Evolution, Logistics & Trade
01Ancient Trade & Bulk Cargo: Amphorae to Barrels
02The Industrial Revolution & Cardboard Packaging
03The Containerization Revolution: Malcom McLean
+ 2 more learning modules
12h5 modules
Explore Roadmap
general-studies
Textile Tech: Evolution, Labor & Global Impact
01Pre-Industrial Textiles: Handloom & Cottage Industry
02Mechanization: The Spinning Jenny to the Power Loom
03The Factory System & Global Labor Transformation
+ 2 more learning modules
10h5 modules
Explore Roadmap