












![Ultimate Guide to Camera Lenses — Every Type of Camera Lens Explained [Shot List Ep. 7]](https://i.ytimg.com/vi_webp/uSsIqR3DuK8/maxresdefault.webp)
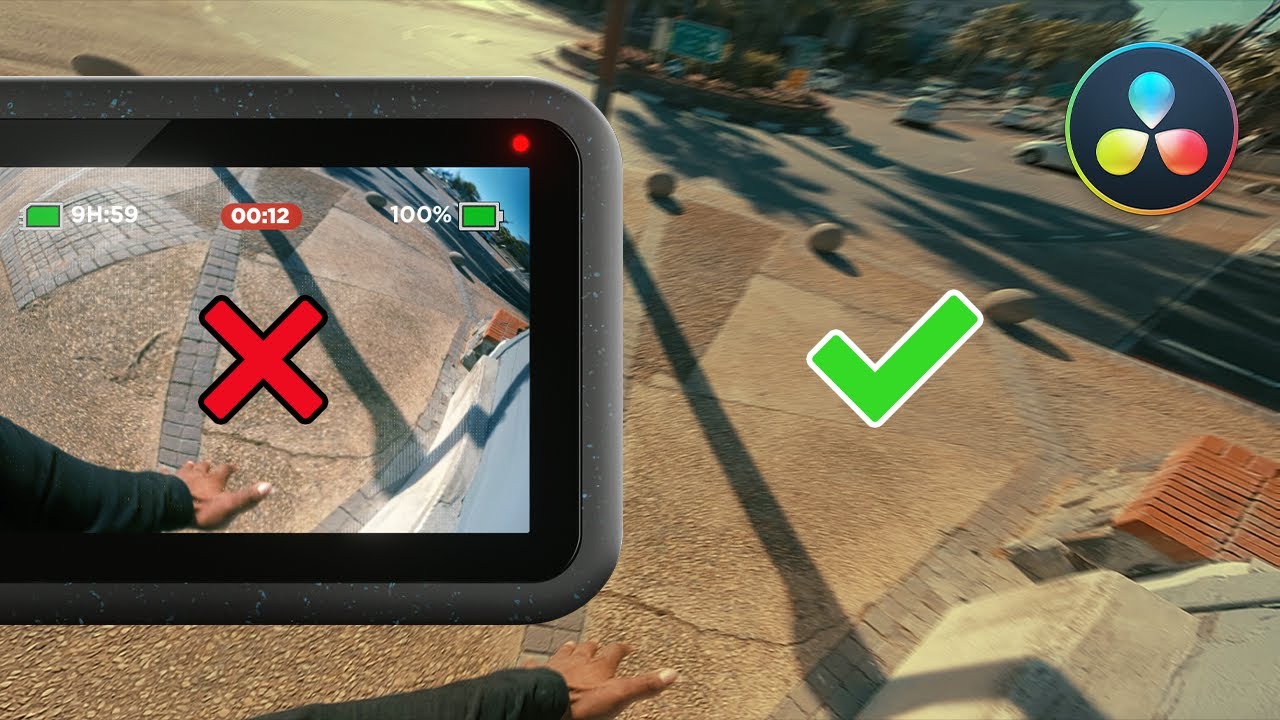
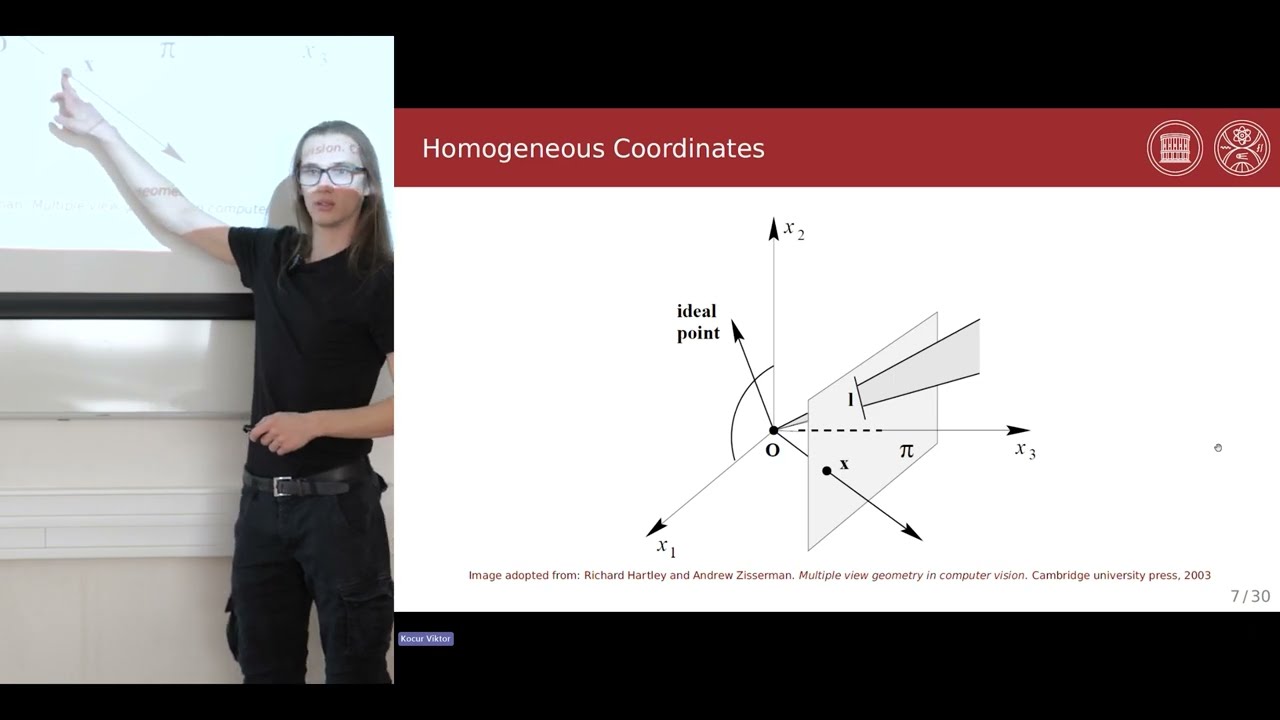



Camera calibration is the process of determining a camera's intrinsic parameters (camera matrix containing focal length and optical center) and distortion coefficients (barrel/pincushion distortion) by capturing multiple images of a known pattern (like a chessboard) at different orientations, then using OpenCV functions to compute these parameters and apply undistortion to images, enabling more accurate computer vision operations.
Camera Calibration with OpenCV Python | Computer Vision Tutorial
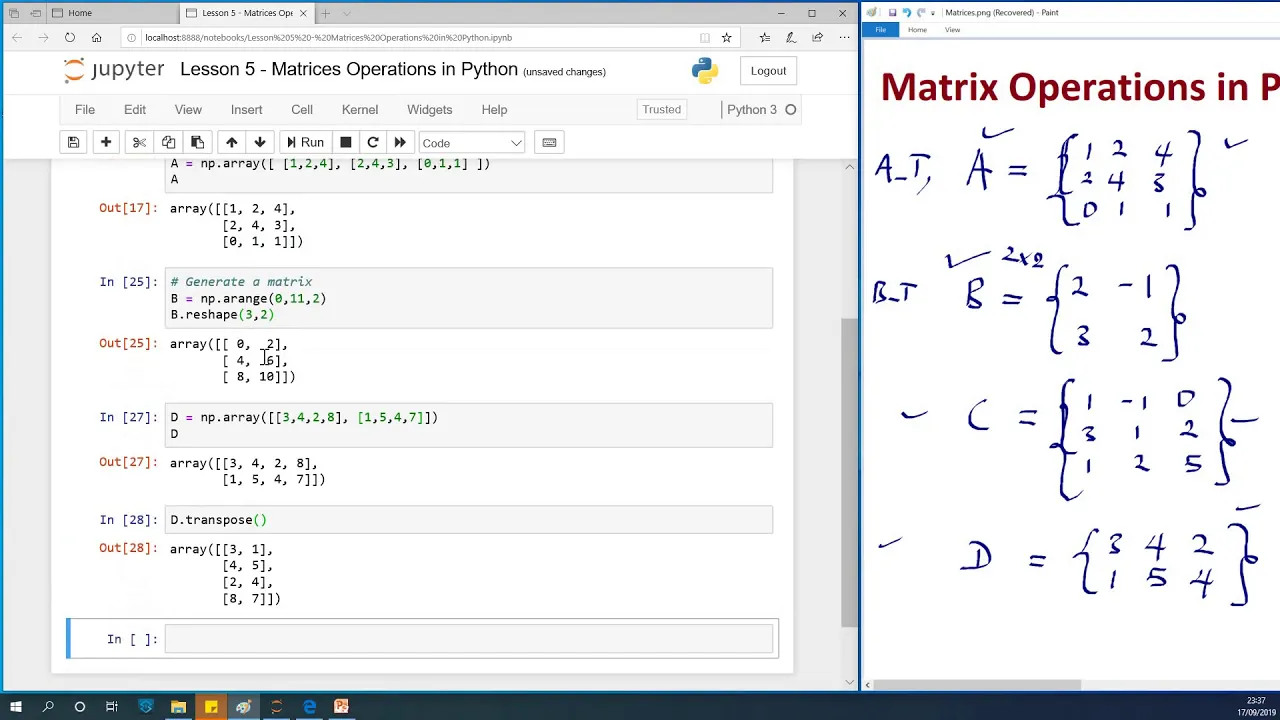
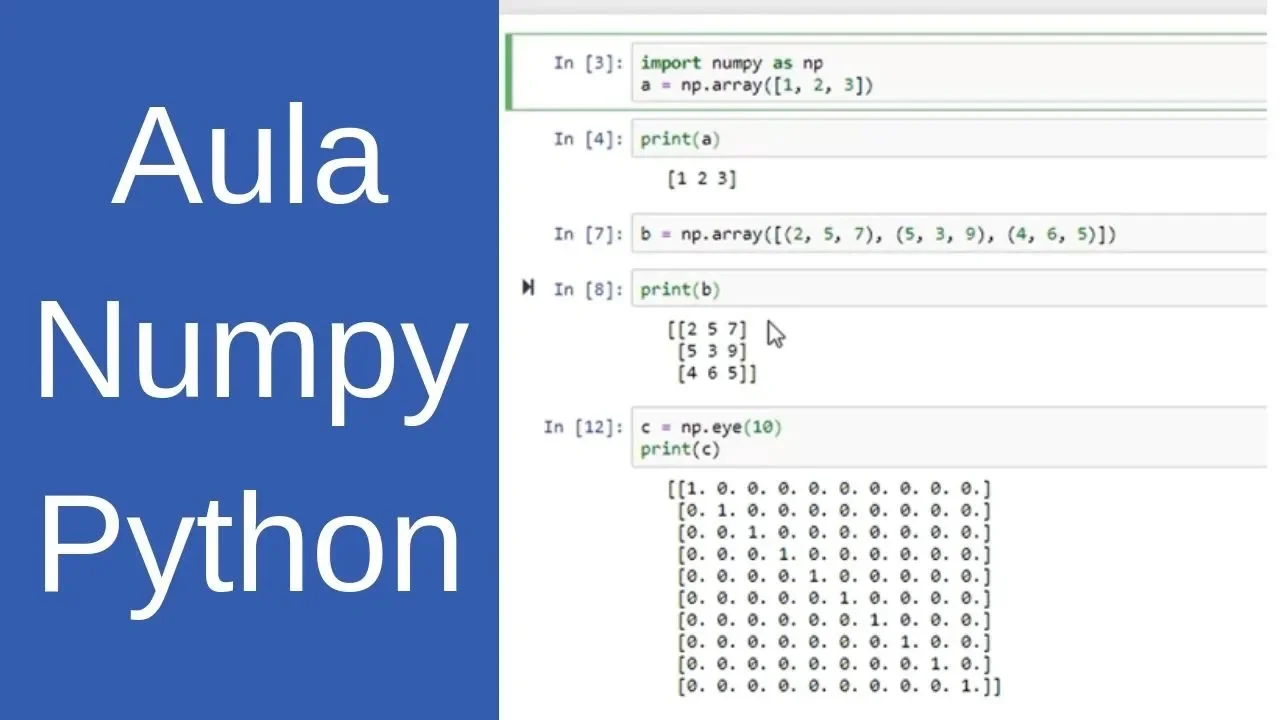
Added:Basic Python programming, including familiarity with NumPy for handling multi-dimensional arrays and matrix operations.
Fundamental concepts of linear algebra, particularly matrix multiplication, translation, and rotation vectors in 3D space.
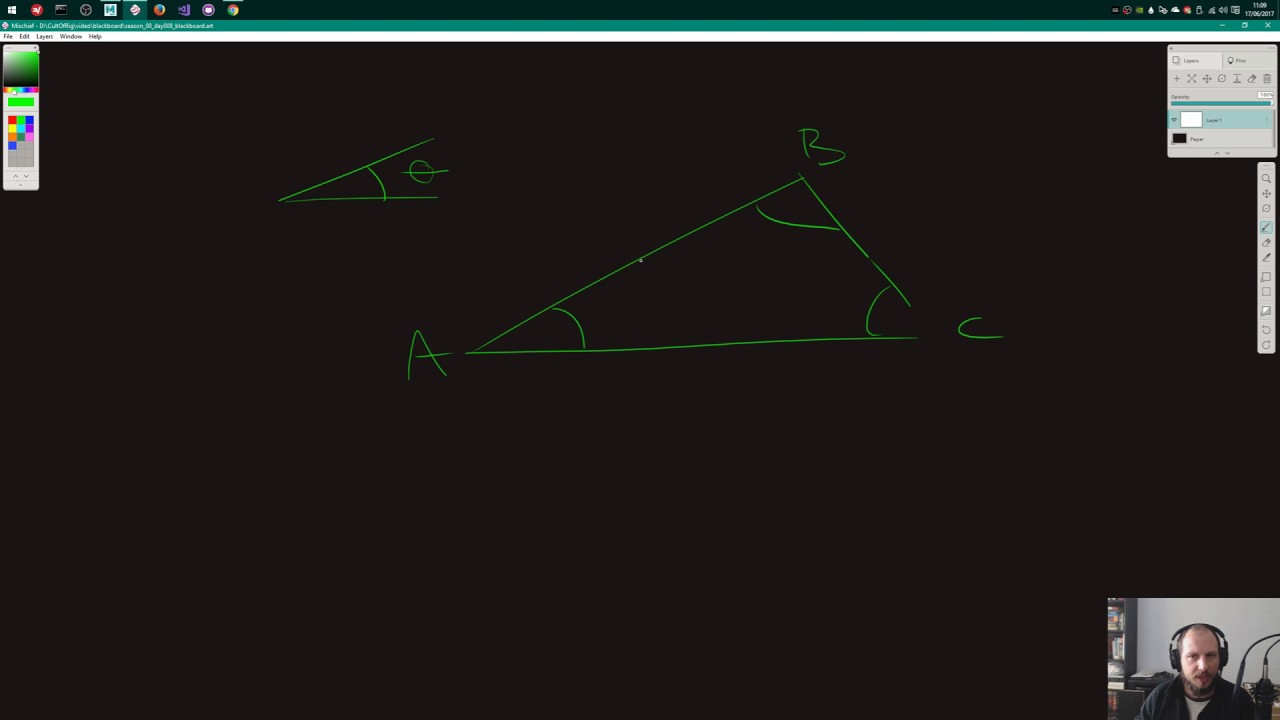
The basic pinhole camera model, including key concepts like focal length, principal point, and how 3D world coordinates map to 2D image coordinates.
Introduction to computer vision basics using OpenCV, such as reading images, detecting corners, and basic image processing operations.
Stereo Camera Calibration and Rectification to estimate depth and generate disparity maps using two calibrated cameras.
Pose Estimation (solving the Perspective-n-Point or PnP problem) to determine the 3D position and orientation of objects relative to the camera.
Fisheye camera calibration models to handle extreme lens distortion found in wide-angle and action-camera lenses.
Visual Odometry and SLAM (Simultaneous Localization and Mapping), utilizing calibrated camera feeds to track motion and reconstruct 3D environments.
110.2K views1.6Klikes28:48Original Release: 2021-03-28
hey guys welcome to new way in this computer vision tutorial in this video here we're going to do camera calibration in python so first of all we're going to talk about like what is camera calibration and why do we need to calibrate our cameras before we using them in our application and then at the end of the video i'm actually going to show you a script that we can just run in python on several images that we took with a tape with a camera and a chess port and then we're going to do camera calibration on that and we're going to get the camera matrix and also the different kind of like distortion parameters and stuff like that from the camera calibration that we're going to do on our camera here so we can actually like remove distortion on our images but first of all remember if you've done a discord server i'll link to it down the description here and you can join the discord server and come chat with us about computer vision as a vision on cellular deep learning and stuff like that and also if you have like a project where you're doing some different kind of stuff and you have some problems you can question your question in there or just come in for inspiration you can now also become a member of the channel if you hit the blue button under the video here and then you can support the channel here with a small monthly fee every month and all of it will go to creating more and better quality content on this channel here so first of all here we're going to talk about like what is really camera calibration and why do we need camera calibration so when we're doing camera calibration we need we need to like use multiple images of a chess chessboard here in the image where we want to like calibrate our camera on so an example over here to the right we can see that we're calibrating our our our camera here then we actually like take a picture of the area that we want to have our camera operating in and then we're going to use this chess board here where we're going to move this chess board here around so we need to have a known object here and in this case here we're going to use a chessboard and then we need to have multiple images where this chessboard here is at different positions so we both need to rotate it around translate around here in the image and also tilt it so we have to like get tilted chess boards with our camera as well so we can then use that information to actually like calibrate our cameras so as we can see here over to the right we're actually going to calibrate this camera here and then we're going to find like the corners here of the chessboard and then because when we know the object in in like the 3d world coordinate then we can actually use that information to calibrate our camera and also get our distortion parameters so down here at the bottom here this is actually like the image that we have undistorted so we can see that we have some curves here um at the end of the table here so we can see that we have this like this barrel distortion here in the image up here that we're going to remove by using camera calibration and then when we actually like undistort our image down here at the bottom then we can see that we can just get a straight line here um of this uh of this table here where we don't have this this barrel distortion or this curve up here so down here is to actually like the result of the image when we have calibrated our camera and when we're going to do operations later on or and doing some different kind of like stuff for our own application and our own project then we will kind of make like more accurate calculations and and different kind of operations when we actually have these straight lines and remove distortion in our images compared to if we're offering with distorted images up here as well so we can like get more accurate results and do more operations on our images when we have calibrated cameras so we're going to compute the camera matrix and we're going to compute the distortion parameters the rotation and trend and translation vectors so we can actually like relate how the different frames are to each other and then we can get the camera matrix and if you don't know like for example the focal length of your of your camera and stuff like that you will actually like get that by using camera calibration as well because we can we can take that out from the camera matrix so we know the focal length um off our camera and then at the end here with camera calibration we're just using it to remove distortion and get this camera matrix here the distortion parameters and also the rotation and translation vectors so first of all here we're just going to talk about like the camera pinhole model here as well so we'll go down to like the really basics off a camera and how that works and then we can use that information to actually like calibrate our cameras and then get the camera matrix and remove the distortion that we have in our images so just to go short over here the camera pinhole model because we've just we have already been over this one here uh throughout this tutorial here several times so if you don't like really know like different kind of stuff within camera pinhole model and what these different kind of parameters means make sure you go view through through that those videos as well uh here the tutorial i also did another another tutorial on camera calibration in cbs plus so if you want to calibrate your your camera and sequels plus definitely go check that video out but in this way here we're just going to create a script in python so we can just run that script on a number of images and then we can actually like calibrate our camera and get the different kind of parameters that we want so the pinhole model here is that we actually have like the 3d world coordinates up over here and then we have a point here in the 3d world and then we can actually project that 3d point down here to the image plane which is this blue plane here uh that we can draw here so we actually like get a 2d representation of this 3d point that we have out here in the world coordinates and then we actually have the optical optical center here or like optical center which is like the pinhole here of the camera and then all the lights here can actually reflect it down here and then the focal length is actually like this distance from the pinhole of our camera or like from the lens to the actual image plane here um in our camera so we can use those informations here to do different kind of stuff um within when we're doing camera calibration and then we can use that information to do a lot of different kind of operations within computer vision so we can actually get the focal length here which is considered as a scaling factor because this is the distance from the pinhole to the actual image plane of our camera then we actually have this w here which is also just a scaling factor for this uv here which is actually like the protect projection of our 3d point in the 3d world coordinate system here and then we have our camera matrix here where we can actually like have the the ccx and cy which is actually here which is the location of the optical center but in this example here we just set that equal to zero zero two comma zero so this will be um the location of our optical center and this is actually like up to call center here um off our camera and then we have this xyz here which is this point here in the 3d world coordinate system so to actually like make the projection from 3d to 2d we actually like need this camera matrix here where we have the focal length in the x ax and the x-axis and the focal length here in the y-axis and also these two focal lengths here is actually like the same value but we can get these information here from calibrating our cameras because we're using 3d points to actually like make predictions down on 2d point and then we get the camera matrix we need to get this distortion parameters and then we can undistort our images so we don't have the different kind of distortions so why are we actually going to use camera calibration because as you already seen we can have like a camera where we have like this kind of like barrel distortion or we can also have something called confusion uh distortion and it can be caused by for example the lens it lens if we're using in our in our application at a lens where we where we need like a bright like white philip you and we're for example using a facade camera then we'll have this barely distortion here or pin hues and distortion if we're using for example a fisheye um if you know like what that is it kind of looks like this here where we have these curves here um at the end or like at the sides here of our image and that will cause a lot of noise and a lot of like uh distortion on our images and if we try to do some operations or like look at these lines here and calculate some different kind of like for example disparities when we're going to use steroid vision and stuff like that we won't get really accurate results and we can't really use that if we haven't calibrated our cameras so that's why we're using a camera calibration so i can like get more precise results and we can then also do better operations on our images so we use camera calibration like basically just to remove the distortion on our camera lens so we get better frames and also actually like get the parameters from our camera if we don't know him beforehand so we have just been using distortion and barrel distortion that we can actually remove from our images when we're using camera calibration so the method here that we're going to use for camera calibration is something called the sangs method and i'll just shortly go over it i've already uh went through it in the other tutorial in cbs plus where we did camera calibration and we went more in depth with all this but i'm just going to explain that we're going to use this sang method here and we're just going to estimate like homography to each camera plane so we're going to take different images of the different kind of like chess boards from different kind of like perspective we're going to flip the flip and rotate and translate the chessboard around in the image and then we can actually estimate the homography to each camera planes of those and then we'll get a linear solution for the pinhole camera model as we just went over that we're using uh the pinhole camera model and so that's that's basically what the sense method did and it is and what we're going to use for a camera calibration and at the last slide here i'm just going to show you like this these results here from the paper of the sangs method and and the most important part here that we're going to like work with in this example here is actually like the last figure down here so here we're going to find like the relative error here compared to the number of planes that we're going to take so when we're going to do camera calibration we might like one day one day about like how many different kind of planes and how many different kind of like uh different frames and and like pictures the right to like have to take where we rotate our chessboard around flip them around and translate around in the image and as we can see here at the results we actually like get here from uh actually like from three to five planes here we actually like get a relatively low error compared to if we're using up to like 15 planes here like we won't really get that much improvement by using like 15 planes compared to 15 planes compared to like only using three or five so this example here that i'm going to show you right now in python we're actually going to use five five number of planes and then we're going to calculate the relative error and and undistort our image so we can actually like do operations on that later on so we're not going to do the sublime text here where i have the script a python script here that we can actually run to calibrate our cameras on a number of frames that we actually have stored in the directory so first of all here we're just going to look at the images that we're actually going to do camera calibration on so first image here i have is the kelly one uh here where i just have this uh camera that we take and then we can see we have this barrel distortion or like this confusion distortion over here uh to the left or we can see the curves of the table here is really curvy out here uh to the left so we actually want to remove that distortion so we can then do operations on those images here and then for the second image here that we're going to load in we actually like have uh rotated and translated our our chessboard here around so we actually like get number of different kind of views of our chessboard and then we can use that information to calibrate our cameras if you look at the third image here again we can't translate it up so we have another view here of the of the chessboard the fourth one here we're actually like going to tilt the chessboard so we'll also get that into a perspective and then the last result here is whatever actually have tilted it at another way again and we have translated down here at the bottom of our image and we can see that on all of the images here we have like have the same distortion here at the end because we have at this distortion here in our camera lens which is why we're going to use camera calibration to remove that from our from our frames that we're getting doing uh operations or like different kind of calculations on so if we go back back to the script here again and go through like line by line here the code and then at the end of the video here's like going to run the code do camera calibration so we can see what is really going on and when it finds the different kind of corners in the chessboard and then at the end we're going to see the results when we're going to undistort our image so first of all here we're going to specify the chessboard size here so the number of corners that we have in our chessboard both in the width and height so in the width here bracelet like have 24 uh corners that we want to find and we have one 17 corners um in the height of our chess board as well then we're going to specify the frame size here so we have like a 1400 pixel pixel um camera like image here that we're going to do camera calibration on then we also have a termination criteria here that we set up and this is just default uh from opencv so this is just a termination criteria that that we're going to use when we're going to find subpixels um in our actual images so we can find like a corners off stop pixels over here like get a really exact result or like a really exact position of where the corners are in our chessboard then we're going to going to compare compare our optic points so we have like our object points in the ideal way that we want them to so we have this 0.00 and then 1.00 and then just goes on and on and on until the end so we just have this set up here and prepared update points that we can then use later on when we're going to actually like do camera calibration with the opencv functions and this is the same that we do down here so we just do the exact same thing here so actually like have prepared our object points after these two lines of code then we're going to have two arrays here where we can store the actual object points that we get from doing like during our camera calibration and also the image point here so our object points is the 3d points in the real world space so the optic points from the actual like chess board that we're going to get from from feed 3d so we have the our information from the three-dimensional world coordinate space and then we want to project that down to t 2d points in the image plane and then we actually have a relation between 2d and 3d by having this camera matrix that i showed you in the slides then we're going to use our images here that we're just going to load into these images variables here a variable here so i can like have all our images stored in this variable and then we can just have this full loop here where we run through all the images do the operations on the images and then store the results in our object and image points and then use that to actually like do kalmar calibration and undistort our images with those results later on so we're going to use this glob here which just takes like all the images that is in that folder that has this extension here png png so in the camera calibration folder i have appeared to the left if you can see it i only have this python script here of camera calibration and then i have the five images that we just went through uh with our calibration which is the p and g and png images and i'll just delete results here so they don't load those in as well when we're going to run this python script so as i just mentioned we have all the images stored in this variable now here and then we can just have a full loop where we run through all the five images that we actually like have in our directory here first of all we're just going to print out if we have like an image here and in um that we're actually like have an image that we can load in and then we're going to read in uh read in that image here so i can like store in this image variable here with omcb so we can then use opencv's camera calibration functions trying to like do all of it for us first of all here we're going to convert it from big er when we load it in it will be bdr in um in omcd and we're then we're going to come uh to convert that to a grayscale image so we're going to operate with grayscale images because this fine chess board corners function here from obviously it only takes in grayscale images so when we have our grayscale image here we can actually like just call this function here from opencv which is find chessboard corners and it will find all the different kind of corners that we actually have in our chessboard uh that we specified up here with the chessboard size so we will try to find a 24 by 17 uh actual uh uh corners in our chessboard with this fine chessboard harness here we pass also in here the grayscale image that we have so we find all the chessboard corners that we have in this grayscale image here and then it will just return all the call on all the colonies here uh in this variable and then we can use that later on so i can like find some soft pixels of that corner and to create to like to like get more accurate results and then later on we can use that so i could like uh do the camera calibration so if we actually like found the points here and and then we're going to add the object points and the image point after we have been been refining them so if this right here is true then it was then then we know that this fight that we actually like found some chessboard corners with this function up here so those returns is if it found some chessboard corners and also then the corners that were actually like found in in that image then we're going to check here if that is true and if that is true we're actually going to add the object point and the image point so first of all here we're just going to have this optic point here where we actually have this empty list here at the beginning then we're just going to append the optic point um optic point here that we actually like have up here that we prepared up here um these two lines of code here and then we can actually like find coinage to here where it's like just going to go into the sub pickles off the cornice so if you don't know like how we can find corners and soft pixels i also have like a corner corner detection tutorial where i go over like what is finding corners and sub-pixels and why are we doing it so if you want to go more into details what some of the different kind of functions uh here does and also how they do it then make sure to check the tutorials out throughout this video or like throughout this tutorial here and then you'll know like everything about like what is going on behind the scenes here and how we can use um computer vision and how these different kind of functions here work so in this in with this video here we're just going to go over the functions and then we're going to run the python script here to actually like do the camera calibration so here we just take the the opencv function here corners sub pixels here so we actually like find the corners in the sub pixels in this grayscale image here and then we're going to specify the corners where we want to find like the corners in those sub pixels where those corners we found uh we're at and then we're going to specify this criteria or like this termination criteria that we specified up here in the top and these 11 by 11 and minus one by minus one here it's just default parameters for finding these uh cornish subpixels here in opencv so we can specify some of these parameters if we needed that for our application when we have done that here we're just going to append those corners here in the sub pixels to those image points here and then we actually like have both our object points and image point and we can relate both 3d points to 2d points and then we can actually use that relation to get our camera matrix then we're just going to draw here and display the corners that were actually like detect on our chessboard so we can see the images or like the chess boards where we find big corners do we find all the corners and stuff like that so we know that we get a good result when we're doing camera calibration so we're going to use this drawer chessboard corners here we're going to pass in the image where we're going to like draw the actual like chessboard corners and we specify this in here which is also like in pkr so we can see like the color color images because we actually like found them in the grayscale limits but we're going to show the corners that we found in the color images then we're going to specify the chessboard size and the corners that we found and also this red variable here if that is true if you actually like found some chessboard corners or else we want to draw them on our image then we're just going to use this intro function here try to like show the image and then we have a way key here so we wait for one second before we go into the next image so we run through one image at a time find the different kind of corners from the chessboard and then get the optic points and image point append those to the list then we wait one second we display it wait one second and then we go to the next image and then we'll just run the the same process through five times or like number of times uh or like number of planes that we actually have in our directory where in this example here we have five images where we have this chessboard that is moved around uh in the image frame then at the end here when we have been through all the images here we're just going to destroy all the windows here then we can actually go down and do the actual calibration when we have our optic points and our images point so then we're just going again to use the opencv function here camera calibrate camera so all it does here is just it takes in the optic points that we found the image points here so now we have isolate optic points and image points for all the images that we have processed we specify the frame size here and we just specify this non and on here which is also just default parameters so all we need to specify is the object points and the frame size and the image points that we just found and then we use this camera calibration function here from opencv and it will return like if it could calibrate the cameras in this red variable we're going to to get back the camera matrix here because we can relate the optic point to the image point how we can actually like project 3d points to 2d points and we use that we use the camera matrix for that so we can actually get both the camera matrix the distortion parameters our rotation vectors and also the translation vectors so now we have now we have all the information uh that we actually need from our camera calibration and then we can use these distortion parameters here later on and our camera camera matrix to actually like undistort uh our images but if we want to do camera calibration just to get our camera matrix and also to get our focal length we can actually just use this camera calibration here and now we have all the parameters here that we actually want then we're just going to print out these different kind of variables here when we're going to run the program so we can see what is going on and how like the camera and matrix look like and also distortion parameters then when we have to calibrate our camera we can go down and use those parameters to undistort our images and we actually have two ways to act undistort our images we can just use the undistort function from opencv or we can use something called remapping and they will both return the exact same result so first of all here we're just going to load in a new image and in this example here we're just going to load in uh the fifth image here from our calibration so we can see that way i can like remove the distortion that we have in that image then we're just going to get the height and the width here of the image because we want to use that when we call this function here get optimal new camera matrix so we can actually do some optimization on our camera matrix so we get more accurate results by using this function here from opencv we just pass in the camera matrix the distortion parameters the width and the height of the frame and the default parameter and also the width of the height here again and then it returns like the new camera matrix that we can then use uh later on so when we're going to act like undistort our images with the undistort function from opencv we just have our like destination here or like our final image here which is actually like distorted here that we will store in this variable and then we just use uh obvious function undistorted here it takes in the image that we actually want to undistort so it will be this image that we load in up here and then it takes the camera matrix the distortion parameters and a non-default parameter here and then also takes in the new camera matrix here that we got from this get optimal new camera matrix function up here then we can actually like just set this roi here equal to the x y x y and the width of the height so we're like going to crop the image and then we're just going to crop the image here uh by using this uh this slicing here as well and then when we have cropped our image then we can actually write the result here to the to the directory so we can actually see the undistorted image in this example here so another example and the last example i'm going to show you like the way that we can undistort our image is with something called remapping and here we get like a map here for the x direction and a map here for the y direction and we again we just use a function from opencv that will do everything for us so so when we get these different kind of parameters we know like how we can use them we can just run this python script here with all the opencv functions and it will just return the undistorted image so we we're going to use this init undistorted rectify map here from osv again it just takes the camera matrix the distortion parameters the new camera matrix and the width of the height just as this um this get optimal camera matrix and also the undistort function here from opencv it does but it doesn't in some different kind of ways but you can use both both functions here and get nearly this exact the same result then we're going to use this remap function here where we're going to specify the image the map here in the x and the map here in the y and then we're just going to specify that we want to use um inter linear here at which there's that default parameter again but we have some different kind of options um in opencv as well if that doesn't work for our application but this is just default so it works like most of the time and now we have to like have our destination here or like the final image just exactly at the same up here and then again we're just going to in in-write it out here we're going to crop the image and then we're going to in-write out the result here and then we're going to like look at both the result here and see if they are the same and what the differences are but they will be the exact same in this example here and then at the end here as we talked about with the sang method we can actually like calls uh we can actually calculate some reproduction error so we can see like the error from our camera calibration so when we know when we're using more than three planes then we have a relatively low reprojection error when we're doing camera calibration so to calculate this i won't really go into details what is this just like a formula how we can actually like calculate it we're going to use an opencv function with the project points here so we're actually going to make a reprojection of the point that we found in the images so again we know that we need the optic points we need the rotation vectors and the translation vectors so we can actually like relate the images or like opt-in points uh to each other by using these different kind of rotations and translations that we got from using camera calibration and then we're just going to to to um to calculate the error here uh with the norm and then we're just going to calculate the mean error and then at the end here we're just going to print out the mean error of the reprojection error so how the different kind of like 2d points and 3d points relate to each other and what is the error on that so now we're going to run the program here and we will load in the images one by one here it will do a different kind of operations that we just went over it will calculate the camera matrix the distortion parameters and stuff like that and then we'll print it to the terminal here so if i just directed up this up here we can actually see that we load in the image here one by one we will store the results here in the directory and then we can see here that we actually calibrate our camera here which is the return value we get the camera matrix back here where we have the focal length here in the x direction and the focal length here in the y direction and then the two parameters here or like the two values here is actually like the location of our optical sender for a camera when we actually like have that in our camera model as i showed you in the slides then we will get the different kind of distortion parameters here that we use to actually like undistort our our image and calibrate our camera and then we actually like have the rotation bacteria as well here and the translation vectors here that we got from calibrating our cameras here as well and then at the end here we actually have this reprojection error that we're calculating that we have an error of 0.04 here so it's a relatively good reprojection error so we have actually calibrate our camera really good and where it's like have a really low low error so when we're going to do operations and do calculations with our images that we have now calibrated then we'll actually like get really really exact results and we can use those images that have calibrated to do these different kind of operations um with very accurate values and results so we're just going to look at the results here directly like got off from doing uh on distortion on our image this is when we called the undistortion function here with opencv and we can now see that we're actually like remove this uh this curvy distortion that we had over here to the left of the table so now we can actually use these images or like these frames here to do actual and really accurate and precise calculations if we for example have two objects that we want to calculate to the distance to it will be way more accurate than if we had like this uh barrel barrel amp infusion distortion um in our image by having this fish eye camera lens um effect so we can see that we have actually removed uh distortion here on our image and if we look at the second result where we used remapping we can see that we get exactly the same result we have gotten like the same output here we've removed the edge here uh like we have a really straight line here of our table and we had to like remove this barrel and pin using distortion so we don't have this curvy edges here um out here to the left of our image and we actually like have the same exact same thing here to write about the table in this example here is more to the left so like the results like the the table here or like the images here where it would actually like get affected more over here to the left but when we act like undistort our images here after we have done camera calibration we can see that we now have a really nice and straight line here in the image instead of having this curvy line that we really couldn't use to do operations and categories with our frames and images with so that's pretty much it for this video here guys uh i've shown you like how we can calibrate our cameras uh talk about a little bit about like why we should camera uh calibrate our cameras and also like how we did it i made another video in camera calibration with cbs plus so if you want to calibrate your cameras with zipper plus definitely go check that way you're out i also could get more into details with like what camera calibration does under the video under under like the functions where in this video here we just kind of use the functions from opencv and we just made this python script here that we can just load in the images call this python script here and it will do everything for us and then we can just use the resulting frames here to actually like do our operations on in our own applications and projects so thank you guys for watching this video here and remember to hit the subscribe button and notification under the video here and also like this video here if you like the content and you want more in the future because it just will help me and the youtube channel out in a mess away and i just really appreciate support so i'm currently doing a deep learning tutorial where we're talking about like um neural networks deep learning like how we can create artificial neural networks convolutional neural networks how they work under the hood we're going to actually like create a neural network from scratch create create like a data set that we're going to create a train on illness on and then we're going to do predictions on data that the neural network hasn't seen before and then make predictions on on that so that's a really nice and cool tutorial that we're going to combine with this computer vision tutorial so we can see like how computer vision and deep learning work to work together so if you're interested in that tutorial i'll link to it up here or else on the team next order guys bye for now [Music]
Up Next
23:05
Stereo Vision and Depth Estimation Using OpenCV (C++ & Python)
@NicolaiAI
86.1K views•2020-11-03

87:26
Introduction to Secure Multiparty Computation with Yehuda Lindell
@fhe_org
7.7K views•2021-02-04
27:30
Depth Estimation with Stereo Vision in Python and OpenCV
@NicolaiAI
45.2K views•2021-02-04

19:25
Enigma Machine Mechanics: WWII Encryption Explained
@JaredOwen
13.2M views•2021-12-11
Related Study Plans & Knowledge Roadmaps
Structured learning paths in Computer Science
computer-science
Container Runtimes: Namespaces, Cgroups & Go
01Linux Systems & Go Programming Foundations
02The Core of Isolation: Chroot and Filesystems
03Linux Namespaces: Process Isolation
+ 3 more learning modules
32h6 modules
Explore Roadmap
computer-science
Building a CHIP-8 Emulator: Rust & CPU Basics
01Computer Architecture Foundations (Bits & Bytes)
02Rust Programming for Systems Development
03CHIP-8 Virtual Hardware Specifications
+ 2 more learning modules
32h5 modules
Explore Roadmap
computer-science
Building BitTorrent: Go, P2P & Concurrency
01Go Fundamentals & Concurrency
02Networking Foundations & P2P Architecture
03Bencode Parsing & Torrent Metadata
+ 3 more learning modules
26h6 modules
Explore Roadmap
computer-science
Actor Models (C++ Concurrency & Lock-Free)
01C++ Multi-Threading Foundations
02Thread Pools and Task Scheduling
03Atomics and Lock-Free Queue Design
+ 3 more learning modules
45h6 modules
Explore Roadmap