















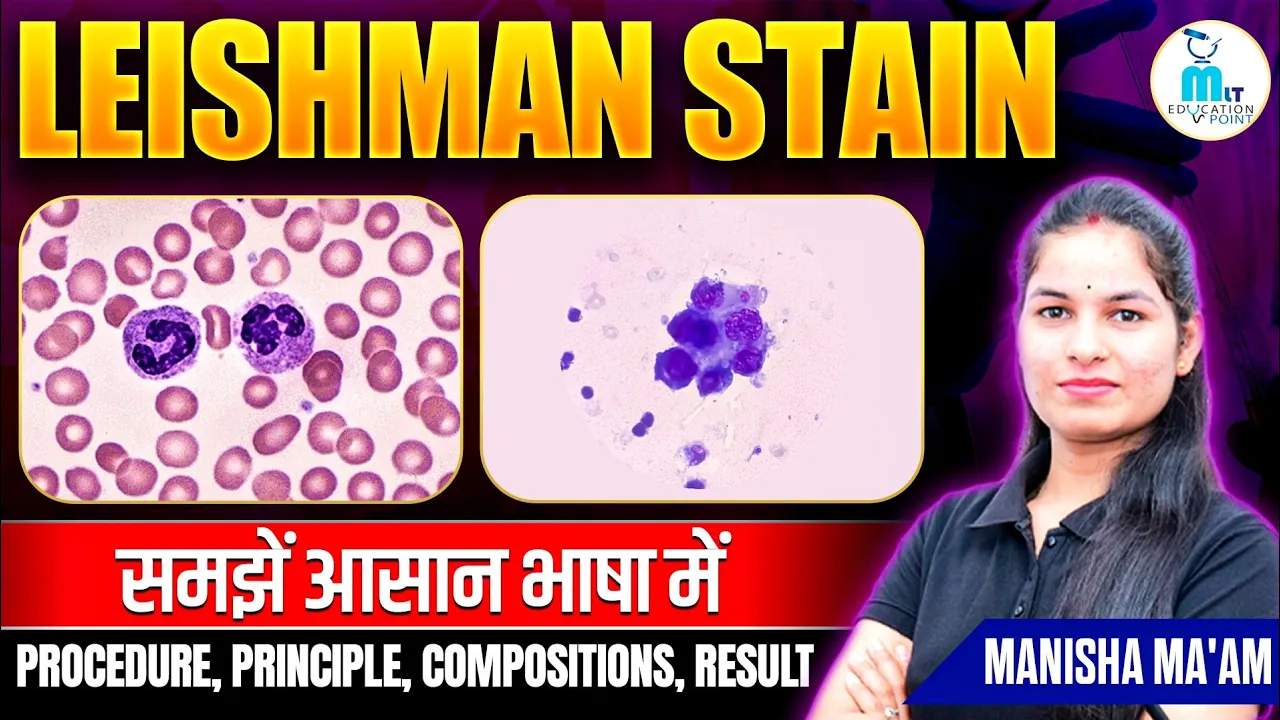






The Wright Giemsa stain is a Romanovsky stain containing oxidized methylene blue and eosin Y that differentiates blood cell components by exploiting pH differences: basic methylene blue stains acidic nuclear DNA blue-purple, while acidic eosin Y stains basic cytoplasm pink-orange; the manual staining procedure involves fixing air-dried blood smears with fixative for 30 seconds, staining with the Wright Giemsa stain for 3 minutes, rinsing with buffer for 6 minutes, and finally rinsing with distilled water, with all drying steps performed by air drying rather than heat to preserve cellular morphology.
How to Prepare & Stain a Peripheral Blood Smear | Hematology Lab Guide
Added:Basic composition of human blood, including the roles and general appearances of red blood cells, white blood cells, and platelets.
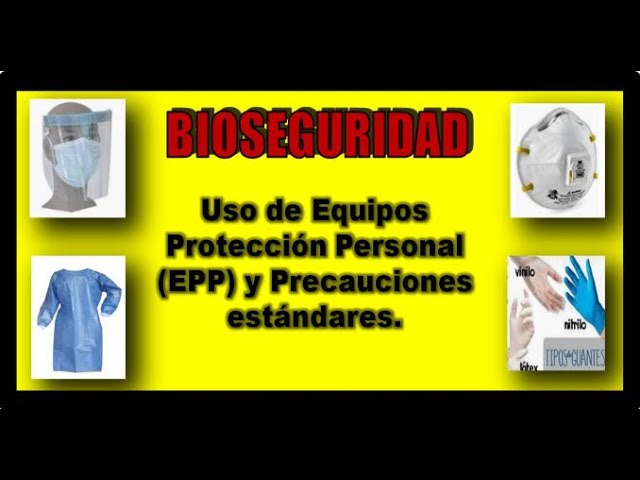
Standard laboratory biosafety protocols (BSL-2) for handling biological fluids, including the use of personal protective equipment (PPE).
Fundamental principles of compound light microscopy, particularly the mechanics of magnification and the use of oil immersion lenses.
Basic chemical concepts of staining, specifically how acidic and basic components of dyes (like eosin and methylene blue) bind to cellular structures.
Techniques for performing a manual differential white blood cell count and calculating absolute cell values.
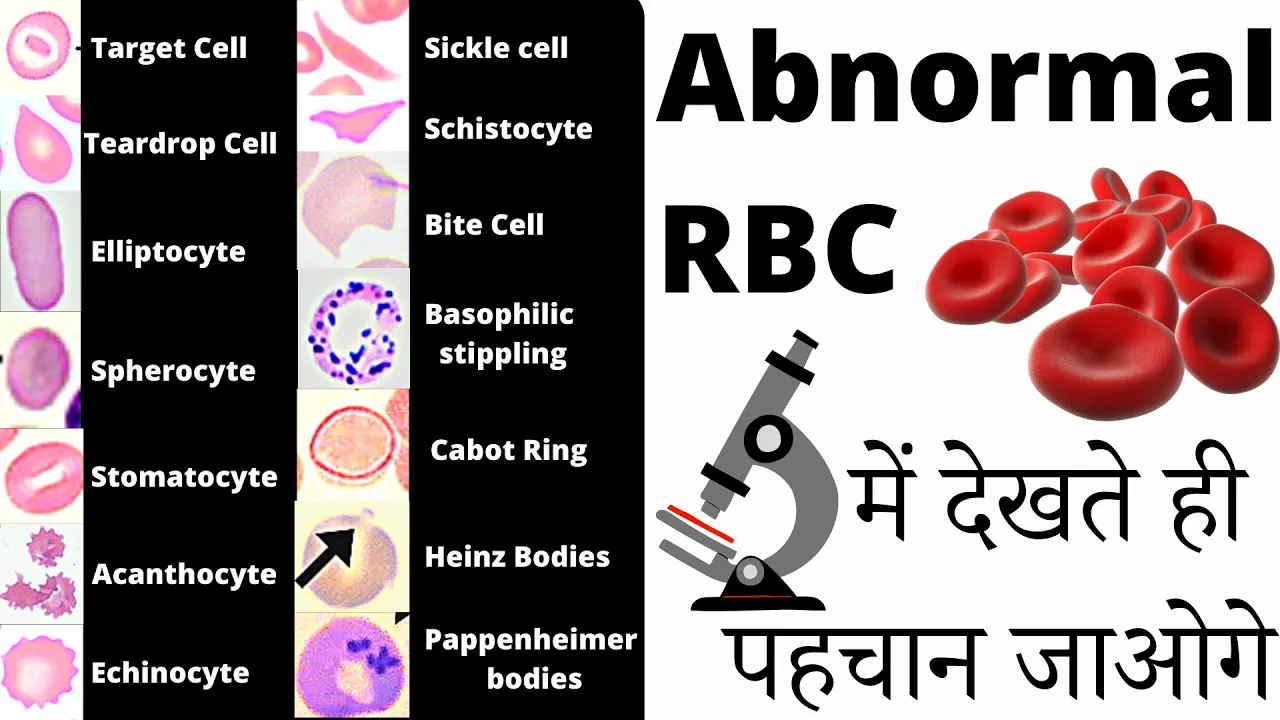
Identification and classification of normal and abnormal cell morphologies (e.g., sickle cells, target cells, blast cells, and inclusions).
Troubleshooting common errors in smear preparation and staining, such as solving issues with blood thickness, tail shredding, or pH imbalance.
Clinical interpretation of peripheral blood smears to assist in diagnosing hematologic disorders such as anemias, leukemias, and parasitic infections like malaria.
12.8K views160likes15:57Original Release: 2020-09-15
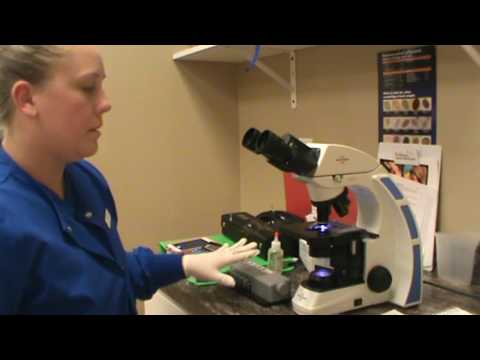
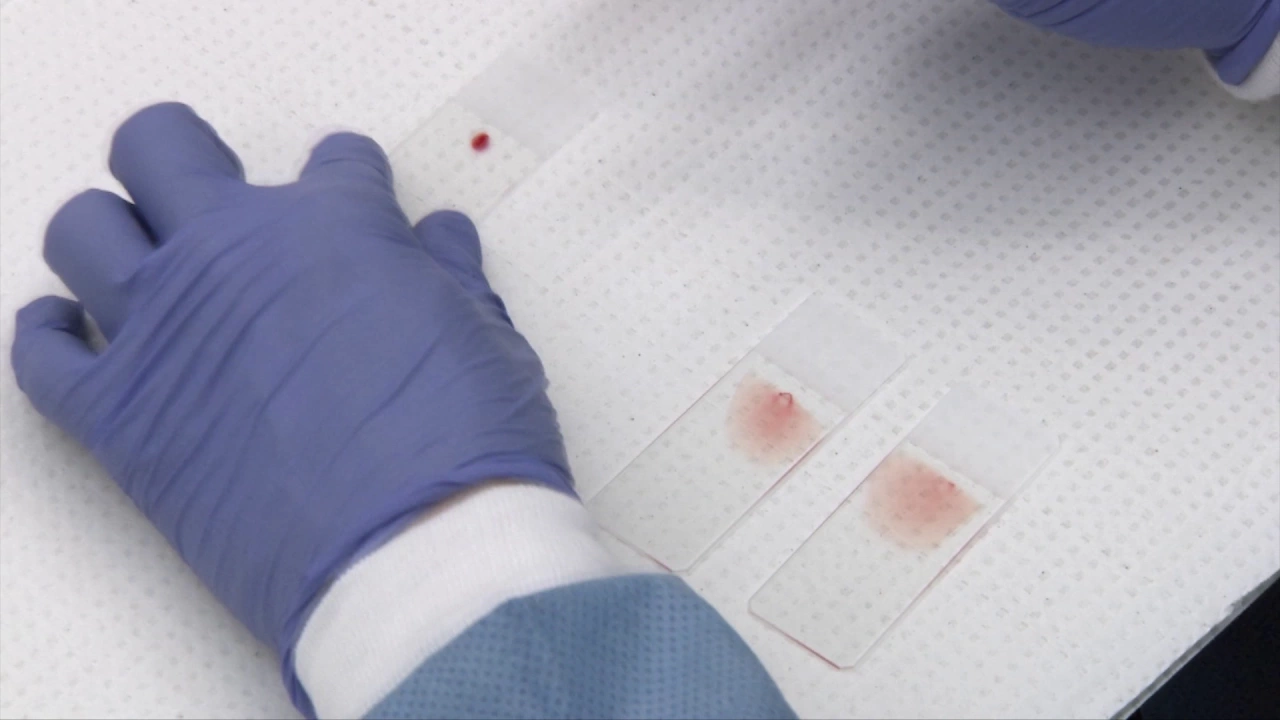
everyone today i'm following up uh from yesterday there was a problem with you seeing the uh spreading part of the peripheral blood smear slide preparation so i'm gonna go ahead and start the staining video off with that so i need to get my diff safe device working well here there we go so there's there's my drop of blood that i'm gonna spread okay and i pull this slide and i go like that okay what i did was i spread the blood across across the um width of this slide and using this spreader here the spreader slide i really hope that you saw it so we'll do it one more time and make sure that you get to see that so here we go one more time that's a really big drop of blood and i'm not really going to use these slides this one is drying but you can go ahead and use it so you can see it right there so i'm letting the blood go across the slide to the edge you shouldn't all go all the way to the edge but it was a really big drop of blood i was trying to get it into view so hopefully you just got two angles obviously this is not where's my camera this is not a good slide this was a good slide uh that i could use um so i'm really just gonna throw these away so there we got that part out of the way just like i promised so let's move on to the staining procedure itself so we're going to do the manual uh right game sustain we have a setup that is on the side of the bottle we're using that modified version and in a right game sustain it's a romanovsky stain and it's for peripheral blood and bone marrow smears and the most important parts of these stains are that you're using an oxidized methylene blue and an as or b and an a ocean y stain so what's happening is the the methylene blue and the azerb stains are going to stain the nucleus a shade of blue or blue to purple and that way you can use them to differentiate though or you can use the stain to make a diff smear and perform a white blood cell diff on there and look at the red cell blood morphology so the eosin why die part of the scene is used to save the cytoplasm of the cells and orange to a pink color so the red cells are naturally pink because of the hemoglobin or red because the hemoglobin and the white cells don't have any color whatsoever that's why they're called white cells because we use a white light and it shines through shines through the slide you see the red cells but you can't see the white because the white are clear so we use these stains in order to see the morphology in the nucleus you have a an acidic component because of the the dna right dna the a is acids right and so we use a basic stain to stain that portion and then um that's why we're able to see that so whenever you uh whenever you use a stain the stain is always the opposite ph that of the component that you're trying to stain so that it'll come together okay so what we have here is in the first one we have the fixative and you set your um your slide holder so this has like 10 slides in it um i did like 30 slides yesterday making that video those videos um so this holds like 10 in there i already put these two in the fixative so that they would air dry and you could you could see the next phases on the video um the great thing about this uh setup is that this top is able to seal off the chamber so that you don't get fumes or splashes and that's really great um in all different sorts of staining procedures because there are things that can be hazardous to your health with the vapors and you don't want to splash anywhere or transfer over so this one's empty at the end but i already dipped these two sets into the fixative and i let them air dry the fixative is for 30 seconds one thing you want to be careful of is i had used a marker that i thought was a acid resistant marker and it really kind of faded there so i went over and put everything in a pencil so you probably just every time you make a slide whether it's micro or hematology any kind of dyeing procedure you absolutely just probably want to use pencil that way you don't have to worry about whether your marker is for real resistant or not [Music] okay so i just wanted to show you each part here you're gonna need a um you're gonna need a timer here so the first one i have well i did have set for 30 seconds but it stopped so we're going to set the first one for 30 seconds so i can do this new batch then we're going to have three minutes and six minutes so two will be set for three minutes and then three is going to be set for six minutes okay so we'll go ahead and get started i'm gonna do the um i'm gonna do the fixative first because that has to air dry and so you can see what this looks like while you're doing multiples all right so um all you're going to do is you take your slide that you made and you put it into a slot that's open so you all are probably very aware of how to do that but i'm doing it in front of you anyway okay just slide it in there close it up so that it's a perfect tee for tiffany like me i know that's really that's really silly okay um so i have all the steps in front of you um listed on the tops and that's for your benefit so that you don't have to keep your procedure with your con with you constantly all right so we're going to put this one in and you don't need to close the top you hit the first then you go all right the next one here i'm going to put in the stain it's a beautiful purple i'm gonna set go for that so i don't know if you noticed but the timer one goes with one the timer two goes with two timer three goes with three that's intentional okay three was almost done it was blinking so i'm gonna take it or sorry one the 30 seconds the fixative was almost done so there we go so bring it out all right it's going to air dry you can see it's already wet there and a little bit of blue is coming out from the marker so a great thing to remember so we can just clear this now because i'm not going to use it again a great thing to remember here is that you don't want to start this last one here into the three minute one while you're in the six minute one um you know until you're closer to the end of the six minutes because you want to be able to immediately put this in from here okay so we're just going about and waiting so we have about a minute and 30 seconds on here again i'm not going to pull that in yet so [Music] just to show you what one looks like after it's been fixed it still looks like a a blood smear right it hasn't gotten any stain on it yet what what you're basically doing is just adhering the cells nicely to the uh the slide so that as you move through it's not gonna you know get washed away all right so i'm gonna pause this and come back when it's closer to the end so we're at the very end here we've got about 20 seconds more to go on there make sure that you're keeping in mind what batch is what and where it's been 10 seconds all right so we're gonna pull that guy out very very very prominent stain okay it ends up staining everything and through everything so you want to make sure that that's not getting on your clothes all right so we'll put that guy into here now and press start so this is the stain and buffer diluent together so a buffer keeps your solution in a ph range that is desired so that's what's happening here we're keeping it in the desired ph to make sure that the cells are appropriately taking up the stain to wherever it is whether it's the cytoplasm or the nucleus so again um this is six minutes i'm not gonna sit here and have you watch six minutes so i'll pause it and be back all right so we're approaching that two minute mark into the one minute mark left on the six so i'm going to go ahead and put my other one that has already air dried into the three minute stain so we'll get that started as well and that should give me time to move this one into the dips and then air dry again all right so the six minute one is almost done i'll show you that all right so these last two are um just di water you're dipping and then moving into the next one dipping there and then air drying after it comes out of this dip none of this is forced with heat so we're just slowly doing everything by air drying so it does take it does take a little bit of time but you can batch a lot all right so 10 at a time i like to tap um just like um the trichrome stain that you've seen me do i like to tap the excess off because i don't i try to keep every bit as clean as possible all right i just don't like the crossover of stain in there at the beginning of every semester i go through and make sure that the stain is nice and new so that you'll have a great experience and see wonderful morphology on your slides so these this all is replaced i actually cleaned out most of these things before putting most of the chambers before putting more stain in there so this is going to air dry the other one's in the process of air drying too to go through these steps but you're not going to watch that one all right we've got five more seconds on this one all right okay go to this one and reset one two three four five six start all right we have 30 seconds left on the six minute portion then we're gonna dip dip and air dry and those were those will be the only two that you see on here the next video that i'm going to make is interpreting the cbc results and then we'll have one of going through and doing the smear reviews as well so here we are okay so we're ready to come out of this one like i said i like as little transfer as possible so it's nice to kind of tap them a little bit that's one dip this will get pretty messy too so you want to make sure that you change your paper towels if you choose to do it this way you don't have to dip them but i do really like to have a less trashy stain and not have to constantly go through and change these if you are just pushing this over into the dipping chambers you are going to have to go through and make sure to change those all right more frequently all right thank you so much for watching we'll catch you in the next video uh hopefully where we're interpreting those cbc's that we ran thank you so much i'll see you next time bye
Up Next
13:03
WBC Identification in Peripheral Blood Smear | Hematology Lab Guide
@drhardikmistry
178.1K views•2019-10-18

48:47
Graphic Medicine: Comics for Collaborative Healthcare Communication
@nationalpatientadvocate
189 views•2023-12-04

10:28
Neuroanatomy: Central and Peripheral Nervous System Divisions Explained
@AKLECTURES
136.2K views•2014-09-20
3:05
Stages of Labor and Vaginal Birth | Childbirth Animation
@nucleusmedicalmedia
52.1M views•2017-08-18
Related Study Plans & Knowledge Roadmaps
Structured learning paths in Medicine
medicine
Abnormal LFTs: Diagnostic Workup & Pathology
01Liver Anatomy and Basic Physiology
02Introduction to Liver Function Tests (LFTs)
03Hepatocellular vs. Cholestatic Patterns
+ 3 more learning modules
12h6 modules
Explore Roadmap
medicine
Analyzing Blood Smears: RBC, WBC & Platelets
01Introduction to Blood Components & Smear Preparation
02Normal Morphology of Blood Cells
03Erythrocyte Pathologies & Morphological Variants
+ 2 more learning modules
12h5 modules
Explore Roadmap
medicine
Mechanical Ventilation: Waveforms & Alarms
01Anatomy and Physiology of Breathing
02Introduction to Mechanical Ventilation & Core Modes
03Ventilator Settings and Waveform Interpretation
+ 2 more learning modules
12h5 modules
Explore Roadmap
medicine
Neuro Exam: Localization & Stroke Syndromes
01Foundations of Neuroanatomy and Vascular Supply
02The Neurological Examination: Step-by-Step
03Principles of Neurological Localization
+ 3 more learning modules
18h6 modules
Explore Roadmap