





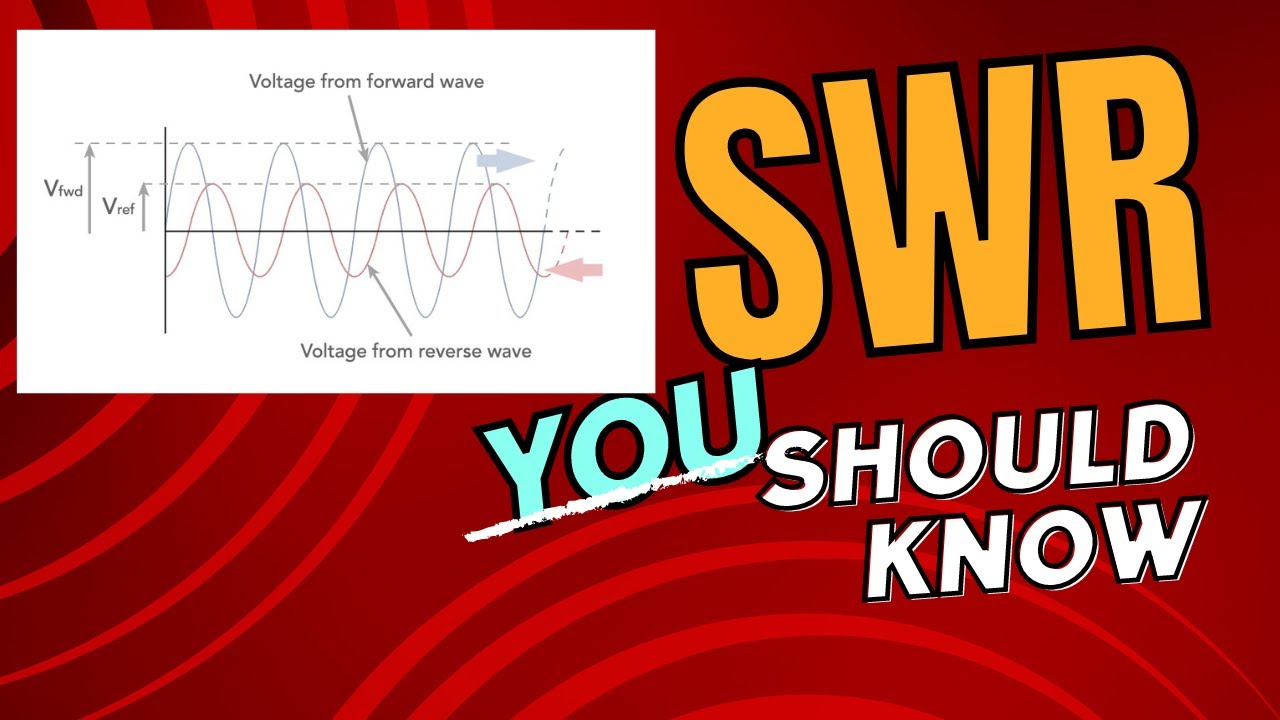











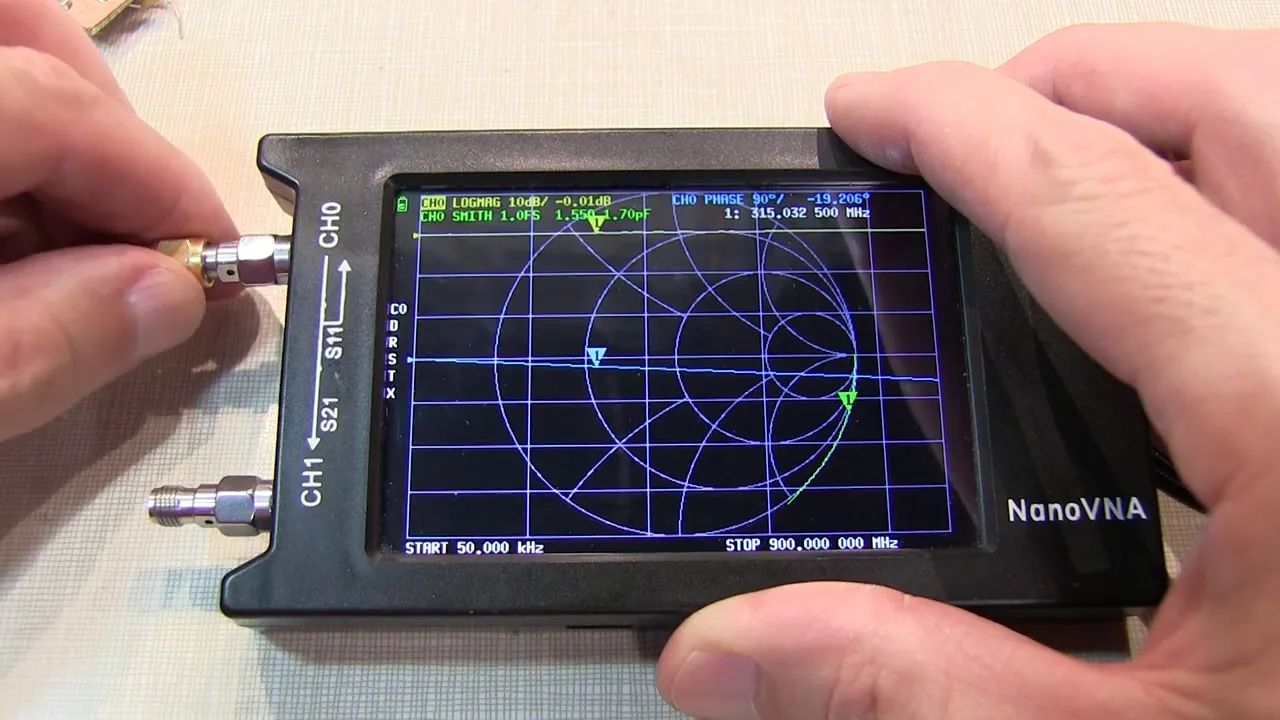
This video demonstrates how to use a NanoVNA, a compact and economical vector network analyzer costing $50-80, to tune a DIY antenna for resonance at a specific frequency (144.39 MHz in this case). The process involves calibrating the NanoVNA using open, short, and load calibration standards, then measuring the antenna's SWR (Standing Wave Ratio) across a frequency range. By iteratively cutting small amounts from the antenna's main element and observing the SWR readings, the antenna can be tuned to achieve optimal resonance at the desired frequency, achieving much lower SWR values (from approximately 3.07 to around 1.6) through this systematic trimming process.
Antenna SWR Tuning with a NanoVNA: A Practical Guide
Added:Fundamental concepts of RF (Radio Frequency) and electromagnetic wave propagation.
Understanding Standing Wave Ratio (SWR), return loss, and how impedance mismatch causes reflected power.
The relationship between antenna physical length, electrical length, and resonance frequency.
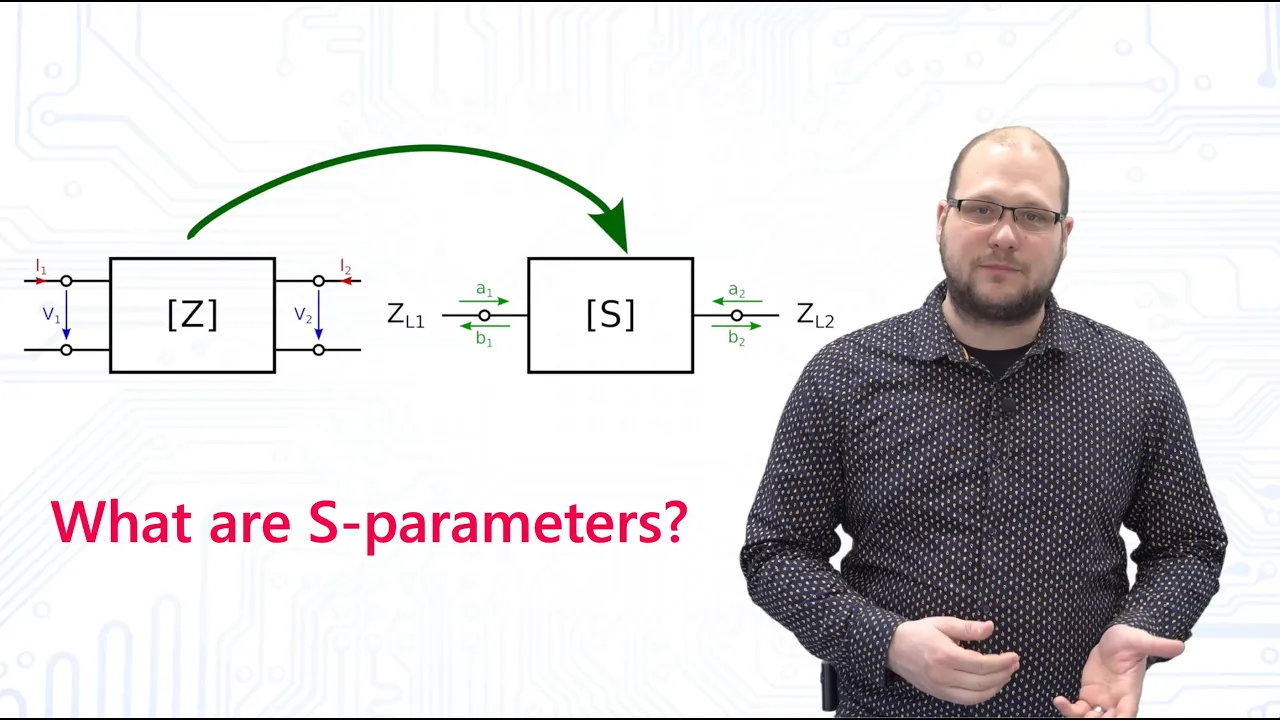
Basic familiarity with Vector Network Analyzers (VNAs) and the concept of S-parameters, specifically S11 (reflection coefficient).
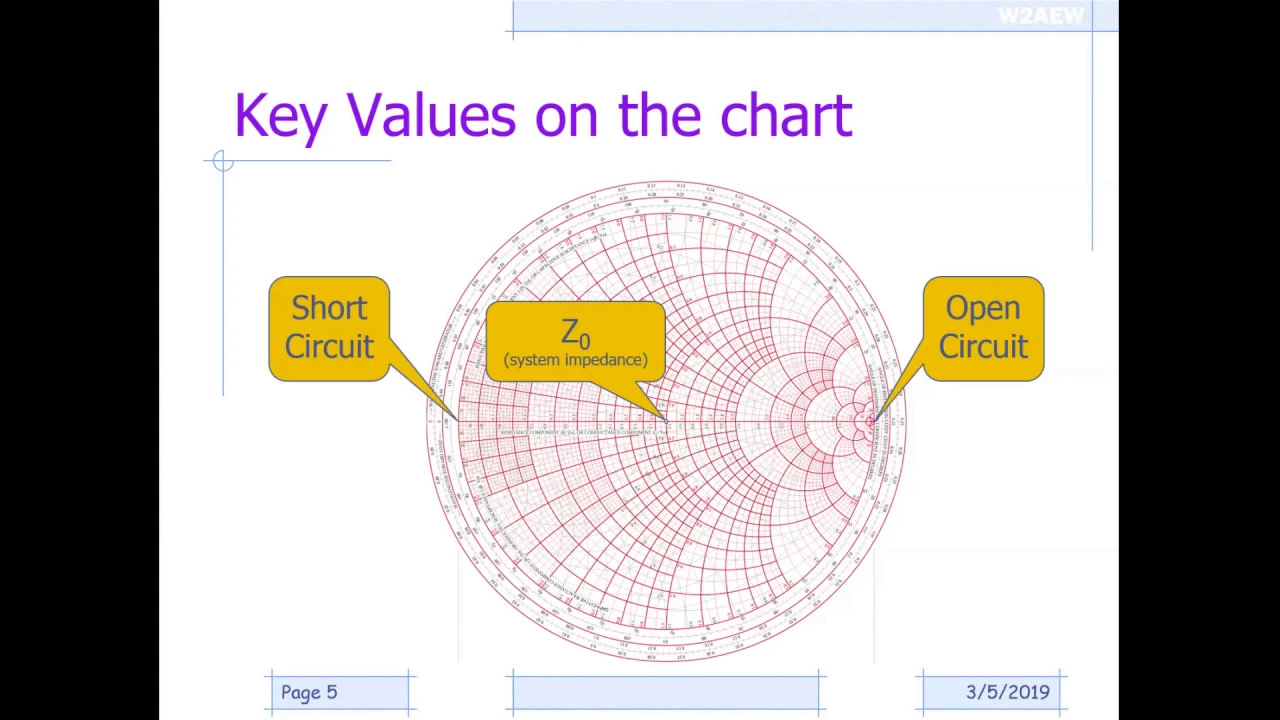
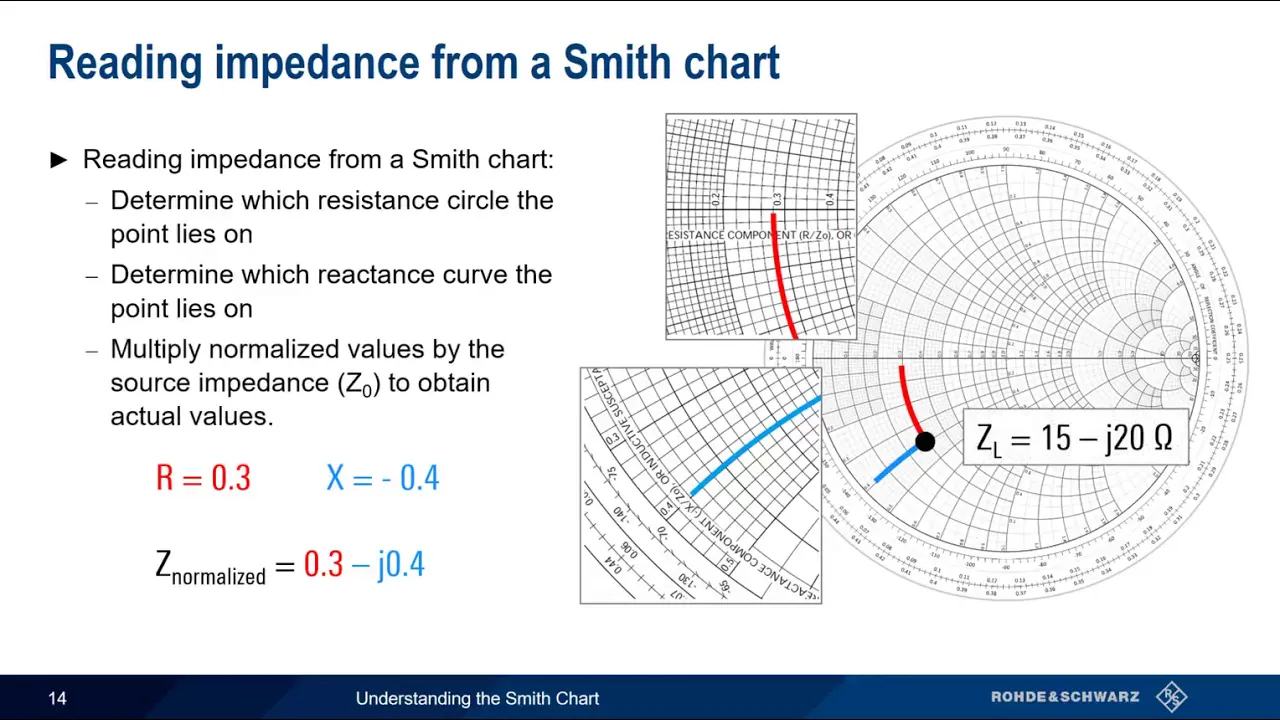
Analyzing complex impedance (R + jX) using a Smith Chart to design impedance-matching networks.
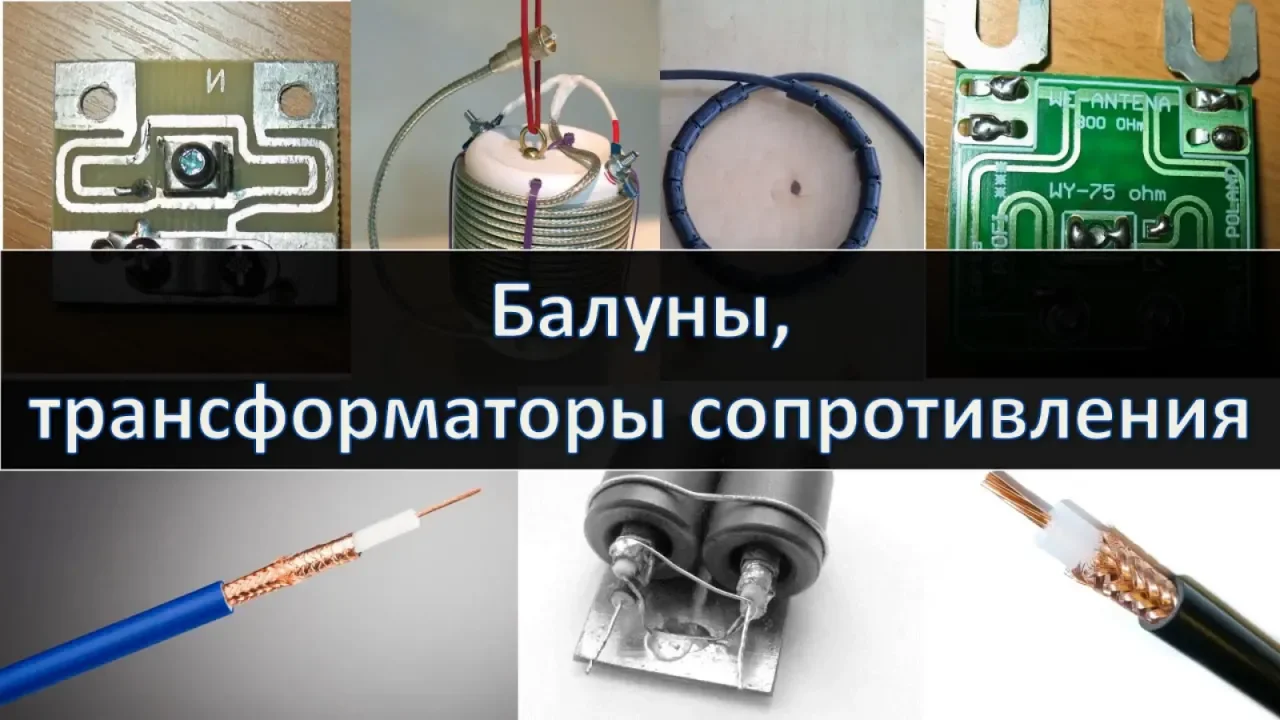
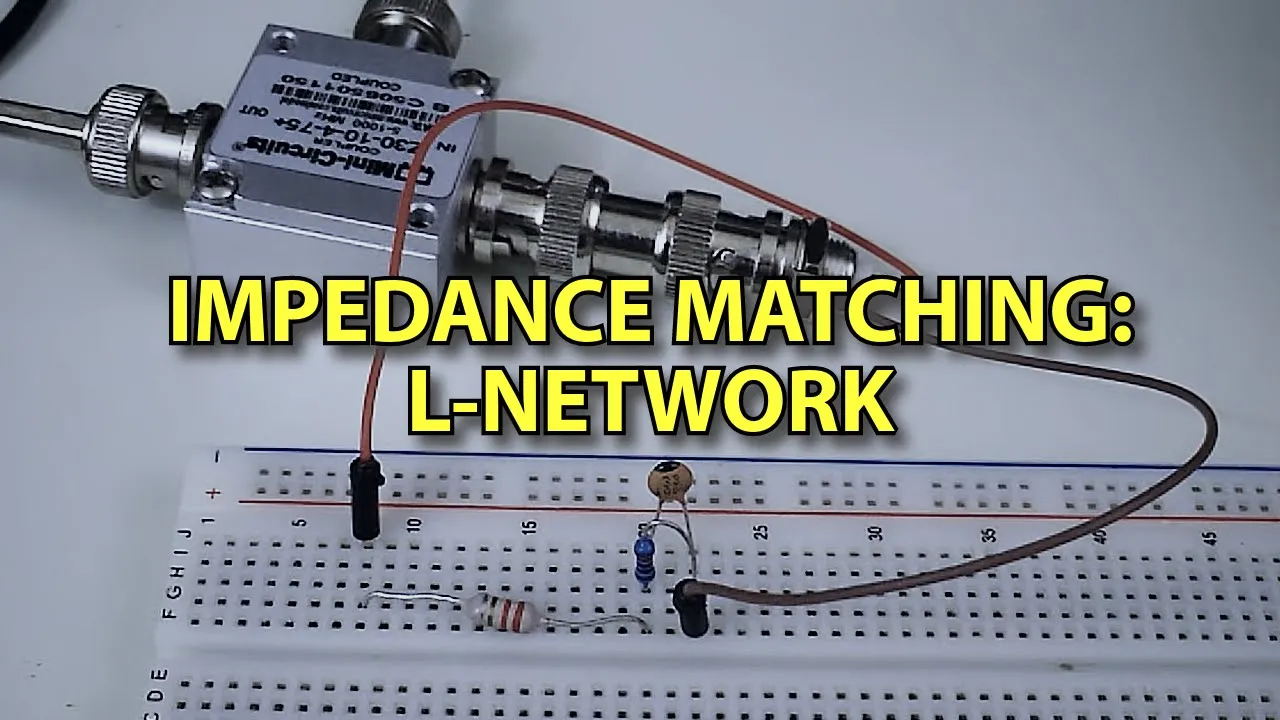
Designing and implementing physical matching solutions, such as L-networks, stubs, and baluns (Balanced-to-Unbalanced transformers).
Utilizing two-port VNA measurements (S21) to analyze filters, duplexers, and amplifier gain.
Advanced calibration techniques, including SOLT (Short-Open-Load-Thru) standards and port extension to compensate for test fixture cables.
26.2K views501likes21:35Original Release: 2022-04-25
hello everyone and welcome to another video so today we're doing something a little bit different so we've got a science club put together with a couple of kids and what we're trying to do is launch a high altitude weather balloon to carry this payload box up into the uh upper atmosphere so the plan is uh to track the position of this payload box using a gps and an arduino hooked up to a radio transmitter uh which is then gonna broadcast its position via aprs so this is going to broadcast on a very specific frequency namely 144.39 megahertz and what we would like to do is have an antenna to broadcast that information so you can kind of see this this frankenstein antenna you can kind of see the ground plane um which are these radial elements here and then you have the main element down here which is the active element and uh really this is actually kind of a home brew diy antenna and it's not particularly well tuned right now for this specific frequency that we want to transmit on so what i want to talk about today is how can we use a very small simple little device known as a nano vna to tune this antenna by basically changing the length of this main radial element until it's resonant at the frequency that this system is going to transmit on so um that's the game plan uh like i said we're going to be using this small little device called the nano vna these things are great um basically this is a miniature little uh vector network analyzer that will allow us to measure things like the uh swr of an antenna so um these things are pretty nice because um they're effectively an antenna analyzer packed into this small little cheap economical package you know a lot of antenna analyzers which help you do this function that we want to uh do on this antenna you know those things can range anywhere from you know 200 all the way up to you know like a thousand dollars where for us all we really want to do is uh get the length of this antenna correct so that it's resonant at the frequency that we desire this little guy is nice because yeah uh you can get them for as low as i think 50 um this is actually a nano vna version two and i paid around eighty dollars for this unit and what i'm going to talk about today is how we can use this to basically uh adjust the length of this main active element on our antenna to make sure that it is uh tuned for the right frequency so um you know what this might be a great time to actually let's let's rewind time a little bit and i'll show you what came in the box when i paid 80 for this nano vna and we'll see what comes with it so again this is the version two of it so let me show you uh what came in the package all right so let's go ahead and get this guy out of the box so uh the box is uh nothing special um just says yeah nano uh vna this is the version two in black and again i think it's probably fairly generic because i'm sure as you may know this nano vna is sort of an open source kind of project so for the hardware basically anyone can kind of really make this so i don't think you have an official system um or build but uh yeah looks like this version that i got comes in this nice case so let's open it up and see what we've got inside okay so here it is ah this looks very nice here's the actual unit so again this is the v2 um the version two one where i think these are kind of on the top of the unit so at least this build has some of this nice plastic this is always so much fun to take off okay so there it is um it's got a nice metal housing um yeah it looks pretty good you got the usb uh port there you've got uh ports one and port two a couple other buttons um okay so yeah this unit looks pretty reasonable so that's the actual unit let's see what else comes in here um got some information i would assume maybe this is a getting started or a quick start guide oh yeah hey that's nice so it actually kind of says which version of the firmware is on this and it looks like it's got a little bit of a map of all of the different soft keys um oh wow that's great it even has a location for i guess the get lab repo where you can probably download and clone new releases of the firmware and yeah here's got a link to a user guide so that's that's more than i was expecting so we got some instructions for starting it up um let's see what else we got in here uh okay so we've got this handy little i think it's funny i've heard this referred to as maybe like a plectrum it's basically just a guitar pick that's gonna help us push the uh the touchscreen on this uh this 320 by 240 pixel touch screen so that's nice looks like it's actually got a hook that i suppose you can probably stick it in yeah there you go looks like you can kind of put it in one of these two sides whichever one you want i suppose so let's see if that's uh well i'll tell you what i'll do that later so you get the little pic plectrum thingy uh you get a usb cable pretty much standard usb so one side going to your computer and then you have this micro usb to kind of plug into the back of the nano vna let's see what else we got okay so looks like we have two uh these i believe are 300 millimeter long sma yeah male male cable so that'll help us make some connections so that's nice we've got two of those and then what have we got here ah okay so i think these are some of the parts for the calibration set so yeah okay we've got an sma kind of coupler right here so this is a female female coupler there and then we've got these three so i believe it should be an open a short and then a kind of probably a 50 ohm load so that's what these three parts are so that'll help for calibrating the unit at various different frequencies so that's nice we got those and then uh i guess we got a couple more kind of just random yeah kind of stuff for making cables uh maybe a little some kind of gasket or o-rings okay so there we go that's what's included with the system so uh not too shabby let's go ahead and get the battery charged up and uh turn it on all right so now that we've got the nano vna unboxed um what we're going to do is let's just hook it up to channel zero so as you can see i've got the um sma cable coming from the antenna and it is now going into channel zero on the nano vna and that's gonna be important because that's the channel where we can do uh reflection and measure swr for the antenna so um again this antenna is nothing super spectacular it's actually pretty darn simple as we said it basically has these four radial elements as sort of the ground plane and then it has one single main vertical element um and again i actually the way i did this is let me show you inside i just 3d printed this little component this holder which is going to allow me to hold all of the ground plane wires and the main vertical element in this sort of 45 degree kind of star fashion so if you're interested in that part that 3d printed part i'll go ahead and leave a link to that in the description of the video so you can download that and make your own um the idea with this antenna is is you know it's just uh i actually just got it off the internet the design uh the idea is that the main uh radial excuse me the main element is supposed to be around 19 and 7 16 inches long and all of these radial elements are supposed to be 21.75 inches long and all i did is i actually just constructed those elements excuse me out of a 14 gauge electrical wire so that's that's all that these things are so again this is really really simple so what i did was i actually made the main element a little bit too long um it's always easier to to cut it down shorter than it is to extend the length so the idea is right now this main element is too long and therefore this is probably not resonant at the 144.3 megahertz that we want and now we've got it hooked up to the nano vna so we can actually measure it and see if that is true or not and if it's not uh resonant at the right frequency then what we can hopefully do is start chopping down and reducing the length of this main element to get it at the uh resonant at the proper frequencies so uh i think we've got everything physically hooked up let's go ahead and turn on the nano vna and uh get started all right so now that we've got it all hooked up let's go and turn the nano vna on so just flip the switch on the side to the up position and it turns on but the screen is actually flipped in the upside down orientation from where i'm sitting so to change that that's really actually pretty simple just click in the middle and then click on display and then say flip display and there we are now it's right side up now the other thing to notice is that there are like four traces right now there is a yellow green a blue and a purple tray set up to make this easy let's just look at how about only one let's just set up this blue channel to be the swr so we want to turn off all these other colors so to do that just click in the middle click then click on trace and then you just need to start clicking on these to turn them off so let's turn off the blue the yellow one first so you click on that you see it goes away let's turn off the purple one uh let me click on that again there it goes away and um actually before we turn off the green one maybe what i will show you as well is um if you are working with multiple channels you can tell which channel you're currently manipulating by looking at this uh this box over here where it says here you can see this says channel one and you see how there's a blue background behind it that means that we currently have this blue trace selected for manipulation the green one over here if you notice this green one is working on channel zero and it's currently set up to be a smith chart which actually is kind of helpful and i'm halfway tempted to leave this on but i think we will turn it off eventually but notice that the thing where it says channel 0 is not it doesn't have a a green background behind it so we are not currently manipulating that channel so if you want to select another channel for manipulation all you need to do is click on it over here and now what after i clicked on it notice that you get the green background so now you can see that we are currently manipulating the green trace which is currently set up to channel zero so it's it's currently properly configured so um that's not what we're going to do let's go ahead and turn off the green okay and then now we see that we only have the blue channel set up but also it is set up to listen on channel one which is actually this terminal on this side over here right that's not quite right we want to get swr on channel 0 because channel 0 on the nano vna is what's set up to do the reflection uh measurements right where we send out a sine wave and then we can measure whatever is reflected back so we need to change this from saying channel one to saying channel zero so to do that that's actually pretty easy let's go ahead and click back and then all you need to do is since we currently have this blue trace selected again you can see that it's selected because it's got a blue background behind the word channel one we just need to change it so i'm going to click on channel over here so instead of one we need to go to channel zero which as you can clearly see labeled right here that is set up to do reflection so i'm going to click on reflect there we are now it's set up and you can see this now reads channel zero um for the blue trace and this is uh this is pretty great now the only thing that we need to worry about now is that this right now is set up to sweep over uh i think for the nano vna version two this version i've got here is i believe it does i think it's 201 frequency sweep points uh from this starting frequency to the upper ending frequency now it's set up over a pretty wide bandwidth right now so we want to narrow it down to somewhere around this 144 megahertz that were that we're shooting for so let's change the start and stop frequencies of our window of interest to the appropriate uh value so to do that again click on the middle to bring up the menu then let's go up to i guess i have to hit back here to go back here ah stimulus so i'm going to click on stimulus start and let's start at how about 1 2 0 120 and then click m for megahertz so now we're starting to sweep at 120 megahertz let's go all the way up to stop at uh how about 160 megahertz so somewhere in this range it should capture the that 144 megahertz that we're interested in okay all right so actually um you can see that there's a minimum over here so it's currently it's set up it looks like this antenna if i if i use the the the up and down buttons on the top of the nano vna to kind of get a rough idea you can see here that we're getting oh actually whoops sorry i just noticed we actually didn't set up the blue trace to be swr it is right now it's a log magnitude i don't know if this is like a reflection coefficient but long story short we want to set this up to be swr so let's do that right now before we go any further so to change what we are measuring on this blue trace let's go ahead and again i'm going to go back and then we are going to come here i believe i think it's display um no was it uh oh no sorry sorry i remember it it's actually let me see where is it uh i want the format actually here the oh it is here okay so sorry so let's go back to the top so i do want display and then format and then again we have this the blue trace currently selected um so i don't want log mag i don't want phase i don't want to delay i don't want the smith chart ah i want swr so i'm gonna click on swr there we go so now we see here's our swr chart and again we can see that down here it actually looks like this antenna is currently set up pretty well for around 120 megahertz because at that frequency we've got an swr of about you know 1.3 that so that's not too shabby um the other thing that maybe we should do right now is we should calibrate the nano vna for this particular frequency range that we have set up so we can make sure that we're getting accurate measurements okay so to do that calibration let's go ahead and unscrew the antenna okay so i'll take off the antenna from the nano vna come on it come off there we go okay and now i'm going to click in the middle to bring up the menu and let's go again hit back to get yourself up to the top level and then we're going to hit cal for calibration so here now we go and click on calibrate and now for this situation we need these test uh calibration uh connections that we saw came packaged with the nano vna so let's do the open first so the open was the basically the infinite resistance so i'm gonna get that open one that test component i'm gonna screw it on to channel zero and then i'm going to click on the open and give it a second and then you're going to see it kind of turn to that highlighted color there it is it's highlighted so we got the data point for the open connection the next one that you can see down this list is the short so let me take off the open and let me go ahead and grab the short which was i think the zero ohm kind of set up here okay so i'll take the short circuit i'm gonna attach it and then i'm gonna click on short give it again a second to think about that take a data point there okay great and then lastly i think what we need is we need the 50 ohm load this guy so let's go ahead and screw him on okay and then click on the load give it a second to think again all right there it is now let's go ahead and take off the load okay and now let's go ahead and click done that's all we need to do so let's click on done and then we're going to choose a channel or a slot to save this data to so i'm just going to click it to talk about zero okay so now we should have this calibrated for that frequency range that we just set up so now let's go ahead and hook up the antenna again and now we should hopefully be getting calibrated values okay screw this thing on okay there we are okay so again yeah it looks like right now this thing is set up to actually be pretty well tuned for you know 120 megahertz something like that okay so um let's see what is the swr at the desired frequency that we are gunning for so that is megahertz ish right so let's go up to 144 something you know somewhere somewhere around here okay so that's not super great we got an swr of about 3.35 okay and in fact why don't we zoom in a little bit we'll go we'll go closer into that closer frequency realm to see what we can get so let's go ahead and hit back um stimulus start how about now let's go at i don't know how about let's go megahertz and then we'll stop at uh uh how about 150 megahertz okay so we can zoom in a little bit and see a little bit okay so now let's set this guy at 144.39 ish megahertz that's pretty well here let's go here that's probably the closest point that we've got okay so we've got us swr of 3.07 or something like that okay so now what we might want to do is let's go ahead and start modifying the antenna so let's start shaving it down and see if we can get this number down um a little bit so i'm gonna cut it cut a little bit off see if that improves anything okay so i just cut off i don't know a centimeter 3.1 uh okay maybe not let's cut a little more aha there we go okay 2.9 okay so we're getting closer or that we're making some improvements okay let's let's cut cut a little bit more off all right 2.7 okay that's pretty this it's getting there a little bit more um okay so let's just go ahead and keep repeating this process of cutting down the antenna and seeing if we can get a little bit better better swr for this particular frequency all right so look at that we've chopped it down um here i'll show you some of the parts so so here here's some of the antenna pieces so you know i made you know probably 10 or so cuts about took about a centimeter off each time and now look at this so now we're much better so now the swr is about 1.6 ish um so this is like you know half of what it used to be which is great so this looks a lot better for this particular frequency and in fact i think if we zoom out a little bit hopefully we'll see that we got that uh that minima about to the range that we're interested in so i'm just going to open up the frequency band of our sweep a little bit more back to that kind of 120 to 160 megahertz and uh let's see yeah look at that that's great so we moved the minima you know about to this region so we've tuned the antenna now um a lot better for this particular frequency all right so there you have it as you can see that was actually a pretty simple painless process um to use this nano vna as effectively an antenna analyzer and allow us to trim and tune this antenna for our particular frequency of interest um like i said i think the the great benefit of this is not only was it easy but it's mostly it's cheap right it's for 50 to 80 dollars to be able to do this type of behav of operation instead of having to buy you know a 500 antenna analyzer is is pretty darn great and i'm very excited to play with this nano vna and see what else it can do um in the context of rf engineering and frequency analysis so um with that being said i think this is probably a great spot to leave it i hope you enjoyed the video and if so i also hope you'll consider subscribing to the channel surprisingly if you scroll a little ways down and click on that subscribe button it really does help me continue making these videos and remember the new videos come out every monday so i hope we'll be able to catch you at one of these future discussions and we can all learn something new together so until then i think i'm gonna sign off talk to you later bye
Up Next
48:06
Ultrasound Physics and Instrumentation: How to Generate Images
@jfoxmd
135.9K views•2016-07-10

12:54
Triumph of Orthodoxy Icon: Byzantine Art & History Explained
@BenCallan
2.1K views•2024-08-06

9:49
FastAPI vs Flask vs Django: Choosing the Right Python Web Framework
@TechWithTim
302.5K views•2024-05-26

1:42
Game of Thrones Opening Credits: A Cinematic Analysis
@gameofthrones
46.3M views•2011-04-18
Related Study Plans & Knowledge Roadmaps
Structured learning paths in General & Interdisciplinary Studies
general-studies
Elevator Engineering: History, Physics & Cities
01From Hoists to Safety Brakes: The Dawn of Vertical Lift
02Hydraulic vs. Traction: The Engineering Physics of Elevators
03Modern Speed, Safety, and Algorithms
+ 2 more learning modules
12h5 modules
Explore Roadmap
general-studies
Rubber: Material Science, History & Geopolitics
01Origins of Natural Rubber & Mesoamerican History
02The Chemistry of Natural Rubber & Vulcanization
03The Geopolitics of the Rubber Boom & Colonization
+ 2 more learning modules
12h5 modules
Explore Roadmap
general-studies
Containerization: Evolution, Logistics & Trade
01Ancient Trade & Bulk Cargo: Amphorae to Barrels
02The Industrial Revolution & Cardboard Packaging
03The Containerization Revolution: Malcom McLean
+ 2 more learning modules
12h5 modules
Explore Roadmap
general-studies
Textile Tech: Evolution, Labor & Global Impact
01Pre-Industrial Textiles: Handloom & Cottage Industry
02Mechanization: The Spinning Jenny to the Power Loom
03The Factory System & Global Labor Transformation
+ 2 more learning modules
10h5 modules
Explore Roadmap