









![The Client CEO's Daughter Canceled a $10 Million Order at the Last Minute! So…[RomCom Manga Dub]](https://i.ytimg.com/vi/tRLVQO9YbOs/maxresdefault.jpg)



![Notes & Nostalgia Storage Journal | All-in-one Logbook & Organizer [Tutorial]](https://i.ytimg.com/vi_webp/hMzsB7ZfNjM/maxresdefault.webp)



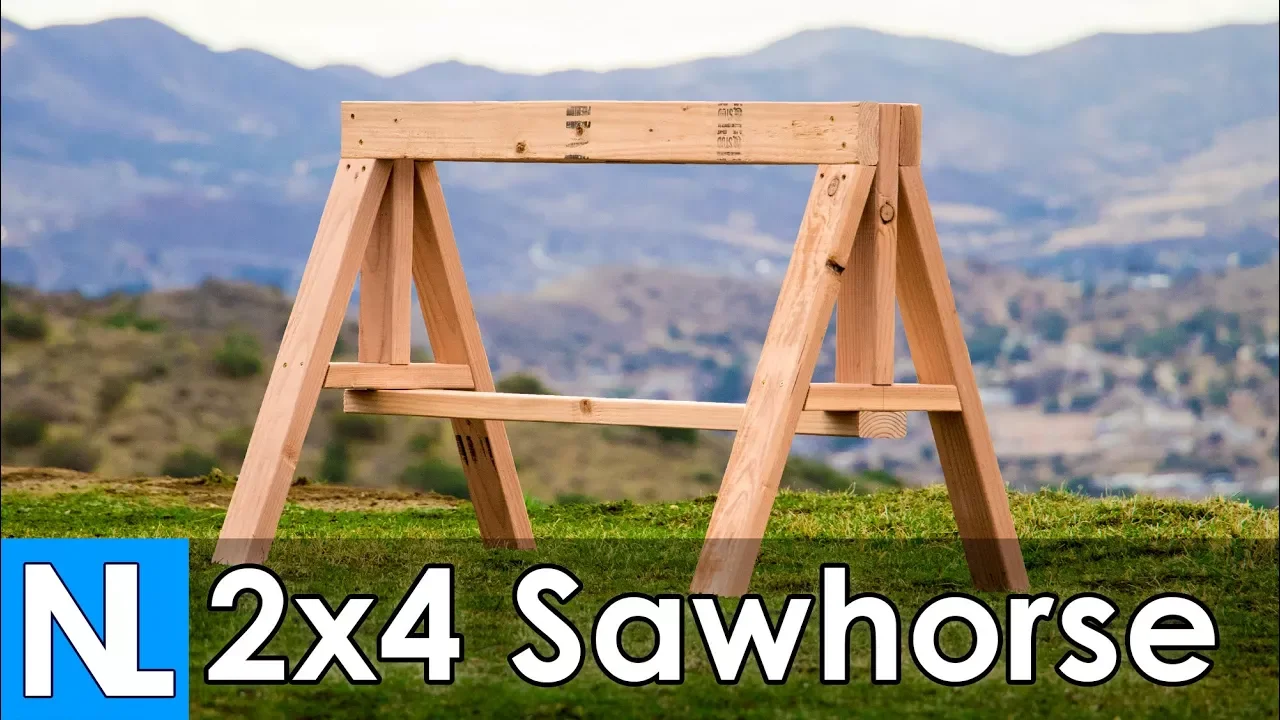

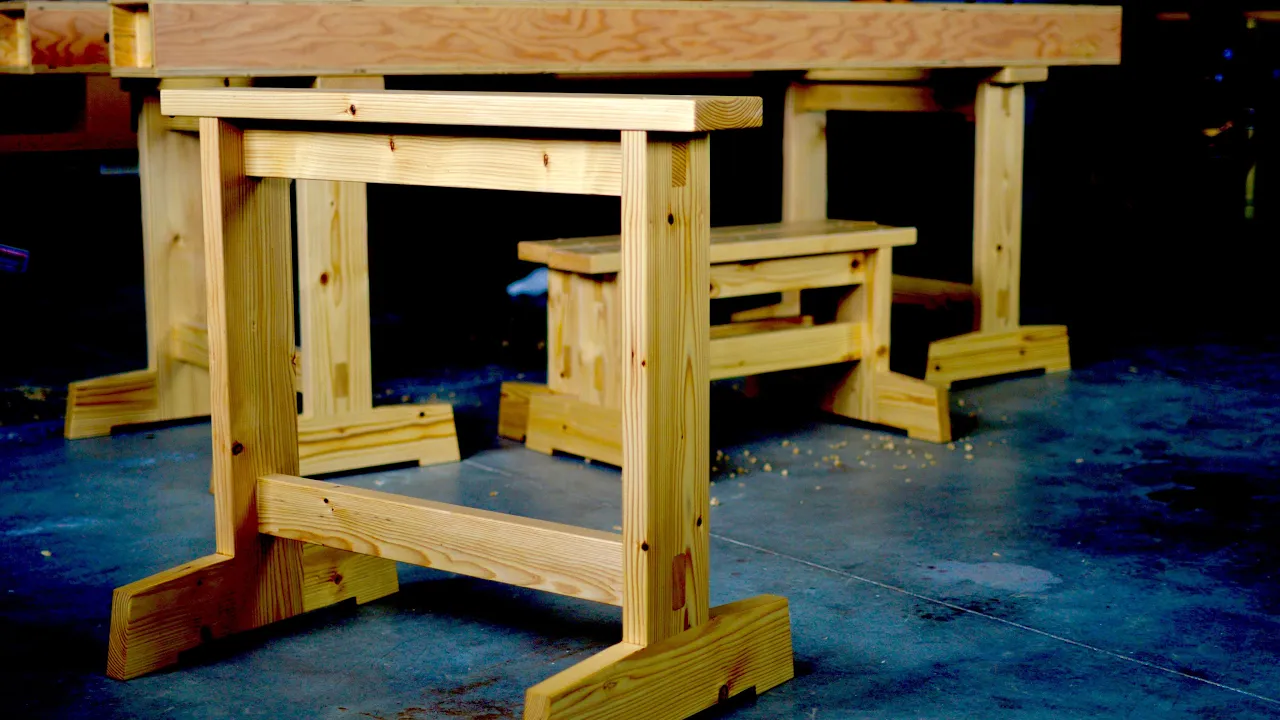
This video demonstrates the complete process of building functional trestles using dimension wood, covering key woodworking techniques including surface planing rough stock to create smooth working surfaces, cutting and shaping plywood gussets for structural reinforcement, and preparing edges with chamfers for improved aesthetics and comfort. The instructor emphasizes working with the grain direction when planing to avoid splintering, using layout techniques such as measuring from edges and drawing corner-to-corner lines for accurate triangular gussets, and employing efficient drilling methods by stacking pieces and using registration points. The demonstration shows how to create temporary workstations that can serve multiple purposes beyond their original function, illustrating the versatility of basic woodworking skills in creating practical furniture solutions.
How to Build Wooden Trestles: Episode 1 – Surface Planing & Gussets
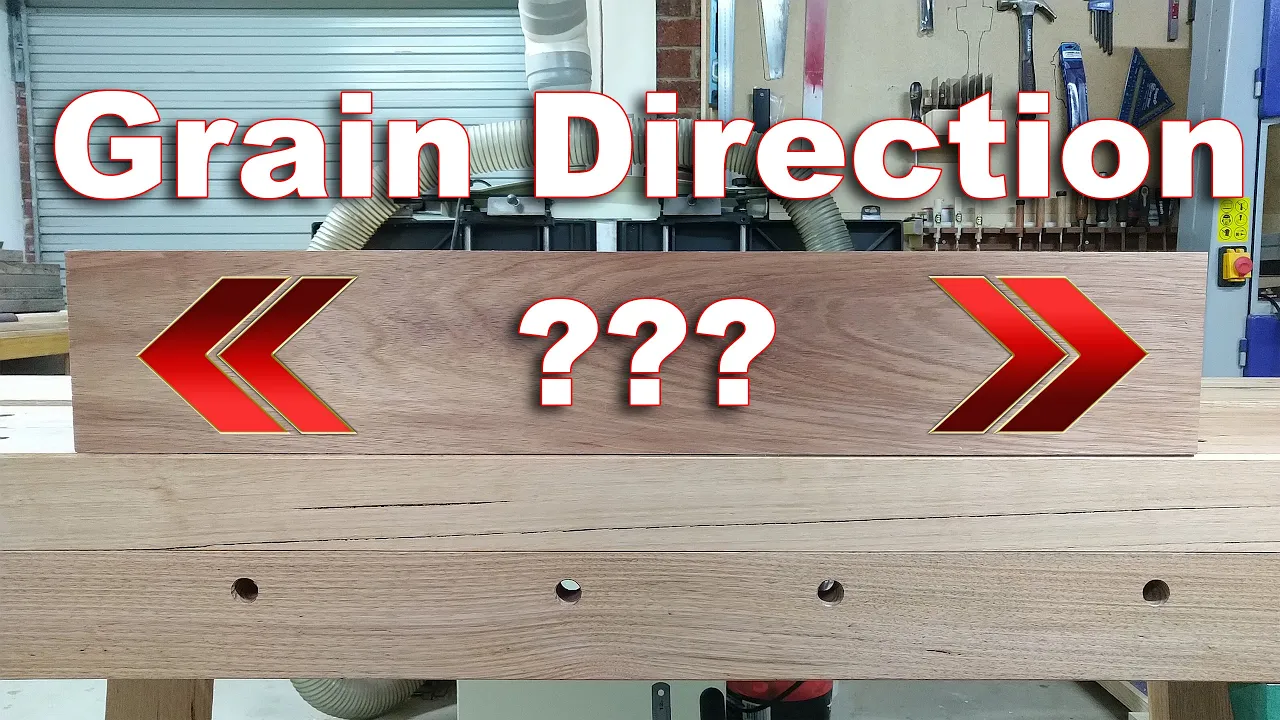
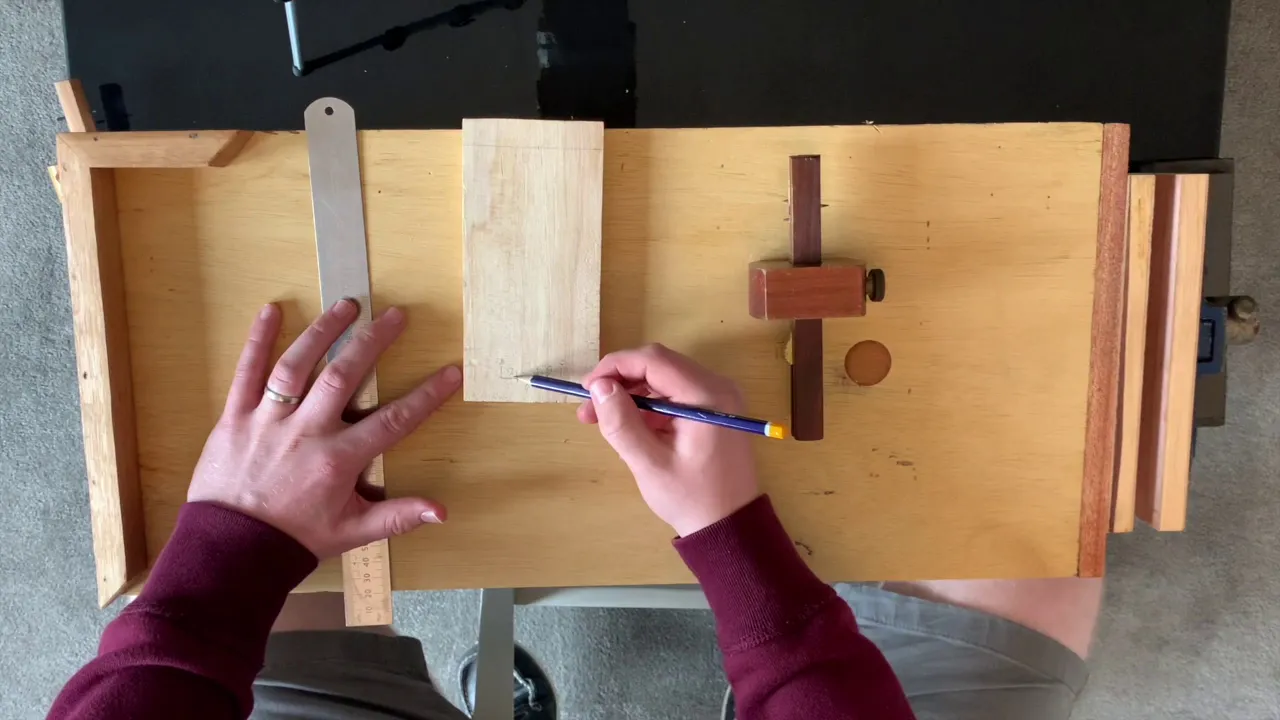
Added:[Music] to get started on the trestles I am going to surface plane all the faces first it's just a good idea to do that because when your hands are moving over the trestles as you start working on them they'll feel smoother they'll feel more comfortable and things like that I'm just using dimension wood this is the kind of construction would you would be able to buy just about anywhere and that's why I want to surface plane them because they're not very smooth I've got all of my pieces cut to length and I'm going to work on the on the floor down here because I don't have a bench I don't have anything else to work and I've got a couple of stools here to work from I've got my tools ready one thing I need is a long piece of wood I'm going to but this against the wall down here I'm going to take each individual piece and put it up against there and then take a plane and surface plane the pieces I'm just checking out the undulation because on some dimension wood it's never usually very smooth so try and work evenly across the surface until you've taken out the mark and you can consider you can consider your pieces because this is a foot so this is going to go on the floor so I might not take as much off one side as the other when you come to the edges it's the same this one has got the comfort edge that goes with construction wood sometimes but even so I'm gonna change that and make a chamfer because it looks neater and when you've done that you do that to each piece just trim them all up like this you shouldn't need anything more than that you can mark the pieces if you want to which I might do because that will remind me that this is a post and that's the one I just did there's a foot that was surprisingly nice for dimension wood or construction what should I say if you've got an a scrub plane like I have like this one is particularly rough just go ahead and use that and that will probably be good enough this way I was going against the grain then you can hear it that's better you can take that off and you could actually do all your samples with just a scrub plane if you wanted to it's usually quicker but don't sweat it too much and we may have to do a little bit more planing after because when we do the butt joints inside the plywood they may not be level so you can see that it's pretty simple pretty straightforward now I've got the rest of it [Music] in preparation for the assembly I've got plywood gussets on here and I want to cut those now and then they're ready so I'm going to rip them now the best saw for this is probably going to be a crosscut saw if you've got one a handsaw crosscut handsaw because most of the grain is either rip our crosscut but we're cutting summer to tangent too so what we're going to do is I'm going to show you how we layout first I'm going to measure nine inches in from this side this and nine inches from this side I just happen to have this piece of plywood is really a nice piece of plow this is what we call nine-ply it's 1/2 inch thick but you could go with five plan it would work fine so I've got my finger on this edge here as a guide that's stopping it and I use the same finger setting to go from this side like that and I can get most of this if this is square you really want to check that this is square which it may not be you just come across here that gets four of these done so that gives me two four six eight and I can get the extra ones in there so I'm going to leave the thickness of a soccer and then go nine inches from there and I'm just going to square this cup here going from this side so I'm adding about a sixteenth there for this auger this doesn't need to be anywhere near exact and then of course we just draw a corner to corner because they're 45 degree angles so if you go corner to corner and then saw down the split the line if you like with your sock you'll come close to size this is not exact it doesn't need to be exact sizing and you complain them to size if you want to but this is after all sorta CIL's so there we go that's how we layout the triangular gussets so I'm going to cut these next and then I'll have all my wood prepared for assembly [Music] cutting the plywood I've worked out a sequence of cut that I think will work well for everybody because when you get if you cut the single square and then try splitting down the middle you don't really have much to hold on to you've not got a workbench you don't have a vise to clamp it into and I think this one will work fine I'm using the crosscut saw I hope you've got one and I'm just Eiling the side of the plate because there is a buildup of friction when you when you're cutting plywood because the fibers are going off in many directions cut the diagonal first and just split the line as best you can [Music] this one [Music] that's my 12 pieces cut now I'm going to plane them all getting ready for assembly I've just got my breath back after the sewing and now I'm ready to plane these edges I want to plane them all to take the iris off them and there is a grain direction in the wood my wood is going in this direction I want to plane down here if I plane the other way the outer edge will be fractured it won't be smooth and crisp so I'm going to do that I've just got a couple of pieces of silicon shelf liner that you would use in the kitchen cabinet to put your mugs on it's just a number four plane go down the edge like this brace whatever you can and remember work safely I'm not in your house and you have to feel like what you're doing is safe I'm taking the heiress's off there and then this these edges here the silicon liner just stop most of the slippage but not all of it so but I'm trying to make this as real as possible there's number one done so I'm going to do the rest and I'll be back with you and I've done that [Music] I want to show you how I laid out the positions for the holes that I've got to drill these screw the gusset to the framework that we're creating so here here here and here and there two types we've got to do so I'm going to do one type first so I'm going to do the one that would make this top corner so I need eight of there four of those so I'm going to come in from this edge one on a quarter inch one and a quarter one and a quarter and then the same that crosses that first one into the second one and into the third one so I'm going to drill holes here here and here you can lay them out if you want to but this will be accurate enough so I'm going to set those four aside ready to drill them and then this one is different this one I'm going to use a square to take a line from that midpoint on this that's going to give me the center of the lower rail here it's going to give me the center of the lower rail here and the center of the post to the foot position so you don't really need to put this black a line on that but somewhere coming in about an inch and a half from the end and then split this here and we're going to come again one and a quarter in from this point here to here and to here and then just eyeball this for equality there and we're ready to drill so we drill through those and we can drill through two or three at the same time I've got my four here I'm going to drill those and I just simply position these with the outside edges level with one another so if there's any variation it comes to the inside and I'm going to drill through the first one or two that's at this point you might get some slippage she'll be careful I'm not going all the way through into the stool correct the slippage like that take the first couple away drill through the remainder and I do the same on the other one and then all I have to do from there is countersink them so here again I'm taking three or four I'm going to take four because there's eight to do then I can stack them up and I'm getting registration in the adjacent ones as I move down I'm getting those pinnacles level slide up [Applause] [Music] [Applause] this time I'm going to take two more and put them right under here this just speeds up the process take those two away bring two more in and we are pretty close to done and dusted with this this is the boring bit but I didn't say that so when I'm doing this I'm thinking temporary workstation alternative applications for it there are also many ways you can use these I've used them as dining tables I've used them for old picnic tables all manner of things wonderful I'm gonna countersink now this is to take the head of the screw so they don't stick out [Applause] again its comfort but these countersinks also seat the head of the screw against the angle of the countersink gives it better purchase we're nearly there and we're almost ready for assembling this piece of equipment this is the very fun bit [Music] you can countersink both sides if you want to sometimes I'll do that then if you have a left and right-handed one you can flip over and have it either way these are not left-handed you're right-handed but the others won't knightly and we're close I don't know how many of these trestles I've made over the years I've made them so often when I left America I had to leave them there they are great and that's now we're ready for assembly the exciting that seeing whether I got it right [Music]
Up Next

SkyCiv Truss Calculator Tutorial: Solve 2D Truss Structures
@SkyCiv
106.3K views•2017-02-22

Triumph of Orthodoxy Icon: Byzantine Art & History Explained
@BenCallan
2.1K views•2024-08-06

FastAPI vs Flask vs Django: Choosing the Right Python Web Framework
@TechWithTim
302.5K views•2024-05-26

Game of Thrones Opening Credits: A Cinematic Analysis
@gameofthrones
46.3M views•2011-04-18
Related Study Plans & Knowledge Roadmaps
Structured learning paths in General & Interdisciplinary Studies