

![Body Cavities and Membranes: Drawn and Defined [Anatomy Physiology]](https://i.ytimg.com/vi/sqEDTVYq1_U/maxresdefault.jpg)








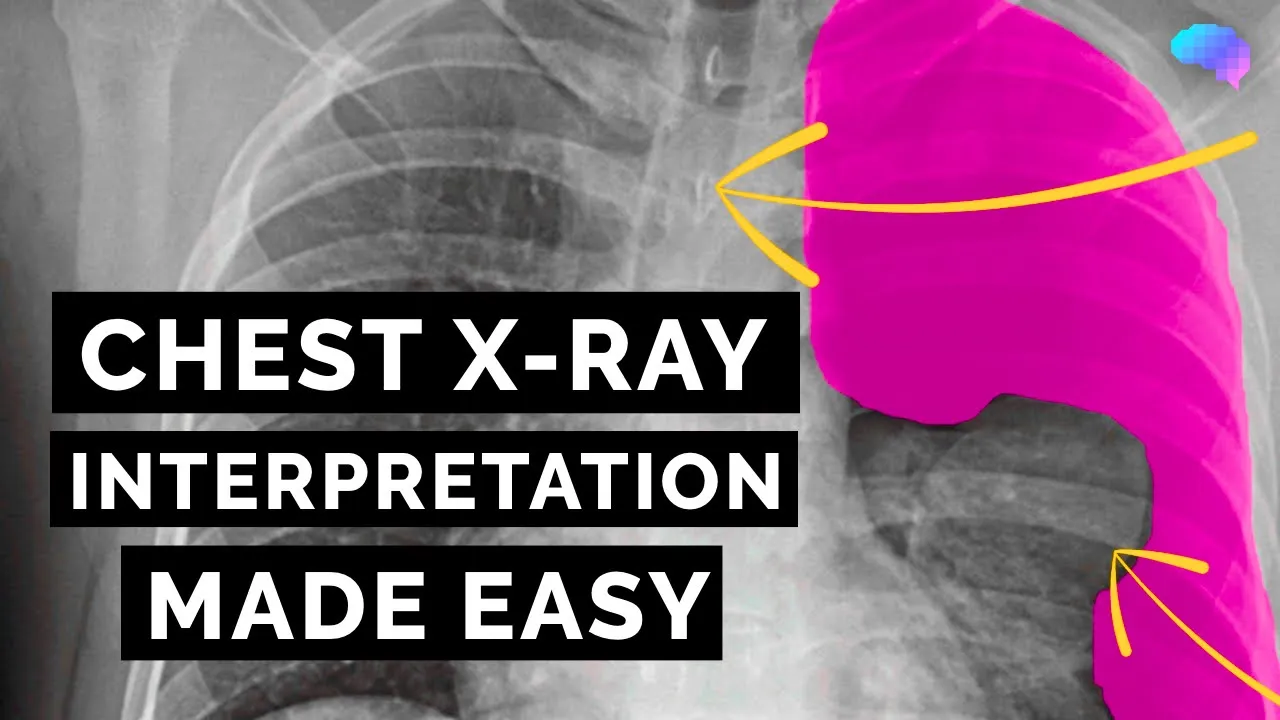
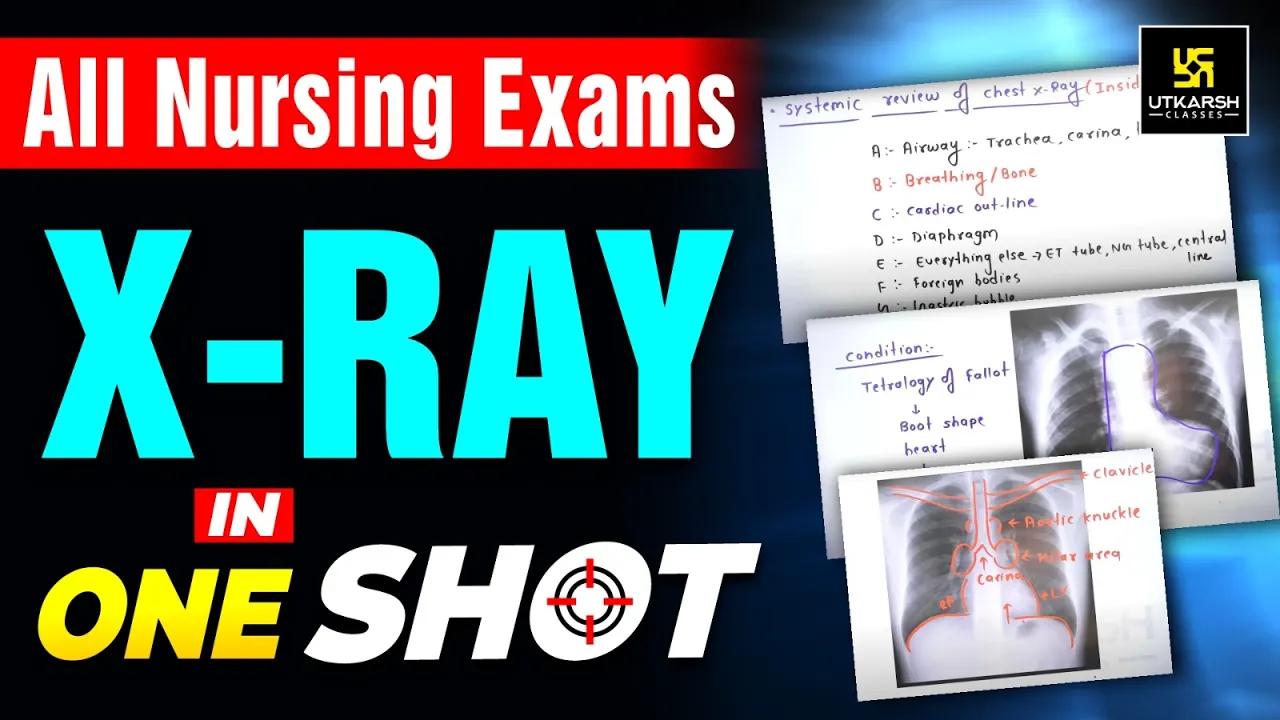
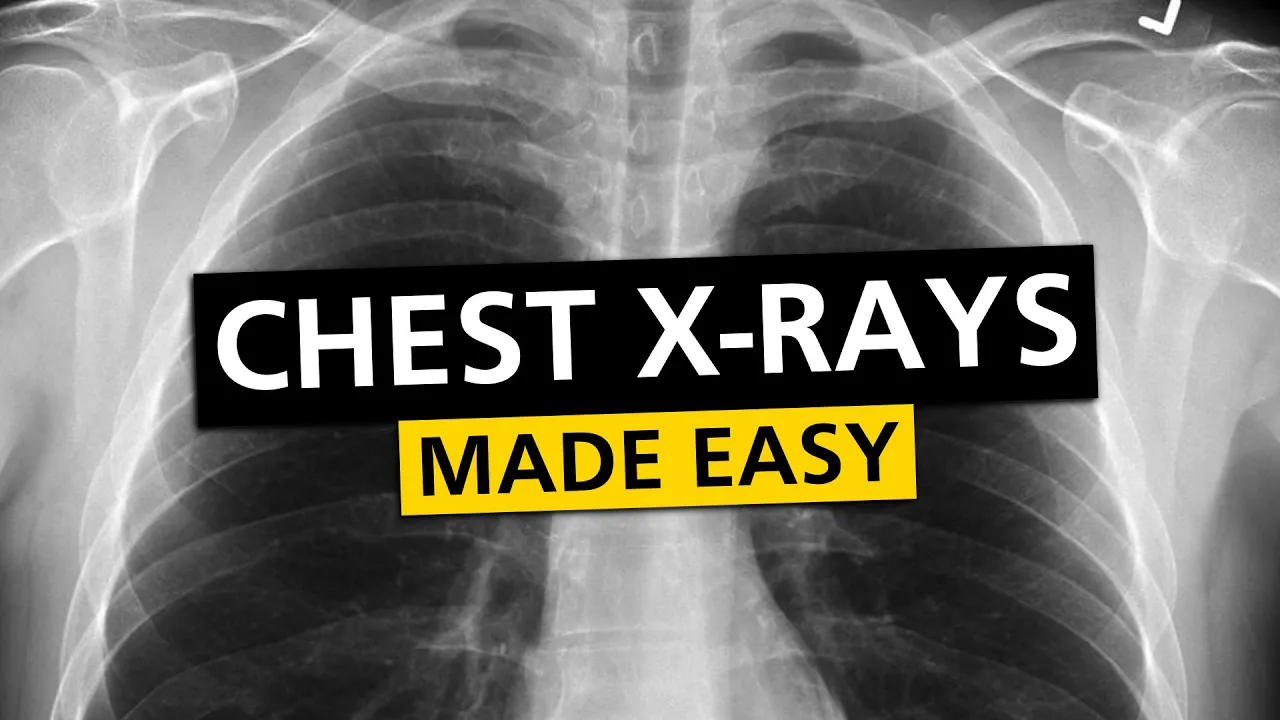


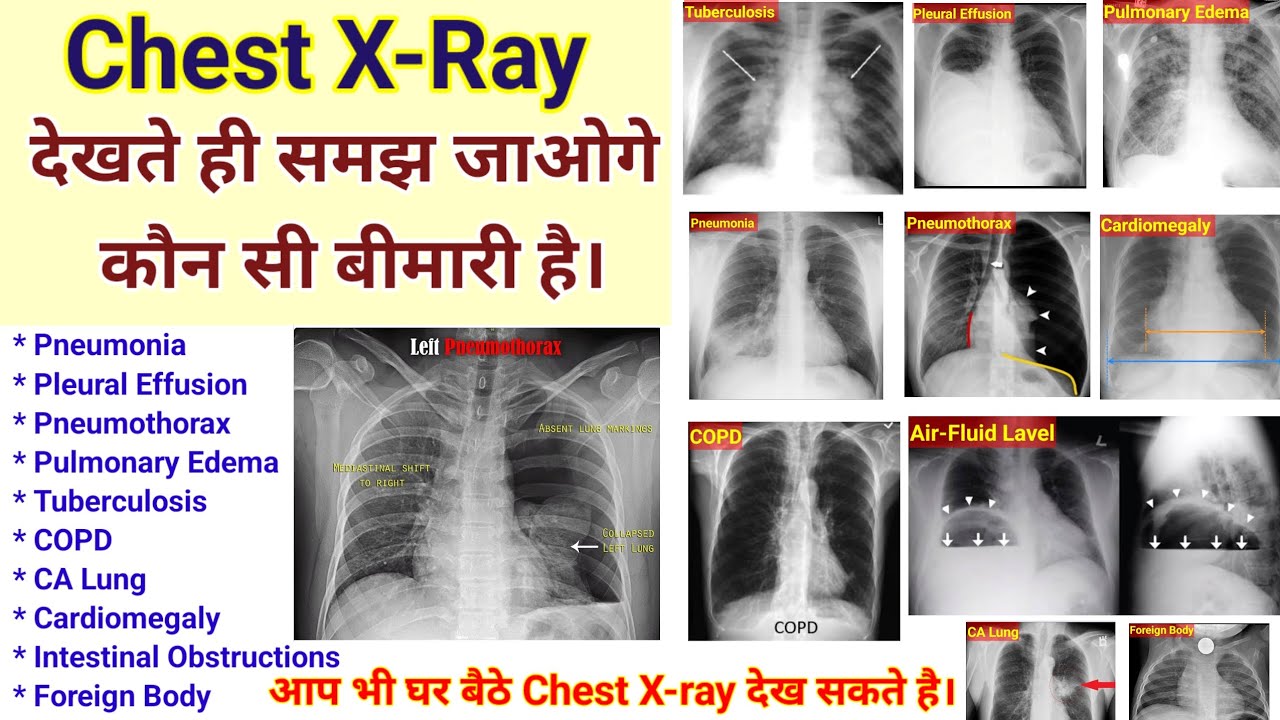

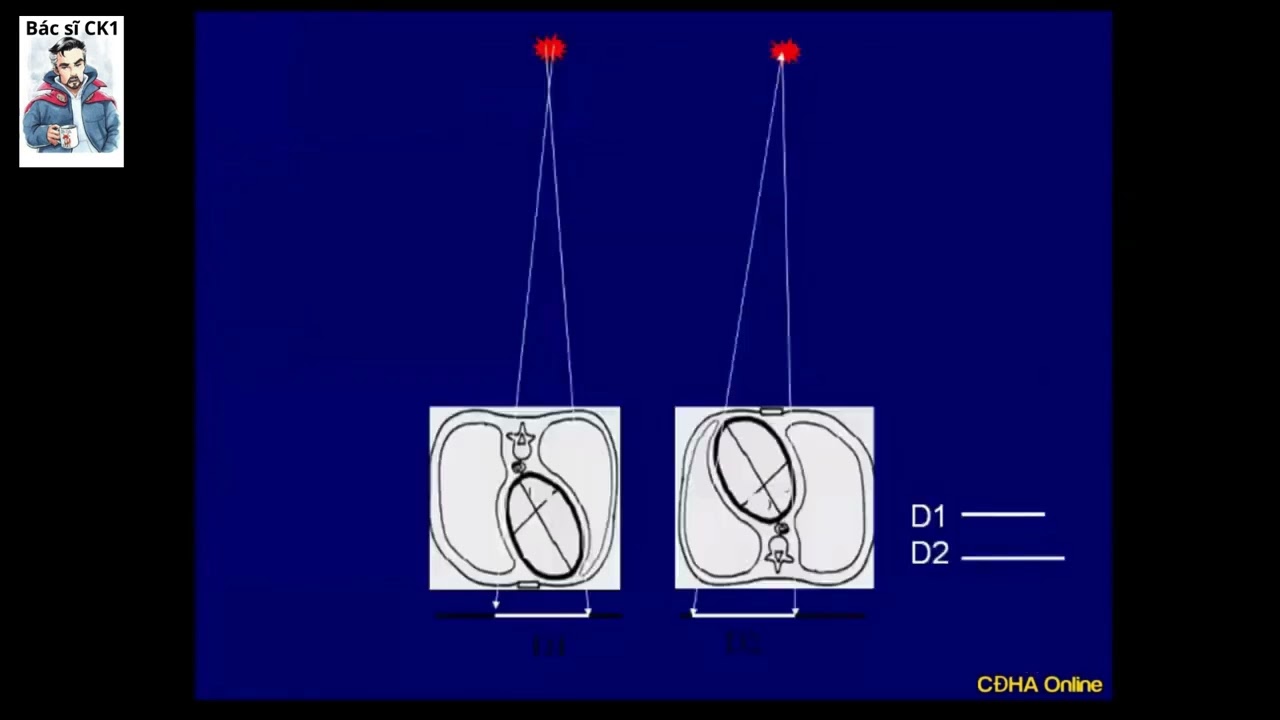






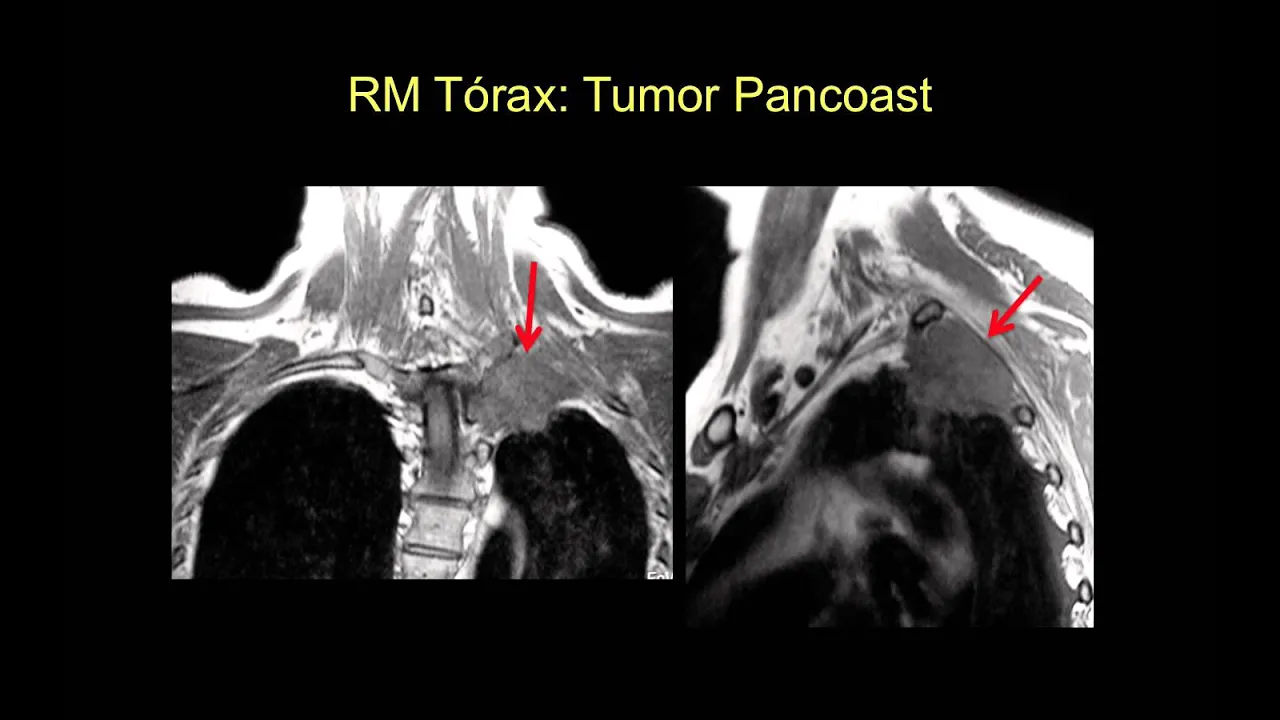
A systematic five-step approach (Airways, Breathing, Circulation, Diaphragm, Everything else) for reading chest X-rays, where students assess airway alignment and tracheal deviation, evaluate lung parenchyma and pleural layers for pathology like pneumothorax or consolidation, examine cardiac structures and silhouette signs, assess diaphragm height and symmetry, and finally review bones, soft tissues, and critical areas such as lung apices and retro-cardiac regions to ensure comprehensive evaluation without missing subtle pathologies.
Mastering Chest X-Ray Interpretation: The ABCDE Approach
Added:Basic thoracic anatomy, including the location and structure of the lungs, heart, trachea, mediastinum, and diaphragm.
Fundamentals of radiographic density, specifically how air, fat, soft tissue, fluid, and bone appear on an X-ray film (radiopacity vs. radiolucency).
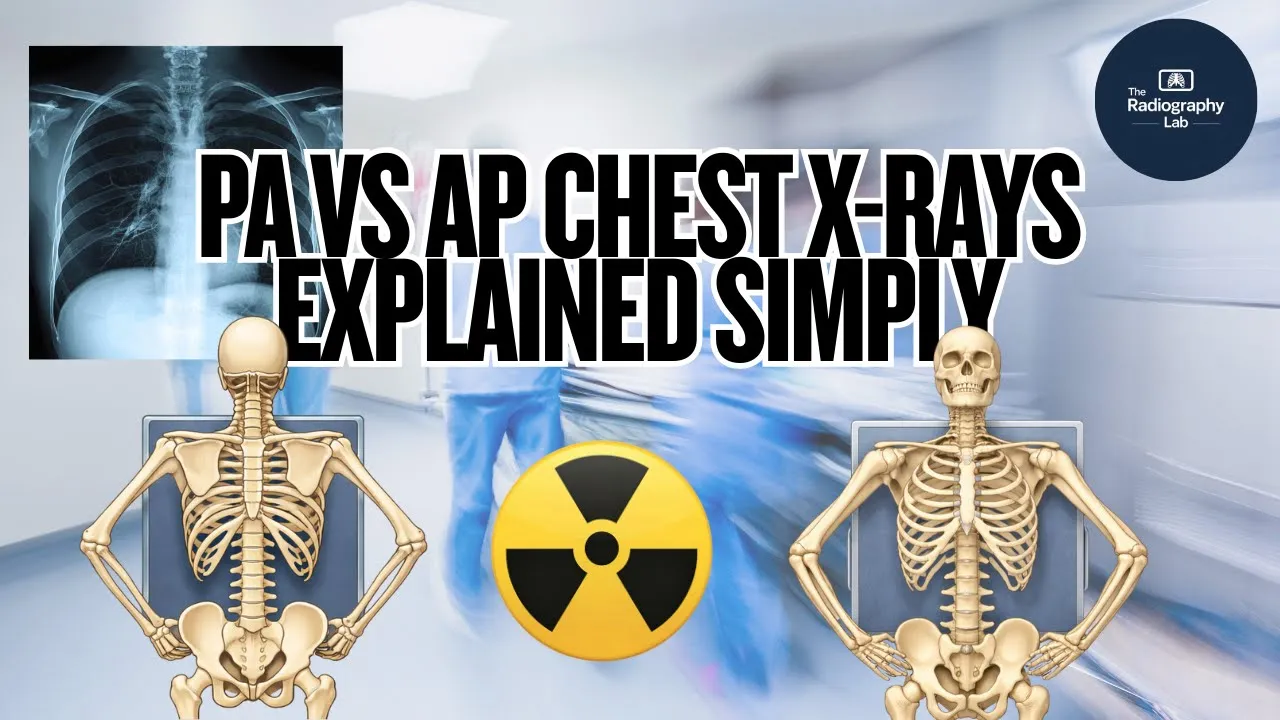
Understanding standard chest X-ray projections, such as the difference between Posteroanterior (PA) and Anteroposterior (AP) views.
Basic medical terminology related to anatomical positioning (e.g., medial, lateral, superior, inferior, bilateral).
How to evaluate the technical quality of a chest X-ray using the RIPE mnemonic (Rotation, Inspiration, Projection, Exposure).
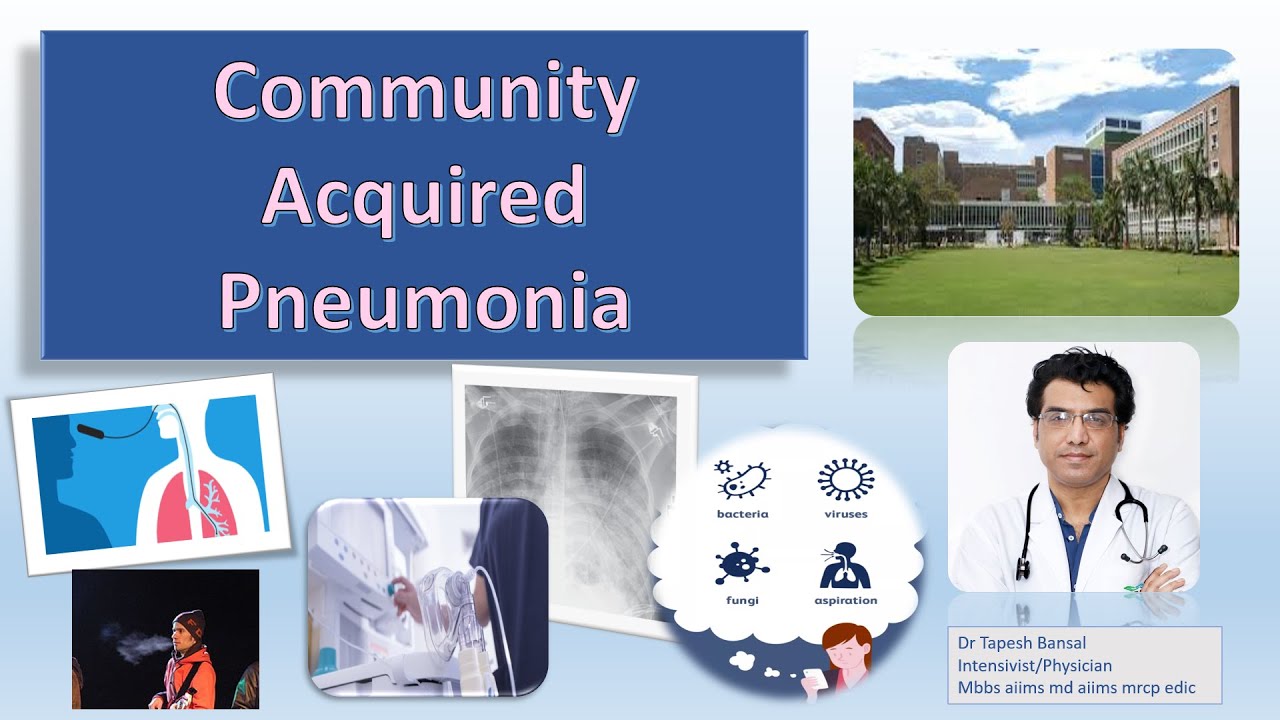
Identification of common thoracic pathologies on chest X-rays, such as pneumothorax, pleural effusion, pneumonia, and cardiomegaly.
Integrating chest X-ray findings with clinical patient presentations and laboratory data for accurate differential diagnosis.
Introduction to advanced thoracic imaging modalities, such as Computed Tomography (CT) of the chest and lung ultrasound.
3.8K views82likes17:23Original Release: 2021-09-12
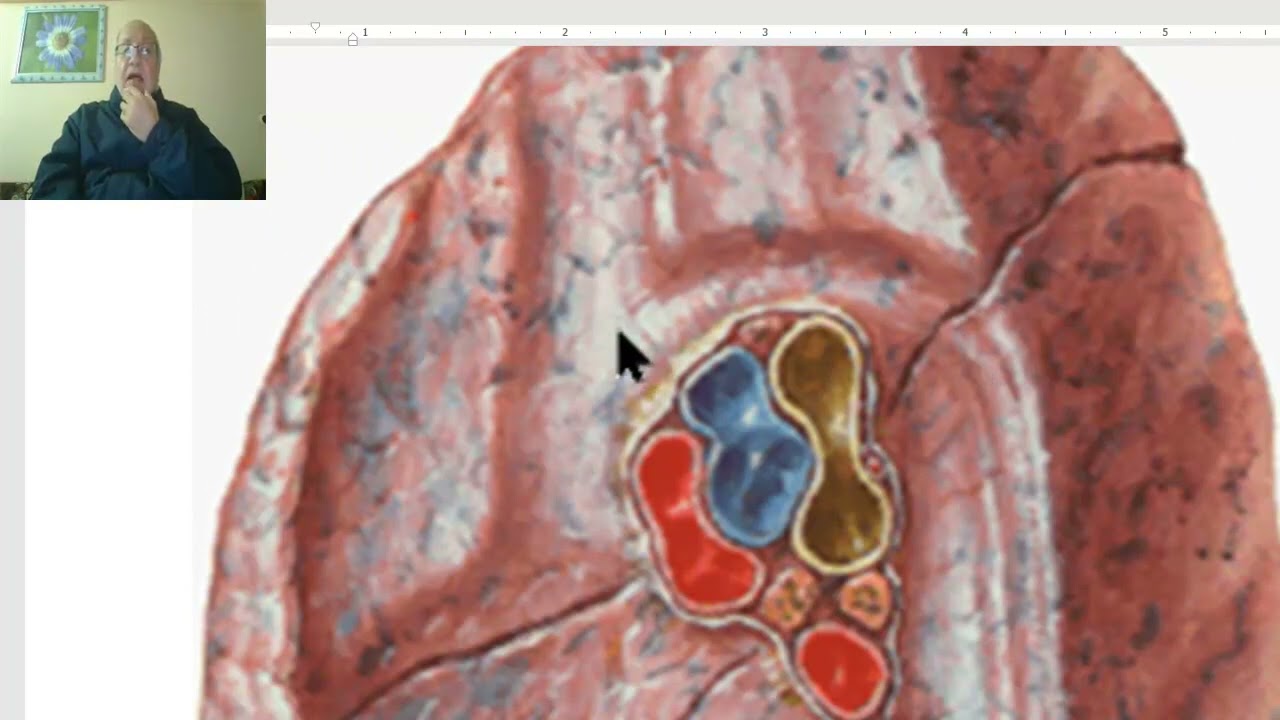
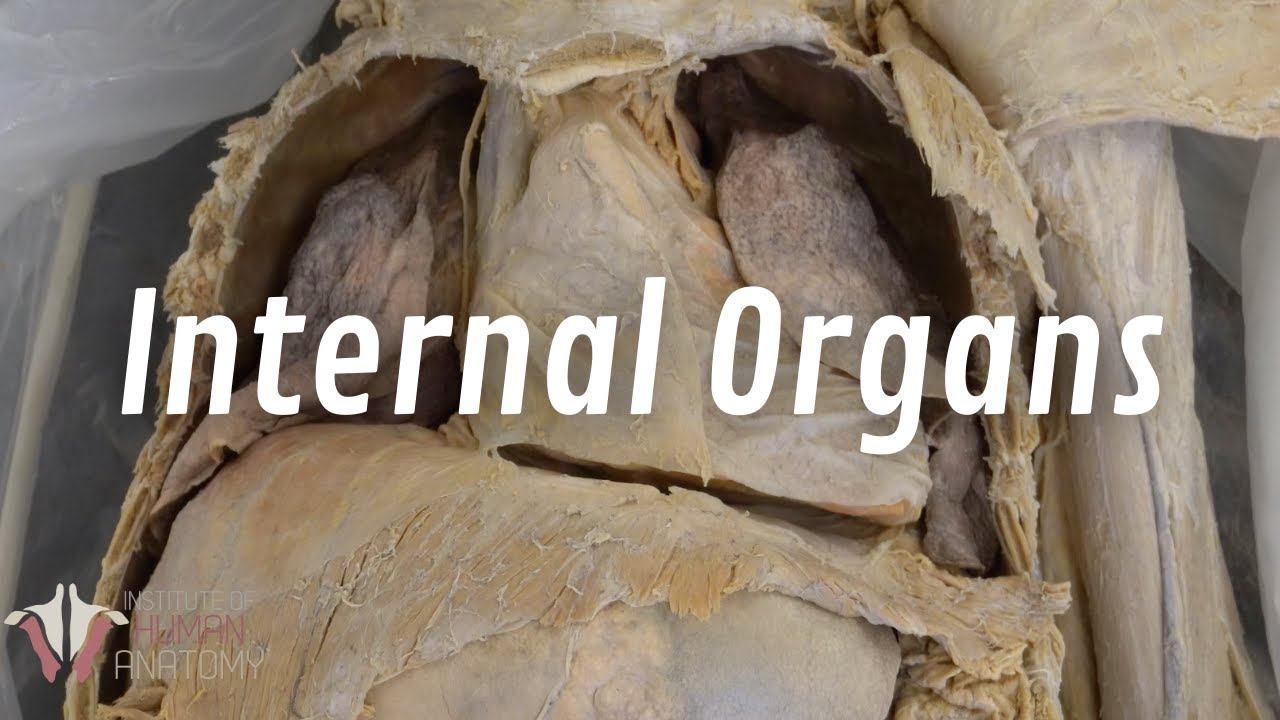
[Music] the ability to read a chest x-ray or cxr is what sets an average medical or physiotherapy student apart from a clinical rock star clinical x-ray review is a key competency for students junior doctors and allied health professionals but it is super easy to get distracted by huge glaring pathology such as a giant mass that you miss other pathology such as rib fractures so it's really easy to get overwhelmed therefore having a consistent approach and checklist to reviewing x-rays is imperative hopefully you've watched my light board on the right approach to assessing the quality of chest x-rays with respect to rotation inspiration penetration and adequate exposure of the image if so you are now ready to tackle reading and interpreting patient scans this video aims to provide you with a structured approach to the clinical assessment of chest x-rays using the handy mnemonic abcde to ensure that you don't miss anything we will also include relevant examples of pathology as we step through this checklist firstly and most importantly remember that when viewing the standard postro anterior or pa test x-ray it is pivotal to remember that the scan is going to be horizontally mirrored this means that the person's left side is actually your right side so just imagine that the person is facing you in the image or in the scan in our abcde approach a is going to represent the airways b is the structures involved with breathing c is the circulation or cardiac structures d is the diaphragm assessment and e is going to be for everything else when we start with the airway assessment we're looking at the vertical alignment of the radiolucent airfield structures that are going to be our trachea the carina as well as the main primary bronchi [Music] our first anatomical structure of interest is going to be the trachea if we start at the top of the film and locate the trachea which is going to be in the midline it should be superimposing the spinous processes of the vertebrae it should be straight vertically orientated and located in the midline equidistant from both of the medial ends of the clavicle if it is not we say that this trick here is going to be deviated so if there is tracheal deviation it can either be pushed away from an abnormal lung or pulled towards an abnormal lung so it can be pushed away from an abnormal lung and this is typically in the case of a large pleural effusion or a pneumothorax whether it's a simple pneumothorax or attention pneumothorax the trachea can be pulled toward an abnormal lung usually in the case of an extensive collapse or atelectasis or where we see consolidation is which is where there's an area of increased opacity and usually the result of a pressure change caused by a loss of volume within one of the lungs we know that the trachea is going to bifurcate into the left and right main primary bronchi at the level of the carina that is going to be located in the transthoracic plane of ludwig at the vertebral level t4 t5 so we want to then assess both the left and the right main bronchus you'll remember that the right bronchus is going to be shorter more vertical and wider in comparison to the left so it is more likely that a foreign aspirated object can get lodged in the right main bronchus so we need to then review this specific area to notice any abnormalities in density or opacity and then finally you should be looking at the hilar vessels remember that these vessels comprise of our pulmonary arteries veins and lymph nodes and these are located either side of the mediastinum approximately at that t6 t7 vertebral level remember that the left hilum is usually going to be higher in comparison to the right so you want to check if there's any unilateral or bilateral enlargement of the high life vessels this could be caused by enlarged lymph nodes or higher malignancy for example [Music] moving on to b in our pneumonic we're then going to assess the structures involved in breathing so specifically the lung parenchyma [Music] firstly let's look at the lungs as a whole there are a number of processes that cause lung abnormality aeration of the lungs is often altered by pathology so it's important to start off with a global perspective to review the size and symmetry of the lungs so compare the left and right lungs in their entirety to assess their density check whether one may appear hyperinflated or bigger or if there may be a loss of volume in one of the lungs each lung can then further be divided into four zonal layers or regions and this is important for reporting purposes [Music] i like to use four main zones so starting from top to bottom we have our apical upper middle and lower zones note that these don't actually equate to our anatomical lung lobes but these are very important for reporting and scanning purposes it is also important that you always use a pa and lateral view in combination to thoroughly assess the lower lobes that are not well visible on a standard pa alone so we want to then ask ourselves are there any masses or nodules in the lung parenchyma other in the areas of increased opacity or density if so this may be due to collapse of a lobe of the lung or it could be consolidation which points to pneumonia or infection are each of the zones a similar size shape are they symmetrical we then want to review whether the lung markings in the lung parenchyma will extend all the way to the edges of the lung fields if not there may be a pneumothorax present next we then want to turn our attention to the pleural layer or lining of each lung so you will remember with respect to the lung anatomy we have a visceral pleural layer we then have our pleural cavity we then have our parietal pleural layer on the outside so i'd like you to trace the outlines of each lung separately and the pleural lining should not be visible if the scan is normal the plural will only be present or visible if it is thickened or if fluid has accumulated in the space if you're doing the scan of the zonal layers from superior to inferior in the zigzag pattern you may actually notice that the visceral pleura of one of the lungs might become displaced if this visceral layer is displaced and evident this is most likely due to a pneumothorax or air in the pleural cavity and then finally under our breathing criteria we want to assess the costophrenic angles or recesses [Music] the costophrenic angle is formed between the dome of each hemi diaphragm and the lateral chest wall it should appear as sharp and acute with the same density as the lung if it is lost or flattened or we see an increase in the angle this is referred to as costophrenic blunting and may be a sign that the fluid has settled or that the lungs are hyperinflated as in the case of chronic obstructive pulmonary disease in our mneumonics c is then going to represent the circulation or our cardiac structures this includes the assessment of the heart as well as the cardiomedia style contour [Music] we have already covered this in cardiac imaging but under this criteria you need to check how clear is the cardiac silhouette is the heart located on the correct side of the chest is the heart enlarged what about the vessels the aorta the superior vena cava are they visible on the scan so firstly you want to consider the heart size and shape on a postero anterior view the cardiothoracic ratio should be less than 50 percent of the thoracic window if it is greater than 50 this is suggestive of an enlarged heart or cardiomegaly remember if you're looking at an ap projection the heart will be artificially enlarged you also want to check that the heart is located on the left side and the apex is pointing towards the left if the heart is inversely positioned this is referred to as dextrocardia we then want to move on and look at the heart borders specifically assessing the visibility of the aortic knuckle and the heart borders the right atrium makes up the right heart border and the left ventricle makes up the left heart border when examining the lung fields of a normal chest x-ray the outline or the silhouette of the heart borders the ascending and descending aorta the aortic knuckle and the hemidiaphragms should all be clearly visible all of the silhouettes or structures are in contact with a specific portion of the lung so if there is a loss in the border due to a change in the morphology or tissue interface or opacity this is then referred to as a silhouette sign so by determining exactly which silhouette or structure is obliterated you can then determine where the lung pathology is located if the right heart border isn't visible this suggests consolidation or collapse of the right middle lobe however if the left heart border is lost this is then suggestive of left upper lobe collapse for example and then finally we know that the aorta is going to pass posterior to the pulmonary vessels and it's going to bulge as a knuckle located on the left of the superior mediastinum therefore if we see an increase in the width of the superior mediastinum greater than 8 centimeters this is going to be abnormal and this may be suggestive of a mass or aortic aneurysm d in my approach is the assessment of the diaphragm remember that there are two sides so these are going to be the left and right hemi diaphragms [Music] remember that the right hemidiaphragm is going to be higher than the left by approximately one to three centimeters due to the location of the liver however if it is way too much higher this may indicate an abnormality when we're assessing the height of each hemidiaphragm you'll recall in the fully inspired state the anterior ends of ribs 4 to 6 should intersect the diaphragm at the mid clavicular line or plane if we see intersection of rib 8 or below or if you see flattening of the hemidiaphragm this suggests hyperinflation which is a chronic obstructive limitation disease such as emphysema or alternatively if you see a raised hemidiaphragm on one side particularly the left this may be associated with phrenic nerve palsy so generally the left and right hemi diaphragm should be symmetrical and the right only a tiny bit higher [Music] what then happens if you can't see a hemi diaphragm on one side so if you trace each hemi diaphragm from lateral to medial and you've lost one of them the loss of this diaphragmatic outline may indicate fluid consolidation or collapse of the adjacent lungs lower lobe specifically we can refer to this as a silhouette sign of the hemidiaphragms and we know that anatomically this corresponds to the lower lobe because it's going to be more inferiorly located and finally you might see air below the diaphragm if on the right side causing it to become visibly separated from the liver i urge you to seek an urgent review by a senior colleague or clinician on the left side also check for your friendly neighborhood gastric air bubble it's supposed to be below the diaphragm on that side due to the presence of the stomach this finding is normal especially in the erect or upright position as we know that air or gas is going to float to the top [Music] and finally e is going to be the suitcase of everything else so our bones our soft tissues any artifacts including tubes valves wires from pacemakers or buttons from shirts let's start off with the bones so i want you to inspect each rib both the anterior and posterior ends the scapula which shouldn't be in the field of view we should also review the bones of the upper limb so our clavicle our shoulder girdle for any fractures dislocations or lytic lesions practice counting your ribs so the anterior ends of the first rib should intersect the clavicle in that mid clavicular plane [Music] also included under this criteria are going to be our review areas before completing your assessment make sure you go back and look at these specific review areas as this is going to be locations where pathology is often missed so firstly the apices of the lungs to look for pneumothorax this would be characterized by no lung and markings and you'll also see a decrease in the density so it's going to be more black in that area which are going to be your highest most zones of the lungs next you want to look at the retro cardiac area you also want to consider the periphery of the lungs so trace the lateral borders of the chest from superior to inferior looking for any signs of edema so this is characterized by increased areas of opacity or common radiological signs such as curly b lines finally you want to go back and review the high last structures so ultimately as a pre-clinical student in our program you should be able to say what you see and present the image in the context of a chest x-ray you should be able to determine if the imaging findings are normal or abnormal and be able to reason or justify your way through this we are more interested in you being able to report your overall impression such as the left lung lower lobe consolidation rather than determining a diagnosis at the stage of your studies there are so many different variations to the approach that i've described but i would recommend that you stick to this five-step approach and it is really important that you don't skip a step or don't look for any shortcuts when reviewing chest x-rays as you may miss any subtle or minor pathologies thank you very much for your attention and i hope that this lightboard video has assisted with breaking down complex concepts such as chest x-ray interpretation in a simplistic manner please subscribe to my youtube channel for more such videos for other regions of the body and other imaging modalities
Up Next

5:40
Radiographic Densities: The 5 Basics in Radiology Imaging
@furmanborst
81.9K views•2010-08-23

48:47
Graphic Medicine: Comics for Collaborative Healthcare Communication
@nationalpatientadvocate
189 views•2023-12-04

10:28
Neuroanatomy: Central and Peripheral Nervous System Divisions Explained
@AKLECTURES
136.2K views•2014-09-20
3:05
Stages of Labor and Vaginal Birth | Childbirth Animation
@nucleusmedicalmedia
52.1M views•2017-08-18
Related Study Plans & Knowledge Roadmaps
Structured learning paths in Medicine
medicine
Abnormal LFTs: Diagnostic Workup & Pathology
01Liver Anatomy and Basic Physiology
02Introduction to Liver Function Tests (LFTs)
03Hepatocellular vs. Cholestatic Patterns
+ 3 more learning modules
12h6 modules
Explore Roadmap
medicine
Analyzing Blood Smears: RBC, WBC & Platelets
01Introduction to Blood Components & Smear Preparation
02Normal Morphology of Blood Cells
03Erythrocyte Pathologies & Morphological Variants
+ 2 more learning modules
12h5 modules
Explore Roadmap
medicine
Mechanical Ventilation: Waveforms & Alarms
01Anatomy and Physiology of Breathing
02Introduction to Mechanical Ventilation & Core Modes
03Ventilator Settings and Waveform Interpretation
+ 2 more learning modules
12h5 modules
Explore Roadmap
medicine
Neuro Exam: Localization & Stroke Syndromes
01Foundations of Neuroanatomy and Vascular Supply
02The Neurological Examination: Step-by-Step
03Principles of Neurological Localization
+ 3 more learning modules
18h6 modules
Explore Roadmap