

![Cómo usar ARDUINO Tutorial español [ ARDUINO desde CERO 👊] TUTORIAL ARDUINOBLOCKS](https://i.ytimg.com/vi_webp/ybZjXT8gg-A/maxresdefault.webp)








![DCS World Mission Design with MOOSE - Finite State Machines - 1. Concept [DCS World][Tutorial]](https://i.ytimg.com/vi_webp/S0d0dpyeaWs/maxresdefault.webp)








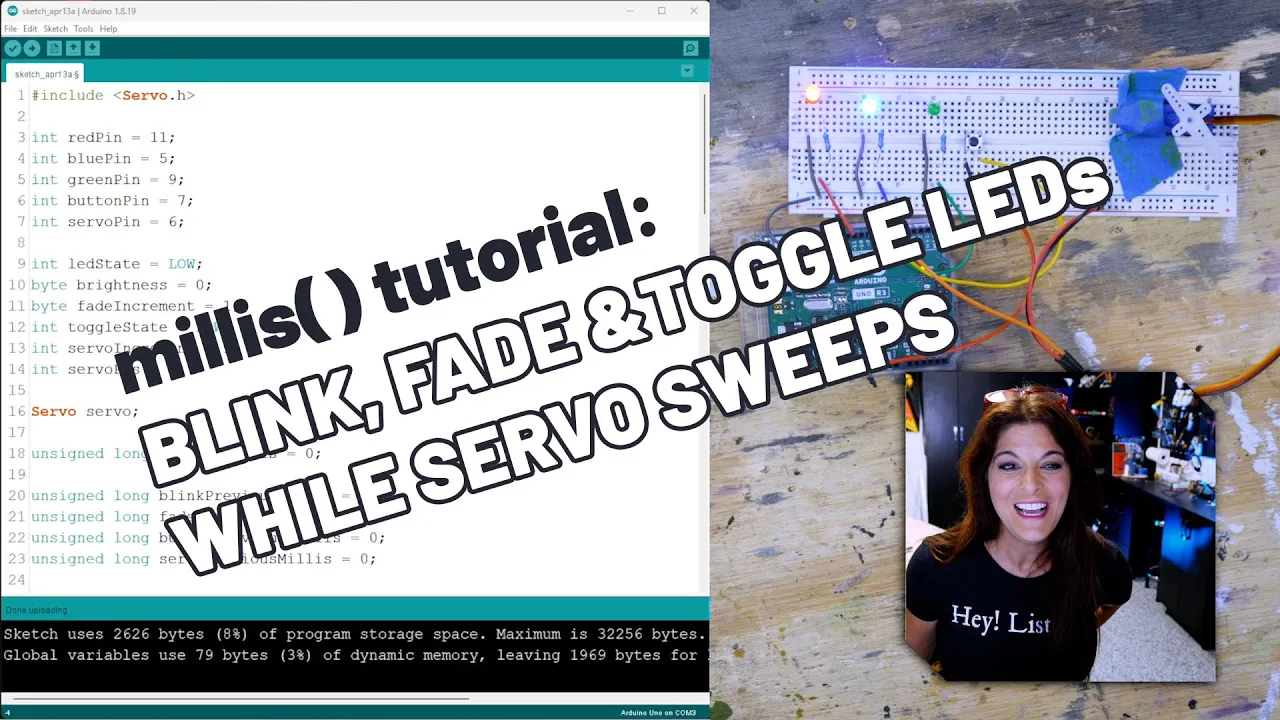
The millis() function in Arduino returns the number of milliseconds since the board was powered on, enabling non-blocking timed events by comparing current time against a stored previous time value; to create repetitive timed events, calculate the time difference between current and previous times, and when this difference exceeds the desired interval, execute the event code and update the previous time to current time, allowing the program to perform other tasks during the waiting period.
Mastering Arduino millis() Function for Non-Blocking Code
Added:Basic Arduino programming structure, including the distinction between the setup() and loop() functions.
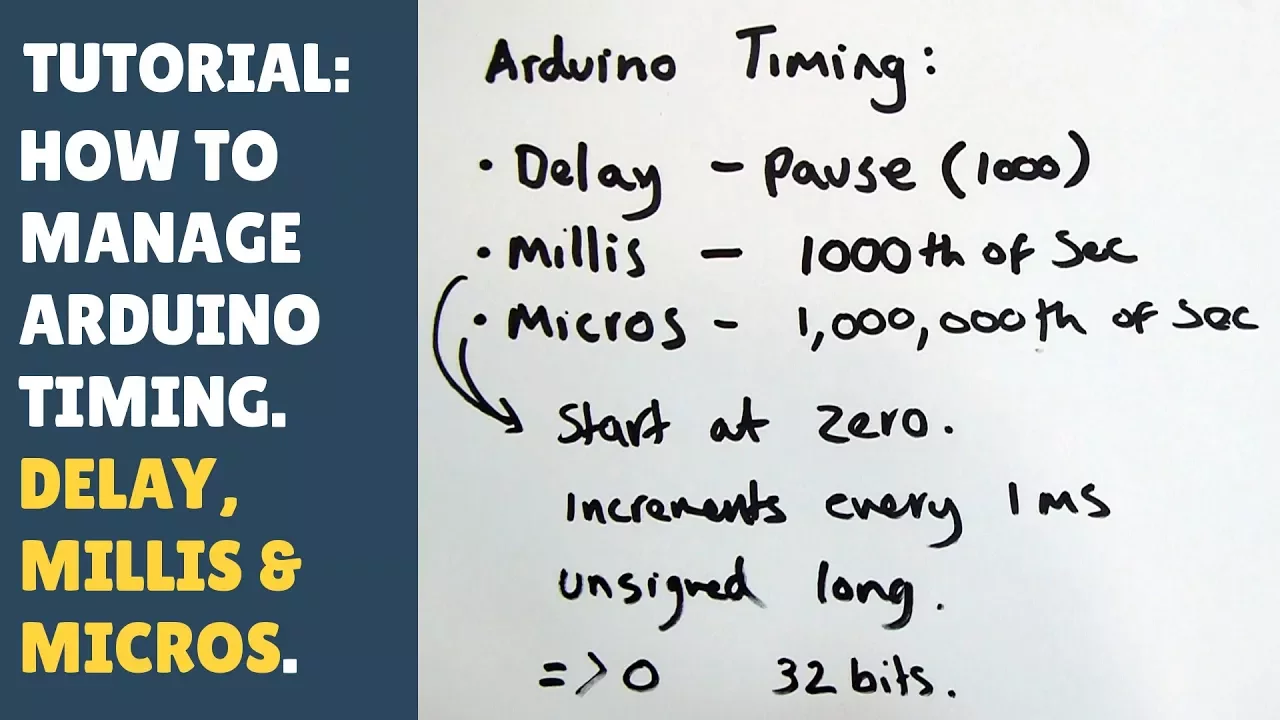
The behavior and limitations of the blocking delay() function in microcontroller environments.
Fundamental variable data types, specifically understanding why 'unsigned long' is necessary for tracking time in milliseconds.
Basic control flow and conditional logic, particularly using 'if' statements to evaluate time differences.
Designing Finite State Machines (FSM) to manage complex, multi-tasking behavior without blocking code execution.
Applying non-blocking timing techniques to software debouncing for physical buttons and sensors.
Understanding hardware interrupts (using attachInterrupt) for immediate, hardware-level event handling.
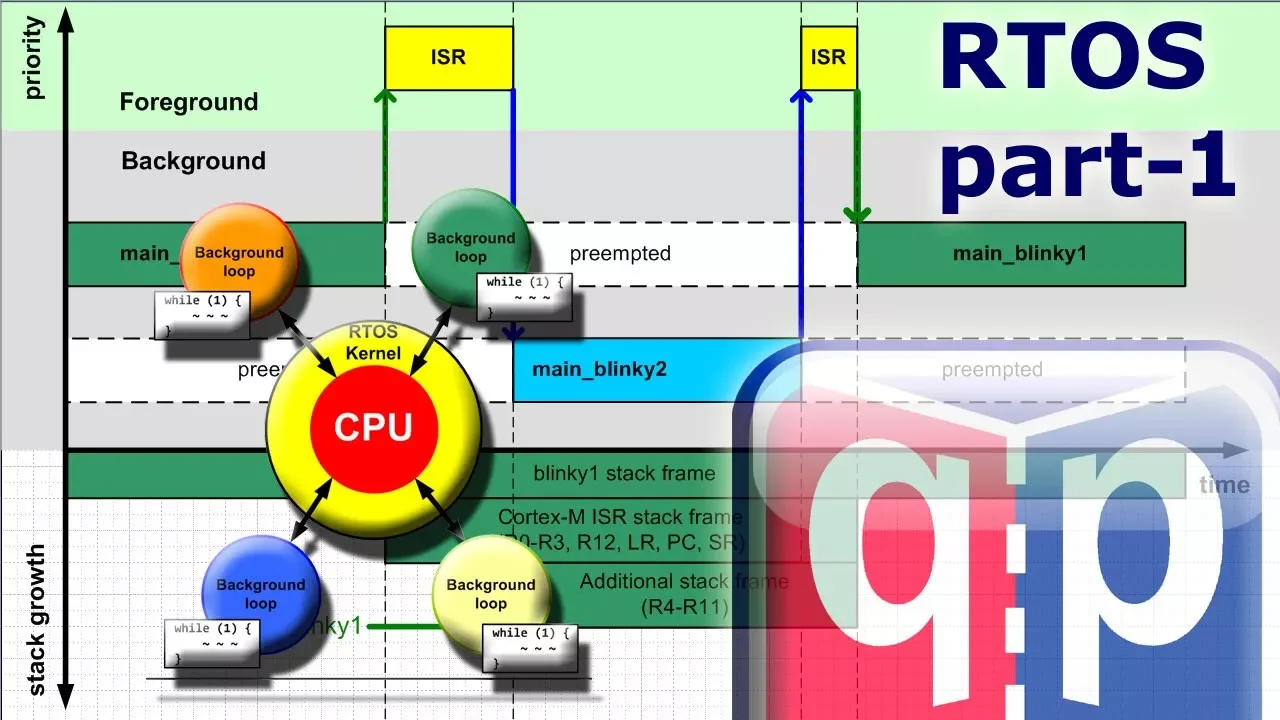
Transitioning to Cooperative Multitasking and Real-Time Operating Systems (RTOS) for advanced embedded applications.
254.3K views6.3Klikes14:26Original Release: 2019-04-18
let's say you're building a project using Arduino and you have an event that you want to have happen every so often maybe every 3 minutes you want a Servo motor to move or maybe every 20 seconds you want to update a web server with the most current sensor reading how do you create these timed events in order know that's the objective of this series of lessons that by the end you'll be able to program repetitive timed events using your Arduino now if you've watched the previous lessons we've talked about the Millis function kind of in general we've talked about tight loops and blocking code and some issues that arise when using the delay function now I want to talk about how we can use the Millis function to create simple timed events specifically we'll cover a quick review of the Millis function we'll think about the Millis timeline we'll use Millis to create once off timed events we'll use Millis to create repetitive timed events and finally we'll talk about how black holes can alter SpaceTime let's start with a quick review of the Millis function I think the easiest way to review this function is just to take a look at it in a simple sketch so what I'm going to do is write a sketch that prints the value of Millis to the serial monitor window so here we are in the Arduino IDE and I'm going to begin in the setup and use the serial begin function to enable serial communication then in the loop I'm going to use the serial print line function and I want to print the value of Millis so every time through the loop this program will print the current value of the Millis function so if we load this sketch onto our Arduino and open up the serial monitor window you'll see the value of Millis is increasing rapidly so what is this value that the Millis function returns well the Millis function Returns the number of milliseconds that your Arduino board has been powered up so as soon as your Arduino board is powered up the Millis function begins tracking the number of milliseconds that have passed it starts at zero and it counts up and up until it gets to 4 billion and some change and then it overflows which is just a fancy way of saying that it starts counting back at zero and it would take 49 days for the Millis function to overflow so the number of Millis gets real big and it gets pretty quickly now the way Millis is able to track the number of milliseconds that have passed is by using the timer counter module built into the integrated circuit that the Arduino uses in our Arduino code we don't have to start the clock or start Millis it starts all by itself in the background now if you want to learn more about how the Millis function Works definitely check out the first lesson in the series so how can we conceptualize Millis so that we can use it to create timed repetitive events what well let's start by thinking of Millis as moving along a timeline so the timeline starts at zero and it goes all the way up to 4 billion and some change and again these numbers represent milliseconds so at any point during our program we can call the Millis function and find out exactly where we are on the timeline so let's go ahead and zoom in and take a look at the first 5 Seconds of a program so this little dot represents where Millis on the timeline and for the sake of explanation let's slow down that dot cuz I really can't talk that fast so as soon as we power up our dwo the Millis function starts counting so you can see the value is increasing moving to the right along the time axis now if we want to create timed repetitive events how could we use this timeline to our advantage what if I reached out ahead in time and I made a little hatch line and I said when the value of mill gets here do this thing in code it might look something like this so let's talk through this sketch from the point when power is first applied so poers applied we get into the loop and the first thing we do is check Millis since we just began the value of Millis is low it's less than the value of event one which was a th000 so this if statement condition is false and the code in the curly brackets doesn't run so this Loop continues to execute over and over and the if statement keeps getting passed over because the condition is false but that really doesn't last long because before we know it the value of Millis has exceeded the value of the event one variable so now the if statement condition is true and the code within the if statement begins to execute so now we've created a timed event using Millis but this really isn't exactly what we're after it might work for some applications like let's say you're building a radiation warning exposure timer and say you when you flip on a switch it turns on the Arduino and when so much time is passed an indicator light is turned on so after defined interval an LED turns on and then it just stays on now we could have used the delay function to achieve the same thing but what's nice with using Millis is that since we didn't use the delay function we can do other stuff in the loop maybe we can read a sensor or update a display or whatever the Millis function won't block other code from running like the delay function would furthermore if we wanted to we could add more events that trigger at later times so this is one way to use Millis but it's really not what we're after we want to create repetitive timed events for example every 30 seconds maybe we want to read the water temperature or every minute we want a servo motor to move left and then right again for these types of programs this simple use of Millis won't do it so let's go back to our timeline so here we are at the Timeline again and I'm thinking what if we do this what if we still have our hash mark right we say when Millis gets to this value then we want to execute our event but now what we'll do is when the Millis value gets to this point and our event code runs what we'll do in part of our code is update the event time and so essentially what we're going to do is move that hash mark down the timeline to the next point so every time we get to that hash mark we also update the hash mark for the next time around it's kind of like we're holding this carrot in front of the Millis function like here come get it and then when the Millis function finally gets there we move it further down that's just kind of mean so let's try some code and see what this might look like so here we are in the Arduino IDE and the first thing I'm going to do is set the interval of the event so I've created a constant and I've named it event interval and the reason I have it as a constant is because the interval isn't going to change I want my event to happen every thousand milliseconds so now what I'm going to do is I'm going to create a variable that I'm going to use to update the time I'm going to call it previous time so let's do that so I've created previous time and it is an unsigned long and the reason these are unsigned Longs is because the value of Millis gets extremely low large and we want to be able to hold that value in our variable I talk about this in one of the previous lessons so make sure to check out one of the earlier videos in this series to learn more about that now in the setup I'm going to go ahead and start serial communication using the serial begin function because in the loop I'll be sending some stuff to the serial monitor so I'll do that now now down in the loop what I'm going to do is create a variable and it's going to get updated every time through the loop with the current time and how do I get the current time well I just call the Millis function remember the Millis function is going to report back to me where we are on that Millis timeline so I'll do that now so I've created a variable called current time and I set it equal to the output of the Millis function so every time through the loop current time is going to be holding the current value of the Millis function so now comes the key step I want to create some type of function that is only going to happen when I'm at my event interval so every 1,000 seconds I want something to happen so the code I'm going to use is going to be an if statement and the condition here is what is key so what I'm going to do is go ahead and write this if statement and then we'll talk about it okay so this kind of looks like a doozy but let's just talk through this so what does this if statement do well it takes the current time and remember the current time is constantly being updated through the loop with the Millis function so it takes the current time it subtracts it from the previous time and then it checks to see if the value here is greater than or equal to the event interval okay so let's just let's just really nail down these events right down let's put some numbers to them so we know event interval is never going to change right it's a constant and we set it to 1,000 so you can just think of this as 1,000 and now we've got two other numbers here we've got current time and we know this value is always going up right because this is the value that we're getting from Millis so think of current time as just it's almost like a big Arrow up it's always getting bigger and bigger and bigger so we've got something that's getting really big and now we've got to ask what is previous time well previous time starts at zero so we've got a number that's zero here and then we've got a value here that's current time so the first time through the loop the difference between current time and previous time is going to be small and that's because we just started the program right so Millis you know it starts at zero maybe Millis is it like 100 so we'd say well 100 minus 0 that's 100 and we'd ask is 100 greater than or equal to a th000 no it's not so this if statement all the code inside here wouldn't run and so we'd get to the end of the loop and we'd start right back at the top we'd assign Millis the value of Millis to the current time so let's say now it's a 200 milliseconds all right so now current time is 200 we get back to this if statement and now we ask all right is 200us 0 is that greater than or equal to 1,000 it still isn't so we skip this if statement we would keep doing that over and over until a second is passed when a second is passed then the Millis function is going to a th000 so now we'd say is 1,00 minus 0 is that greater than or equal to 1,000 we'd say hey yes it is sweet so we can jump into our code so the event code that I've got here is just printing something to the serial Monitor and then what we do and this is kind of the the trick this is how we scooch down that hash mark so that the next time around we can have this event happen again in another thousand seconds so what we do is we take the previous time which was zero and we update it with the current time and we had said that the current time was a th000 so now previous time is now equal to 1,000 Okay so we've updated that time we exit the if statement and then we come right right back into the loop now current time is going to get updated again right so maybe it's like I don't know a th000 let's just say a, 10 milliseconds so now we've got a,10 here and we've got to subtract a,10 from previous time well what was previous time well we had just updated it to a th000 so what's a,10 minus 1000 well that's 10 is 10 greater than or equal to a th000 nope it's not so we skip over this code and you can kind of see what's going on here we're going to keep skipping over this code until another second has passed because when another second has passed then Millis is going to be 2,000 and we'll ask ourselves in this if statement is 2,000 minus 1,000 is that greater than or equal to 1,000 we say yeah it's equal to that so then we can run this code again and you can see we'll print out to the serial monitor our event code or whatever code it is that you want to have happen at that spef ified time and then we update the previous time again and this right here is the coding Paradigm that is going to allow you to create repetitive timed events using your Arduino so I know it can look a little tricky seems like there's a lot of variables the best way to really get a handle on this is just to write the program yourself and mess around with it all right well let's just do a quick review of what we talked about first we did a quick review of the Millis function we said hey you don't have to like start the Millis function it's just always counting it starts at Zero from when the time the Arduino is powered up and it counts up to 4 billion and some change and then it starts over again once it gets to the top then we talked about kind of thinking about Millis moving down a timeline in our program this is kind of a way to help us conceptualize how we can use Millis to create timed events then we talked about creating once-off timed events using the Millis function and finally we talked about creating repetitive timed events using the Millis function well hey I hope you found this lesson helpful we're going to have a couple more lessons about the Millis function and using it some different uh cases so stick around stay tuned for the next lesson have a great day take it easy bye
Up Next

81:42
Remix IDE Full Guide: Ethereum Smart Contract Development
@EthereumRemix
5.1K views•2025-04-15

12:54
Triumph of Orthodoxy Icon: Byzantine Art & History Explained
@BenCallan
2.1K views•2024-08-06

14:44
Arduino analogRead Voltage Conversion: Tutorial for Beginners
@programmingelectronics
225.3K views•2013-10-02

1:42
Game of Thrones Opening Credits: A Cinematic Analysis
@gameofthrones
46.3M views•2011-04-18
Related Study Plans & Knowledge Roadmaps
Structured learning paths in General & Interdisciplinary Studies
general-studies
Elevator Engineering: History, Physics & Cities
01From Hoists to Safety Brakes: The Dawn of Vertical Lift
02Hydraulic vs. Traction: The Engineering Physics of Elevators
03Modern Speed, Safety, and Algorithms
+ 2 more learning modules
12h5 modules
Explore Roadmap
general-studies
Rubber: Material Science, History & Geopolitics
01Origins of Natural Rubber & Mesoamerican History
02The Chemistry of Natural Rubber & Vulcanization
03The Geopolitics of the Rubber Boom & Colonization
+ 2 more learning modules
12h5 modules
Explore Roadmap
general-studies
Containerization: Evolution, Logistics & Trade
01Ancient Trade & Bulk Cargo: Amphorae to Barrels
02The Industrial Revolution & Cardboard Packaging
03The Containerization Revolution: Malcom McLean
+ 2 more learning modules
12h5 modules
Explore Roadmap
general-studies
Textile Tech: Evolution, Labor & Global Impact
01Pre-Industrial Textiles: Handloom & Cottage Industry
02Mechanization: The Spinning Jenny to the Power Loom
03The Factory System & Global Labor Transformation
+ 2 more learning modules
10h5 modules
Explore Roadmap