









![[Arduino] #22 - Przetwornik analogowo-cyfrowy ADC | Arduino jako "oscyloskop" ?](https://i.ytimg.com/vi_webp/DjyLWIGhWZk/sddefault.webp)



![[C] Một số khái niệm về Biến (Variables) và Kiểu dữ liệu (Data Type) | Embedded C](https://i.ytimg.com/vi_webp/QqmYBDapQJM/maxresdefault.webp)

![Aprende a Programar desde cero en C/C++ [Parte 2] (Variables)](https://i.ytimg.com/vi/8dQApw45iEU/hqdefault.jpg)
![Sensor de Temperatura LM35 con Arduino[TUTORIAL]](https://i.ytimg.com/vi/Mw8pSdCJBKw/maxresdefault.jpg)







![AREF Arduino ⚡️ Voltaje de REFERENCIA ⭐️ [Curso ARDUINO] # 013](https://i.ytimg.com/vi_webp/wtIGT4rUgIk/maxresdefault.webp)






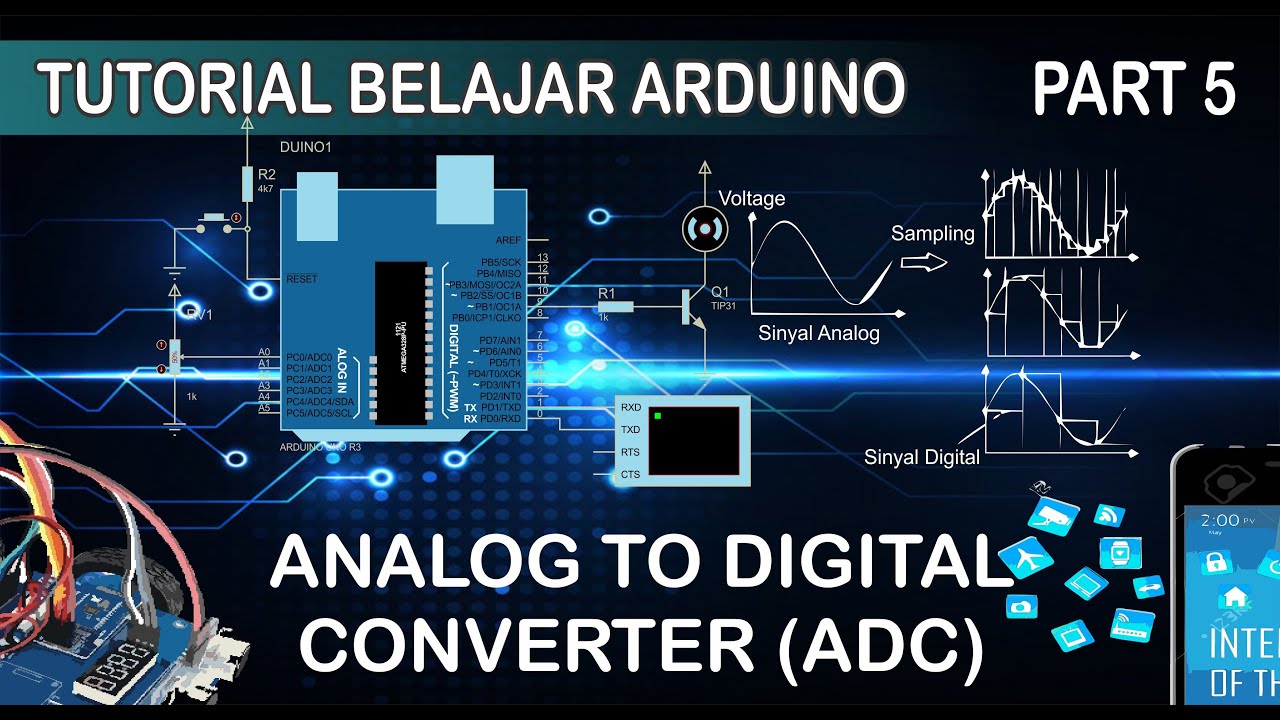
To convert the raw integer values (0-1023) from Arduino's analogRead() function into actual voltage readings, multiply the sensor value by the conversion factor (5.0 / 1023.0), where 5.0 represents the reference voltage and 1023 represents the maximum analog value; this conversion uses the float data type to provide decimal precision for accurate voltage measurements.
Arduino analogRead Voltage Conversion: Tutorial for Beginners
Added:Basic familiarity with the Arduino IDE, including how to write, compile, and upload a simple sketch.
Understanding the fundamental difference between digital signals (discrete ON/OFF) and analog signals (continuous voltage range).
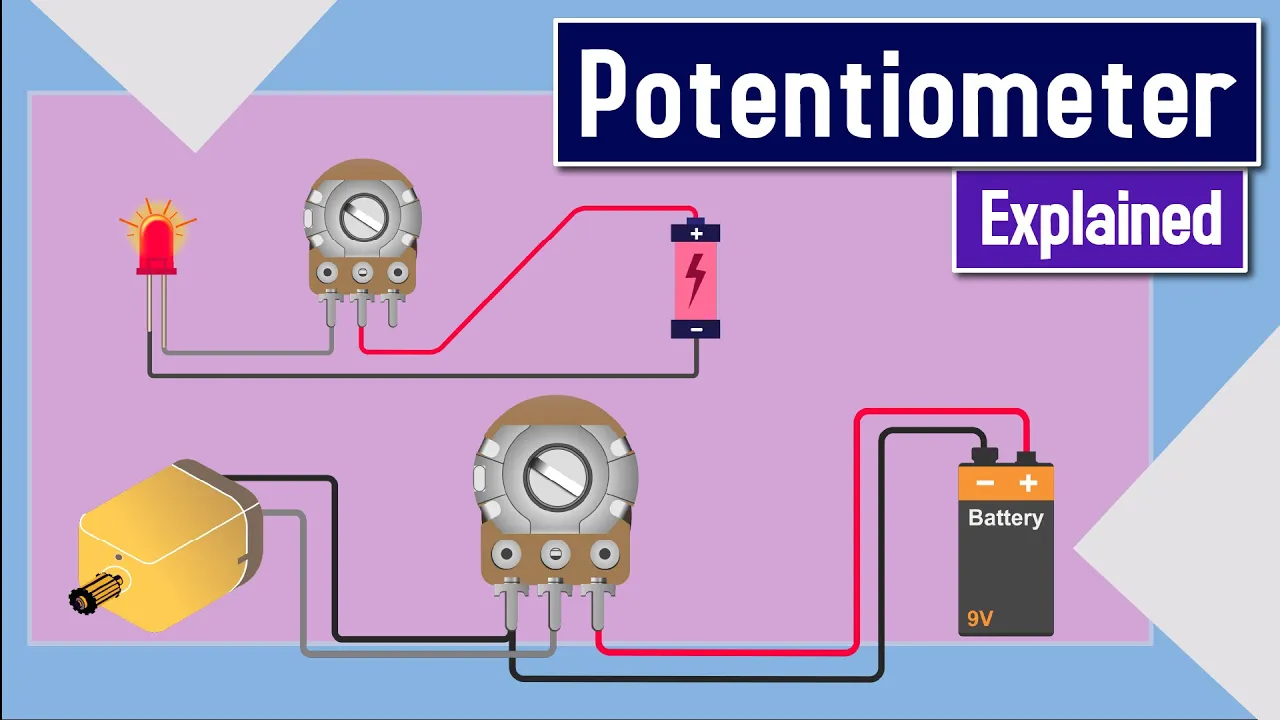
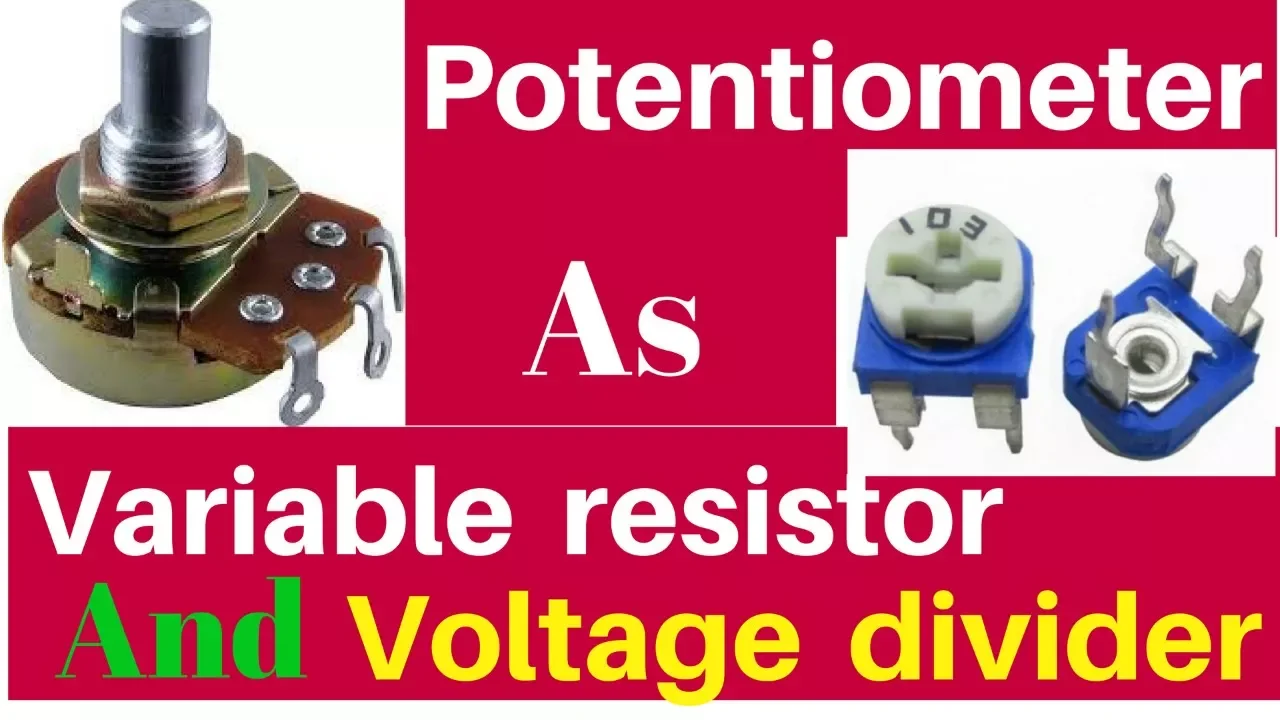
How a potentiometer functions as a hardware component to divide voltage and provide a variable input between 0V and 5V.
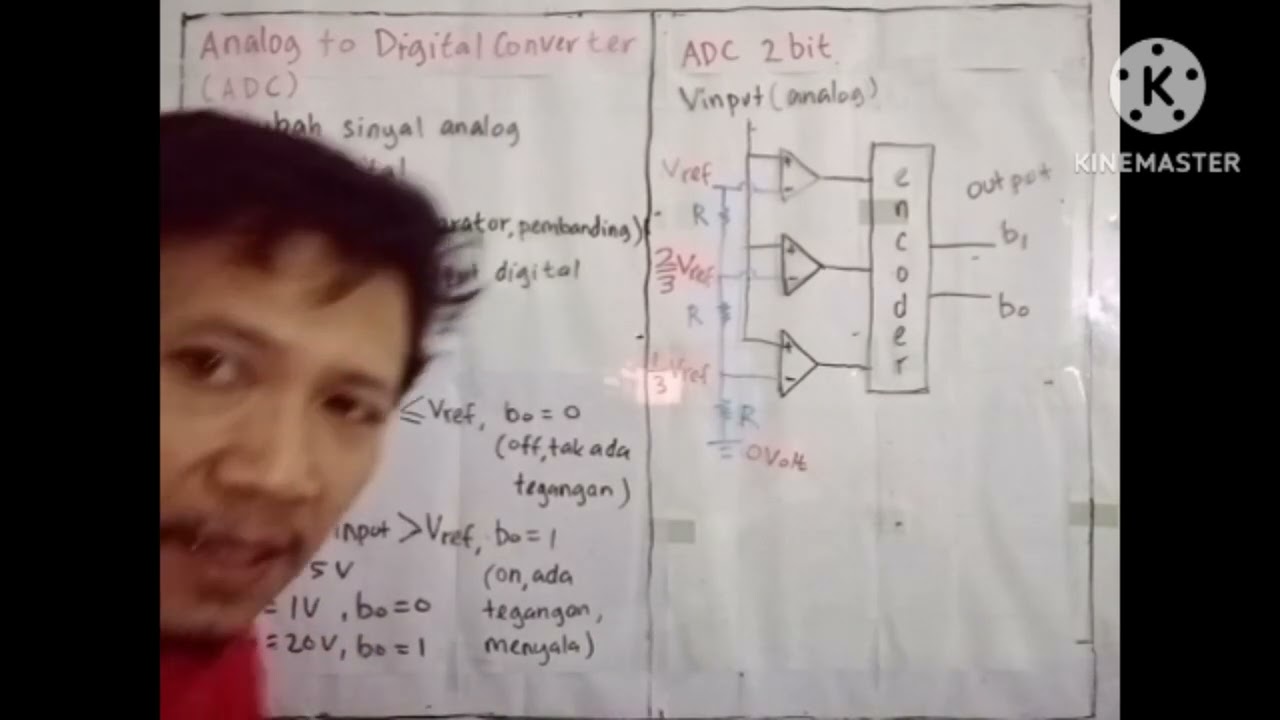
A basic concept of Arduino's 10-bit Analog-to-Digital Converter (ADC), which translates analog voltages into raw integer values from 0 to 1023.
Introductory programming concepts in C/C++, specifically declaring variables and understanding basic data types.
Translating converted voltage readings into physical units of measurement for sensors (e.g., converting voltage to Celsius for an LM35 temperature sensor).
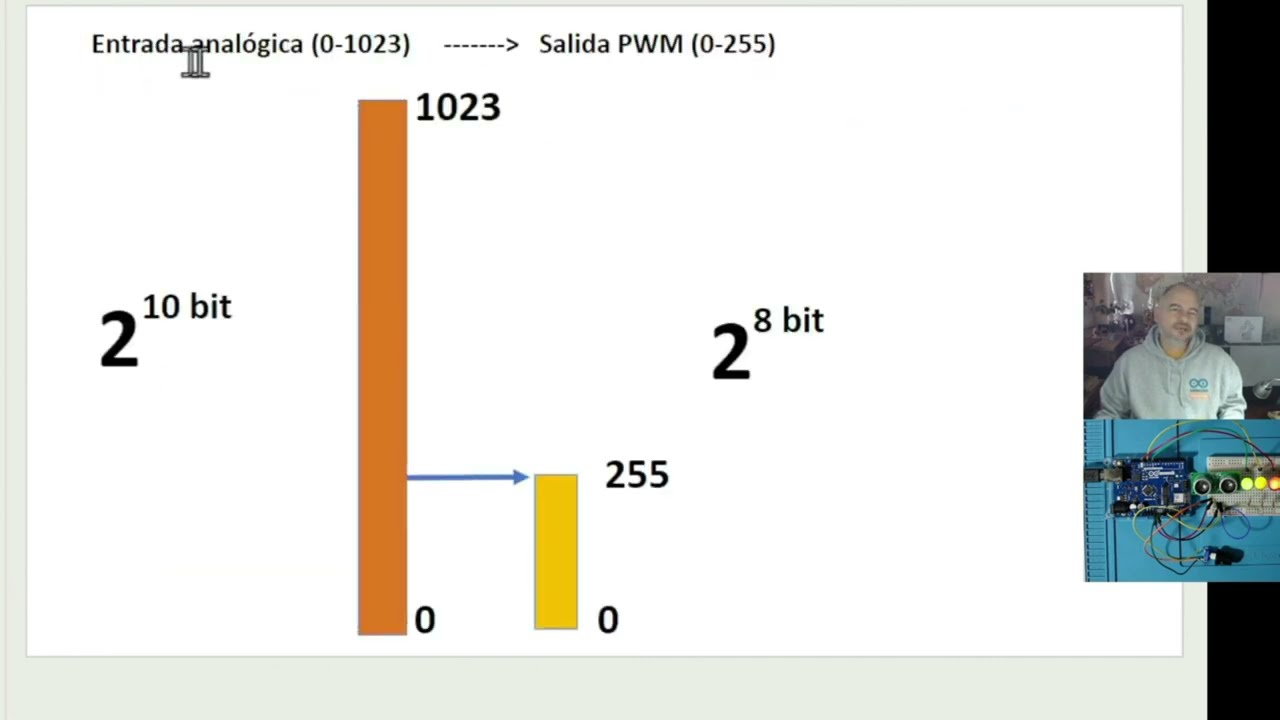
Utilizing the built-in Arduino `map()` and `constrain()` functions to scale analog inputs directly to output ranges (e.g., mapping a 0-1023 input to a 0-255 PWM duty cycle).
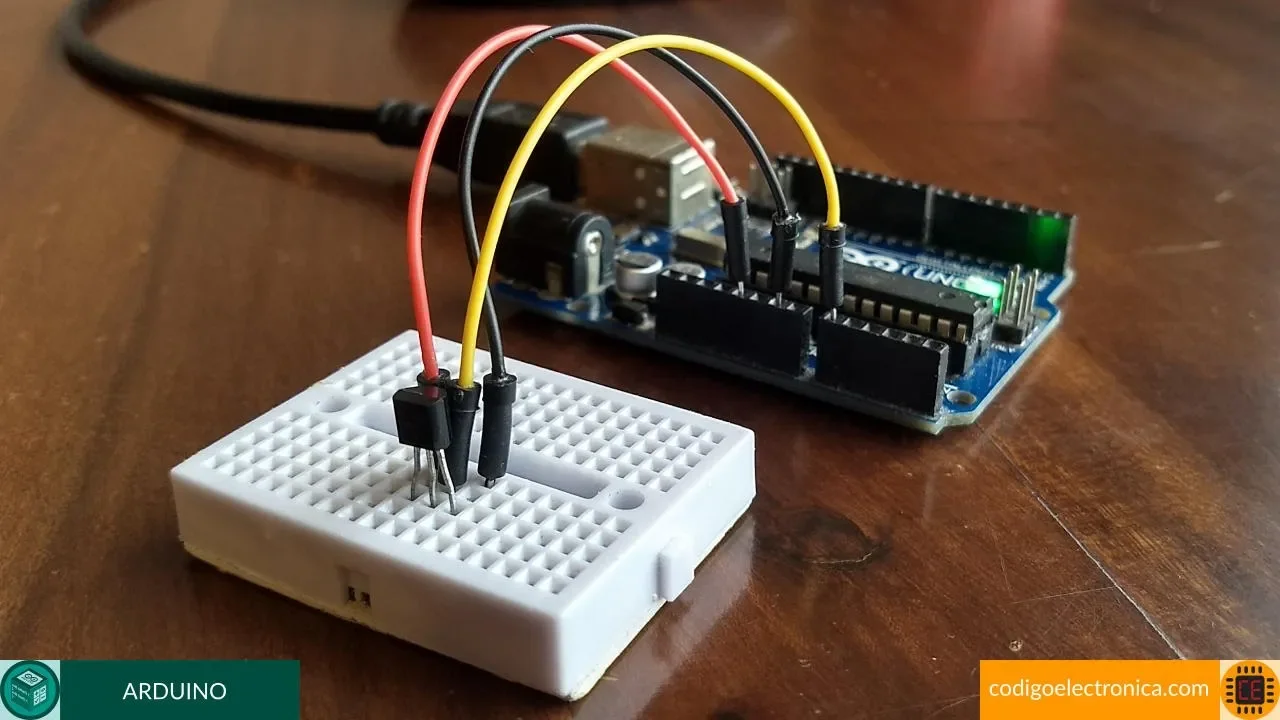
Learning about reference voltages and how to use `analogReference()` to improve ADC resolution and measurement accuracy for low-voltage sensors.
Implementing basic digital signal filtering in code, such as a moving average filter, to smooth out electrical noise in raw analog readings.
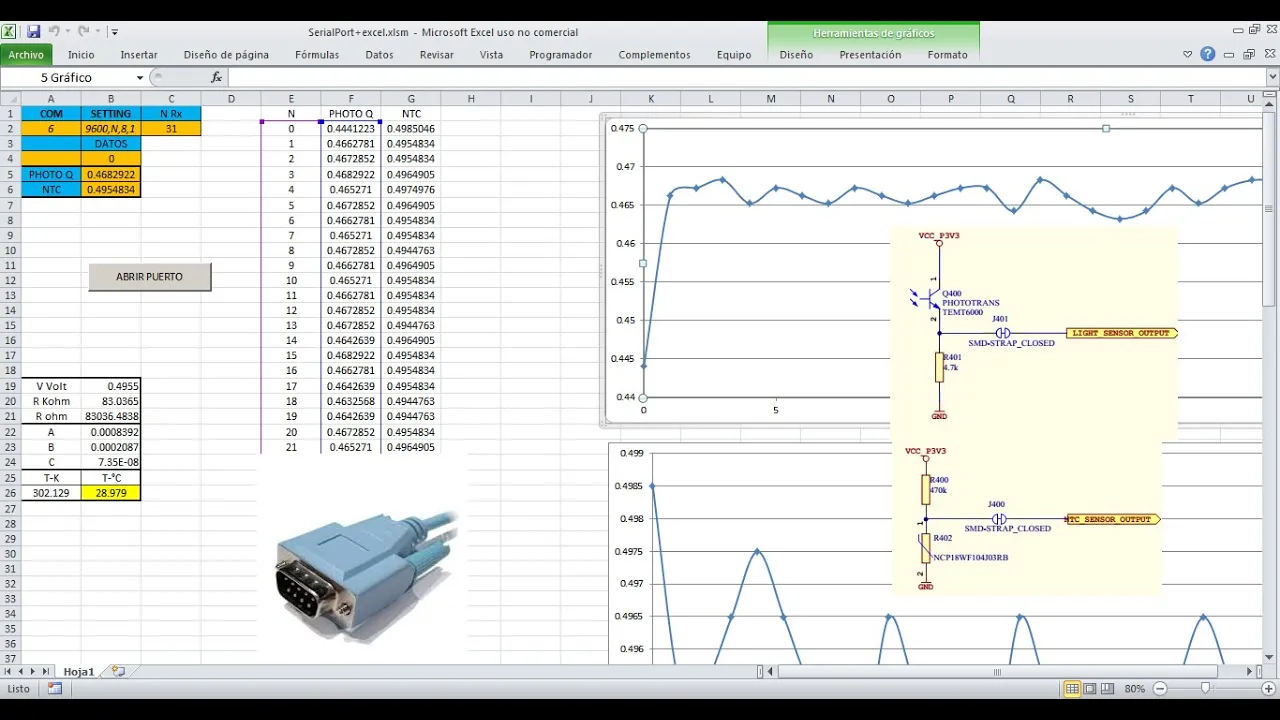
Interfacing with non-linear analog sensors (like NTC thermistors) and applying advanced mathematical calibration formulas (e.g., the Steinhart-Hart equation).
225.3K views2Klikes14:44Original Release: 2013-10-02
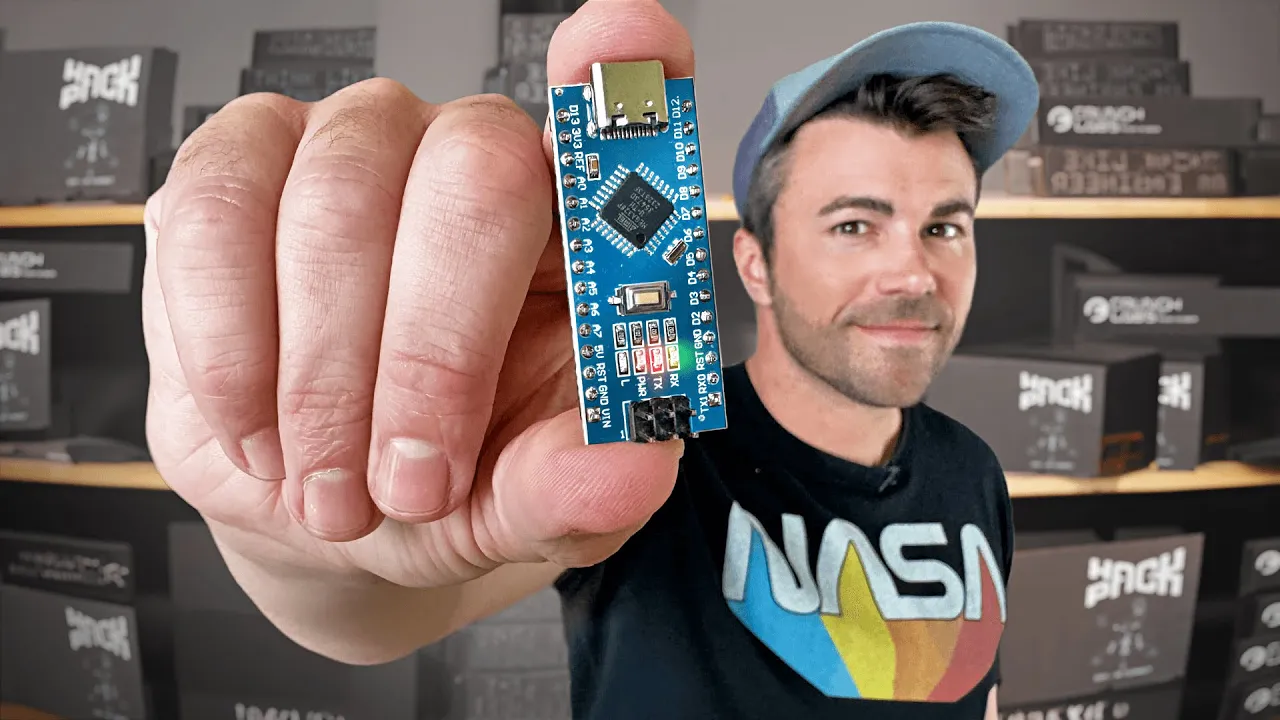
[Music] hi how's it going I'm really glad you're here in this tutorial we are going to use the analog read function we're going to take the raw data that we get and then we're going to convert it into an actual voltage value so what we want to know is what is the actual voltage being applied to one of the analog pins on our Arduino board now in order to do this we have to learn a couple things the first thing you're going to learn is how to use a conversion factor it's actually extremely simple and extremely handy and we're just going to kind of talk through how to do some conversions and the other thing we're going to do is learn about the float data type turns out also to be extremely easy now before we jump in I want to note that this this sketch is very much like the last tutorial about using analog read so we will run into a couple new things but it's going to be very it should be very familiar to you but we're going to go from start to finish it'll give you some repetition and then it'll also put put this new stuff in context all right so without further Ado let's go ahead and jump in for this tutorial you're going to need an Arduino you can use uh any Arduino I've got the auno here or you could use a clone I do recommend sticking with the Arduino brand however just so we're on the same page you will need a potentiometer so potentiometer you know it's like a volume knob it turns left and right and and it really doesn't matter uh what resistance level you get I'm using a 10K potentiometer here you're also going to need at least three jumper wires and then finally you'll need a solderless breadboard so let's go ahead and set up this circuit all right so here's our schematic so you can see this is a really simple circuit if you adjust your breadboard and your Arduino like we have in the schematic then we'll be talking the same language as we go through this whole sketch so you see the potential ometer like the part that you turn is pointed away from the Arduino and 5 Vols we have connected to the left side of the potentiometer ground is attached to the right pin of the potentiometer and then the center pin of the potentiometer that is what goes to a0 which is the first analog pin on your Arduino so uh what's Happening Here is the potentiometer is acting like a voltage divider so on one end of the potentiometer You've Got 5 volts and on the other end you have zero and when you adjust that knob the center pin is going to change all the way up from 5 volts down to as low as Z volts so as you adjust that knob you are uh adjusting the amount of voltage that's going to be seen at that center pin which ends up being you know what we have on our Arduino attached at a z okay so that's essentially how this is working so go ahead and open up your Arduino IDE and go to file examples Basics read analog voltage all right so the first thing that we come to the first block of code are the comments we've got a multi-line comment it talks about uh how to set up the circuit and it talks about uh just roughly how the circuit works it also lets us know that the code is in the public domain so we know we can pretty much do whatever we want with this code which is a good thing to know so that's it we don't declare any uh variables so there's no declaration or initialization of variables and so if that's not there it looks like we jump right into setup so in setup all we do is we use the begin function from the serial library to initialize our serial Communications and we send a b rate of 9,600 again that is the standard B rate communication that you'll be using and that's pretty much it for setup not too much to set up here so beyond setup now we get to the loop so the loop again is going to run over and over and over again as opposed to setup which only gets executed once so we're in the loop it's kind of the meat and potatoes of what's going on so let's take a look what do we what do we see that's going on here so the first thing we've got here is a variable initialization or Declaration and initialization so we've got a variable that's named sensor value it's an integer and we are initializing it to the output of the analog read function so if you recall from the last tutorial analog read can be used on the analog pins on the Arduino so those are a0 through A5 there's six analog pins and all we're doing is passing analog read the number of the pin that we've hooked up the center pin of our potentiometer to which happens to be a z so the first pin is a Zer the last pin is A5 so that's how you reference it you put an A and then the number of the PIN now the output if you recall of analog re is going to be an integer between 0 and 1,023 so 0o is going to refer to Zer volts and 1,23 is going to return um refer to 5 volts so that's handy so basically generally handy so basically when you turn your potentiometer if you turn it all the way left it's going to be at Ground which would be zero and if you turn it all the way right it's going to be at 5 Vols which is going to be 1,023 let's say we're not interested in that generic number let's say we want to actually know what the voltage value is well we have to do a conversion on that number so again what this line of code is going to do is it's going to give us the number between 0 and 1,23 but to get the actual voltage number we have to go onto the next line of code where we do a conversion so let's go ahead and talk about the conversion so let's talk about basic conversion now we are going to do a little bit of math but I promise you this is the only math you're going to run into in this entire course and it turns out to be extremely easy so the first thing I like to do is kind of get in my head what is it that I want as my output what what am I trying to convert to so in this case we're giv units all right so we're giving like these generic units the number that we get from analog read is between 0 and 1,23 like we've like I've already said four times all right but what we want is volts so what we need to figure out is how many volts are there per unit okay so uh let's go ahead and jump into this algebraic expression okay so on the right hand side here I've got my known I know that if I've got uh zero resistance on the potentiometer so I'm not dividing any of that voltage up I've just got five volts going stra straight to analog pin a0 I know that I'm going to get 1,023 units so I know that 5 volts gives me 1,23 units but what I want to know is how many volts do I get per X units okay so that's what I'm trying to figure out so how would we set up that equation well if we want to know how many volts and we want this to be on its own on the left hand side of the equation all we have to do is multiply by X unit so all I do is I put the X up here and the X up here these are going to cancel out and we're g to get something that looks like this so now I've got number of volts on the left X units times this conversion factor 5 volts over 1,23 okay so what this is going to do notice that units will cancel out and we're going to be left with volts so this number right here well what is this x well this x is what we're going to get as the output from analog read okay so this is going to be a number from 0 to 1,00 23 okay so this number is going to get multiplied times this conversion factor and we'll end up with volts and then that voltage will get assigned to this value right here so that's basically how to do a conversion so remember start out with well what is what is the unit that I want to end up with in this case it was voltage and then ask well what what are the know what conversion factor can I use to cancel out the um unit that I don't want okay all right so that's it on conversion let's go ahead and jump back so let's go ahead and drop down to this next line of code where we set up this conversion factor all right so again we've got an initial or we've got a declaration and an initialization so we've got float whoa float hold on a second what is float float well float is just a data type I'll talk about that in a moment but let's just pretend that we know what float means okay so float it's a data type uh well what's the name of this variable it's called voltage great name clearly says what we want voltage and we initialize it to now this is where that equation from the conversion we just talked about sensor value well that's our X that's what we just assigned sensor value is the value that's coming right out of analog read and it's telling us where exactly our potentiometer is turned to and then what do we multiply it by well we multiply by our conversion factor again that's 5 volts divided by 1,23 units again so 5 volts per 1,23 units okay so voltage is going to be the actual voltage that gets applied at the pin so before we move on let's go ahead and talk about this float data type so a float it's a weird name um but really it's it's really simple so a float is simply a number that has a decimal point so like 3.141592 that has a decimal point so any number with a decimal point 2.0 2.1 0 uh those are examples of floating uh floats they're also called floating Point numbers um um so like I think I like to think of a float I think of the little you know the decimal point is like a raft floating in the ocean you know it's just kind of bobbing around so you know it's floating it's a decimal it's floating in between the numbers somewhere that's how I remember it so uh it can be really big um like 3.4 * 10 38 big which is a uh duyan you know that's like 38 zeros on the end of your numbers that's huge now it's only precise to seven total digits and that's not seven digits to the right of the decimal point that's actually seven digits total um now floating Point math is actually really slow so if you start trying to multiply add divide all that type of stuff with floating Point numbers you are going to slow things down so I would avoid it um at most cost now uh I mean sometimes it's necessary in this case we're using it but definitely try to minimize it um and floating uh pardon me floating options they can actually return some pretty obscure results now there are some workarounds um usually that involves changing a float into an integer and then doing your math um but generally it's not good to do uh comparisons with floats because you just don't know what you're going to get so or between floats for example but you know that's really we're not too worried about that it's maybe a little more than you need to know about a float but just so again let's just recap real quick floating Point number it's a number with a decimal point well what does that mean to you or us rather it means that it's a number that has a little more accuracy than an integer okay so that's it with float data types um there's always more to read about uh if you want to check more out in the further reading so let's go ahead and recap the loop function so the first thing we do we declare a variable sensor value and we set it equal to the output of the analog read function so we're going to be getting raw data from analog read then we declare another variable called voltage and we set it equal to that raw data times that conversion factor that we set up so now voltage is going to end up as the actual voltage being applied at our pin and then what we want to do we send it to the print line function from the serial library and why do we do that well we want to be able to see it we can use our serial monitor monitor on our Arduino IDE and check out what the actual voltage is and then the Loop repeats itself it goes it looks at Analog read so we're checking out what our potentiometer is set at again again send that raw data to voltage convert it and then print the output do that over and over and over again so let's go ahead and verify the sketch and let's upload it and now let's go tools serial monitor okay so right now I'm at 5 volts I'm going to go ahead and adjust it to the left now you can see the voltage number changing we've got two digits of accuracy here so you can see we've got a floating Point number as the output and now there I'm at zero okay so somewhere in between should be 2 and a half volts okay so now you can see we've converted that raw data from analog read into the actual voltage number pretty cool there's a lot of uses for this um especially when it comes to testing what voltage you're actually getting in off a sensor so that's one good reason to implement this type of conversion okay that's it I look forward to seeing you at the next tutorial and be sure be sure to do the try it on your own challenge that's where you're really going to learn something all right see you next time have an awesome day la
Up Next
3:09
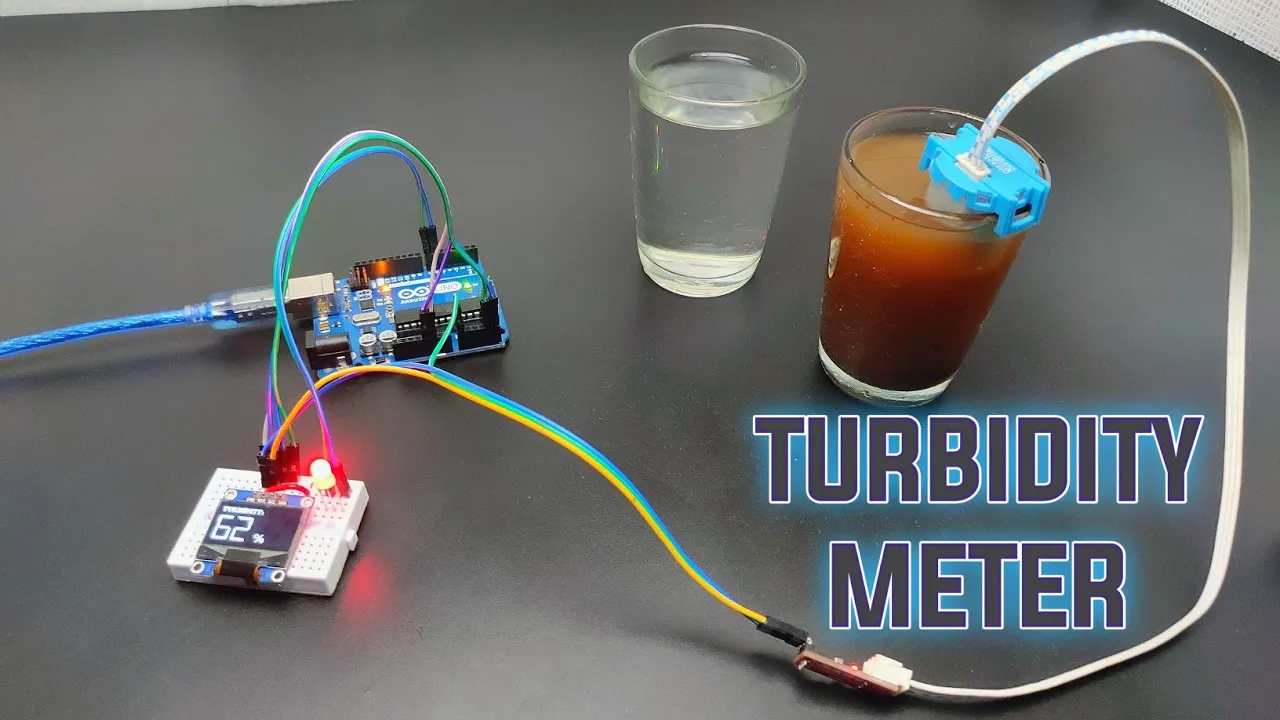
Turbidity Meter with Arduino Uno: DIY Calibration & Build Guide
@EDISON_SCIENCE_CORNER
31.6K views•2023-01-08

12:54
Triumph of Orthodoxy Icon: Byzantine Art & History Explained
@BenCallan
2.1K views•2024-08-06

12:02
Arduino analogRead() and Serial Monitor Tutorial for Beginners (A0 Pin Reading)
@programmingelectronics
207.9K views•2013-10-02

1:42
Game of Thrones Opening Credits: A Cinematic Analysis
@gameofthrones
46.3M views•2011-04-18
Related Study Plans & Knowledge Roadmaps
Structured learning paths in General & Interdisciplinary Studies
general-studies
Elevator Engineering: History, Physics & Cities
01From Hoists to Safety Brakes: The Dawn of Vertical Lift
02Hydraulic vs. Traction: The Engineering Physics of Elevators
03Modern Speed, Safety, and Algorithms
+ 2 more learning modules
12h5 modules
Explore Roadmap
general-studies
Rubber: Material Science, History & Geopolitics
01Origins of Natural Rubber & Mesoamerican History
02The Chemistry of Natural Rubber & Vulcanization
03The Geopolitics of the Rubber Boom & Colonization
+ 2 more learning modules
12h5 modules
Explore Roadmap
general-studies
Containerization: Evolution, Logistics & Trade
01Ancient Trade & Bulk Cargo: Amphorae to Barrels
02The Industrial Revolution & Cardboard Packaging
03The Containerization Revolution: Malcom McLean
+ 2 more learning modules
12h5 modules
Explore Roadmap
general-studies
Textile Tech: Evolution, Labor & Global Impact
01Pre-Industrial Textiles: Handloom & Cottage Industry
02Mechanization: The Spinning Jenny to the Power Loom
03The Factory System & Global Labor Transformation
+ 2 more learning modules
10h5 modules
Explore Roadmap