


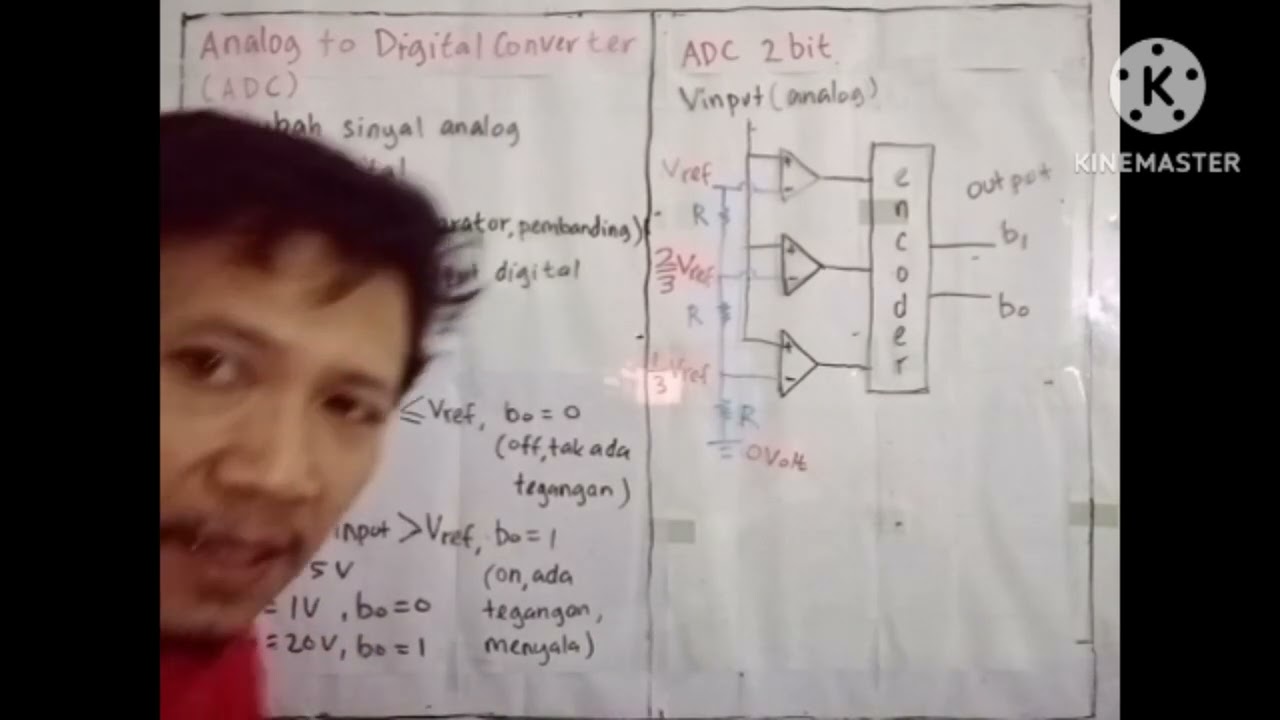
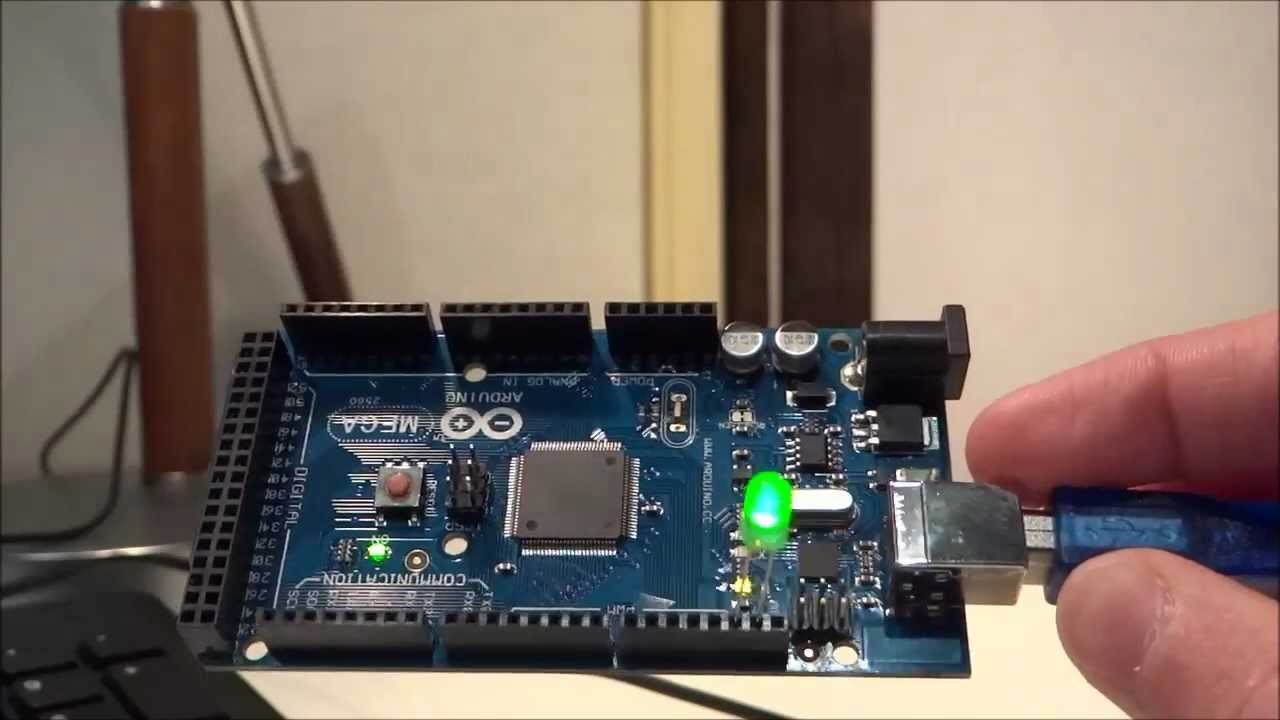













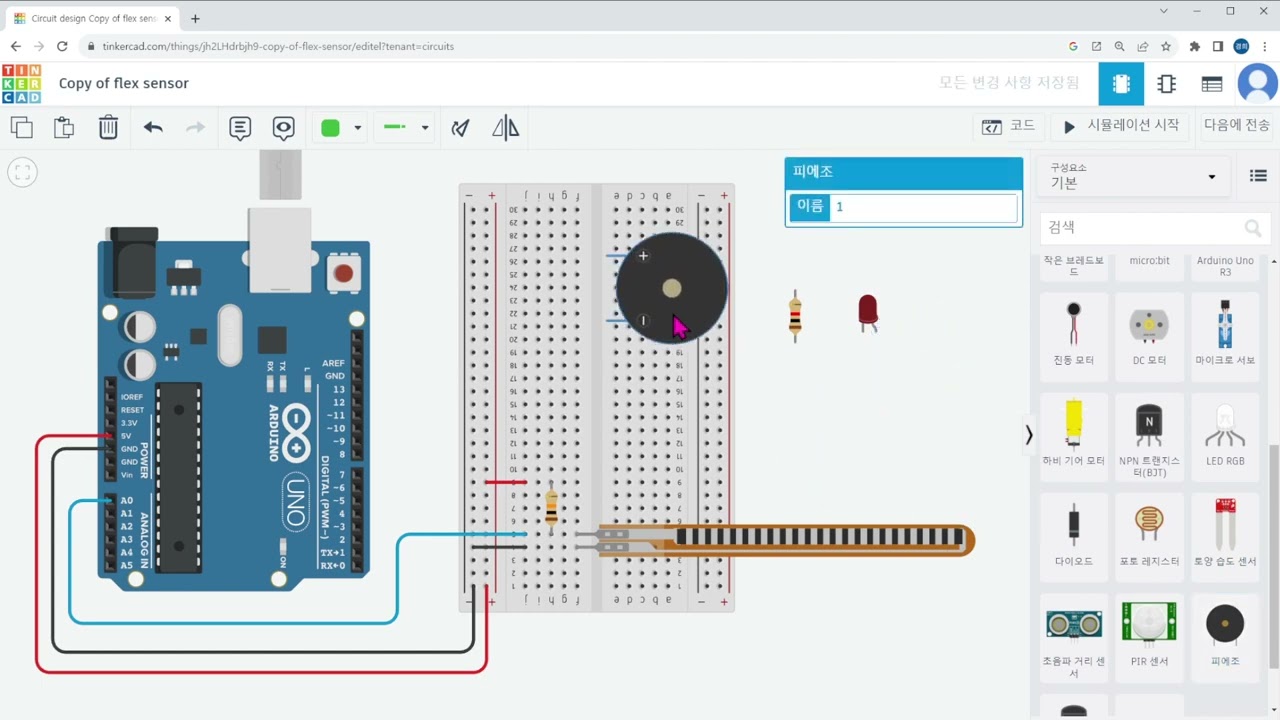
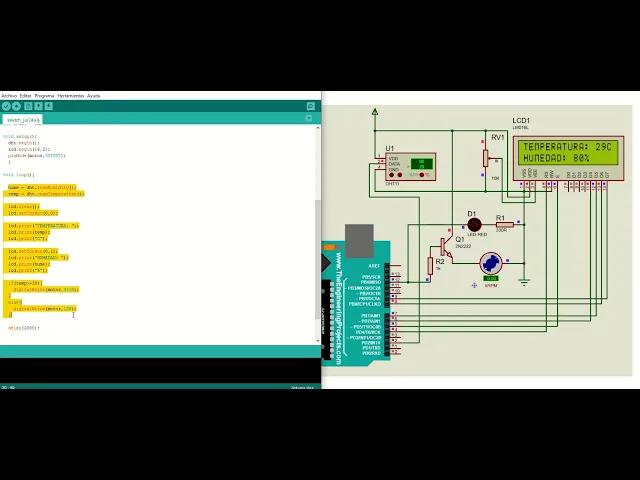

The Arduino's analogRead() function reads voltage values from analog pins (A0-A5) and converts them to digital values ranging from 0 to 1023, where 0V corresponds to 0 and 5V corresponds to 1023, enabling measurement of continuous analog signals like potentiometer positions; this data can be displayed in real-time using Serial.print() and the Serial Monitor for visualization.
Arduino analogRead() and Serial Monitor Tutorial for Beginners (A0 Pin Reading)
Added:Basic understanding of the Arduino IDE interface, including how to write, compile, and upload a basic sketch.
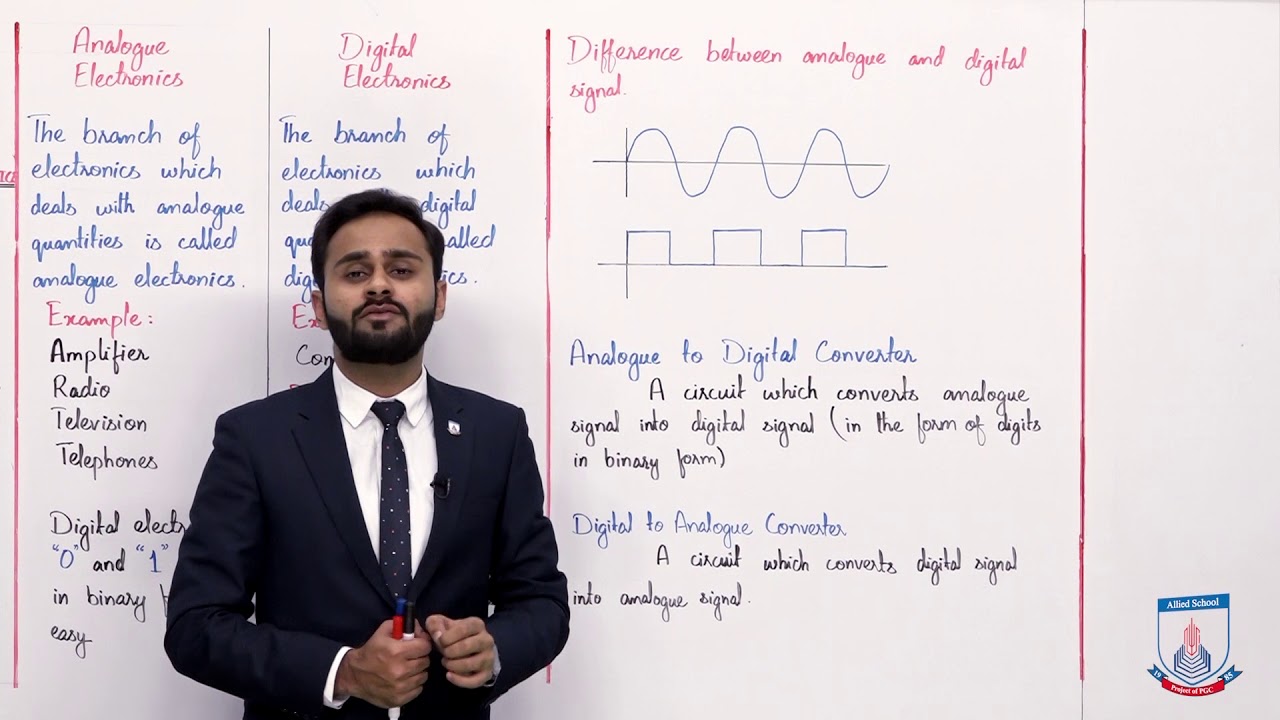
The conceptual difference between digital (binary, discrete) and analog (continuous, variable) electrical signals.
Fundamental Arduino programming structure, specifically the distinct roles of the void setup() and void loop() functions.
Basic breadboarding concepts, including how to distribute power, ground, and connect basic electronic components.
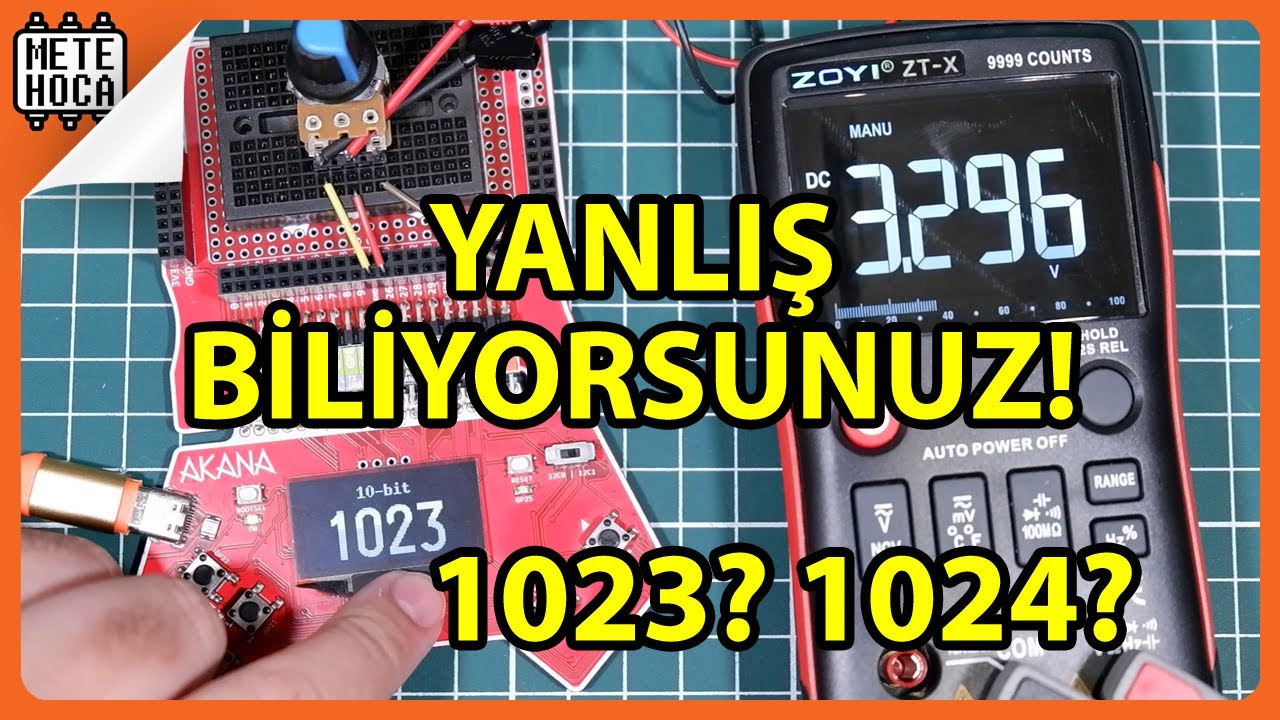
Understanding the mechanics of a 10-bit Analog-to-Digital Converter (ADC) and how to mathematically convert the 0-1023 integer range back into physical voltage levels (0-5V).
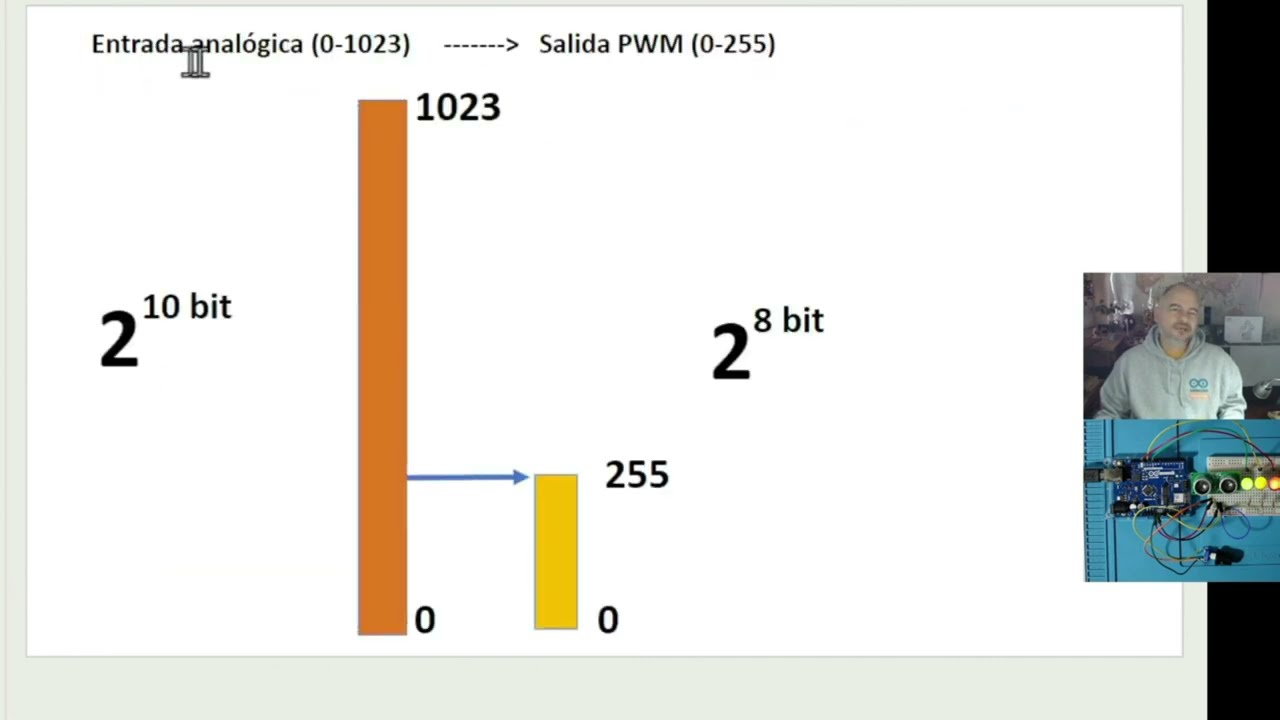
Using the Arduino map() function to scale analog input values (0-1023) to control PWM outputs (0-255) for devices like servo motors or LED dimmers.
Learning to use the Serial Plotter tool in the Arduino IDE to visually graph analog sensor data in real-time.
Implementing threshold-based decision-making in code (using 'if/else' statements) to trigger physical actuators, such as turning on a motor or buzzer based on sensor readings.
207.9K views2.1Klikes12:02Original Release: 2013-10-02
[Music] hey welcome to this tutorial I'm glad you came all right so in the last tutorial we talked about reading voltage at the digital pins and it was either on or off well in I mean that can be extremely useful but a lot of times you want to know more than just that what about a question like well how bright is the light or how fast is the satellite moving so these types of questions are often analog they cover a large range of values not just like on and off so the Arduino handles analog inputs with six dedicated pins labeled a0 through A5 and these pins have access to the analog to digital converter on the uh Arduino chip which takes the range of input values and then it creates a digital version by cutting up that range into tiny little pieces and all this is handled behind the scenes I mean all you have to do is write some really simple functions and you pretty much get what you need so we're pretty much we're going to read we're going to um deal specifically with the analog read function we'll also be working with serial Communications again and you'll find with a lot of the tutorials throughout this we're going to be using serial Communications uh quite a bit so you'll get very familiar with that and also with the digital and um analog reading all right so let's go ahead and jump in all right for this circuit you're going to need an Arduino board I've got the Arduino Uno here you can uh use any clone you want I do recommend however for these tutorials sticking with the original Arduino just so you know you're on the same page you're also going to need a potentiometer I have a 10K potentiometer it doesn't matter what uh resistance level yours is and a potentiometer is just like um you know like a volume knob on something is what is what you would expect there and you're going to need at least three jumper wires and then you'll also need a Sater lless breadboard and then you're going to need a cup that you can like uh juice lemons into all right so here's our schematic so you can see this is a really simple circuit if you adjust your breadboard and your Arduino like we have in the schematic then we'll be talking the same language as we go through this whole sketch so you see the potentiometer like the part that you turn is pointed away from the Arduino and 5 volts we have connected to the left side of the potentiometer ground is attached to the right pin of the potentiometer and then the center pin of the potentiometer that is what goes to a z which is the first analog pin on your Arduino so uh what's Happening Here is the potentiometer is acting like a voltage divider so on one end of the potentiometer You've Got 5 volts and on the other end you have zero and when you adjust that knob the center pin is going to change all the way up from 5 volts down to as low as is Zer volts so as you adjust that knob you are uh adjusting the amount of voltage that's going to be seen at that center pin which ends up being you know what we have on our uino attached at a z okay so that's essentially how this is working so in this sketch what we're interested in we're interested in the level that that knob is turned that's what we want to know we don't want to know is it five or is it zero we want to know well what is it in between so let's go to the sketch and check it out how we can do that so go ahead and open up your Arduino IDE and then go to file examples Basics analog read serial all right so we've got our blocks of code the first block of code we're going to look at is the comments so here this just the comments briefly describe how the circuit is set up and and what the program's going to do and then it also lets us know know that this code is in the public domain so we can use it however we feel like um and that's it for the comments again good habit to always read the comments when you're uh opening up a new program okay so nice short concise we move on we notice that there is no block of code to initialize or declare and initialize variables and we obviously we don't have to do that um but you know just note it in your head okay not going to see it in every program but the next block of code is very typical and it's the void setup block of code now the only thing we've got going on in here is the begin function from the serial library and again we we talked uh quite a bit on this last tutorial so I'm not going to cover too much but if you're if you're wondering about it you can revisit the last tutorial we'll talk about the it talks about Sero begins so again we're using that 9600 as the argument which is the baud rate and that's all we have to do in setup and again we're starting seral Communications here because later in the program we're going to want to know the value that our potentiometer is set at so let's take a look at the Loop function again Loop is going to run over and over and over again and it's going to contain the code that's pretty much the meat and potatoes of the sketch okay so let's come to this first line of code here and you'll notice that it's very similar to the last tutorial first line of code the digital read tutorial and all we've really exchanged here instead of using the digital read function we're going to use the analog read function but let's go ahead and start at the beginning of this line of code so just straight up we can tell that there is a variable declaration we've got int that's integer we see that it's orange it's a keyword then we have the name of the variable that we're declaring sensor value Wonderful Name there very specific and we initialize it we're setting it equal to initializing it to the output of the analog read function so so what is this analog read function well it's a a lot like digital read but it's it's much cooler in fact analog read um is going to read the voltage that's being applied at one of the analog pins and it's going to return an integer value so the analog pins those are a0 through A5 so that's what you can put in those parentheses that's the argument that you pass to the analog read function and then that integer that it returns well it's not going to be the voltage it won't be 0 you know 2 3 4 5 it's actually going to be an integer value range from 0 to 1,23 I know strange range so let's let's throw some numbers out here if you're applying Zer volts at uh let's say pin a z that we've got in this example if you're applying zero volts to pin a z so you've got it connected to ground the integer that analog read will return is the number zero and if you're applying 5 volts at Pin a0 the integer value that analog read is going to return is going to be 1,023 now if you're half of that so if you've got two and a half volts applied to analog re guess what you're going to be at a number somewhere between uh basically the half of 0 and 1,23 which is like 511 it's not going to be 511 and a half because again it returns an integer value so it's going to be somewhere in there it's going to cut zero to five volts up into 1,023 discrete steps and that's the integer that it's going to return think let's think about our circuit for for for a second here we've got our potentiometer the middle pin hooked up to pin a z so when we and and then the left side and the right side the left side's hooked to Zer volts and the right side is hooked to 5 volts basically what we've got here is a voltage divider so as we adjust that potentiometer the amount of voltage going out that center pin is going to change so we could have it all the way down to zero we can have it all the way up to five and then we can have it anywhere in between and then and where we have that positioned is going to affect the voltage being applied at Pin a z and thus it will affect the number that analog read returns and gets initialized to the sensor value variable okay so I know that was a lot lot to say there about this function but I think you get it so what's going to happen in this line of code well sensor value is going to get assigned whatever voltage is currently being applied at the analog pin that we've applied which is a z all right so what do we want to do we got that value now what do we want to do with it well let's let's check it out let's send it to the computer so we can visually see it so how do we do that we use the print line function from the serial library and we pass it the variable sensor value that's the one that we just declared in initialized so that we can see that value the current setting of our potentiometer so what we'll have to do is open up our serial monitor window and then we'll see those values start scrolling down the screen and then finally we delay 1 millisecond that allow stability for reading so if you're turning that knob really fast it's going to be able to it's going to look every millisecond it's going to take that value and return it all right and then it just goes up to the top again it's going to look at that uh look at the current voltage it's going to um pass that to the serial print line and it's going to print that again and it just does that over and over and over again so kind of gives you a dynamic readout of where your potentiometer is set so let's go ahead and verify this sketch and we'll upload the code and then let's monitor the serial monitor so we'll go to serial monitor open it up and you can see here's these numbers already coming down so I'm about mid position so I'm going to turn my potentiometer all the right you see I'm maxed out now and I'm at 1,023 so now we know 5 volts is what corresponds to 1,23 at Pin a z and now I'm going to turn it h just all the way left and it goes down the zero I mean that's you can see here's about Midway there's about 500 so you get the idea here so now as I'm adjusting this potentiometer I'm getting this uh large range of numbers now that is pretty much analog read in a nutshell I hope everything made sense to you if it didn't please let me know and I'll make some changes now you can imagine there are a lot of applications for the analog read function so I'm just using our simple potentiometer here you know you could imagine setting ranges so if it's all the way to the left like say the value that analog read returns is between 0 and 500 then we wanted to do this if it's between 500 and 700 do something else and then if it's between 700 and 1,000 or 23 then go walk the dog or whatever you know what I'm saying now you'll find that lots of sensors out there the way they convey information is by adjusting voltage and this analog to digital converter is exactly how you're going to get that information from the sensor to do really cool things so thanks so much for listening to this tutorial I can't wait to see in the next one and please please do the try it on your own challenge for these uh lessons it's really going to help you understand have a good one see you next time [Music]
Up Next
6:42
Arduino Turbidity Meter: Complete DIY Sensor Tutorial
@EDISON_SCIENCE_CORNER
58.1K views•2020-09-01

12:54
Triumph of Orthodoxy Icon: Byzantine Art & History Explained
@BenCallan
2.1K views•2024-08-06

14:44
Arduino analogRead Voltage Conversion: Tutorial for Beginners
@programmingelectronics
225.3K views•2013-10-02

1:42
Game of Thrones Opening Credits: A Cinematic Analysis
@gameofthrones
46.3M views•2011-04-18
Related Study Plans & Knowledge Roadmaps
Structured learning paths in General & Interdisciplinary Studies
general-studies
Elevator Engineering: History, Physics & Cities
01From Hoists to Safety Brakes: The Dawn of Vertical Lift
02Hydraulic vs. Traction: The Engineering Physics of Elevators
03Modern Speed, Safety, and Algorithms
+ 2 more learning modules
12h5 modules
Explore Roadmap
general-studies
Rubber: Material Science, History & Geopolitics
01Origins of Natural Rubber & Mesoamerican History
02The Chemistry of Natural Rubber & Vulcanization
03The Geopolitics of the Rubber Boom & Colonization
+ 2 more learning modules
12h5 modules
Explore Roadmap
general-studies
Containerization: Evolution, Logistics & Trade
01Ancient Trade & Bulk Cargo: Amphorae to Barrels
02The Industrial Revolution & Cardboard Packaging
03The Containerization Revolution: Malcom McLean
+ 2 more learning modules
12h5 modules
Explore Roadmap
general-studies
Textile Tech: Evolution, Labor & Global Impact
01Pre-Industrial Textiles: Handloom & Cottage Industry
02Mechanization: The Spinning Jenny to the Power Loom
03The Factory System & Global Labor Transformation
+ 2 more learning modules
10h5 modules
Explore Roadmap