







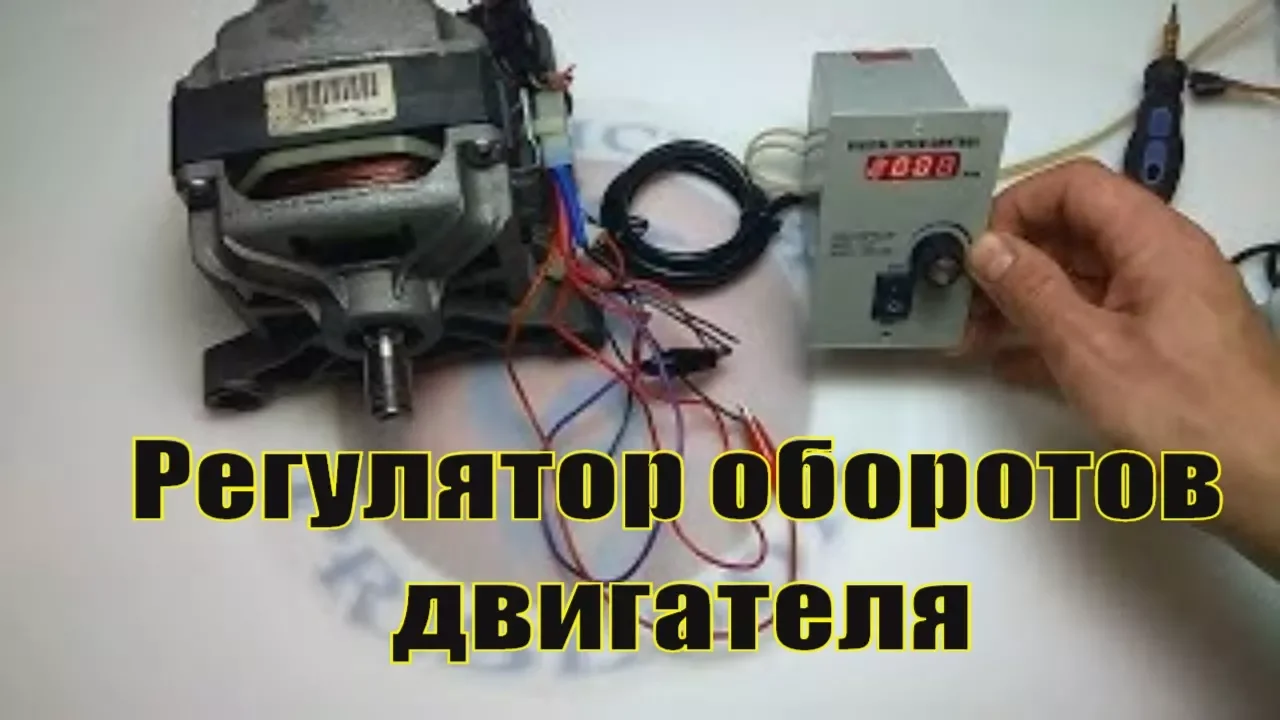


![How to reuse Washing Machine Motors [Arduino vs Basic Triac control]](https://i.ytimg.com/vi_webp/xI6CF2nYf_g/maxresdefault.webp)



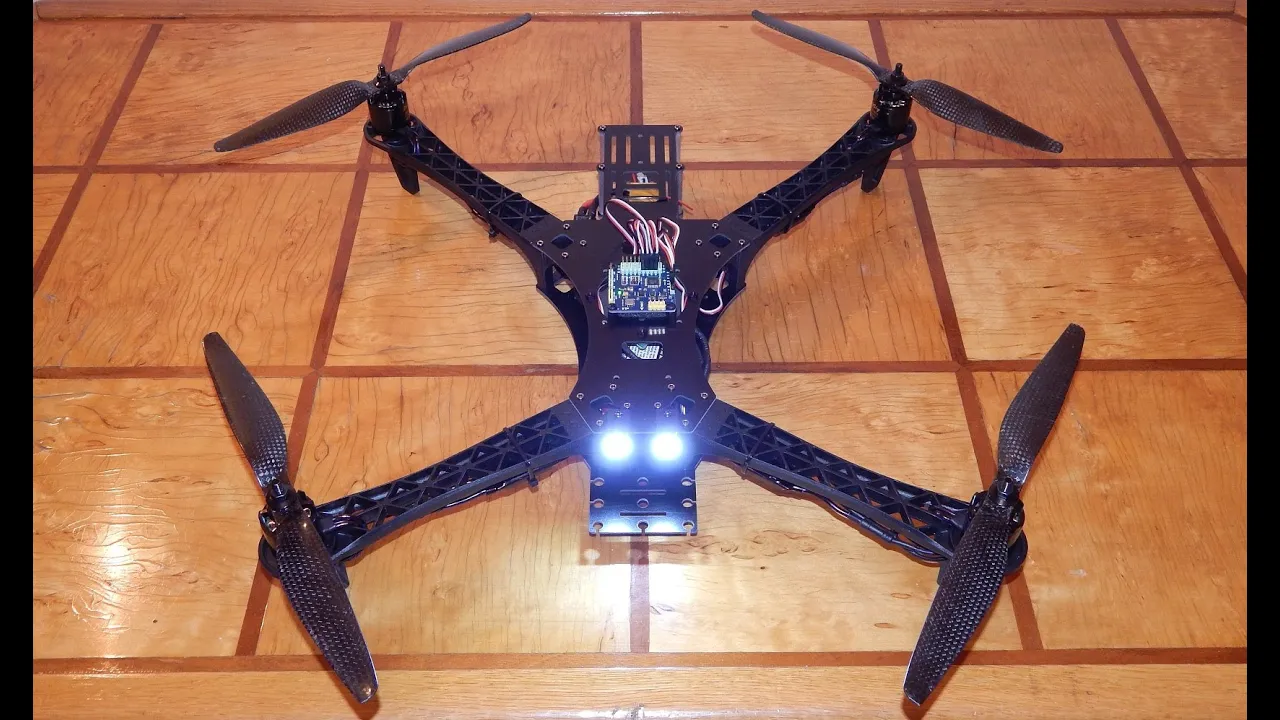

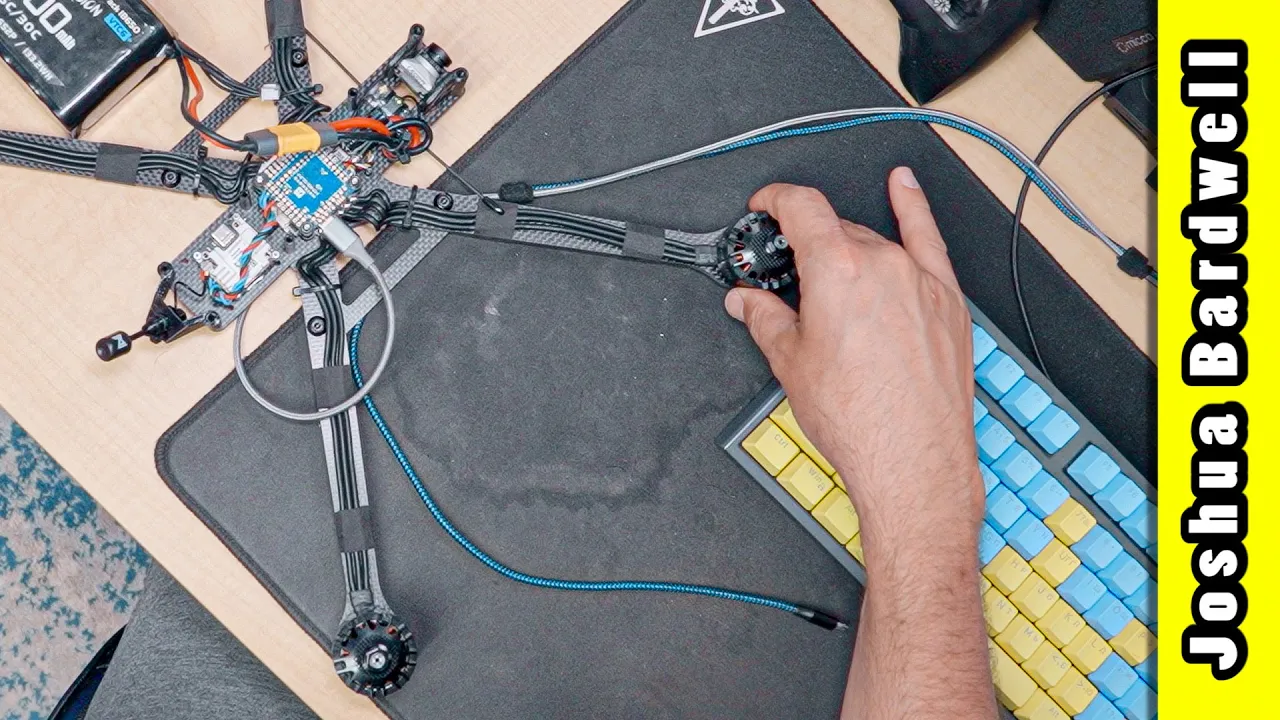








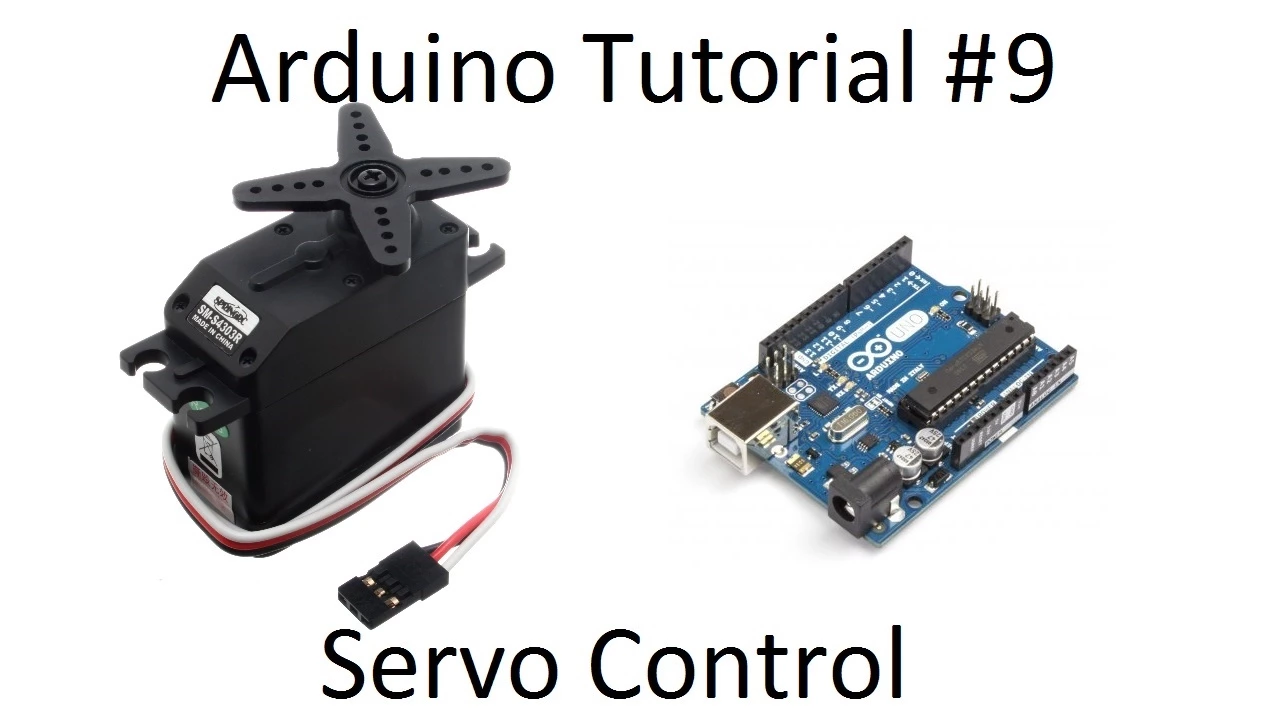
To control an Electronic Speed Controller (ESC) with Arduino, include the Servo library, create a Servo instance for each motor, attach it to a PWM pin (6, 5, 3, 9, 10, or 11 on Arduino Uno), arm the ESC by sending a speed value of 40, and control speed using write() with values between 0-180 degrees; for more than 6 motors, use the SoftwareServo library which requires calling refresh() every 50 milliseconds.
Arduino ESC Control: Complete PWM Tutorial for Brushless Motors
Added:Basic Arduino programming concepts, including uploading sketches, using the Arduino IDE, and working with libraries like the built-in Servo library.
The principles of Pulse Width Modulation (PWM), including duty cycle, frequency, and how PWM is used to control servo motors and ESCs.
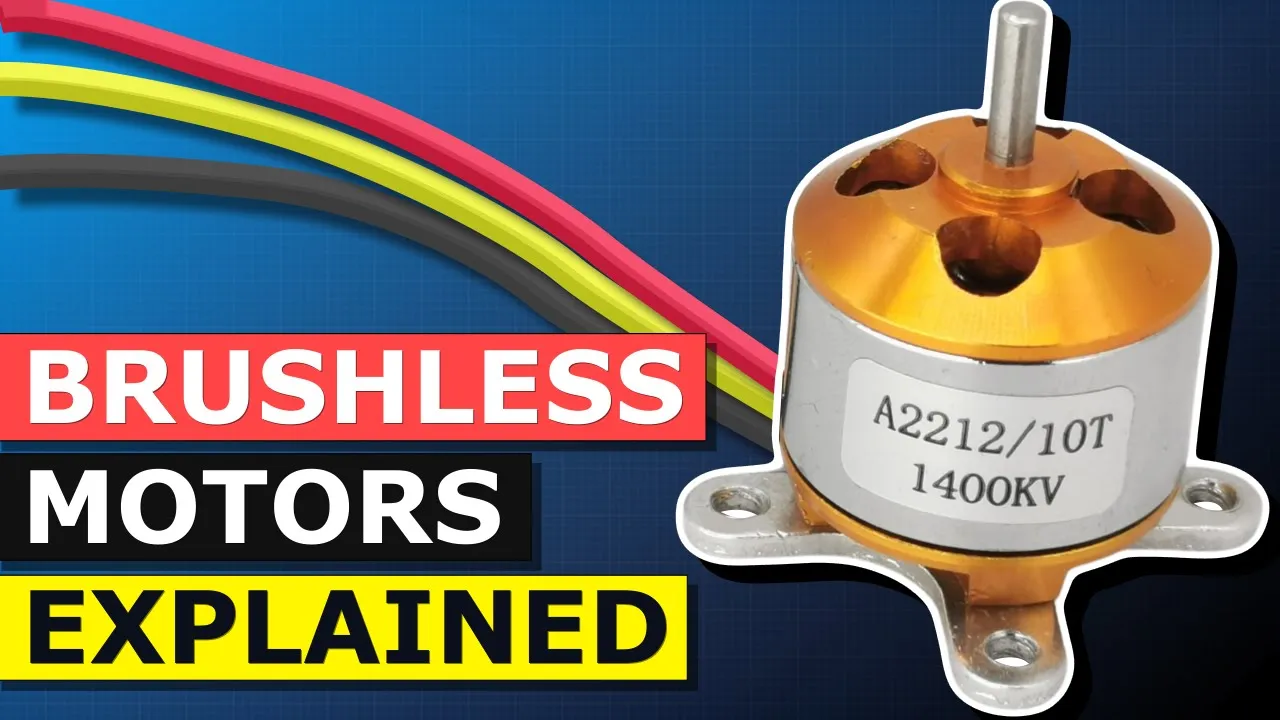
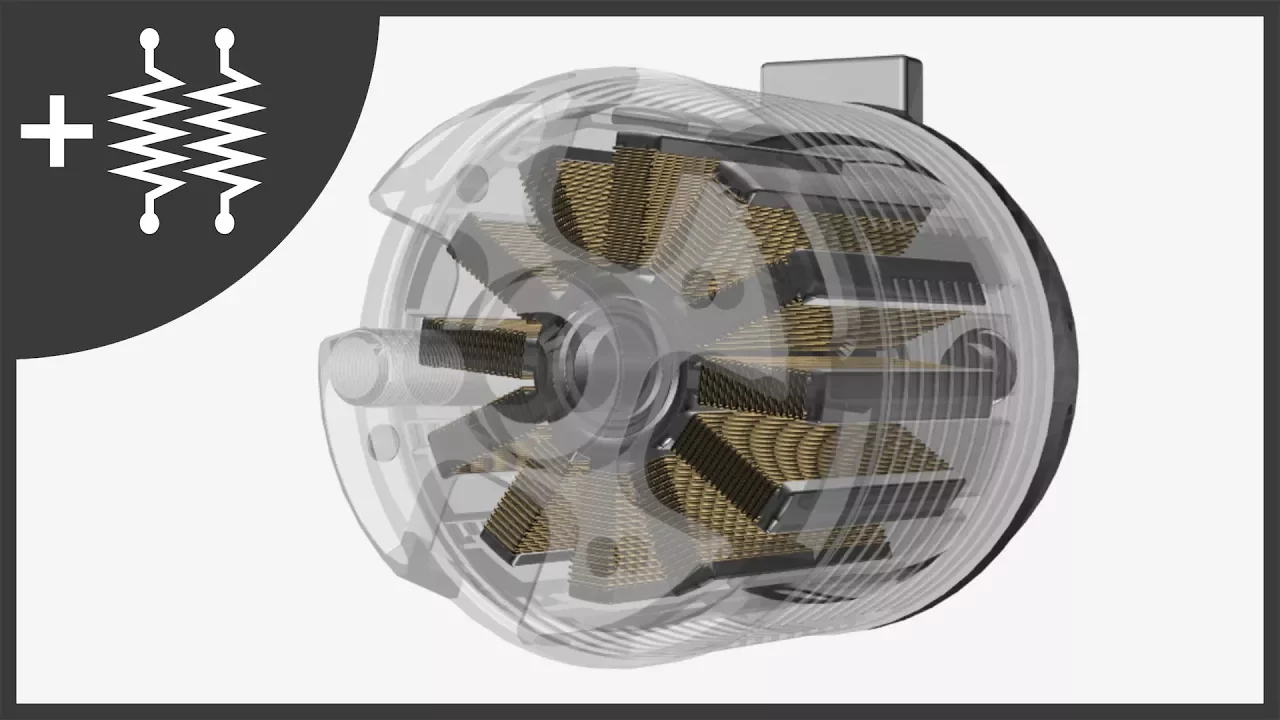
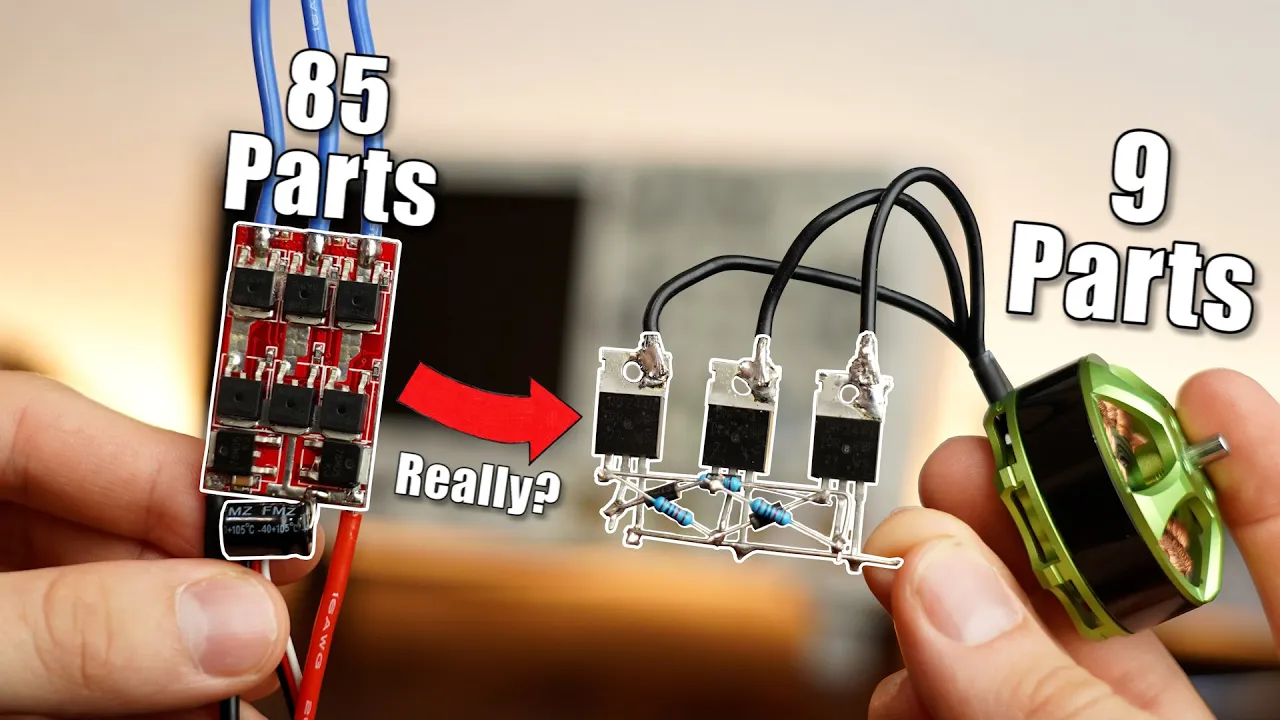
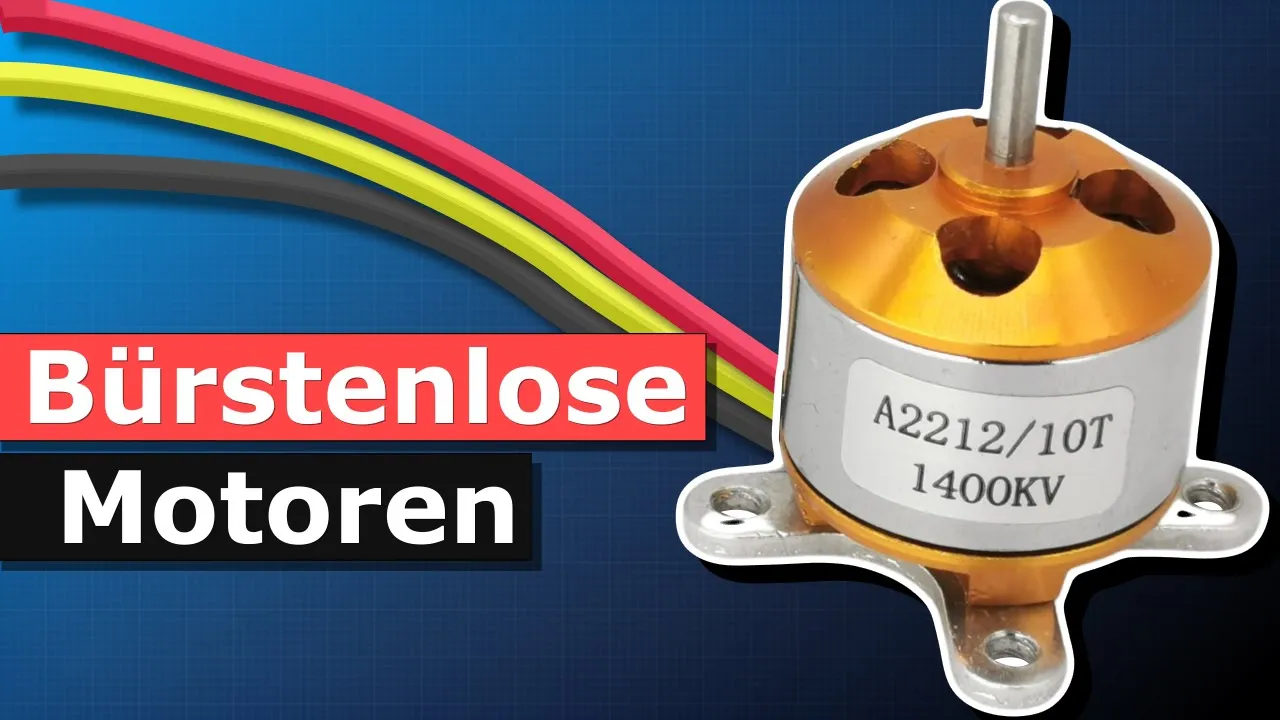
Understanding the working principles of Brushless DC (BLDC) motors, including why they require an Electronic Speed Controller (ESC) instead of direct DC power.
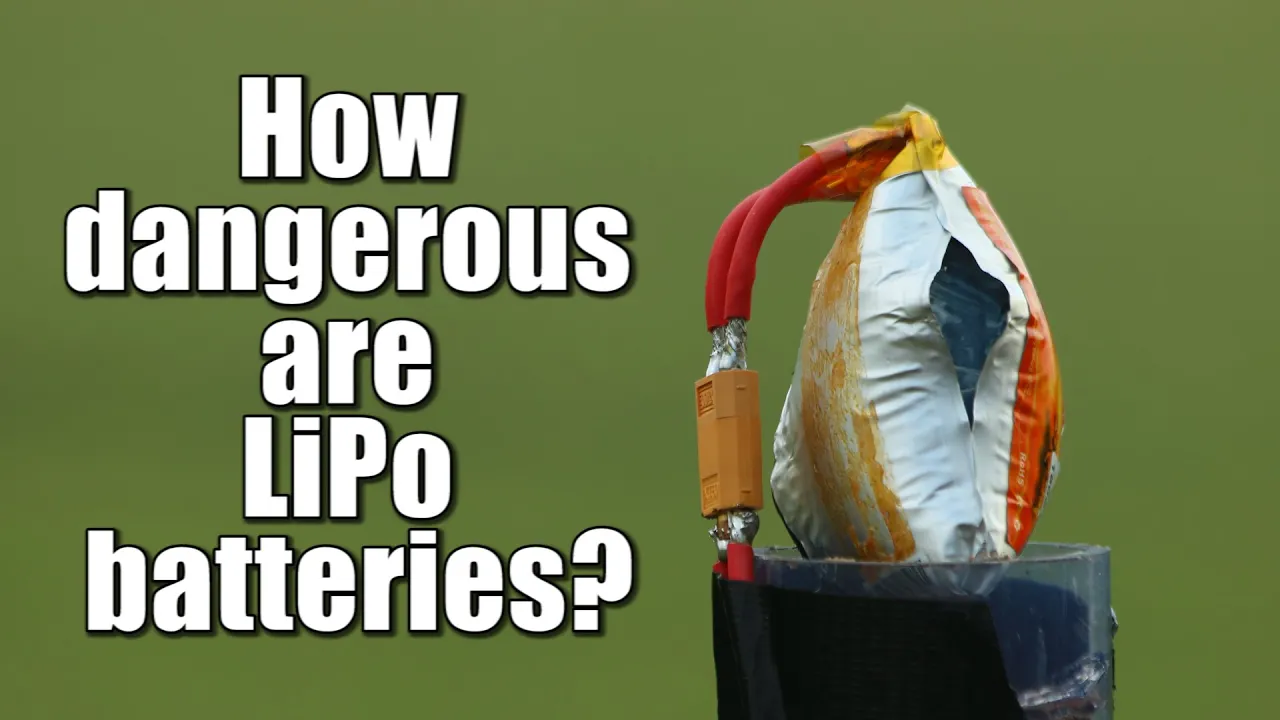
Fundamental electronics and circuit safety, particularly concerning common ground connections and handling high-current external power sources (like LiPo batteries).
Implementing closed-loop feedback systems (such as PID control) using sensors (e.g., tachometers or IMUs) to dynamically regulate motor speed.
Exploring advanced, lower-latency motor communication protocols such as OneShot, MultiShot, or DShot for faster response times.
Integrating multiple ESCs and motors for robotics or aerial applications, such as building a custom quadcopter flight controller.
Reading real-time telemetry data (voltage, current, temperature, RPM) from modern, bidirectional smart ESCs.
Designing robust power distribution networks and safety cut-offs for high-power RC systems and electric vehicles.
111.6K views525likes6:12Original Release: 2013-10-27
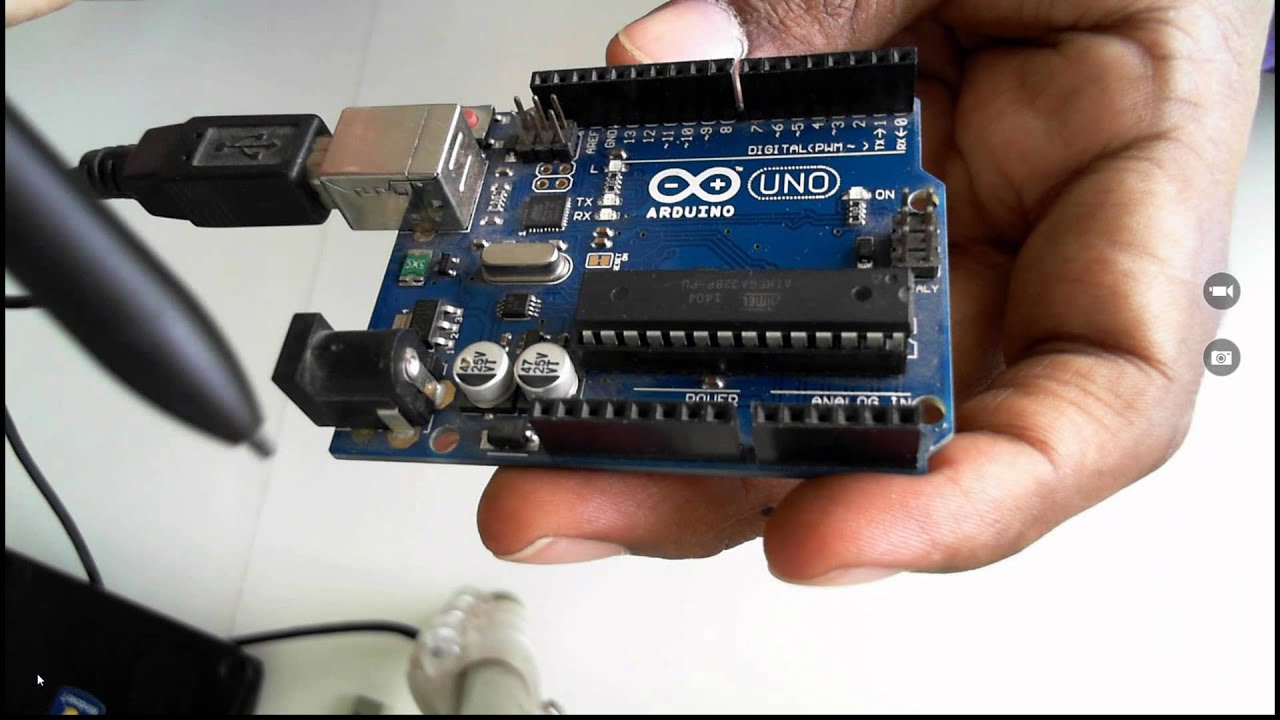
hi there this is Kyle again um I've received quite a few questions on my YouTube channel in regards to the control of esc's within the Arduino environment um so instead of writing sample code into comments for individuals I thought I would create a brief video that just outlines the barebones code required to get this working so first off you'd want to do would be to include Servo Doh now this is included in the IDE anyway so there is no need for you to go elsewhere to find the library and put it in your libraries folder it will be there included in the IDE you just have to put this one line here once you've got this line you have to create your instance for your server so each motor will have its own instance so you would write Servo um I'm going to say motor one and one but if you you had more than one motor of course you'd have motor 2 sorry motor 2 motor 3 motor 4 Etc but just for this demo I am going to do just the motor one so this so far all I've said is include the servo library and I have one Servo for you to worry about okay right so as we know all Arduino sketches require the setup parameter now in here is where you say where where it is going to be attached to now I'm using the Arduino Uno within my project so I would do motor one or M1 do attach and at this point you would put the pin in here the pin that you are connected to now I know for a fact that pin six is a pwm a pulse width modulation Port it has to be a pwm port otherwise this will not work however you could get around this if you're short on ports by using the software Servo library but I will come back to that shortly so and if just a quick tip if you want to identify your pwm ports by looking at your board you are looking for this tilder icon next to any of the port numbers on the uino Uno I believe it is 65 9 10 and I believe there are a couple more but those are the only four that I'm using in my project right so at this point now we have said that we are using motor one and we have attached it to pin six of our Arduino Uno now just for fun I see I like to put a little delay in a very brief delay but this is just enough just to let the uino take a breath it's probably not needed but I've put one in there right now then as everyone knows the esc's require arming to be able to work now arming is a difficult situation I'm using hobbywing 30 amp Pentium esc's now each ESC has a different arming sequence and most people you'll see on the internet using traditional radios and timers it requires Pro moving the the ex the throttle stick to the leftmost sorry lowest and rightmost position to arm them so but it's kind of hard to replicate within Arduino so what you do is you have to find the right angle and this may be for some 's a combination of an angle and delay but for the hobby Wing it's quite simple it's Yota right so you sending a speed and it's actually the speed of 40 or the angle of 40 if you were to send this this is enough to arm the ESC and then when you connect it up your Arduino you will hear the the Chimes of your Lio battery count and then you will have the confirmation that the ESC is armed and ready then to function so like I said this this scenario I've given you here works for the hobbywing Pentium 30 amp ESC for brushless motors I cannot guarantee this it will work exactly the same for every ESC on the market but I have I'm pretty strong in the opinion that this will work for most esc's now then you're probably wondering how do I and throttle well very much similar to what we've done in the setup here so you will have your Loop and you'll have your motor dot sorry not attach dot right and then you would put your angle like I said earlier you are sending an angle because it thinks it's a Servo but you are actually this is your speed this does mean that your the values you can send must be between 0 and 180° but you will find that this is enough to get your quadcopter off the ground now you I remember you sorry I mentioned earlier about the software Servo library now this is recommended for for using more than six Motors and because you can use this on any port it doesn't have to be pwm now the difference between that is everything else here is the same except up here would be of course software Sero you will have to go and download this from the Arduino website that would become software Servo whatever you will also at every 50 milliseconds call software Servo refresh what that will do is we'll update all of your servos with their latest values in the regular soft in the regular Servo Library you do not have to call this but on the software Servo you do I hope this this tutorial has been most beneficial for you I hope it's answered some questions and giv you an idea of what's expected um like I said before if I can help with anything please feel free to leave me a question I'll get back to you as soon as possible take care
Up Next

22:56
Building a 1kW Water-Cooled LED Array: Prototype Part 1 | High-Speed Lighting Build
@tesla500
942.8K views•2016-09-15
20:08
Hollywood Fantasy Orchestrator RPG Expansion Pack Tutorial Walkthrough
@HighResolutionJapan
1.1K views•2024-03-08

9:49
FastAPI vs Flask vs Django: Choosing the Right Python Web Framework
@TechWithTim
302.5K views•2024-05-26

1:42
Game of Thrones Opening Credits: A Cinematic Analysis
@gameofthrones
46.3M views•2011-04-18
Related Study Plans & Knowledge Roadmaps
Structured learning paths in General & Interdisciplinary Studies
general-studies
Containerization: Evolution, Logistics & Trade
01Ancient Trade & Bulk Cargo: Amphorae to Barrels
02The Industrial Revolution & Cardboard Packaging
03The Containerization Revolution: Malcom McLean
+ 2 more learning modules
12h5 modules
Explore Roadmap
general-studies
Textile Tech: Evolution, Labor & Global Impact
01Pre-Industrial Textiles: Handloom & Cottage Industry
02Mechanization: The Spinning Jenny to the Power Loom
03The Factory System & Global Labor Transformation
+ 2 more learning modules
10h5 modules
Explore Roadmap
general-studies
Pharmacology: Botany, Patents & Biopiracy
01Foundations of Ethnobotany & Traditional Medicine
02The Birth of Synthetic Chemistry: Aspirin & Penicillin
03The Battle Against Malaria: Quinine to Artemisinin
+ 3 more learning modules
12h6 modules
Explore Roadmap
general-studies
Writing Surfaces: Papyrus, Parchment & Paper
01Ancient Foundations: Clay, Stone, and Egyptian Papyrus
02Parchment, Vellum, and the Rise of the Codex
03The Chinese Rag Paper Revolution and the Silk Road
+ 3 more learning modules
9h6 modules
Explore Roadmap