




![Jak zasilać LED dużej mocy? | #75 [Podstawy]](https://i.ytimg.com/vi/73KIi9C63hc/maxresdefault.jpg)







![[CC] 엄청난 분할과 조형이다! 제타 시리즈 최강 카리스마 모빌슈트!! - HGUC 1/144 사이코 건담 Mk-II [REVIEW]](https://i.ytimg.com/vi/p2JcLdogwqs/maxresdefault.jpg)





A high-power LED lighting system can achieve uniform light output and thermal management by using a water-cooled heatsink with strategically arranged LEDs in series pairs, where the serpentine layout ensures equal average temperatures across all LEDs to prevent thermal runaway and maintain consistent current sharing, while the water cooling system maintains a temperature differential of approximately 6°C between inlet and outlet to efficiently dissipate heat from the 1kW LED array.
Building a 1kW Water-Cooled LED Array: Prototype Part 1 | High-Speed Lighting Build
Added:Fundamentals of LED thermodynamics, including junction temperature, thermal resistance, and the necessity of Thermal Interface Materials (TIM).
Basic electrical principles of high-power DC circuits, specifically constant-current vs. constant-voltage regulation and series-parallel LED wiring configurations.
Principles of fluid dynamics and heat transfer as applied to liquid cooling loops, including the roles of water blocks, pumps, and radiators.
The physics of high-speed videography, focusing on why high frame rates demand extremely bright, flicker-free light sources.
Designing and tuning custom constant-current LED drivers with high-frequency Pulse Width Modulation (PWM) or analog dimming to prevent camera sensor flickering.
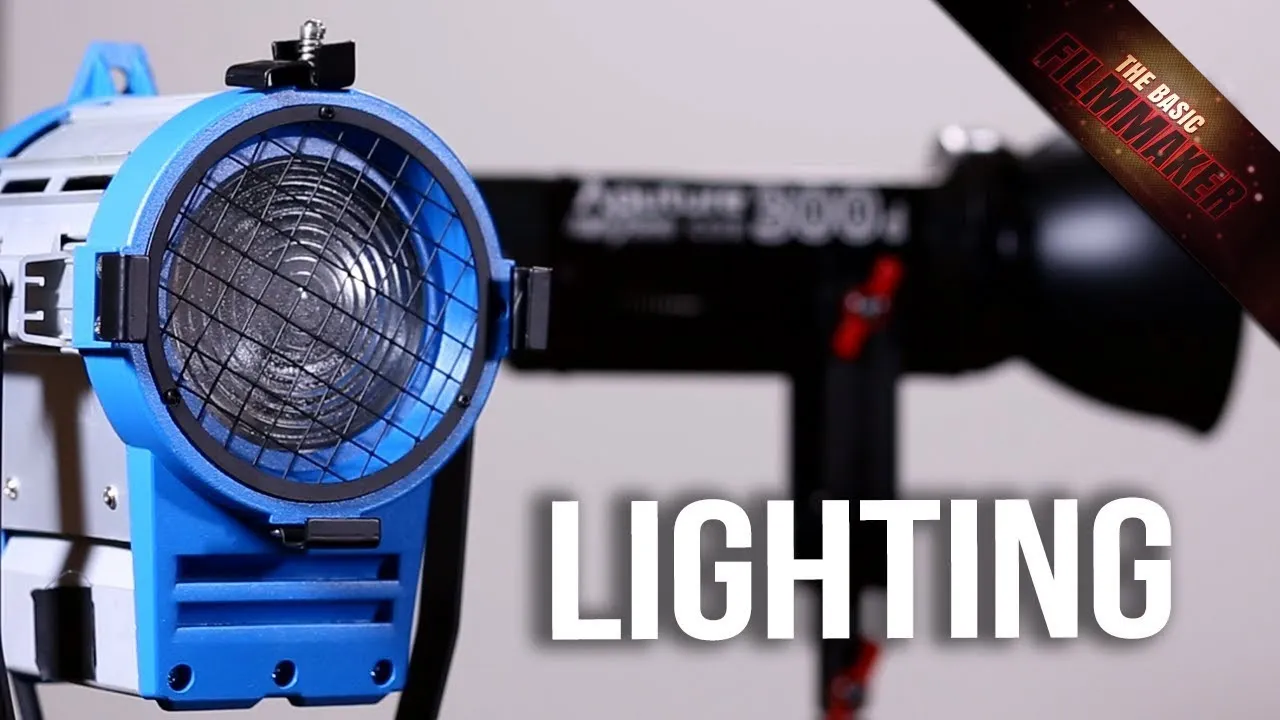
Optical engineering principles for high-power arrays, including the design of reflectors, collimators, and diffusion lenses to achieve uniform beam distribution.
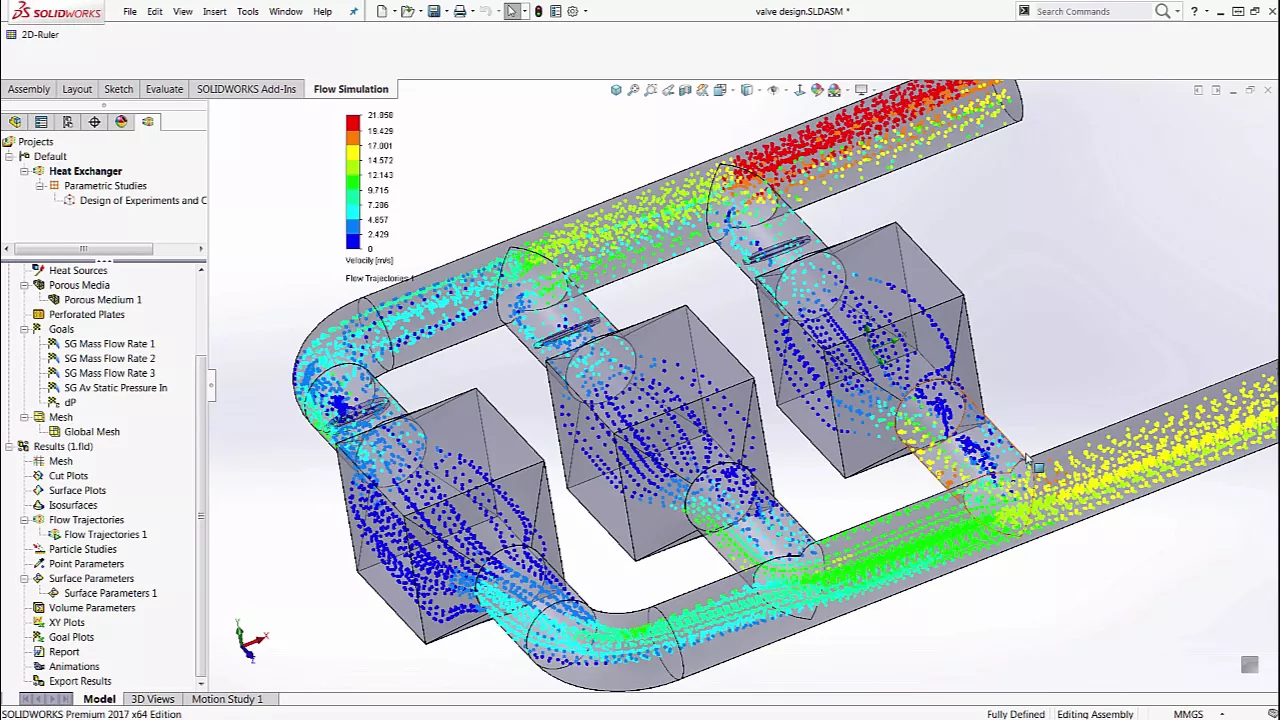
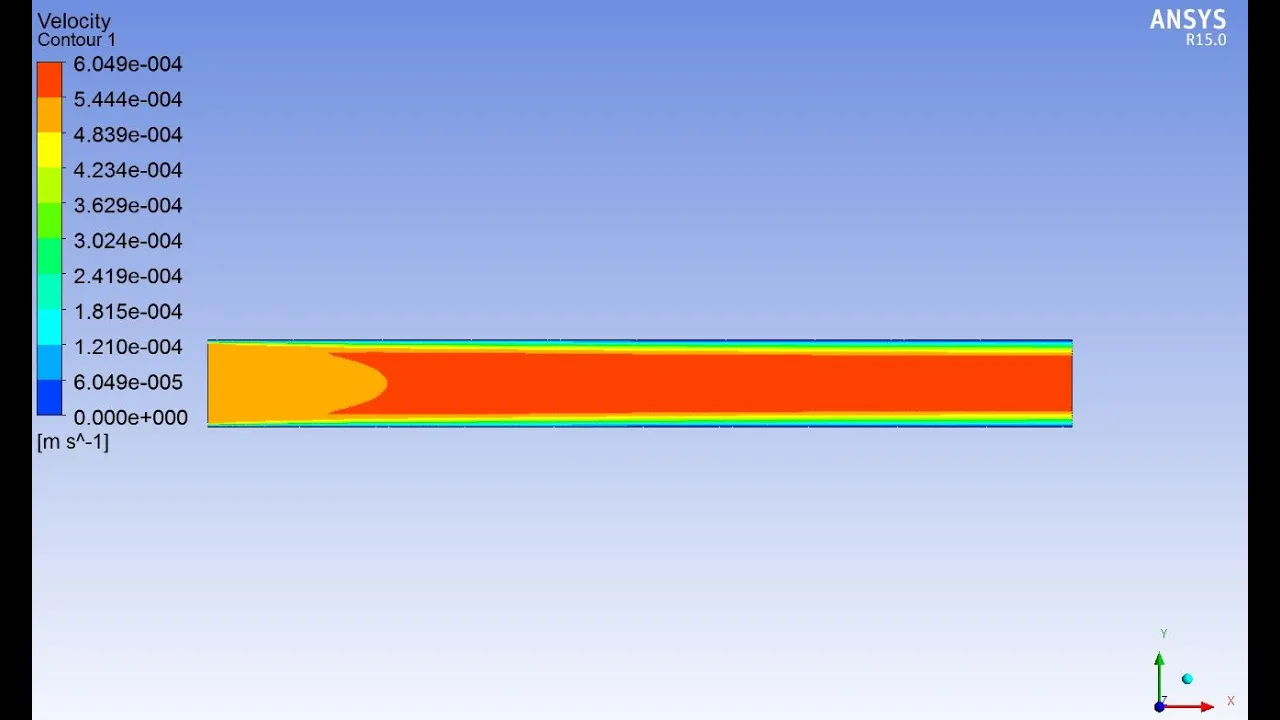
Utilizing Computational Fluid Dynamics (CFD) software to simulate and optimize internal micro-channel geometries in custom water blocks.
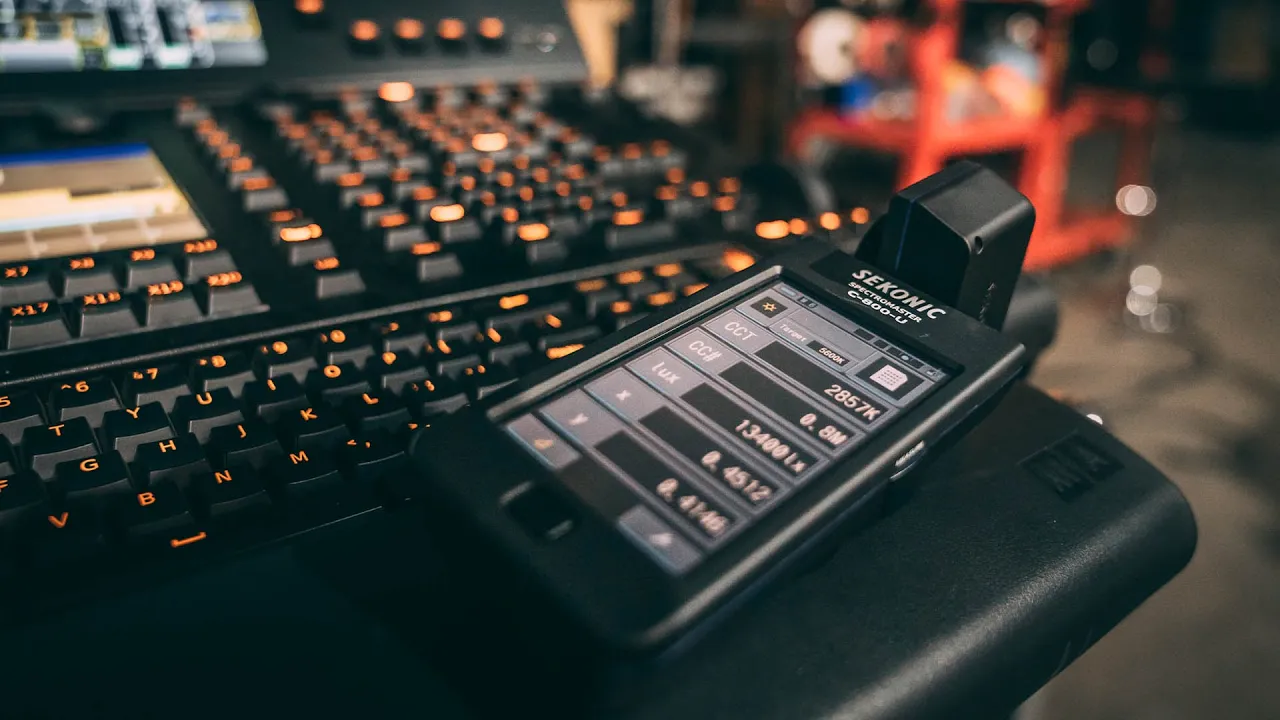
Photometry and color science, specifically measuring and optimizing the Color Rendering Index (CRI) and Television Lighting Consistency Index (TLCI) of custom high-power arrays.
942.8K views5.9Klikes22:56Original Release: 2016-09-15
what am I doing with all these LEDs no four LEDs is not a lot this is a lot in this video I'm going over the build of 1 kilow LED lighting modules of which I'm building five to provide high intensity lighting for high-speed filming in the garage each module will consist of 10 of these LEDs mounted to a custom water block I'm going to machine here's a view of the water block itself in CAD it designed it to be relatively easy to machine doesn't have too many fins in the water path but that shouldn't be a major problem since water is such a good thermal conductor or good has such a good heat capacity uh there'll be 2x 10 on each 2x5 on each block and there'll be these lens holders and lenses mounted on them to cumate the light a little bit more effectively I won't cover the Machining too in depth here but I'll just give you a quick overview and then the time lapse so we're going to face the top off cut the water channels into it drill a few holes drill and tap a few holes on this side so the cover can go on and then flip it around and drill and tap all the holes for the LEDs and to mount the front cover that holds the uh lenses on something this is the longest operation it's going to take about uh almost 20 minutes to do the uh cut the water Channel [Music] I was hoping I could leave this on a tance it looks like you're going to have to stay around and just blow the tips off of it [Music] next is a whole bunch of spot drill and chamers this is drilling the holes prior to tapping cross your fingers for no broken taps yeah the first one worked [Music] well other side now uh this is just a bunch of drilling tapping and I've added some support to the wood block underneath because the um champ F Mill when it was doing spot drilling was actually deflecting and bending this down that this should solve the problem [Music] [Applause] [Music] [Applause] a [Applause] [Music] [Applause] [Music] [Music] [Music] [Applause] [Music] that one's all done now now we need to do the back cover which is much simpler just a few operations on the back just facing it off then cutting a Groove for the O-ring and jing a few holes [Music] [Music] [Music] [Music] these came out pretty well there's a bit of a problem with the finish on this corner where it was overhanging I fil it down the best I could we'll see if that holds with the as an O-ring ceiling surface this other one came out I'd say much better really nice surface finish uh now I've got to make a gasket or o-ring that's I'm just going to use this o-ring uh linear o-ring cord uh cut it to the right length and uh glue it into an O-ring I was worried that this o-ring cord was going to be really floppy and want to fall out of the groove but it seems to be okay little bit of tiny bit of tension seems to hold just fine okay the rubber place I got this from just suggested using super glue to attach this so that's what I'm going to give a try not sure if it's going to hold very well but if it doesn't work or it leaks then we'll uh try something else the question is how long I got to hold that for just want to rub off off the uh excess on the outside so it doesn't impede the ceiling ability may have to put a dab of Grease or something at that location just to make sure it doesn't uh leaker out there but we'll see the O-ring groove on this is designed to squish the O-ring from about down to about 80% of its uh relaxed thickness so this um.125 in o-ring squishes down to.1 in and I designed the width of the uh slot so that when it squishes down the squished width is about is the same as the width of the slot so hopefully that will uh keep the compression um to stop it from taking too much force to compress it the I found the squish of down to 80% is what I found in some uh literat for Designing o-ring uh o-ring grooves like this oh that's really nice that doesn't like it doesn't fall out too easily that's actually really nice okay so clean that one's clean ready to go together yeah I've tapped these for quarter inch npt so we can put some standard fittings on there and then there is 16 M4 screws that hold this all together that should be able to generate enough clamping Force okay that seems to have clamped it all properly not a ridiculous amount of clamping Force now to mount the LEDs now they're going to be run two in uh series and groups like this and I've done that um because the the forward voltage drop of the diodes varies with temperature so so what we want to try to do is maintain the average temperature of each series connected pair the same so in this case and the inlet and Outlet will get the hottest one and coldest one as we go towards the loop the turnaround where the temperature is equal that should result in the average temperature of each series pair being the same which should result in the best current sharing because if we say had uh if you had them in pairs like this that in series and that in series and so on you'd have the two hottest one two hottest ones in series in parallel with the two coldest ones in series and that would result in poor current sharing the hottest one the voltage would drop so that would take more current they get hotter and they take more current they could get into thermal runaway this design will hopefully avoid that I should have mentioned this when I had this open but the design of the two fins with the gaps in between them as you see here was is to try to create some turbulence in the flow because when the air or when the water flows by a warm surface that it'll heat up close to that surface but the water farther away won't really heat up so the idea is after it goes over each set of fins the the fins stop and then restart and this will hopefully create some turbulence that will mix the water up so you don't get this stratification with the hot water sitting right next to the fin for the whole journey not really cooling it very effectively because we don't have super fine fins like they have in a lot of those PC coolers because that's a lot of effort to make you have to use a special basically a saw special slitting saw that cuts many small slits and I don't have that it's kind of difficult to set up so this we'll we'll see how this does this is not a particularly stressful application we got about 70 watts of heat approximately being connected out the back when the diode's running at 100 Watts [Applause] [Music] [Applause] [Music] [Applause] [Music] [Applause] [Music] [Applause] [Music] when suering on these wires we've got to make sure that this joint is as flat as possible because the Lens comes down over here and is is uh adjacent to this uh this face so it's got to be very uh close down uh in terms of wiring I'm just connecting the positive negative inputs to these internal Terminals and obviously they're connected in series by the convenient Junction in the center uh all the LEDs are wired up all the each five group is wired in five groups wired in parallel with some Thin wires and I'm I've deliberately made all of the wires the same length so that the resistance to all of them is the same and I'm using this relatively thin 22 GA wire hoping that adds a little bit of resistance that will help the current sharing between all the LEDs because I haven't made any attempt to do voltage matching between these if this ends up uh causing a problem not you're not having good enough current sharing I'm going to have to take these all off and Bin them by voltage and then select them to put them in pairs that have uh that sum to a similar voltage got this plumbed into the water cooling components from the 2.5 Watt argon laser let's fill this with water and see if it leaks no drip so far power supply is all connected up water cooling is running let's give this thing a run I'll just slowly turn up the voltage here and we'll hopefully see the LEDs light up 30 volts shouldn't conduct until around 50 or 60 there here we go oh those are lighting really really evenly even this low current I'm impressed how good the voltage uh volt forward voltage matching is on these that is 48 volts and nothing measurable let's bring it up let's bring it up to an amp oh that's well that's really Bri noticeable one thing I noticed is these LEDs even though their advertised is 40 4, 4500k seem to be a little bit on the warm side I'm wondering if their production like production rejects from a real 4,000 Kelvin batch and they're not uh quite meeting their spec they do seem to be good quality though they're they have big dies they're they light evenly at low current so I really can't complain okay so there's an amp how high are we not bad and these I hope to power these off of a few of these old battery chargers I've got a decent collection I got from my old work uh from the junk bin I can just modify these into power supplies they're good to about 60 volts so this stays under 60 we're golden okay let's bring this bring this up to leave it around 5 amps see how warm are we getting no detectable Heating whatsoever so far that is excellent yep let's bring this up to 10 full power is about six 15 16 amps let's try 10 amps there's 10 hitting about 60 volts there should be pretty well within the capability of Supply oh that is nice that's really bright kill the room lights oh no difference at all okay temperature still absolutely cold you can really feel the heat just from the light from those got no warmth whatsoever I'll let that settle in and see what temperature gets up to I just turned this off when I noticed some smoke rising and it turns out I think it was the table the table was getting so hot it was starting to smoke just from the light this is really really powerful actually I take back what I said about the color temperature it seems that when you operate the LEDs at low power the light is sort of yellower I think it's and then when you bring the power up to full the white light becomes the proper 4,000 Kelvin that it should be I think that's because the phosphor the phosphors on the LED start saturating at higher power so they put enough in so that when they saturate and the LEDs are at full power they produce the proper color so they do if you run these at low current they seem to produce a yellower light this has been running for about half an hour now and all the temperatures have stabilized I measured the uh the inlet water temperature at 31.8 and the water block just behind the LED at 37.5 de so just about a 6° delta T between the water and the heat sink under the LED that under LED temperature was measured right in this little hole uh with thermal past so that should be pretty accurate without lenses about 3 m in front of the light we're getting about 6,200 luck I'm at my friend's place he has a really nice laser cutter we're going to cut out a wood cover for the front of the LED [Music] [Music] we didn't quite get all the way through that the last time so I just had to run the job again so I have to turn up the power next time [Music] [Music] [Music] [Applause] these new covers fit absolutely perfectly let's give this a try and see how much the this has increased the light intensity compared to the earlier measurements there we go yep that definitely looks more intense bit of an yellowish uh band on the outside I have to look more into that but let's see what intensity we get same position as before 15,000 luck so it was about 88200 before I think so just about doubled the intensity on this thing is just ridiculous I'm almost burning my hand just holding it here in front of the light the the light is so intense that's that's not the infrared heat like an incandescent one produce this is just heat due to pure the pure intensity of the light visible light as a quick comparison uh I've set the camera on manual exposure and this is the intensity with the LEDs let's compare that to the intensity with the old 1 KW metal haly I was using as a high-speed filming light previously and here is the metal halight lamp so in about this position we get about 7,000 lucks from the metal py and the L right here get about 10,000 locks that's quite quite a bit farther away though a similar distance from light around here we're getting 20,000 locks so yeah these are way more efficient than that metal Haight okay I think that's pretty much all I can do for tonight uh next video I'll continue working trying to solve that uh yellow Ring Around The Edge problem also need to add some proper connectors some thermal cutout switch and then set up the water cooling system uh in the garage here the radiator will probably be outside there and the lights we mounted up uh various locations around the ceiling and of course got to make more of those water blocks anyway hope you enjoyed this video thanks for watching
Up Next
7:49
Electronics Waterproofing: Materials and Heat Transfer Analysis
@greatscottlab
1.8M views•2017-12-23

12:54
Triumph of Orthodoxy Icon: Byzantine Art & History Explained
@BenCallan
2.1K views•2024-08-06

9:49
FastAPI vs Flask vs Django: Choosing the Right Python Web Framework
@TechWithTim
302.5K views•2024-05-26

1:42
Game of Thrones Opening Credits: A Cinematic Analysis
@gameofthrones
46.3M views•2011-04-18
Related Study Plans & Knowledge Roadmaps
Structured learning paths in General & Interdisciplinary Studies
general-studies
Elevator Engineering: History, Physics & Cities
01From Hoists to Safety Brakes: The Dawn of Vertical Lift
02Hydraulic vs. Traction: The Engineering Physics of Elevators
03Modern Speed, Safety, and Algorithms
+ 2 more learning modules
12h5 modules
Explore Roadmap
general-studies
Rubber: Material Science, History & Geopolitics
01Origins of Natural Rubber & Mesoamerican History
02The Chemistry of Natural Rubber & Vulcanization
03The Geopolitics of the Rubber Boom & Colonization
+ 2 more learning modules
12h5 modules
Explore Roadmap
general-studies
Containerization: Evolution, Logistics & Trade
01Ancient Trade & Bulk Cargo: Amphorae to Barrels
02The Industrial Revolution & Cardboard Packaging
03The Containerization Revolution: Malcom McLean
+ 2 more learning modules
12h5 modules
Explore Roadmap
general-studies
Textile Tech: Evolution, Labor & Global Impact
01Pre-Industrial Textiles: Handloom & Cottage Industry
02Mechanization: The Spinning Jenny to the Power Loom
03The Factory System & Global Labor Transformation
+ 2 more learning modules
10h5 modules
Explore Roadmap