

























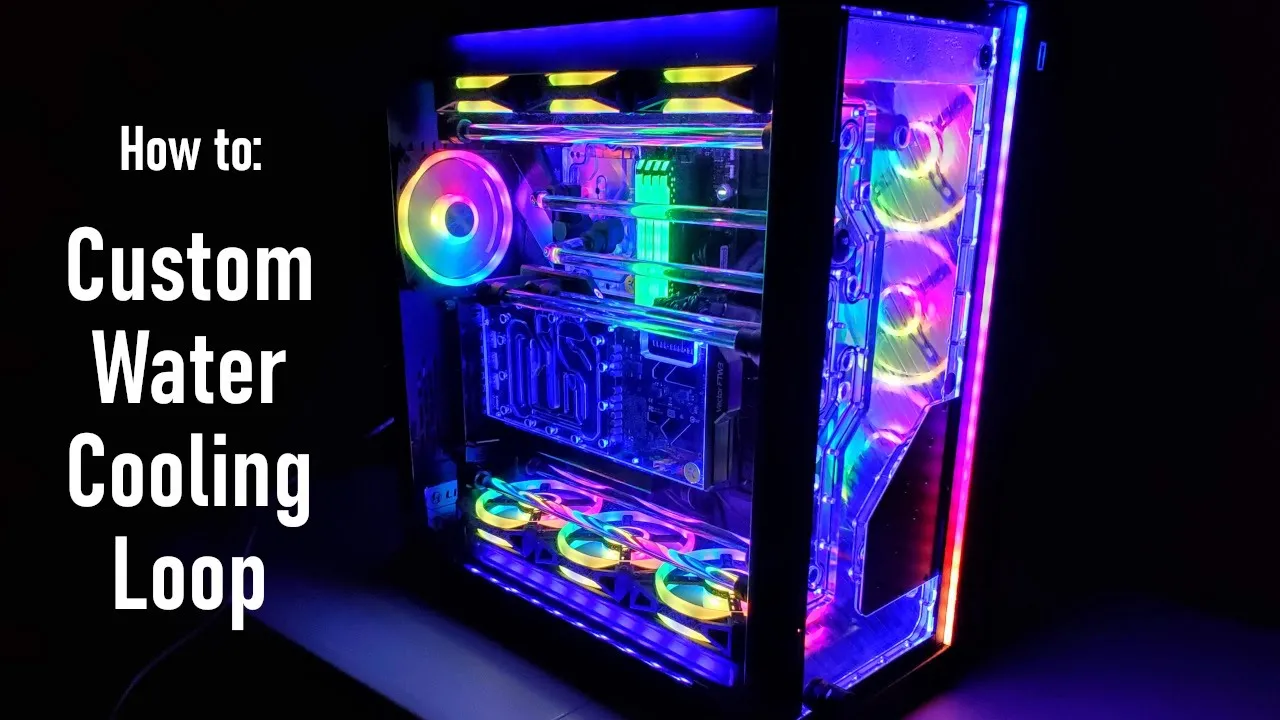
A custom water cooling loop for computers consists of five essential components—a water block (for heat transfer from the CPU/GPU), a radiator with fans (for dissipating heat), a pump and reservoir (for circulating coolant), fittings (for connecting tubing), and tubing (for coolant flow)—which together provide superior cooling efficiency and quiet operation compared to traditional air cooling, though proper setup requires careful planning, thorough cleaning of all components, and systematic filling and leak testing before use.
A Beginner's Guide to Custom PC Water Cooling Components and Setup
Added:Fundamental PC hardware architecture, including the location, mounting, and function of key heat-generating components like the CPU and GPU.
The principles of basic thermodynamics and heat transfer (conduction, convection) as applied to traditional PC air cooling and All-In-One (AIO) liquid coolers.
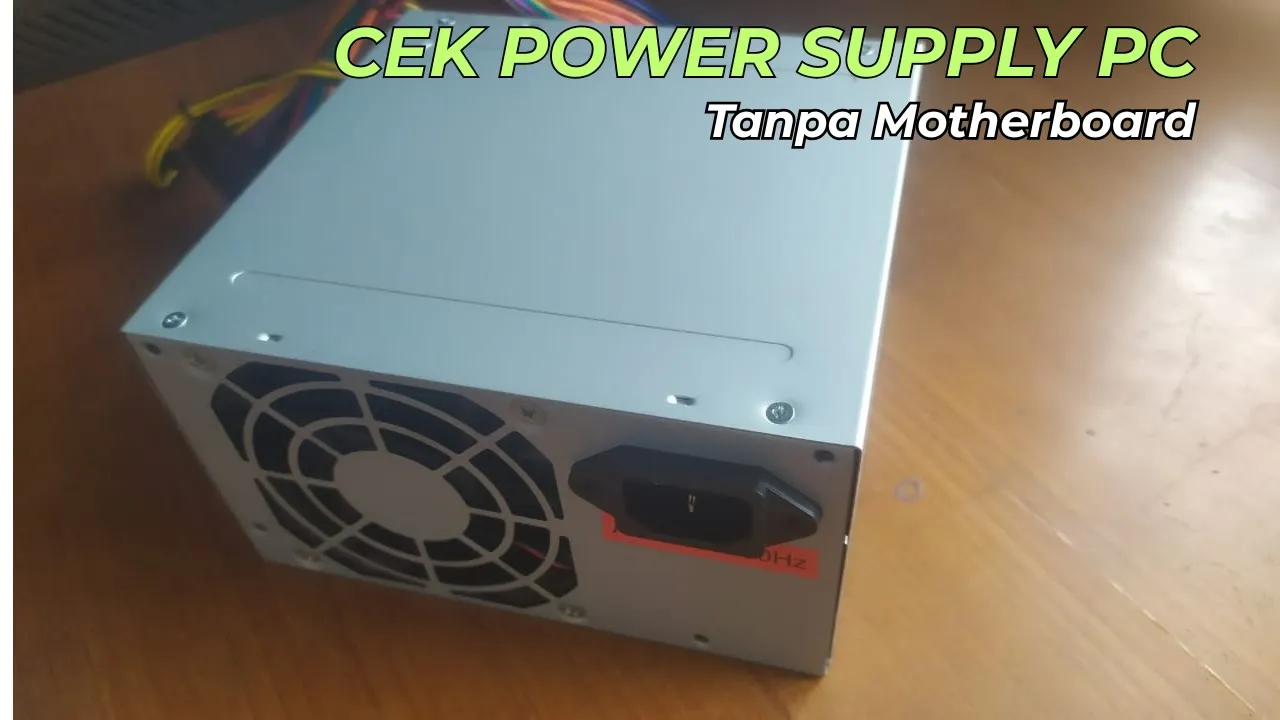
Basic electrical safety and system power management, particularly how to jump-start a Power Supply Unit (PSU) independently of the motherboard for leak testing.
Familiarity with PC case form factors, spatial clearances, and standardized mounting points for fans and radiators.
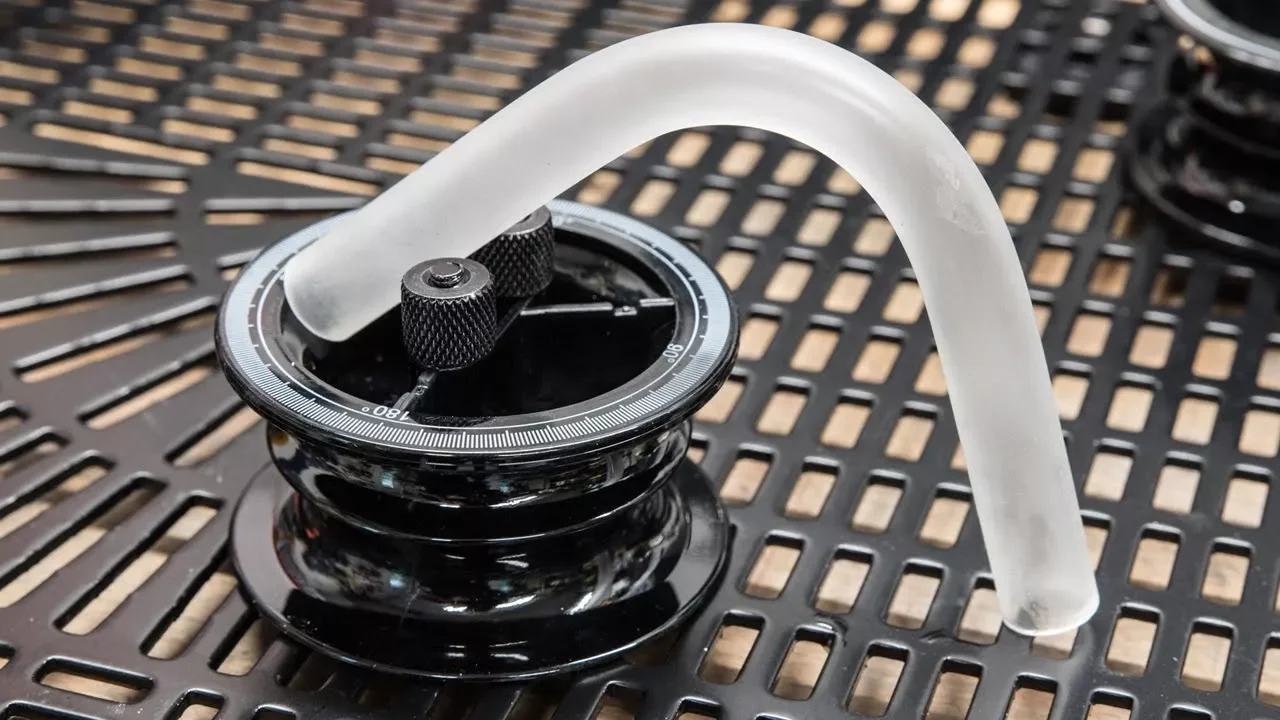
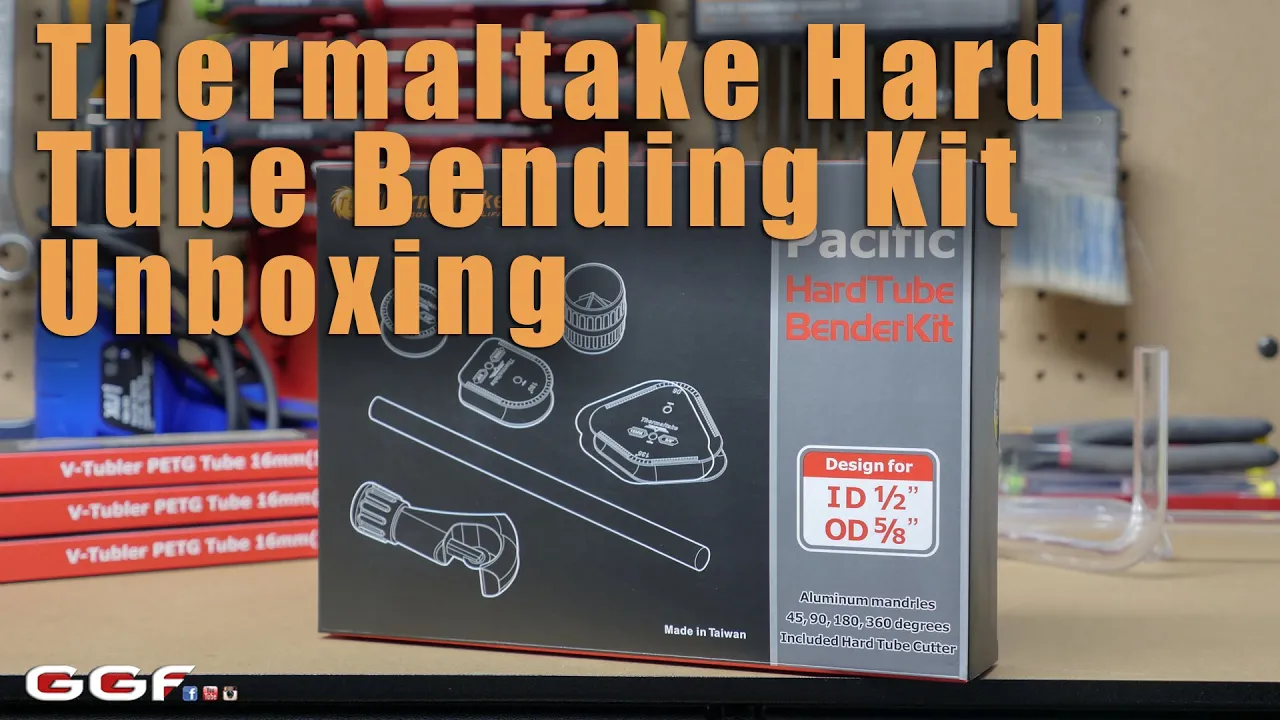
Advanced tube-bending techniques for rigid tubing (such as Acrylic, PETG, or metal) using heat guns, mandrels, and silicone inserts.
Chemistry of coolants, focusing on the prevention of biological growth, galvanic corrosion from mixing incompatible metals (like copper and aluminum), and loop flushing protocols.
Thermal benchmarking, sensor integration, and configuring custom fan and pump speed curves based on coolant temperature rather than CPU/GPU temperature.
Designing complex loop configurations, including multi-GPU blocks, parallel versus serial flow paths, and integrating custom distribution plates.
4.7M views38.1Klikes7:45Original Release: 2012-09-04
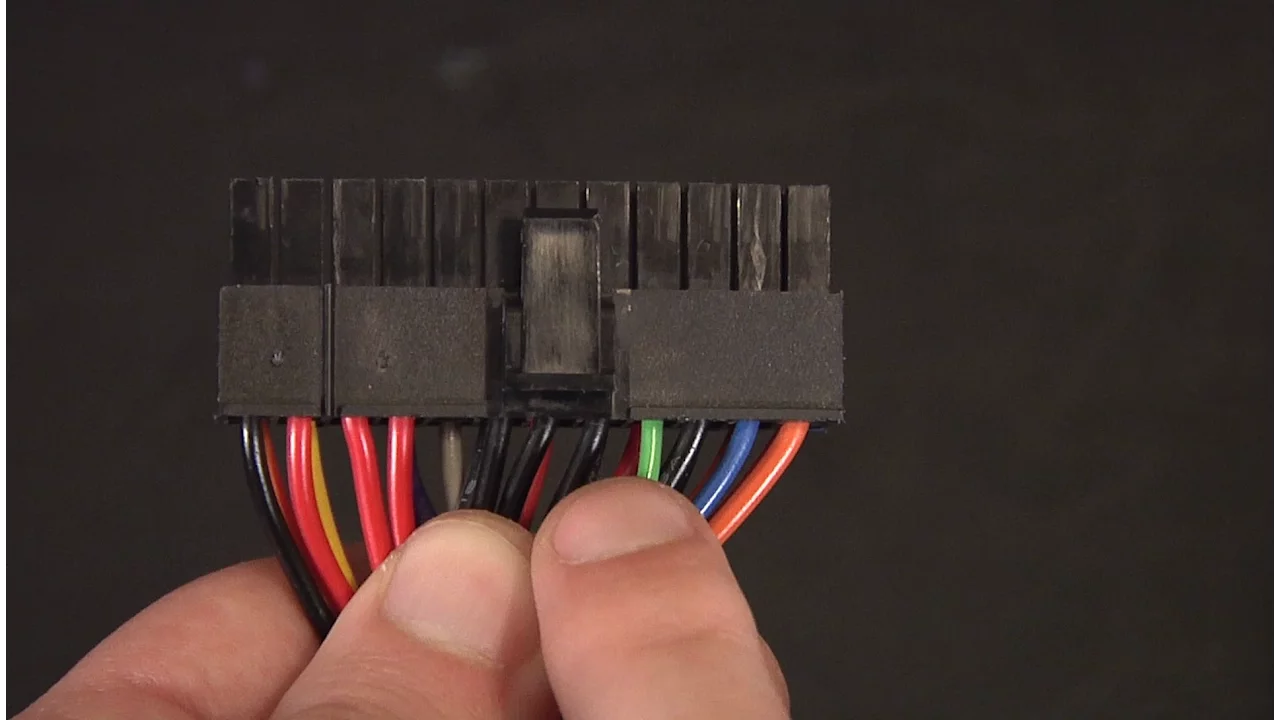
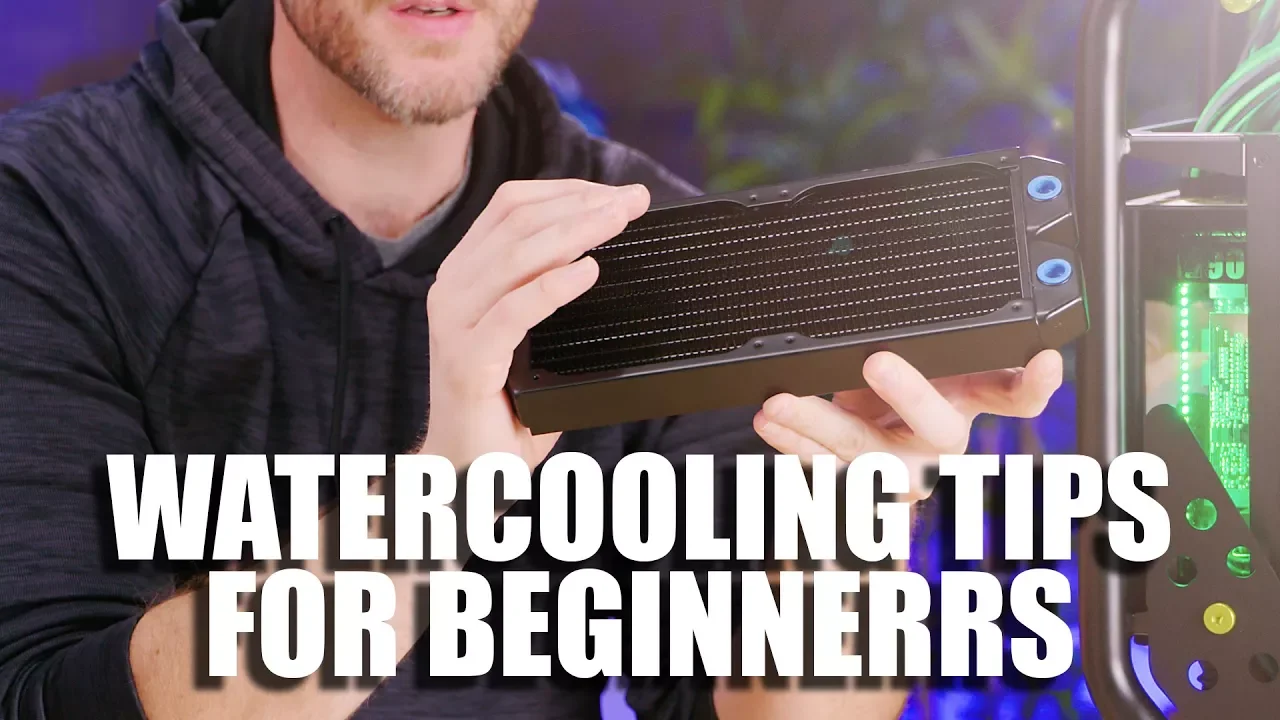
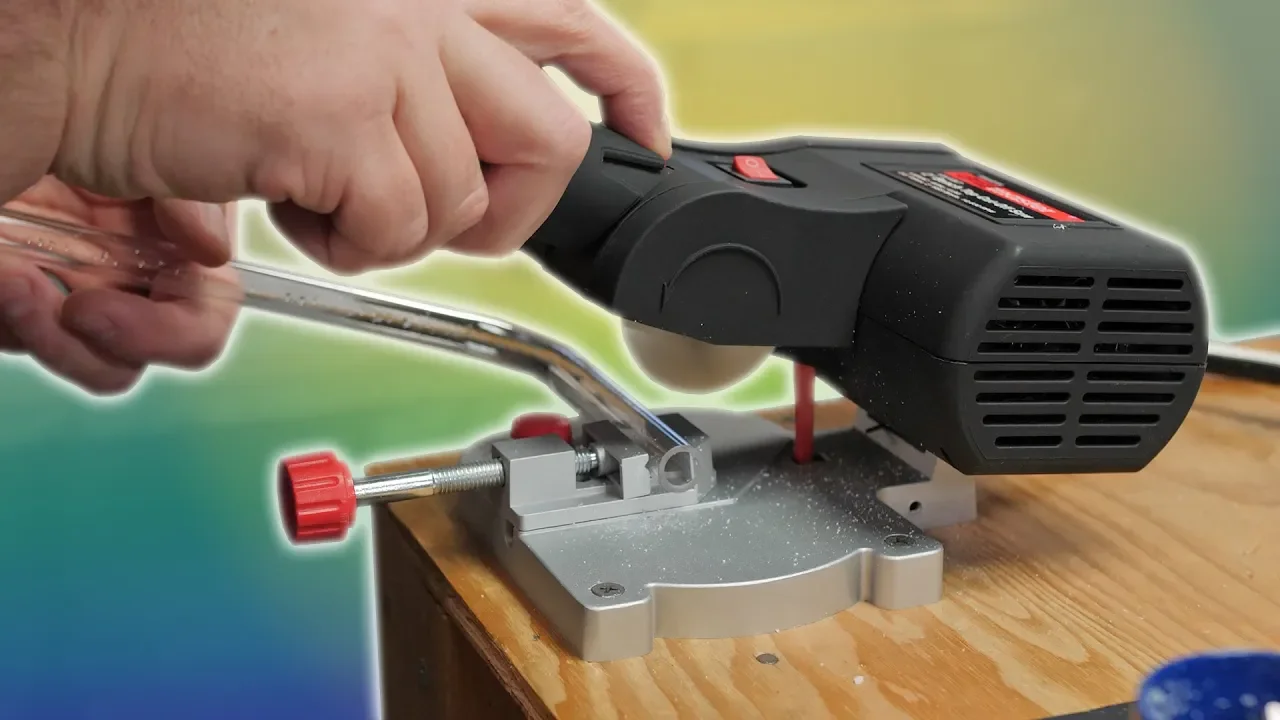
[Music] water cooling is a great way to keep your computer running ultra cool and ultra quiet while it takes a bit of work to set up it can be much more effective than traditional air cooling with fans it's great for gamers overclockers or anyone else that would like to just keep their computer running silent and cool not to mention looking awesome here will just be showing you a quick overview of what it takes to build a custom water cooling loop for more detailed how-to check out the article on life hacker below here's a basic rundown of what you'll need first you'll need a water block this is the hardware that sits on your processor graphics card or other component and transfers heat from the water will just be cooling our CPU today but you can grab water blocks for your GPU and other parts if you like next you'll need a radiator and some fans this is what actually cools the water as it goes through the loop make sure you get one that fits inside your case in this loop we're using a 240 millimeter radiator you'll also need a pump and a reservoir you can buy these separately but many come is bundled packs and in our case we're going to be using a pump reservoir combo for each component you also need two fittings these are what connect the tubing between each part of the loop we're using regular barb fittings but you can also get some better looking more expensive compression fittings that contain an extra attachment for a super secure fit lastly of course you'll need some tubing we're just using some plain clear tubing in this build but tubing comes in all sorts of colors and sizes so check around to find some you like whatever you choose just make sure the inner and outer diameter of the tubing is compatible with the inner and outer diameter of your fittings you can buy all of these parts separately but we've chosen to go with an all-in-one kit from ex SPC it's much cheaper performs just as well and comes with everything you need so you don't have to research it yourself the one thing that won't come with your kit is a coolant you can buy all sorts of cooling fluids online but we've chosen to go with distilled water it's cheap simple and gets the job done just as well as anything else you also need a funnel as well as some additives for your water these can include but are not limited to a biocide which keeps algae and other gunk from growing in your loop and an anti corrosive which is useful for loops containing multiple different kinds of metal like the copper and aluminum you can also use a small piece of silver called a kill coil instead of a biocide additive since silver acts as a natural bio site you can also add a drop or so of dishwashing liquid to your loop which helps keep bubbles out and can help keep your pump running very quietly you don't recommend using color additives since they can often gunk up the loop if you want color just get some colored tubing now that you've gathered up everything you need here's how to set it up and get it running before you do anything else you'll want to look inside your case and plan out how your loop is going to work figure out where you can mount your reservoir and pump using the included hardware decide where your radiator is going to sit and then decide how you're going to connect all the parts together your reservoir should sit right before your pump in the loop so the pump never runs dry from the pump you can go to your radiator then to your water block then back to your reservoir or vice versa you may have to tweak this setup once you actually start connecting the tubing but at least get a good idea of where you expect everything to go now next you want to rinse out your hardware for your reservoir and tubing you can rinse it out just by running some distilled water through it for your radiator you'll want to heat up some of that distilled water fill it up about two-thirds of the way and then shake it for a few minutes dump out the water into a bowl and you'll see quite a bit of buildup and debris comes out so repeat this process until the water comes out cleanly this will help keep that debris from getting inside your loop now it's time to install the water block remove your current cooler and wipe off the thermal paste with somebody's a propyl alcohol and some toilet paper then add a new dab of thermal paste remember less is more and then set your water block on the CPU put the back plate on the back of your motherboard and start screwing it in just like you would any other cooler make sure to screw it in a star pattern so you apply pressure evenly to each side of the block when you're done with that you can move on to your radiator I'm mounting my radiator internally at the top of my case but if you have a smaller case you may have to do it externally using the included brackets scran your radiator and attach your fans of choice last piece of hardware we need to install is our reservoir we're going to use a reservoir that sits in our external drive base so all we need to do is slide it in plug in the power connector and we're good to go now it's time for the fun stuff connecting your tubing first grab your fittings and screw them into the inlets and outlets of each of your components the CPU block the radiator and the reservoir make sure to screw these in tightly so you don't have any leaks I like to give them an extra twist with a pair of pliers to make sure everything's on snug then get your tubing and connected to one of your fittings measure out how much tubing you'll need to connect it to the next component in the loop mark it with your finger and then cut the tubing as straight as you can connect that end to your next component in the loop and make sure it fits tightly if you want a bit of extra security you can use hose clamps or zip ties to keep them in place repeat this process with the other runs in your loop you may find that some of your runs produce kinks in the tubing which is bad for your water flow in that case you may need to take a step back and replay in your loop the short of the runs the better but you want to make sure everything is kink free before you continue now we're going to fill up our loop with water if you want you can disconnect everything from the computer and fill it up outside the case but we're going to do it inside as long as you go slowly and make sure everything is secure you shouldn't ruin any of your components just place some paper towels under any fittings and if you do spring a leak quickly stop the flow empty out your loop and try again after your hardware has had a chance to fully dry usually after about 24 hours now before you fill it up you'll want to jump your power supply this lets us test the fans and the pump without actually turning on the full computer disconnect your 24-pin power cable from your motherboard and jump the green wire to one of the black wires using a paperclip some kits come with a small jumper that also serves this purpose next add your liquid additives to your water if applicable and then fill everything up stick your funnel in the reservoirs fill port and carefully pour your water in almost filling it up to the top of the reservoir some may empty into the tubing at this point and that's okay when your reservoir is filled up flick the switch on the back of your computer and let the water flow for a second once your reservoir gets about halfway down turn the computer off before the pump runs dry and fill up the reservoir to the top again flip the power switch and let the water flow again repeating this process until your reservoir stays filled up double check for any leaks and if everything is okay you have yourself a working water loop the last step is to let the entire loop leak test for about 24 hours check back with it frequently to make sure it isn't leaking anywhere and if you see any bubbles you can try and get rid of them by power cycling the computer shaking the case or by jiggling the tubing itself after a while those bubbles should work themselves out though again this is where that drop of dish soap can come in handy and speed along the process once the system proves to be leak free you can turn it off reconnect your 24 pin cable close everything up and start using your computer you should find that your temperatures are lower especially under load and that your computer is whisper-quiet you'll probably want to empty out the loop and refill it every six months or so as well as cleaning out your reservoir and radiator to keep them free of any gunk other than that you're ready to overclock your system do some serious gaming or whatever else is you want to do with your new water-cooled computer [Music]
Up Next
8:20
Radiator Stacking in Water Cooling: A Comparative Test
@LinusTechTips
2.2M views•2020-05-13

12:54
Triumph of Orthodoxy Icon: Byzantine Art & History Explained
@BenCallan
2.1K views•2024-08-06

9:49
FastAPI vs Flask vs Django: Choosing the Right Python Web Framework
@TechWithTim
302.5K views•2024-05-26

1:42
Game of Thrones Opening Credits: A Cinematic Analysis
@gameofthrones
46.3M views•2011-04-18
Related Study Plans & Knowledge Roadmaps
Structured learning paths in General & Interdisciplinary Studies
general-studies
Elevator Engineering: History, Physics & Cities
01From Hoists to Safety Brakes: The Dawn of Vertical Lift
02Hydraulic vs. Traction: The Engineering Physics of Elevators
03Modern Speed, Safety, and Algorithms
+ 2 more learning modules
12h5 modules
Explore Roadmap
general-studies
Rubber: Material Science, History & Geopolitics
01Origins of Natural Rubber & Mesoamerican History
02The Chemistry of Natural Rubber & Vulcanization
03The Geopolitics of the Rubber Boom & Colonization
+ 2 more learning modules
12h5 modules
Explore Roadmap
general-studies
Containerization: Evolution, Logistics & Trade
01Ancient Trade & Bulk Cargo: Amphorae to Barrels
02The Industrial Revolution & Cardboard Packaging
03The Containerization Revolution: Malcom McLean
+ 2 more learning modules
12h5 modules
Explore Roadmap
general-studies
Textile Tech: Evolution, Labor & Global Impact
01Pre-Industrial Textiles: Handloom & Cottage Industry
02Mechanization: The Spinning Jenny to the Power Loom
03The Factory System & Global Labor Transformation
+ 2 more learning modules
10h5 modules
Explore Roadmap