





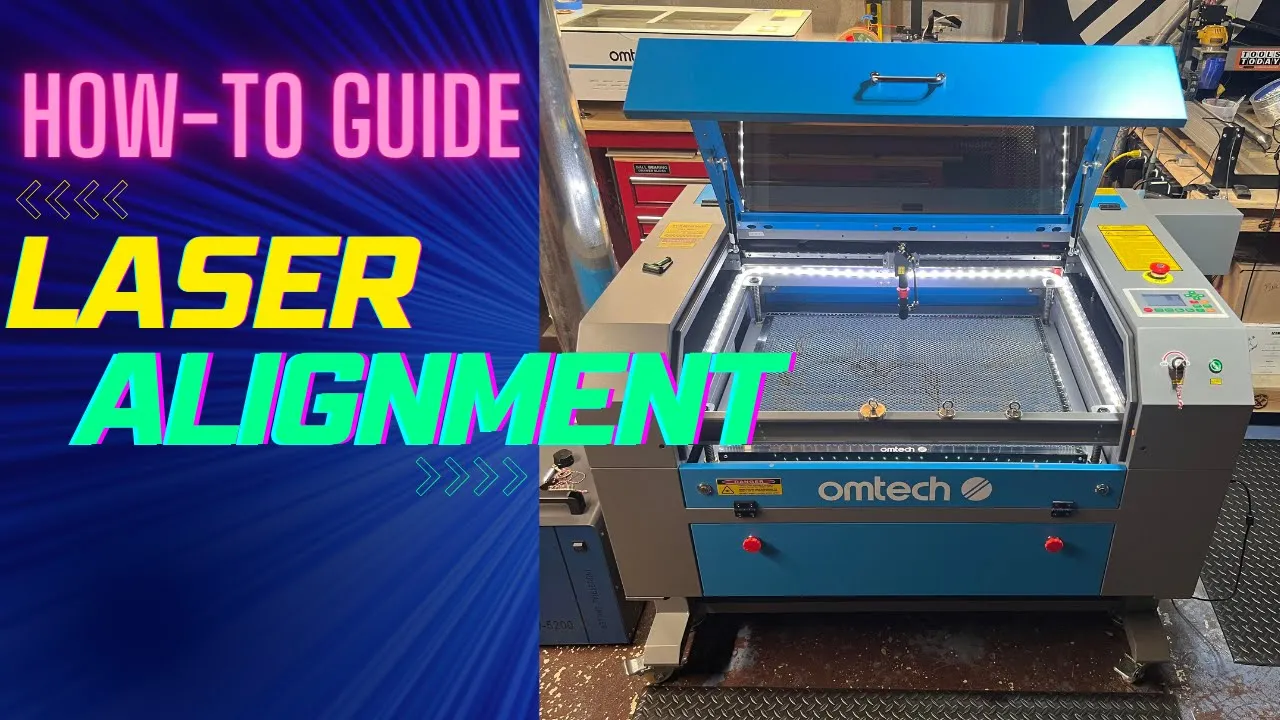




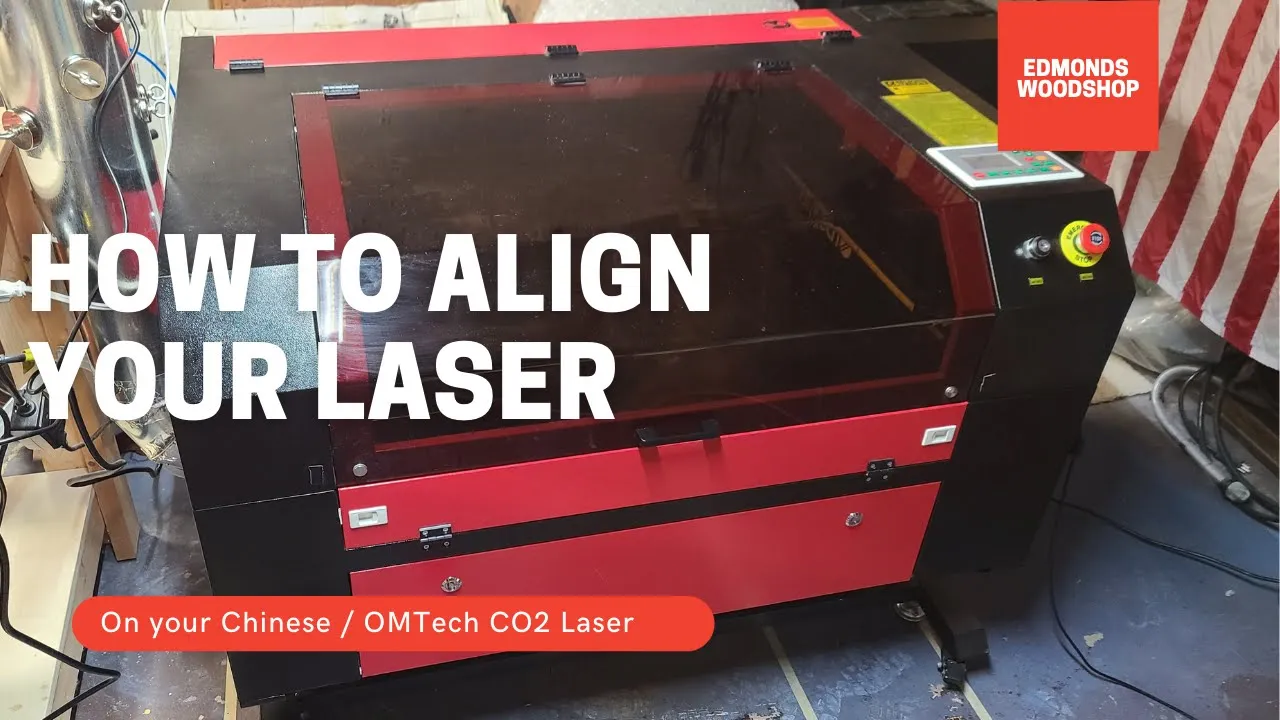




Proper CO2 laser mirror alignment requires systematically adjusting each mirror (number 1, 2, and 3) using Allen keys and locking nuts, starting from the laser head and progressing to the table mirror, with verification at multiple positions across the work area to ensure the laser beam remains centered and follows the same path as the red dot alignment laser throughout the entire system.
CO2 Laser Mirror Alignment: A Step-by-Step Guide for Thunder Lasers
Added:Basic CO2 laser safety protocols, specifically regarding the hazards of invisible infrared light (10.6 micrometer wavelength) and the necessity of proper laser safety eyewear.
Fundamental geometric optics, specifically the Law of Reflection and how light behaves when striking reflective surfaces at various angles.
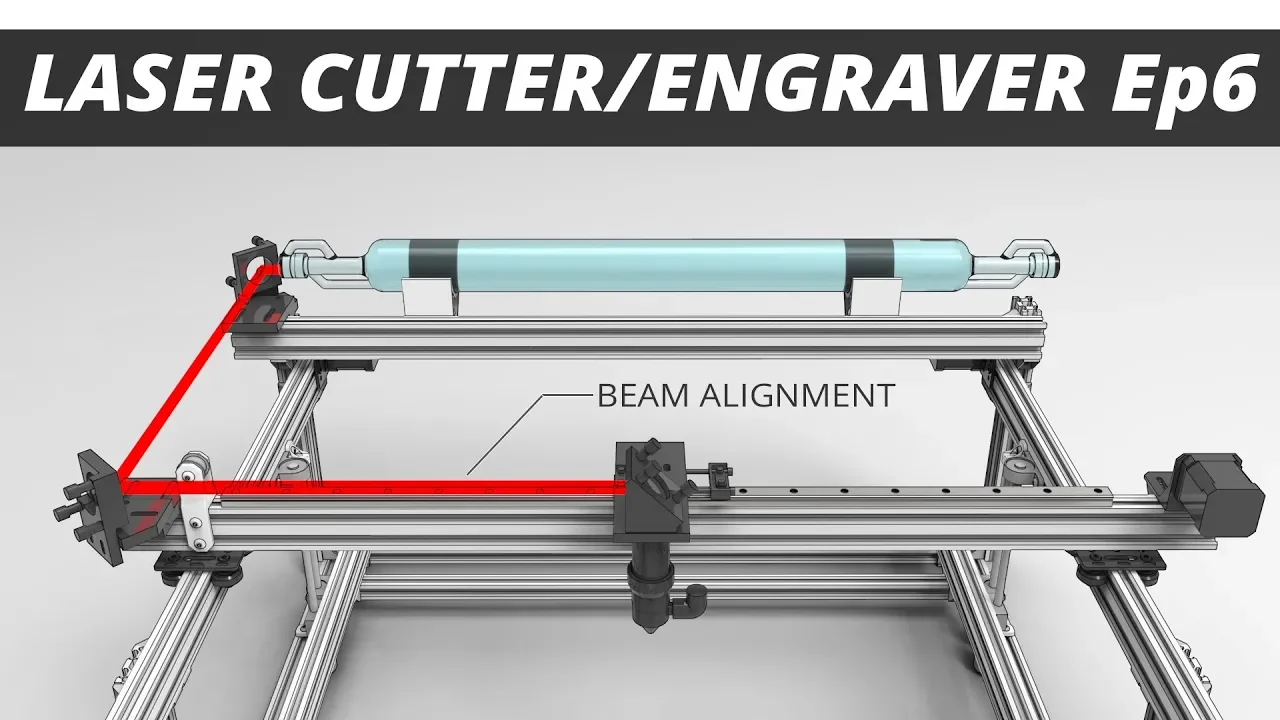
The basic anatomy and physical layout of a 3-axis Cartesian CO2 laser system, including the positions of the laser tube, Mirror 1, Mirror 2, Mirror 3, and the laser head.
The concept of a 'test fire' or 'pulse' and how to safely operate the laser machine controller to emit short, controlled bursts of energy.
Focus lens calibration and testing, including how to determine the optimal focal height (sweet spot) for engraving and cutting.
Advanced troubleshooting of optical path issues, such as identifying beam clipping inside the laser nozzle or diagnosing a failing laser tube.
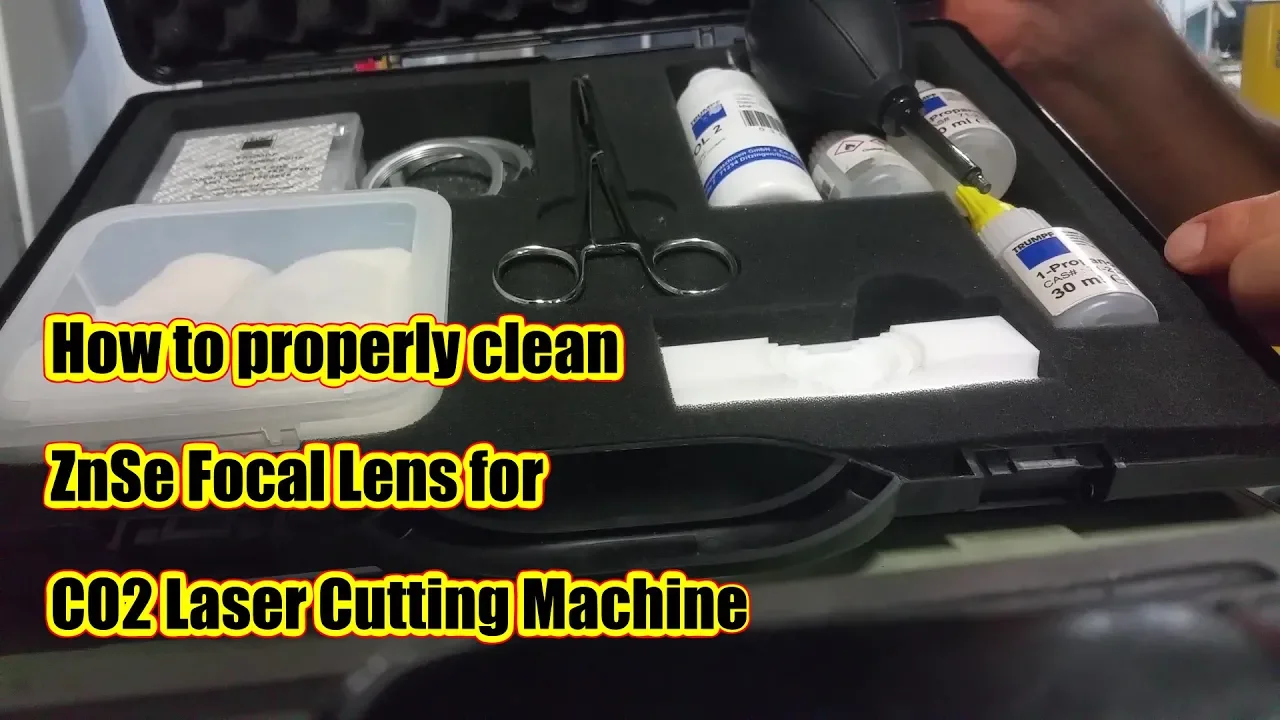
Preventative maintenance of laser optics, including the proper chemical cleaning procedures for zinc selenide (ZnSe) lenses and silicon or molybdenum mirrors.
Optimizing speed, power, and frequency settings for various materials, utilizing the newly achieved beam alignment to maximize edge quality and minimize kerf.
49.8K views524likes25:12Original Release: 2020-11-11
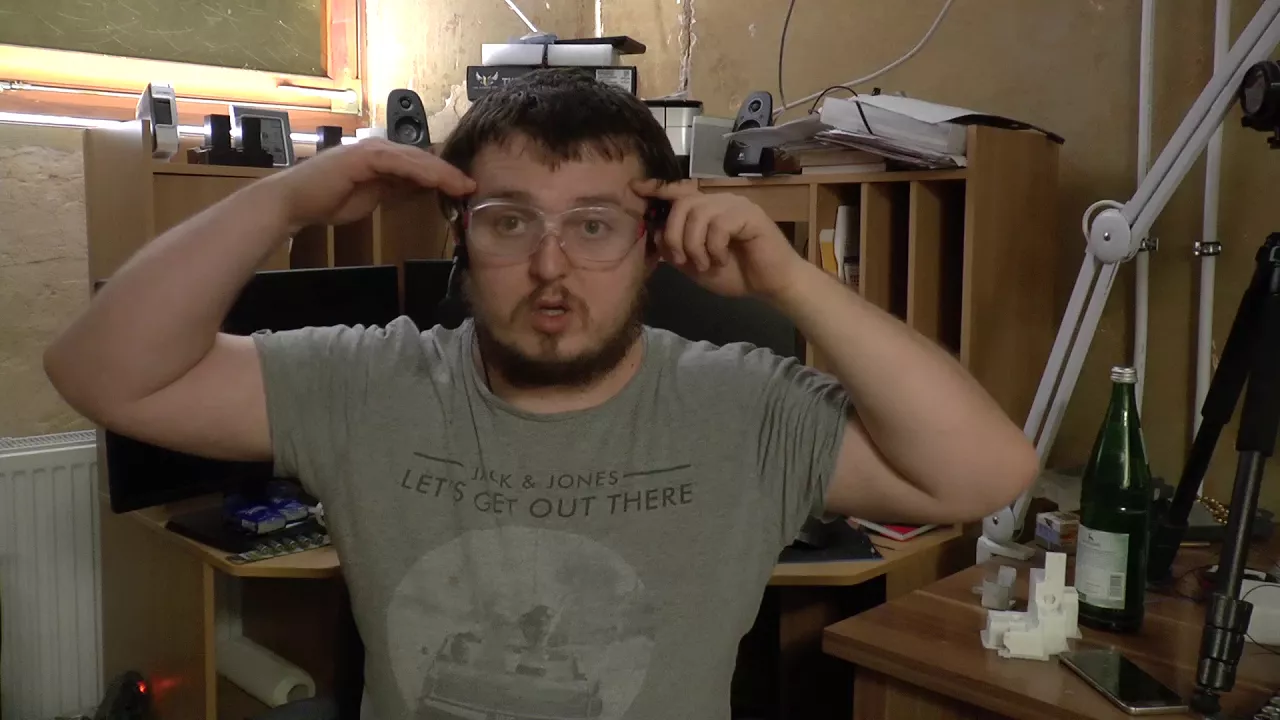
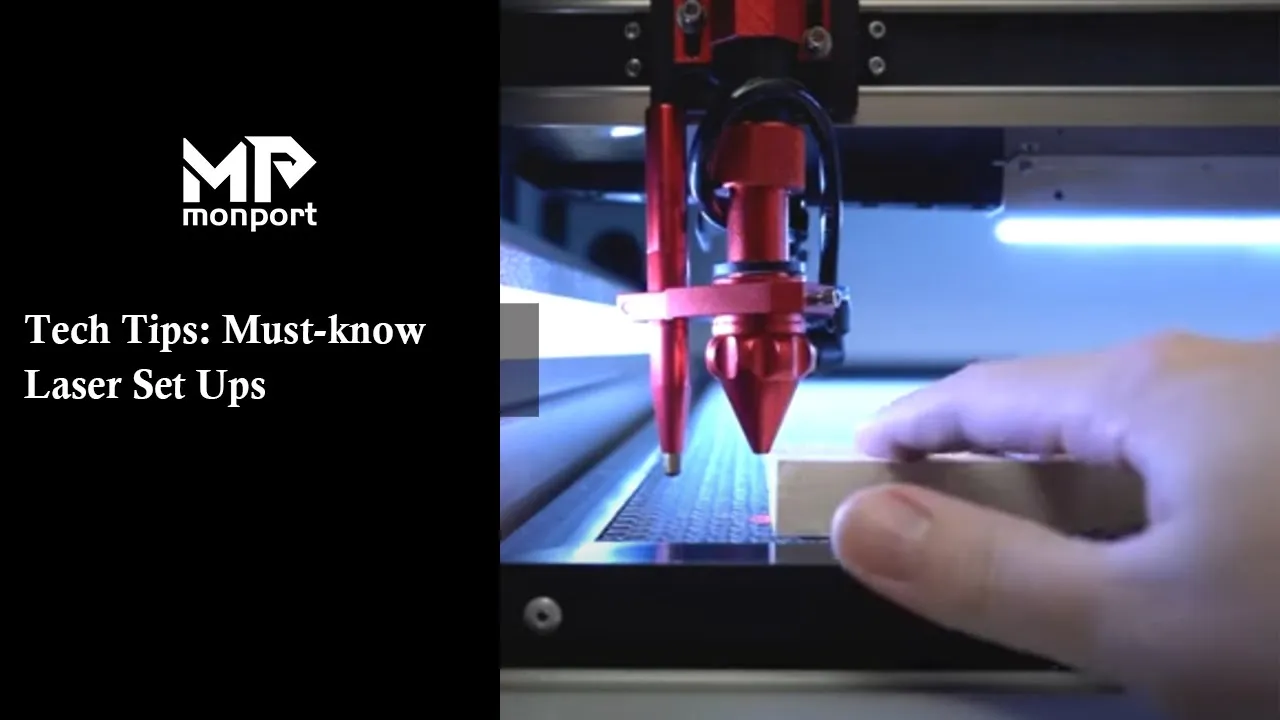
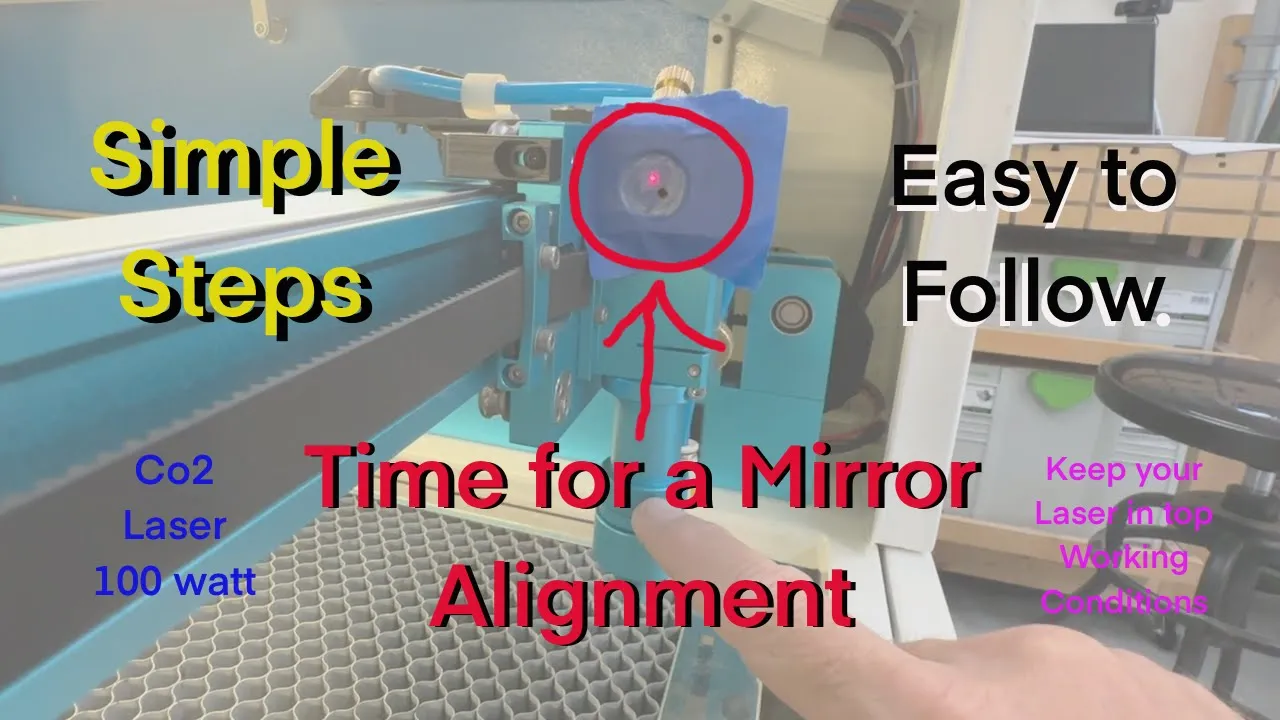
[Music] what's up guys and girls today i wanted to go over something that is not really anybody's favorite thing to do and a lot of people get hung up on this because it is a little confusing so we're going to talk about alignment and how to adjust your mirrors properly um the best way that i know how there's probably several different ways to do this i'm just going to show you how i do it and how i find it easy first of all you are going to need a couple of tools and some supplies to be able to do it masking tape just be careful what kind you use sometimes they flame up quite quickly and you can create a little fire be prepared to blow it out i'm gonna use some duct tape instead because that tends to just absorb the the pulse and allow us to fine tune our dot position you could use a piece of cardstock anything that you can put in front of the hole here to be able to see your your positioning i will use masking tape to align my red dot laser and then afterwards we'll move over to the duct tape which doesn't seem to flame up as easy so what i've done so far is i've taken apart the mirror that's on the laser head so this is our number three mirror going down to the table now there's allen keys typically that hold this on to allow it to uh to move uh gives it some play for you to be able to adjust on the bottom are some beveled screw heads and this is what's used to adjust the angle and the position of the laser so as you move on it's going to move you know right and left or up and down um typically one of them you're not going to touch at all you're just going to leave it alone and it's kind of like a balancing point the other two typically i use the top one to go up and down and this one here to go right and left and this one's just kind of like a little balanced leg um that really doesn't get moved very much we have our alignment screws and then we have our locking nuts and then like i said these these spring loaded allen key screws that you really don't need to take out i took it out so that i can show you how this sits in here your mirror is on the reverse side of this so here you have your mirror and then again this sits like that and then you'll be able to adjust it right and left and up and down so i'm going to put this back on and we are going to show you how we would align the laser starting out first with your red alignment beam so i'm going to put this back together real quick and we'll pick up from there all right so i have it back together and again you don't need to take this entire piece apart like i did it was more or less to show you how those screws work and what they look like on the back side of the alignment plate the screws or the allen keys that have the springs on it are there for a reason it gives it play enough play yet holds it secure so that you can make those alignments you know you can make all these adjustments by turning the screws and adjusting and and that's why those springs the spring-loaded allen keys are there to keep it in place and also allow you to to make those adjustments easily right now i'm going to make this back one here lift up ever so slightly on the bottom of this alignment tool and then i'm going to lock it down because i don't i don't want to worry about all three of these and that just gets complicated i just want to worry about two of them up down and left and right and as long as we have a little pivot we should be good all right that's that's locked i'm gonna need uh like i have needle nose pliers something that you can get in there and just wrench down on it ever so slightly to get it locked in all right so now that i've shown you that let's go to the back of the machine and talk about our red dot alignment beam before we go to the back of the machine it's very important that you make sure your alignment is on in multiple multiple positions and what i mean by that is sure you can bring it to the back there where the laser is coming out of and it's only going you know a half a foot and then making a turn going another half a foot and it's very easy to align it having it aligned up here way in front is going to be a different story um pick the furthest distance and get a line there and then move it around the table to make sure that you don't have to make any fine tune uh fine-tuning to get it to be perfect all the way across the table the thunder laser is super straight the rails are unbelievably straight and strong and true in 99.9 percent of the cases so you shouldn't have a problem if you align it in this position you should not have an issue moving it all around the table and it being aligned the cheaper brands will have an issue being true across the board the other thing you may want to do is if you have a an access door over there open it it's going to be a lot easier for you to see all of those positions that you're going to use um and you know as you're as you're tuning the red dot and the laser beam and the mirrors you'll be able to see it clearly as opposed to adjusting it then coming back out front to see what happened make it easy on yourself and give yourself access so that you can make these adjustments easily one other thing before we go to the back of the laser is i have this masking tape on here so that we can adjust the red laser now i have it dimpled in here so that i can see where my the center of the the the entry point for the laser is going to that mirror same thing over here i have it so that i can see exactly where that center point will be and you want to get it as close to the center as possible and right now we can see that that red dot is a little high all right let's go to the back and of course this is our thunder 51 nova 51 um this should be able to be applied across a spectrum of lasers um so this is a typical co2 laser setup on the thunder laser you are going to have pretty much the same mechanisms to adjust the mirrors as you did out front on the laser head but i'll go over each part of this real quick so right here is where we have our exit point of the laser laser is going to go through this combining lens which basically allows the laser beam to go through the the mirrored glass hit our mirror number one and shoot forward through the hole and go up to mirror number two the reason for the combining lens is it's taking our red dot pointer that we use to align and it's it's basically combining it and and shooting it across to the mirror so you can see right there where the red dot is right here it is hitting that mirrored glass and then shooting this way to the mirror to our mirror number one it does go through the glass but it is not a burning laser it is just a visual aid this one is adjusted and you want it in the center of the mirrored glass as well as your mirror on the laser or the mirror number one a lot of people will have issues with their alignment beam or their red dot laser losing power um these things are sometimes go bad and typically what i recommend is checking making sure that this combining lens is clear and clean all right so i have the piece of tape on mirror number one and now i'm going to make some few a few adjustments just by turning my allen key ever so slightly to try to get it more centered it's not easy to record this and do it but i'm trying and again i want to get that as close to the middle as i can and currently that is dead all right guys so now that i have my red dot laser uh my alignment beam all dialed in and set up and it's going to the center of my mirror ii um i'm going to pulse it and see exactly where we stand and this is how i'm going to fine tune the next adjustment for mirror one and this could be carried out from mirror one to mirror two to to mirror three and this should make it a little bit easier for you if you've been struggling okay so if you look at my pulse it is way off to the bottom right and that is not acceptable so what i'm going to do is i'm going to adjust my red dot laser to that point so i'm going to move let me see if i can zoom in here for you i'm going to move my red dot i know we just adjusted it but this is to make it so much easier for you so if i move that red dot to the center of my pulse and i'm using these on the back to adjust that so now i know that the red dot is following the same path as the laser i don't have to touch this anymore the red dot is is done it's secure it's it's aligned with my laser beam so now what i can do is i can take my first mirror adjustments and i can fine tune that and get it back up to the center of my mirror 2 entry and that's close but not quite and this way you're not constantly pulsing let's see that's down that's up let's go and that is that's pretty close to center i'm gonna just adjust it a hair more up and and as i'm doing this i'm tightening down these lock screws so that i don't continually change them all right that is pretty much dead on center now and what i'm going to do is i'm going to pulse and since i aligned my red laser with that that first pulse hole it should follow the same path so in theory the uh my laser should basically poke a hole through right where that red laser alignment dot is let's see all right so here we go let's test this out yep it's just a hair off and i can readjust the red laser just a hair down just to make sure that we are on the same page and following the same path all right and adjust that down ever so slightly uh it looks to me oops like it is right on the money and now i've noticed that the actual beam is is a little low it's not it's not exactly centered so i'm going to bring it up a little bit and again i'm i'm loosening it adjusting and then re-tightening right away so that i'm not uh really over adjusting anything or accidentally knocking it out of whack there we go all right that looks closer to the center and we'll go out and do another pulse test uh before we lock down this mirror number one okay so it's hard to see but if i block the red that last pulse that i did was perfect and it is practically dead center um yeah yep so now we're gonna move over to mirror number two which is the one we're testing in front of we'll pull that off and uh basically we're gonna go down the line over there and adjust so that it goes into the center of our next entry to the mirror all right on to mirror number two a good place to start on these adjustments is making sure that this is flat so you could always you can see there's a gap in between there i typically try to make sure i start out where it's flat and then make my adjustments from there that is flush up against this bottom one is not okay so that is flush and then you can see and spread the gap out a little bit and the reason for this is you're starting at a baseline of course if if you're just a little bit out of adjustment you don't need to go crazy uh you probably only need to turn one of these screws to get it back into alignment but i'm going to make sure this bottom one is locked and then let's see if we can focus in over there all right so literally a quarter of a turn of this bottom one here brought that beam into the center but it's too high so now we're gonna have to adjust the top one okay so i have my masking tape on the mirror number three our downward mirror onto the table i'm going to hit pulse real quick okay so we can see that it truly is following our red dot so now what we need to do come back over here and just make a few adjustments let's see if i can zoom in down to this one and like i said we want as dead center as possible loosen up my locking nut there so i have more motion okay so that is pretty darn close not the easiest thing to do while holding the phone goes up a hair all right that is pretty much dead center let's go over here we'll do another pulse all right and that's pretty much dead center okay so now we're going to adjust the number three mirror going down through the nozzle and what we're looking for is is the beam needs to come out of the nozzle in the center so it's not clipping the edges and this is where you're going to get beam bounce or other issues like that double double engraving lines so this is this is really important um i also put cardstock underneath so that when i do my pulse test i can use the hole on the cardstock to adjust the alignment and i'll show you how i do that in a second but first of all we'll stick some tape on the bottom make sure you push up against the nozzle this way you can see the imprint of the hole on the nozzle stick your car stock underneath and give it a pulse we're going to pull this off and you're going to be able to see the imprint of the nozzle and the the beam location now it's not too far off but i'm going to adjust it ever so slightly now when you pull it off like i pull it off like that so i know the positioning of of where that hole was made so that was the it's kind of weighted to the back uh left so now if i look at my beam and the hole that it made i know that i need to come forward a little bit ever so slightly and then towards the right and these are going to be small incremental adjustments because i mean we're working with probably less than a quarter of an inch of a hole there um so we're not trying to move it all that much all right let me put some tape on it and we'll try it one more time all right we're ready to go and now that is dead center i don't have to touch anything else i'm going to tighten down my locking nuts and that's it for that alignment so at this point i know that i have it centered i've adjusted off of the cardstock i've adjusted off of the tape and everything is coming out of the nozzle correctly but now what i want to see is i want to see if it maintains the same position or the same path as i move the laser head around so i put a piece of tape on it again and what i'm going to do is i'm just going to draw a little dot there and then as i move it to the back and see how much that red dot moves and if that red dot doesn't move then your mirrors are true your your rail system is true and you really don't have to worry about it coming out of focus or having beam bounce off of the nozzle throughout the bed the the very last thing that you guys are going to want to do is to run that pulse test in multiple locations of the bed just to double check and make sure that you truly do have no beam bounce no edge clipping on the nozzle so i i typically would run in the corners so you're going to double check and make sure that all you have is that little pin prick on on your material if you have any type of half moon or thumbnail around the outside then then you still have beam bounce which means it's clipping the edge of the nozzle but if you run this test like we did and the alignment like we did you should be fairly accurate in your alignment you know again go through pulse in a couple areas make sure you are you are getting a clean pulse and maybe do a couple of test cuts just to make sure that it is maintaining your focus all the way around maybe do a couple of circles and other than that that's how we do a a thorough alignment we appreciate you guys taking the time to watch this long video make sure you hit the like and subscribe button and we'll catch you on the next video [Music]
Up Next

8:33
Triton 3300/3 Submersible: A Walkthrough of DEEP's Deep-Sea Submarine
@TheBiGScuba
684 views•2024-03-12

12:54
Triumph of Orthodoxy Icon: Byzantine Art & History Explained
@BenCallan
2.1K views•2024-08-06

9:49
FastAPI vs Flask vs Django: Choosing the Right Python Web Framework
@TechWithTim
302.5K views•2024-05-26

1:42
Game of Thrones Opening Credits: A Cinematic Analysis
@gameofthrones
46.3M views•2011-04-18
Related Study Plans & Knowledge Roadmaps
Structured learning paths in General & Interdisciplinary Studies
general-studies
Elevator Engineering: History, Physics & Cities
01From Hoists to Safety Brakes: The Dawn of Vertical Lift
02Hydraulic vs. Traction: The Engineering Physics of Elevators
03Modern Speed, Safety, and Algorithms
+ 2 more learning modules
12h5 modules
Explore Roadmap
general-studies
Rubber: Material Science, History & Geopolitics
01Origins of Natural Rubber & Mesoamerican History
02The Chemistry of Natural Rubber & Vulcanization
03The Geopolitics of the Rubber Boom & Colonization
+ 2 more learning modules
12h5 modules
Explore Roadmap
general-studies
Containerization: Evolution, Logistics & Trade
01Ancient Trade & Bulk Cargo: Amphorae to Barrels
02The Industrial Revolution & Cardboard Packaging
03The Containerization Revolution: Malcom McLean
+ 2 more learning modules
12h5 modules
Explore Roadmap
general-studies
Textile Tech: Evolution, Labor & Global Impact
01Pre-Industrial Textiles: Handloom & Cottage Industry
02Mechanization: The Spinning Jenny to the Power Loom
03The Factory System & Global Labor Transformation
+ 2 more learning modules
10h5 modules
Explore Roadmap