


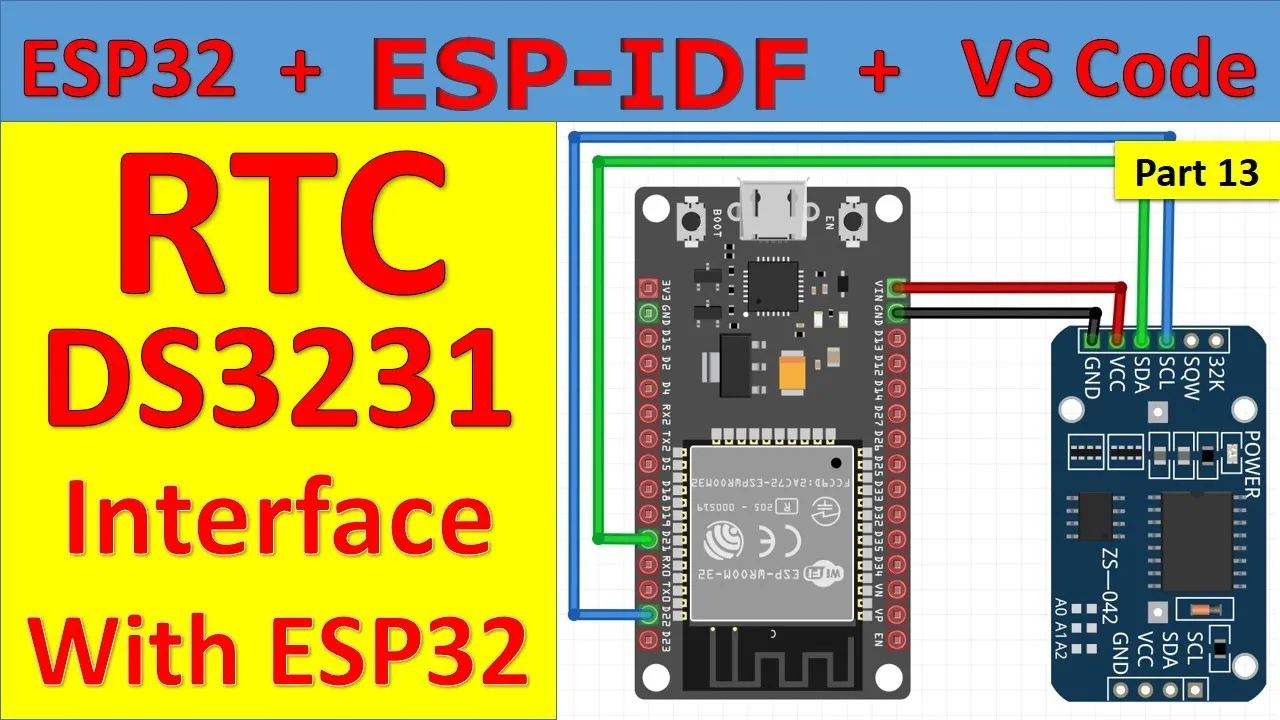












This video demonstrates how to create a time-controlled switch or relay using an ESP32 Wi-Fi + Bluetooth module, DS3231 Real-Time Clock (RTC), and a 5V SPDT relay. The system allows users to automatically turn any electrical device on or off at specific times by setting a start time and stop time through a web interface. The ESP32 serves as both the microcontroller and web server, enabling remote control via any device connected to the same Wi-Fi network. The DS3231 RTC provides accurate timekeeping for scheduling, while the relay handles the actual switching of electrical loads. This project can control various devices including water pumps, heaters, refrigerators, street lights, generators, door locks, and blinds.
Time-Controlled Switch with ESP32 Web Server and DS3231 RTC
Added:Fundamentals of ESP32 microcontroller programming using the Arduino IDE, including GPIO digital output control.
Basic web development and networking concepts, specifically how HTTP requests function and how to host a local web server on a microcontroller.
Understanding the I2C communication protocol, which is essential for interfacing the ESP32 with the DS3231 Real-Time Clock (RTC) module.
Safe handling of electrical relays and basic electronics principles for switching high-voltage AC or DC loads.
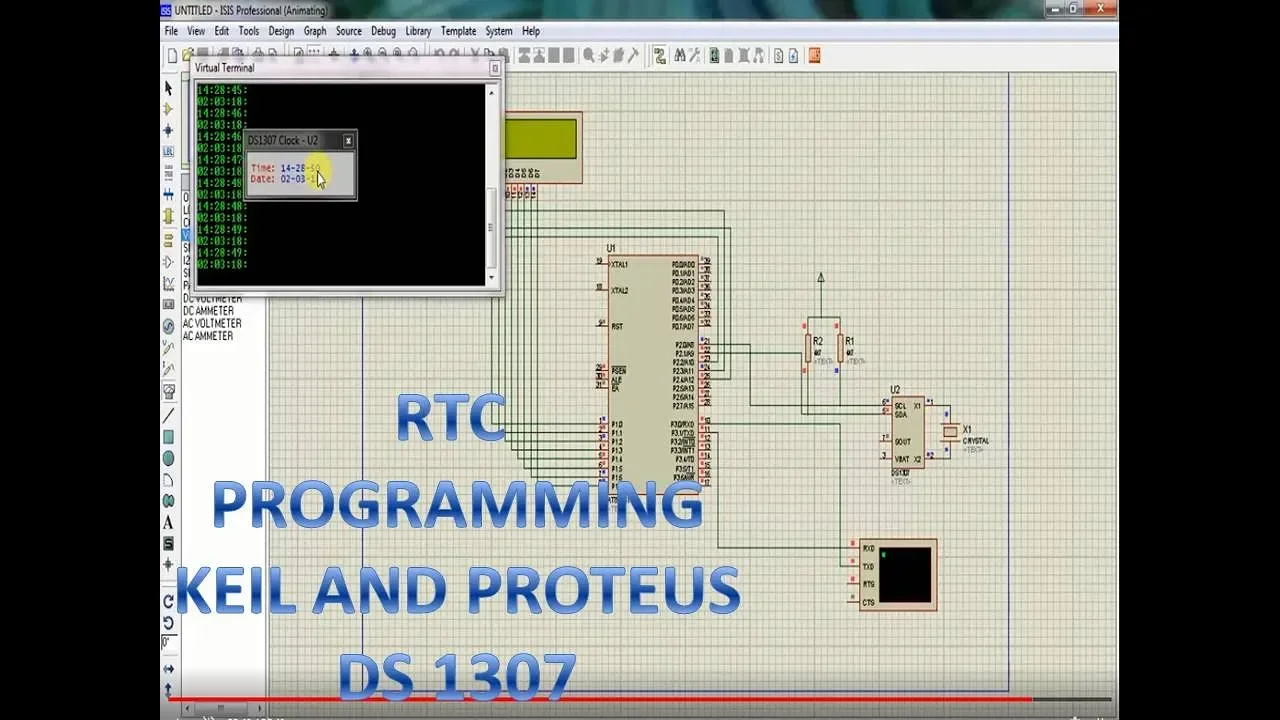
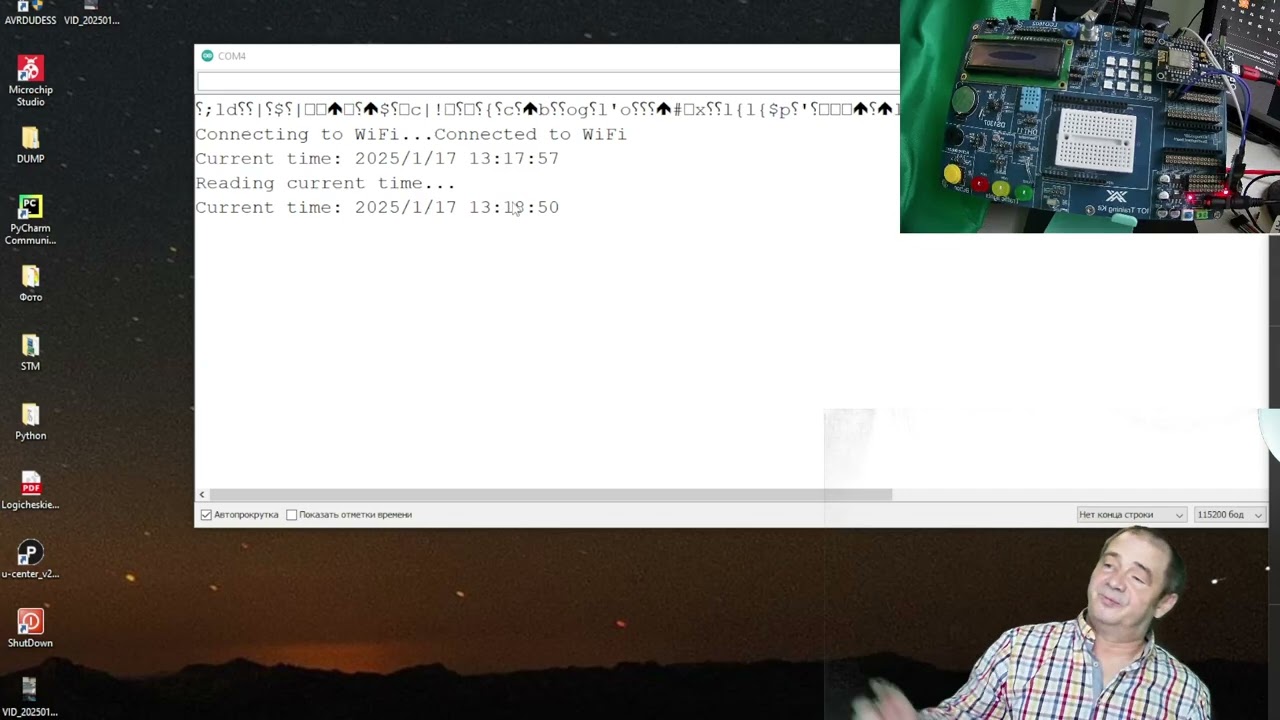
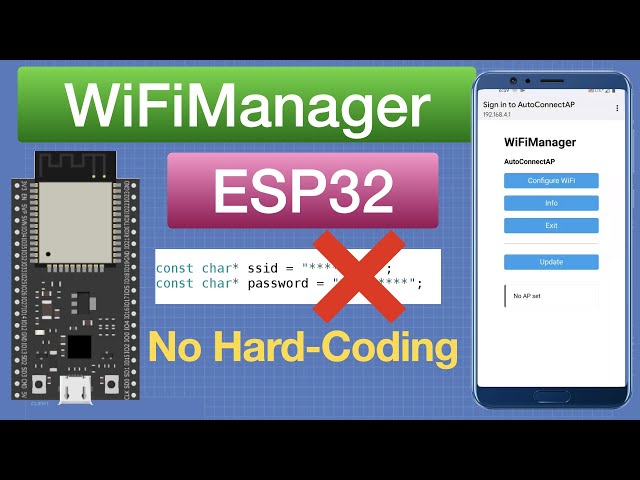
Integrating Network Time Protocol (NTP) to automatically synchronize and calibrate the DS3231 RTC via an internet connection.
Utilizing non-volatile storage file systems (such as LittleFS or SPIFFS) on the ESP32 to permanently save user-configured start/stop times across power cycles.
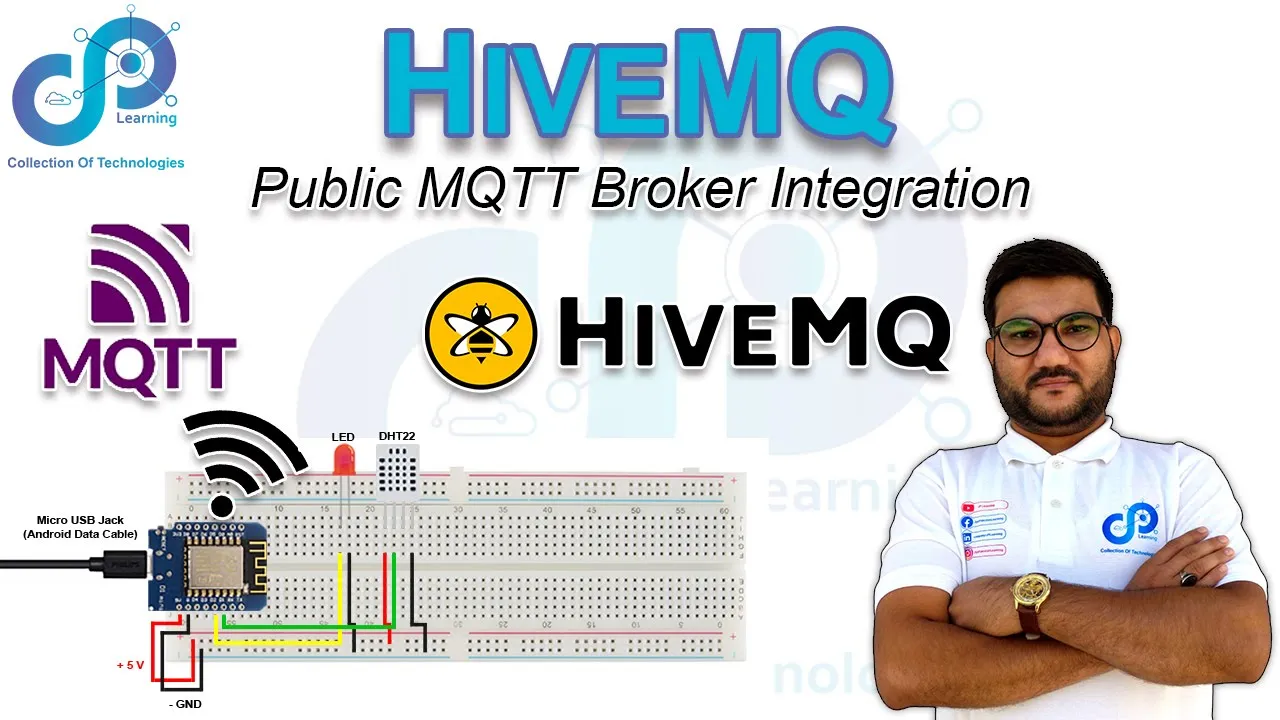
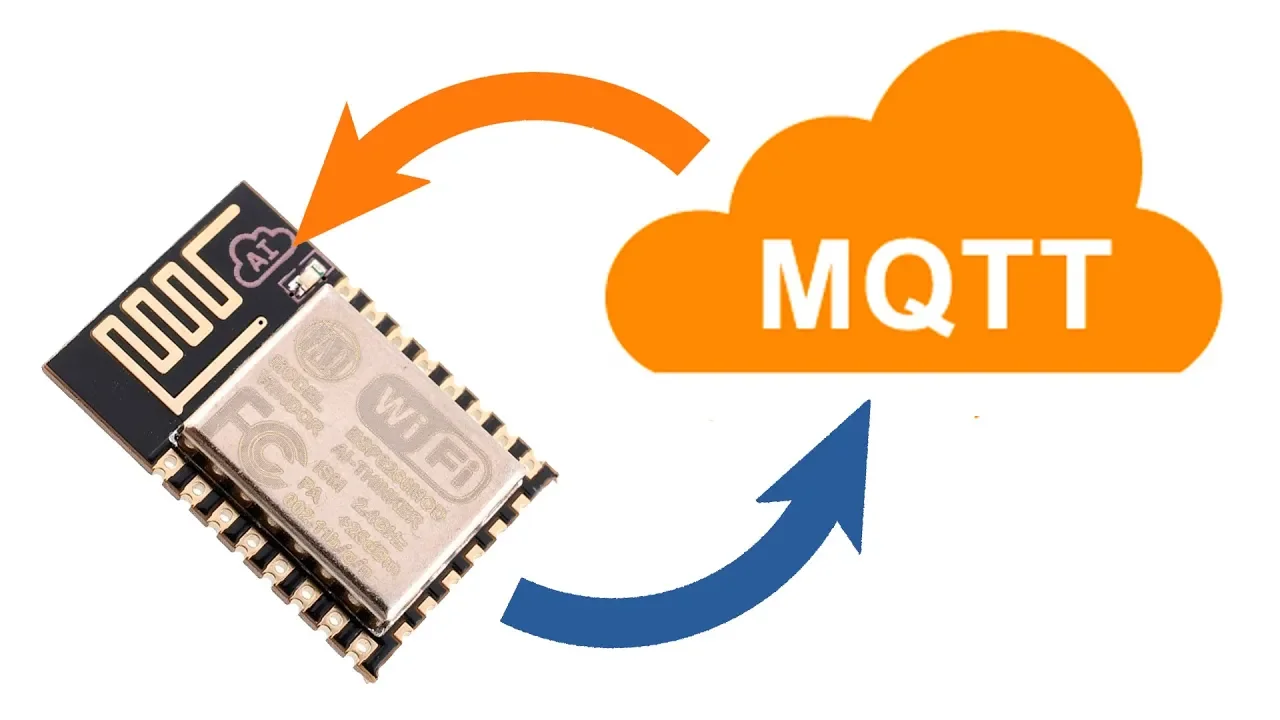
Transitioning from a local web server to an IoT cloud-based protocol like MQTT for remote monitoring and control over the internet.
Implementing security measures on the ESP32, including HTTP Basic Authentication and secure Wi-Fi handling, to prevent unauthorized access to the switch control panel.
3K views67likes6:48Original Release: 2024-06-02
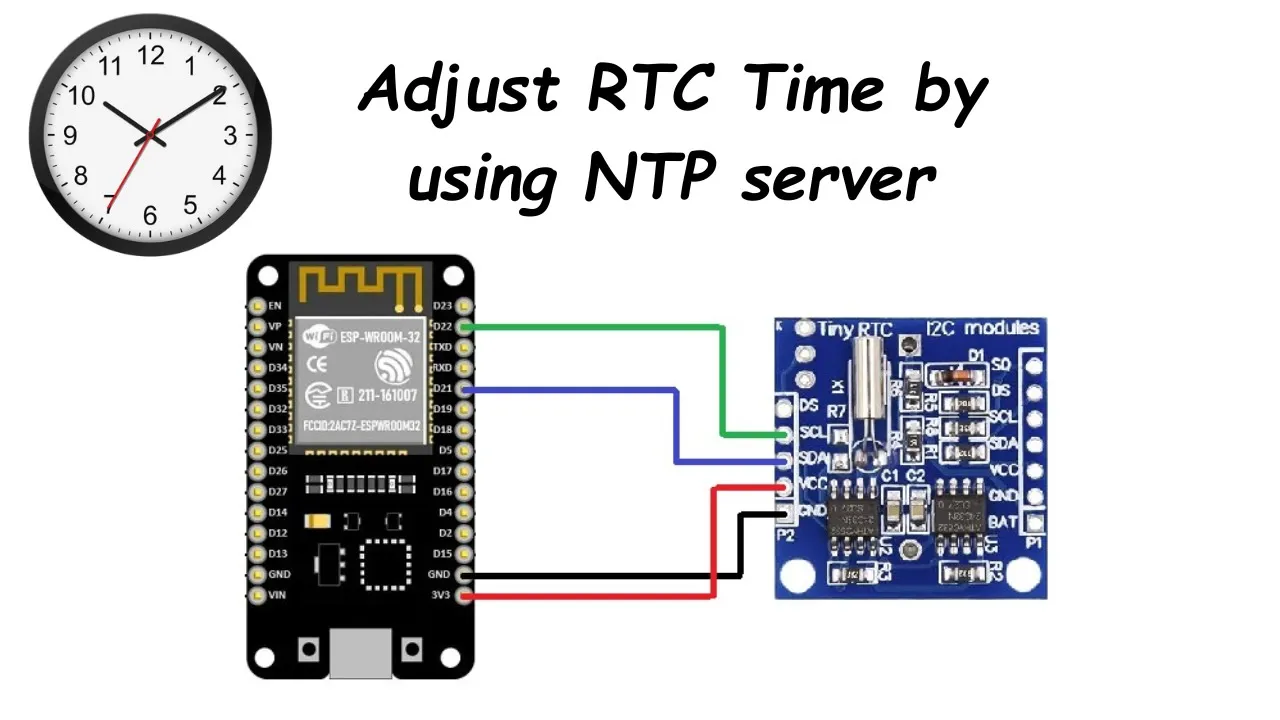
with the help of this circuit and the time controlled esp32 web server now you can convert any switch or a relay into a Time control switch or a Time control relay in fact you can convert any device into a Time control device with this system you can not only control small loads on time basis but you can also control large loads like water pumps heaters refrigerators Street Lights generators door locks blindes in fact you can automatically turn on or turn of any electrical load of your choice for a specific time duration all you need is to set the start time and stop time and then leave everything else to the controller for this project you will need an esp32 Wi-Fi plus Bluetooth module ds3231 RTC real time clock and a 5vt SP type relay as usual I'm using my newly designed esp32 development board because it already has most of the components needed for this project like for example example this fivefold relay the esp32 wifi plus Bluetooth module itself and most importantly this 5-fold and 3M power supply since this is a development board and I use it for making and testing my esp32 based projects so that's why I have soldered female headers on the left and right sides of the esp32 Wi-Fi plus Bluetooth Mario so that I can connect other sensors and back out boards for this particular project I have connected the ds3231 RDC re real time clock so if you want to make the same development board then you can watch my previous video I will add a link in the description anyway you can also do the same exact connections on a Bread Board let's quickly go through all the connections connect the VCC and ground pins of the ds3231 to the esp32 3.3 volt and ground connect the SDA and pins of the ds3231 to the ESP 32 gpio 21 and 22 the 5vt SP single pole and double throw relay input is connected to the esp32 gp3 for the connections you can follow this circuit diagram there is no need to worry at all when you see this interface because you don't have to design this page manually on your laptop or computer all the code for this page is running on the esp32 Wi-Fi plus Bluetooth model because we are using the esp32 as a web server although this is a very basic interface if you know the HTML coding you can design yourself an amazing interace face by modifying the code I'm about to share with you guys anyways this is the program of the esp32 web server you can modify this program according to your needs I won't go into too much detail because HTML coding is an entirely different field in itself but I'm sure you would be able to make minor changes once you read this code you will get an idea anyway if this is your first time using the esp32 Wi-Fi plus Bluetooth module then you will also need to install the ESP 32 board in the arino IDE for this you can watch my getting started video on the esp32 Wi-Fi plus Bluetooth Mario next you will also need to install the RTC Li library for this simply copy the library name then go to the sketch Manu then to include library and click on the manage libraries paste the library name in the search box you can see I have already installed this Library finally you can upload this program in my case I have already uploaded this program while the esp32 is still connected to your laptop or computer open the serial Monitor and copy the IP address now you can disconnect the esp32 Wi-Fi plus Bluetooth module and get it installed near the load you want to control for the Practical demonstration I'm going to control this 110 or 220 volt AC bulb remember safety first when the 110 or 220 volt AC supplies connected never touch the relay contacts is it can be extremely dangerous it is important to note that when working with means voltage proper safety precautions should always be taken and it is advisable to consult relevant electrical codes and standards right now the esp32 Wi-Fi plus Bluetooth Mario my laptop tablet and my cell phone all are connected to the Wi-Fi router I can use any of these to virly open the esp32 web server there is no need for these devices to be physically connected anyway first let's start with a laptop all I need is to type or paste the IP address the interface will open in no time to turn on a load sit the start time next set the startop time this is the time that defines for how long the device will remain on or active as you can see the bulb just turned on now it will remain on for exactly 1 [Music] minute amazing the bulb just turned off now let's set the start and stop times using a cell phone [Music] [Music] [Music] now let's set the start and stop times using a tablet [Music] so guys that's all about the time control switch or relay using esp32 web server support me on patreon for more videos I hope you like today's episode like and share this video with your friends see you in next episode and thanks for watching
Up Next
6:45
ESP32 Ghost Laps: Solving WiFi EMI Interference on a Slot Car Track
@iotmonkcom
532 views•2026-03-08

30:32
Ultrasonic Transducers: Resonant Frequency Measurement and Horn Design
@imajeenyus42
229.9K views•2017-02-22

54:16
Polymer Environmental Degradation: Mechanisms & Stabilization
@iit
1.8K views•2012-07-10

33:39
How a Student's Question Saved a NYC Skyscraper from Collapse
@veritasium
22.8M views•2025-04-26
Related Study Plans & Knowledge Roadmaps
Structured learning paths in Engineering
engineering
Building Acoustic Levitators: Physics & Arduino
01The Physics of Sound and Standing Waves
02Piezoelectric Transducers and H-Bridge Drivers
03Arduino Programming: Generating 40 kHz Signals
+ 2 more learning modules
14h5 modules
Explore Roadmap
engineering
Building Peltier Cloud Chambers: Particle Tracks
01Cosmic Rays & Cloud Chamber Physics
02Thermoelectric Cooling (TEC) Fundamentals
03Custom Liquid-Cooling Loop Design
+ 2 more learning modules
18h5 modules
Explore Roadmap
engineering
Yagi-Uda Antennas: Modeling, Build & VNA Test
01Introduction to RF and Antenna Fundamentals
02Yagi-Uda Antenna Design Principles
03Antenna Modeling and Simulation in 4NEC2
+ 2 more learning modules
18h5 modules
Explore Roadmap
engineering
ECG Monitor Design: Op-Amps, Filters & Noise
01Electronics & Breadboard Basics
02Op-Amps and Instrumentation Amplifiers
03Bioelectricity and ECG Fundamentals
+ 2 more learning modules
18h5 modules
Explore Roadmap