![[Устарело] Сравнение драйверов шаговых двигателей. Что купить?](https://i.ytimg.com/vi_webp/wKMIlZa2bqw/maxresdefault.webp)




![3D Printing kya hota hai ? | What is 3D Printing ? | Additive Manufacturing [IN HINDI]](https://i.ytimg.com/vi_webp/B5wLL5PCZIY/maxresdefault.webp)













![[Устарело] Калибровка ускорений и рывков 3D принтера](https://i.ytimg.com/vi_webp/t5dJHWF-RGo/maxresdefault.webp)




A polargraph drawing machine is a device that uses two stepper motors connected by a timing belt to move a pen (gondola) across a drawing surface, allowing users to create artwork by controlling the belt length to move the pen in different directions; this project demonstrates how to repurpose components from an old 3D printer (Nema 17 stepper motors, timing belts, Arduino Mega, and Ramps 1.4 board) to build a functional drawing machine that can reproduce images from digital files.
Building a Polargraph Drawing Machine from an Old 3D Printer
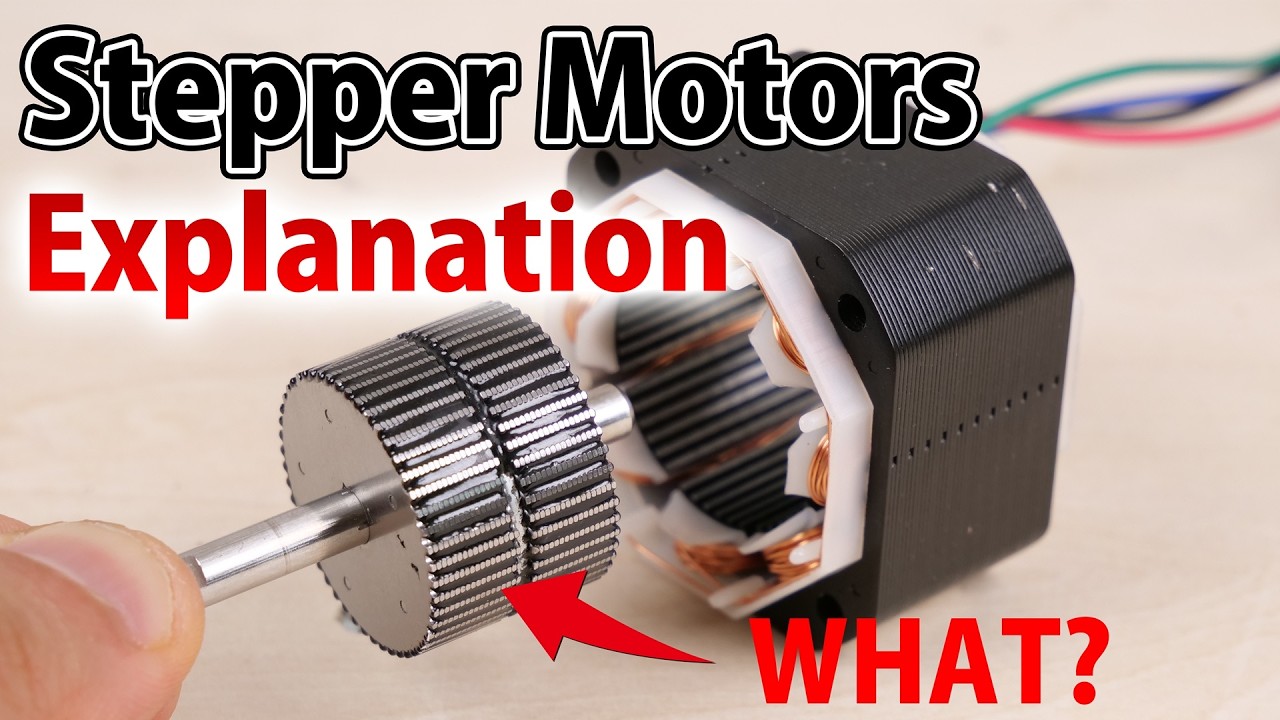
Added:Basic principles of stepper motors, including steps, microstepping, and how motor drivers regulate current.
Familiarity with microcontroller platforms (such as Arduino) and basic electronics wiring (e.g., connecting servos and power supplies).
Understanding the Cartesian coordinate system (X, Y, Z axes) typically used in standard 3D printer architecture.
Fundamental geometry and trigonometry, specifically how Cartesian coordinates translate to string-length-based polar systems.
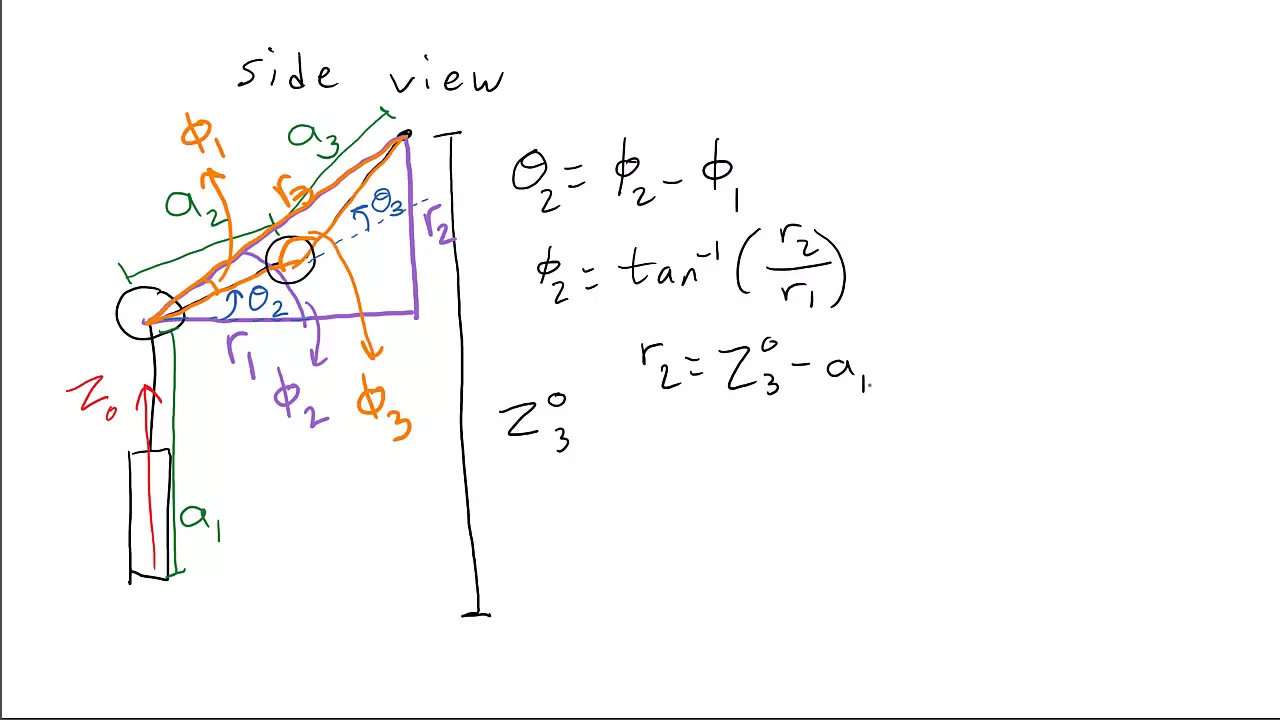
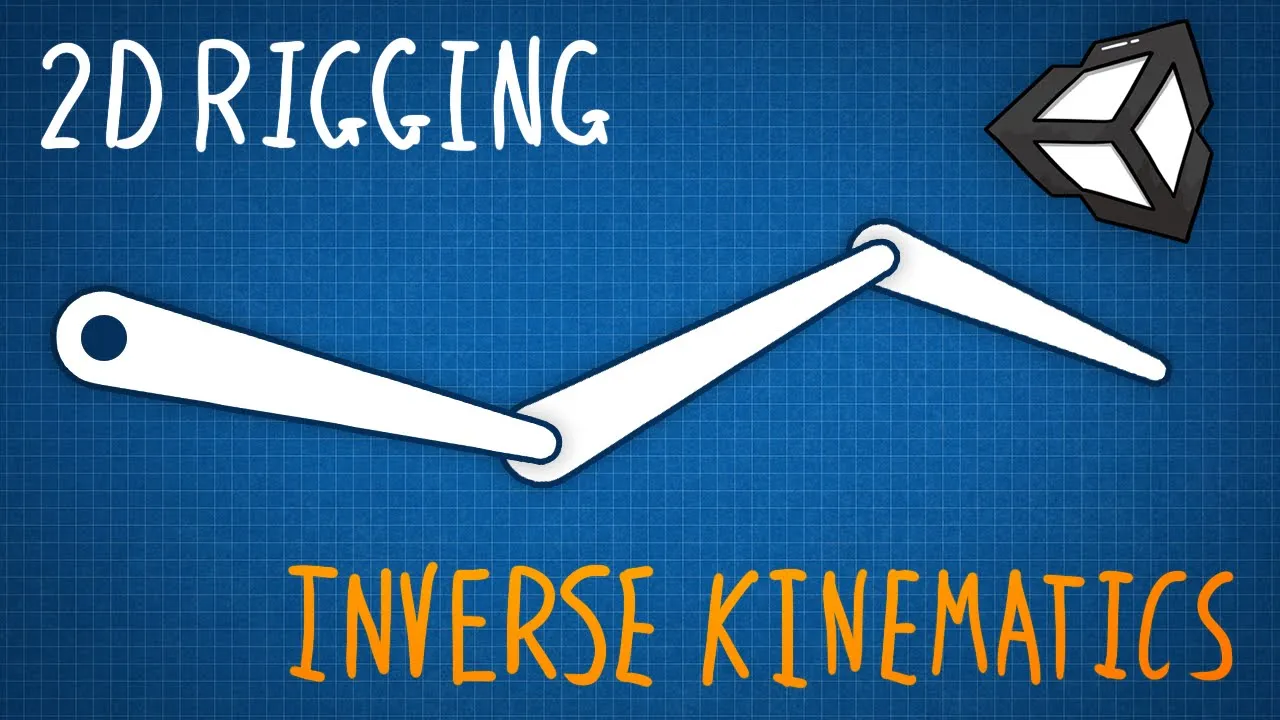
In-depth study of Inverse Kinematics to mathematically map 2D coordinates to dual-spool motor rotations.
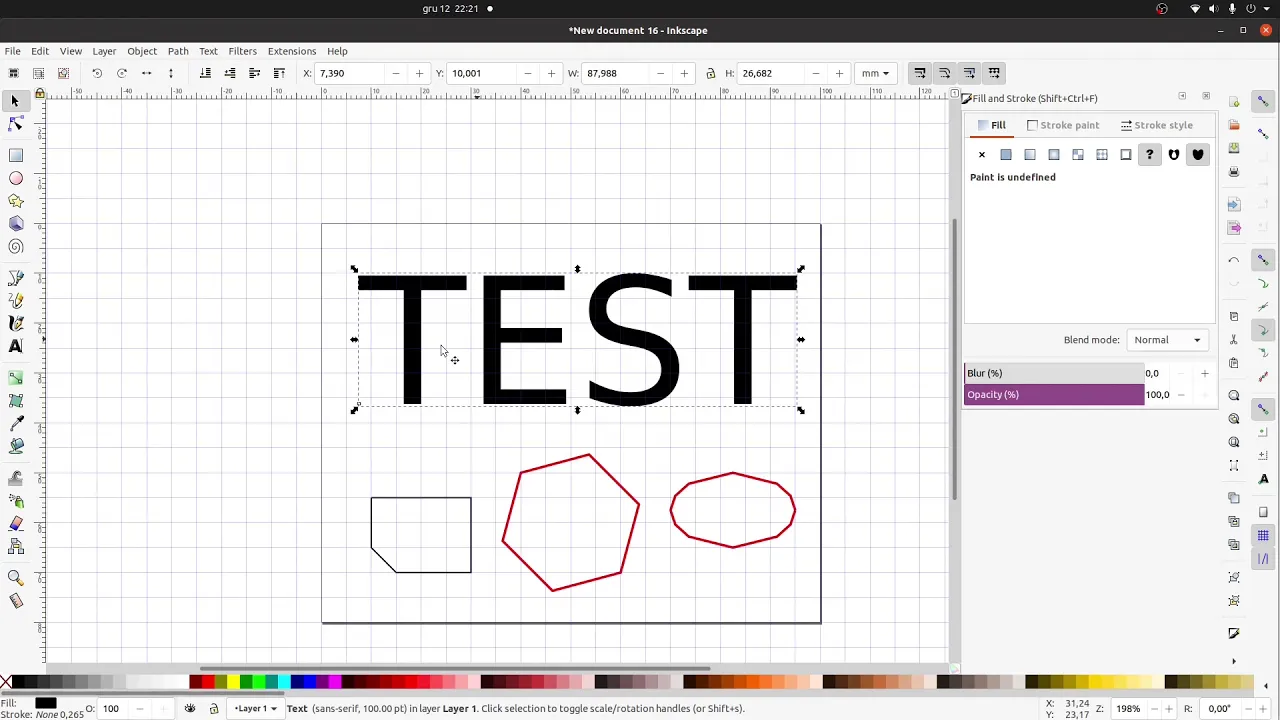
Vector graphics processing and toolpath generation, converting SVGs or raster images into plotter-compatible G-code using software like Inkscape.
Firmware optimization, including modifying acceleration, jerk settings, and calibration algorithms for wall-hanging plotters.
Design and implementation of automated multi-pen systems or color-changing mechanisms for complex artistic plots.
935 views75likes16:02Original Release: 2024-08-11
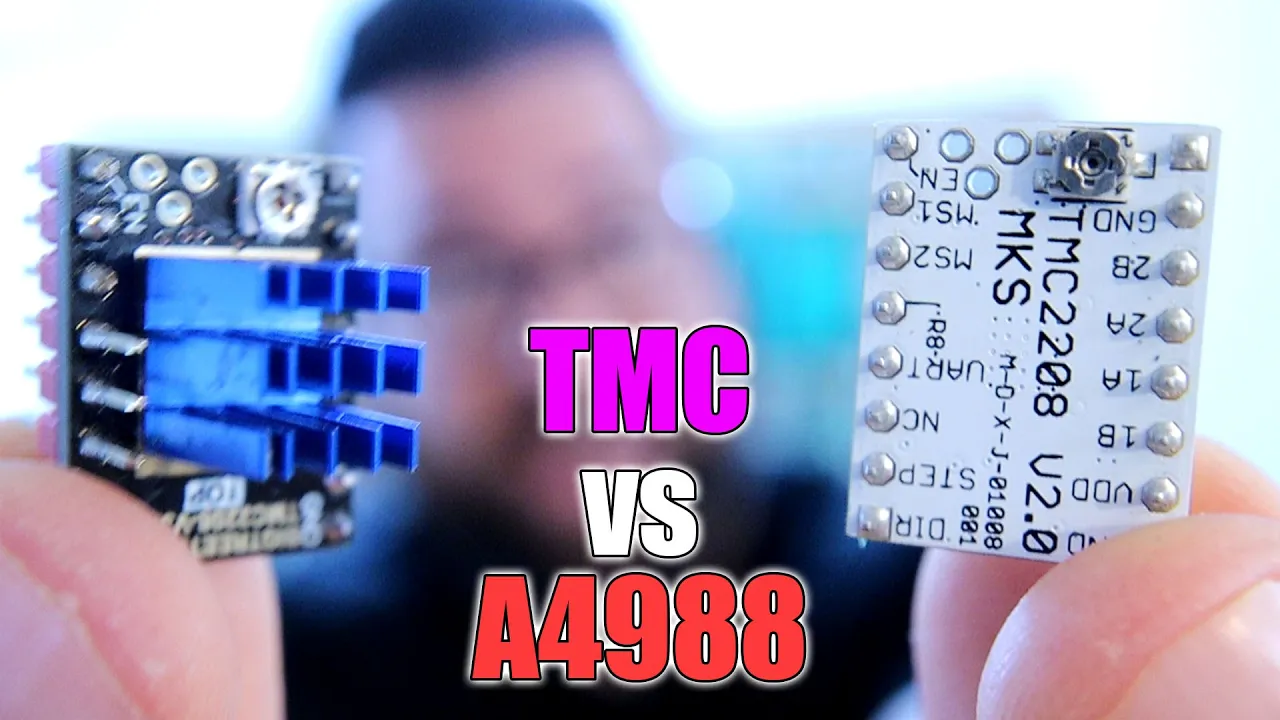
[Music] [Music] what is up guys my name is AJ I've had a few problems since moving into this apartment number one I don't really know how to decorate number two I can't draw I mean I have hands shakier than a surgeon who's about to be fired number three I have an 8-year-old printer that's sitting in my closet gaining dust and I don't know what to do with it I mean this thing has been through not just one 2 3 four but five moves with me it seen me through higher education and past dozens of projects I remember it taking four members of my family nearly days to complete just to print out one really crappy looking smiley face it took about 15 minutes to tear apart [Music] and here's what remains a pile of trash so big I thought I was going to have to give it a zip code luckily I have a project in mind that I think can both solve all my current problems and also be a proper Revival for this old prusa I3 that project is a polargraph machine these things are so simple yet so cool and they became popular around the time that the printer was released let's take a second to see how it works [Music] so the polargraph machine really only consists of a few components you have the board or whatever you're going to be drawing on you have a sheet of paper which is going to define the area that you're allowing the machine to draw within then you're going to have two Motors matching the top right and the top left hand side now for us that's the Nema 17 stepper Motors that we pulled off the printer and they're going to be responsible for driving all of the motion around the board in order to take advantage of that rotational Movement we need a string or in this case a timing belt and in the center of that timing belt we're going to have our Gondola or the thing that's going to be holding our writing utensil in this case it's a clo pin and some Hardware this Gondola theoretically going to be able to move all over this board we do that by first attaching weights to where my fingers are pinching the timing belt which will avoid any skipping or missing of steps which causes a ton of inaccuracy in the drawing and then all we have to do is move the motors in a way that we change the length of our timing belt on the inside this little distance from the motor to the gondola if I want to move the gondola down all I have to do is rotate both of our Motors Inward and if I want to move it up I just do the opposite if I want to move it to the right all I have to do is move the right motor a little bit outward and move the left motor a lot inward obviously my Jank setup is not too convenient for this however you you get the idea we can essentially move this Gondola anywhere we want on the board and all we have to do then is toss a servo motor on the Gondola itself so anytime we want to pick it off the board we just have to actuate that Servo motor move it to wherever we want and then put it back down and that way we can you know make parts in our drawing that don't have anything on it so yeah pretty fun to play with I came up with a final goal for this project to consider it successful I want to look myself eye to eye I want to draw a life-size version of me on a big whiteboard how do we do that well first we realize that whiteboards are way too expensive when they get to large sizes and then we realize that we can also just roam around Home Depot till we find something that works what we're looking for is this 4x8 tile board that has the same sort of finish as a whiteboard I'm going to have to build a frame because I don't want to ruin our security deposit by putting holes all over the walls so I did what anyone would do I went to Home Depot in a white Prius and I picked up this giant 4x8 whiteboard and I tried to fit it in the car turns out it didn't fit so I Walt back in there I got some Italian ice on the way in to try to raise my spirits before going to the nearest salary man and asking him to slice the thing in half for me I then grabbed some of these long 8T 1X tws in order to build a frame and I shoved it all back in the car and made for home time to get to work this project has made me realize about how bad I am now at doing some very simple things like measuring I did it multiple times and every time it ended up about an inch off so I just averaged them and went for it and you know it turned out okay I was visited by this cute little guy and then I broke up my doll foldable saw and did my best to cut straight zipping the frame together with wood screws was fine I forgot to drill some pilot holes so I did Splinter the wood at some parts but it'll be enough for our use [Music] case the final frame is okay of woodworker would probably throw up but you know it serves its purpose it's one of those it's not much but mind situations nonetheless I pressed onward I tried to secure the two 4x4 whiteboard sections to the frame I tried using double-sided tape but it wasn't thick enough for the frame to actually make contact with the Whiteboard all over so even though I laid some heavy weights on top of it they didn't stick so instead I flipped it over and applied a metric freck ton of duct tape to the back just for security to make sure it doesn't fall and crush me when I'm working on it later now for the old rusty rep R prussa I3 to find its new purpose My Hope Is that everything still works I remember the ramps 1.4 board that's sitting on top of the Arduino Mega going through a little bit of damage so I wasn't sure if either that or the a4988 drivers that were slotted in were hurt as well the power supply is a 12vt 30 amp QC expired 2 and 1/2 years ago unit I think it's going to be okay I found a little separation in the wires and the cable housing I'm just going to assume that everything's still connected put a little bit of hot glue over it and you know call it day if something goes wrong I have the uh fire extinguisher ready after not finding any physical damage I decided to connect the power cables back and just plug it in turns out it didn't explode which means we're good to move forward the next thing I wanted to do was to go across the board pun intended and test if anything was electronic Al wrong with the system everything turned out pretty much fine actually and so I went ahead wrote some quick code plugged it in and silence straight silence I was pretty tired so I decided to call it there for the day and leave it for tomorrow AJ to deal with luckily when I woke up I found some pristine models coming off of my Mark I that were actually made by dug Gizmo on thingiverse which I also link down below and if I need any changes in in the future I can always just make my own you know do some sort of tool changing Gondola or have it so I can mount to pans and do anaglyphs or something I snapped everything together for the gondola and on the weights I just used some de batteries wrapped in Black duct tape I in the future added some more weights because I found a little bit of skipping at high speeds but it works either way I got back to the electronics with a can do attitude and this time I hooked it up to a spare arduin Uno I had lying around I took out the stepper motor drivers and connected everything up with a breadboard and they surprisingly started moving meaning the hardware wasn't the problem so with this new found confidence I decided to tackle the mega again it turns out the problem I had was not realizing that the enable pin for the stepper drivers is pulled down by default which I assumed was the same on the mega board but here you just have to send a low signal to get them to start up now that I know all the old elonics are okay let's get the uh pen lifting Servo connected I did have a small issue where the 5vt jumper on the ramps 1.4 board that's supposed to be used to bring 5 volt to our servos it was causing our dor to reset constantly which is typically a voltage or current issue when it's trying to you know pull from your computer or something so I just ended up hooking up to a different external source and then I connected Common Grounds and it worked just fine I went ahead and mounted the servo motor onto our or Gondola and then I put some timing belt py which were left over from the printer onto the two Neema 17 stepper motors which then got mounted onto the top left and right hand corners of our board I did some simple setup I cut down the timing belt so there would be an appropriate size to reach most of the Whiteboard and you know not be hitting the floor or getting caught up in the motors and I also stripped the wires on our Servo and our two steppers and that way I can add in some cable extensions I was a bit worried about signal Integrity but I actually didn't have any issues with the two steppers the servo on the other hand had a weak enough control signal so I ended up just snipping down distances until uh reliability was nearing 100% I went ahead with connecting the weights and then like I said I did some quick tests to make sure the extensions were proper length to make sure everything was still working and we're good to go [Music] adding a few thin layers of WD40 keeps the marker from sticking when you're trying to erase it off I'm not going to get into the polar graph software or firmware today it works great for being last updated in 2017 but there are some Oddities like if you try to upload a file size too large and your pixel density on the rendering is too small it'll just lag out and if you're trying to pick some different kinds of rendering uh a few of the options don't actually get recognized as instructions and then I also had an issue where when trying to connect through the serial Port I have to select no connection first and then which serial Port I'm using you know com 4 com 3 whatever because it doesn't establish some arrays or variables that are needed I didn't actually comb through the code to find it but it's just some things to be aware of another thing to be aware of is to not be stupid like me and Skip through some of the machine setup before seeing it move around because if you tell the machine it's a different width than it actually is or you set home on the Gondola before it actually being at where the home point is then you're going to have some skewed results your images are going to be squashed or stretched or distorted in a weird way I made sure to double check my machine settings did a calibration test to verify distance traveled and then I also marked a home point so that every time I went to print again I know where the center was the first thing I had to do of course was write down all my current subscribers I promised my brother that the first giant thing I would draw was a wiener so I got to work on that I used inkscape in order to bring in an image and then turn that image into a set of paths and then pass that to the polar graph machine and I'm super happy to see it working Mr wiener is complete I've made a bunch of other drawings since then but I've also been running into some issues I tried to draw out this piece which I call nice lady on bike but the servo halfway through apparently decided it was done and lifted up the gondola even though there were no instructions sent to it so I'm not too sure what happened there and then I also decided to go try golf for the first time and while we left I figured why not start a long print so I put a maze on and I I came back to this I'm not sure what happened but it was not having a great time on the bra side after some regrouping I decided to draw my friends adorable Guin pig called mosha it turned out so good in fact all animals have been turning out so good here's also a bird that my brother made at lower detail the machine is quite slow but also mesmerizing at the same time you do get a noise for a long time depending on how long your drawing is that's just because the stepper motor drivers I'm using are not the kind that smoothly change the voltage on the fins and I'm also not doing any Sound Engineering on the point where the motors connect with the plates some of the pen drawing modes are pretty fun you might be wondering how do you get light and dark regions of an image Well my two favorite are the amplitude and frequency adjustments on square waves so whenever you get closer to a dark region there will either be a higher amplitude of square wave or there will be a higher frequency of them which means you're going to get an illusion when you stand further back of having a darker part of the image there's also a fun Mode called scribble which just draws random scribbles and there are more scribbles in Darker regions but probably my favorite is the spiral mode which draws little tiny circles it is crazy slow however it gives you a little bit of PTSD you've ever studied or played an [Music] [Music] [Music] instrument with some success and some failure under my belt I decided it was time to move on to the final boss time to draw myself [Music] all things being said I'm happy with how the project turned out I now have a new use for my 8-year-old printer I don't have to draw anymore and I will have artwork all over my apartment apartment now the last things to do would probably be to make a small box for the electronics that way it looks less like a fire hazard and also move this big old whiteboard out from next to my bed so that I can actually sleep next time I want to draw someone I'm sure you uh can't tell this is my first time making a video so if you liked it I would really appreciate some feedback or if you want to subscribe or like I would also appreciate that as well I have some future projects coming up that I'm super excited about so stay tuned
Up Next

125:06
Computer Vision with Arduino: Build Real-World Projects using OpenCV Python
@murtazasworkshop
2.8M views•2021-09-26

12:54
Triumph of Orthodoxy Icon: Byzantine Art & History Explained
@BenCallan
2.1K views•2024-08-06

9:49
FastAPI vs Flask vs Django: Choosing the Right Python Web Framework
@TechWithTim
302.5K views•2024-05-26

1:42
Game of Thrones Opening Credits: A Cinematic Analysis
@gameofthrones
46.3M views•2011-04-18
Related Study Plans & Knowledge Roadmaps
Structured learning paths in General & Interdisciplinary Studies
general-studies
Elevator Engineering: History, Physics & Cities
01From Hoists to Safety Brakes: The Dawn of Vertical Lift
02Hydraulic vs. Traction: The Engineering Physics of Elevators
03Modern Speed, Safety, and Algorithms
+ 2 more learning modules
12h5 modules
Explore Roadmap
general-studies
Rubber: Material Science, History & Geopolitics
01Origins of Natural Rubber & Mesoamerican History
02The Chemistry of Natural Rubber & Vulcanization
03The Geopolitics of the Rubber Boom & Colonization
+ 2 more learning modules
12h5 modules
Explore Roadmap
general-studies
Containerization: Evolution, Logistics & Trade
01Ancient Trade & Bulk Cargo: Amphorae to Barrels
02The Industrial Revolution & Cardboard Packaging
03The Containerization Revolution: Malcom McLean
+ 2 more learning modules
12h5 modules
Explore Roadmap
general-studies
Textile Tech: Evolution, Labor & Global Impact
01Pre-Industrial Textiles: Handloom & Cottage Industry
02Mechanization: The Spinning Jenny to the Power Loom
03The Factory System & Global Labor Transformation
+ 2 more learning modules
10h5 modules
Explore Roadmap