![Trigonometry • Math for Game Devs [Part 3]](https://i.ytimg.com/vi_webp/1NLekEd770w/maxresdefault.webp)












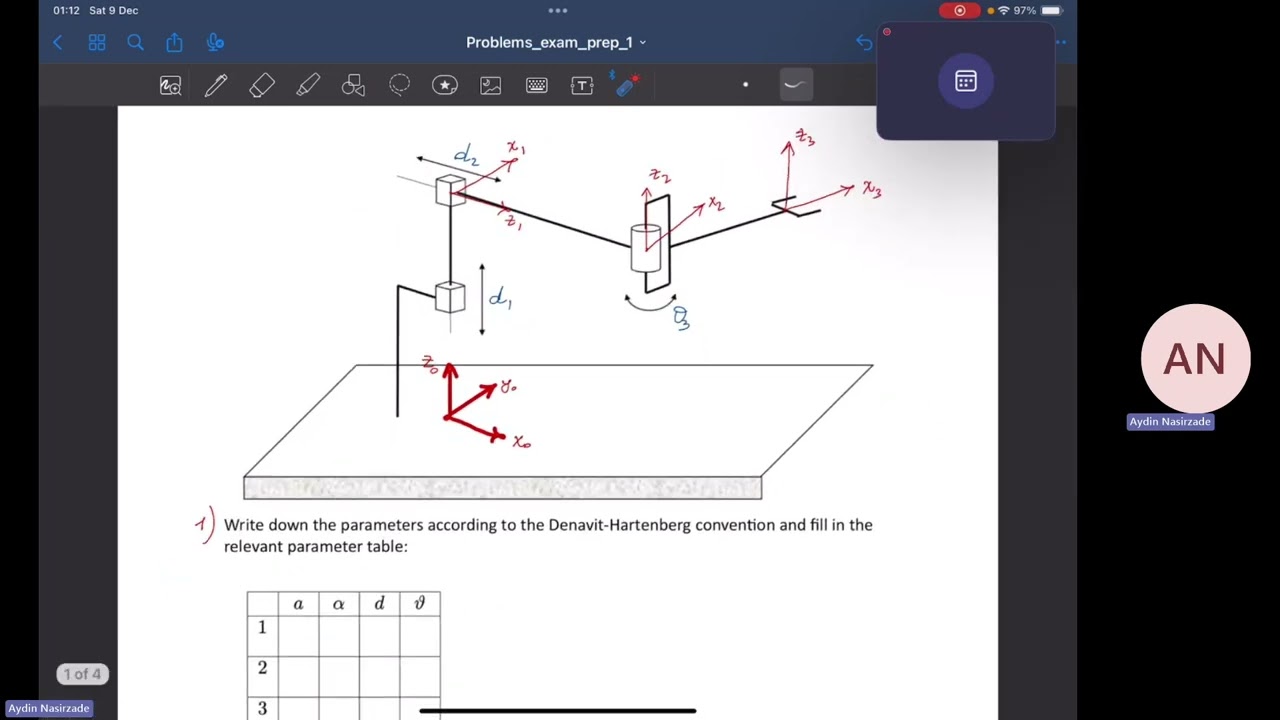
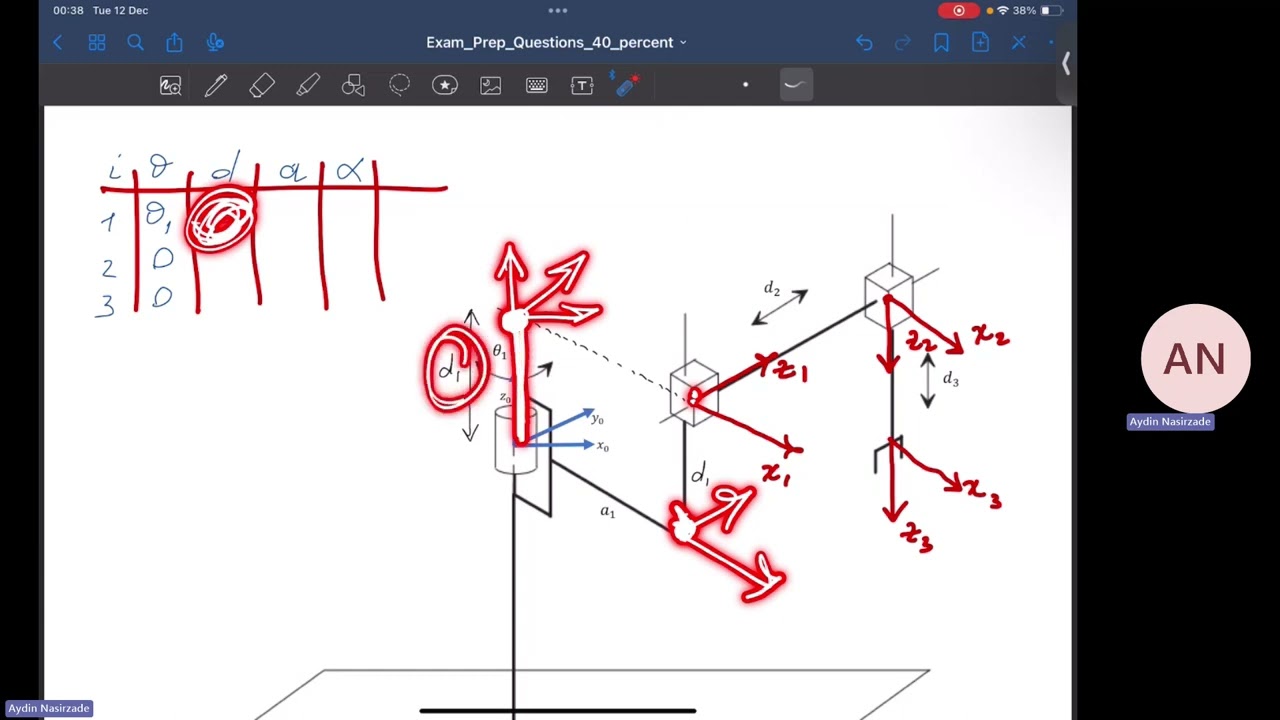


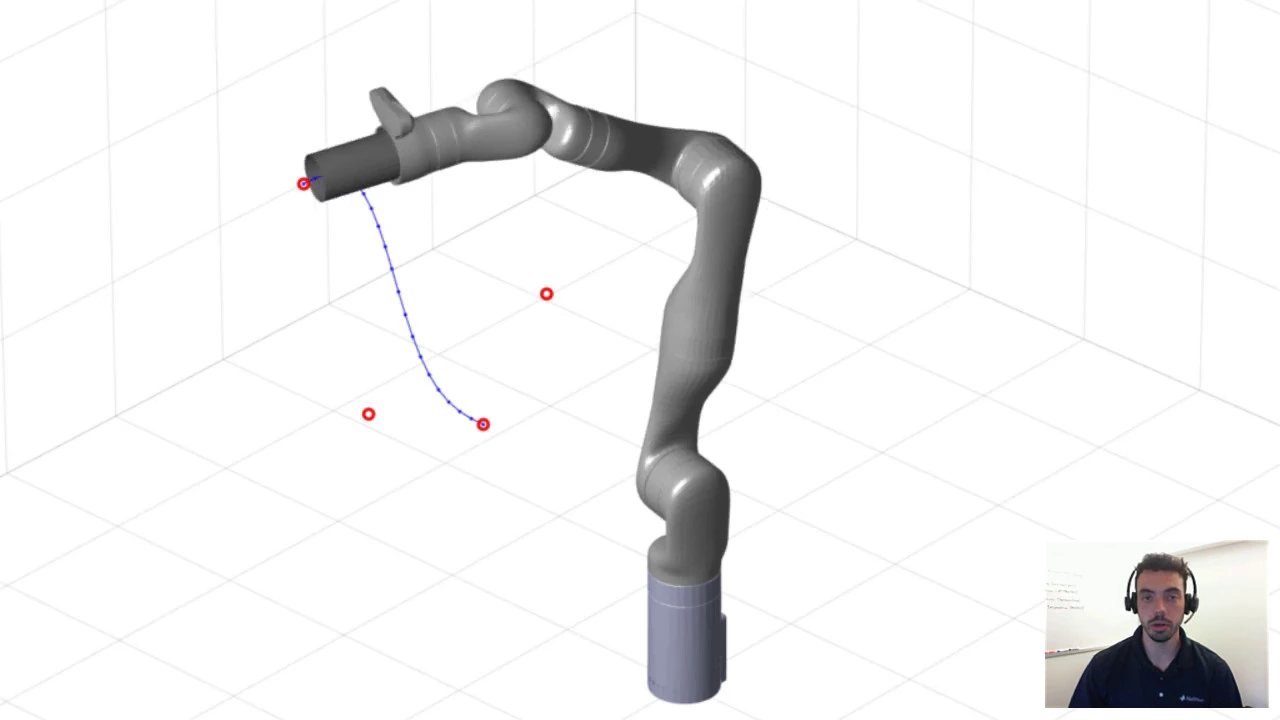







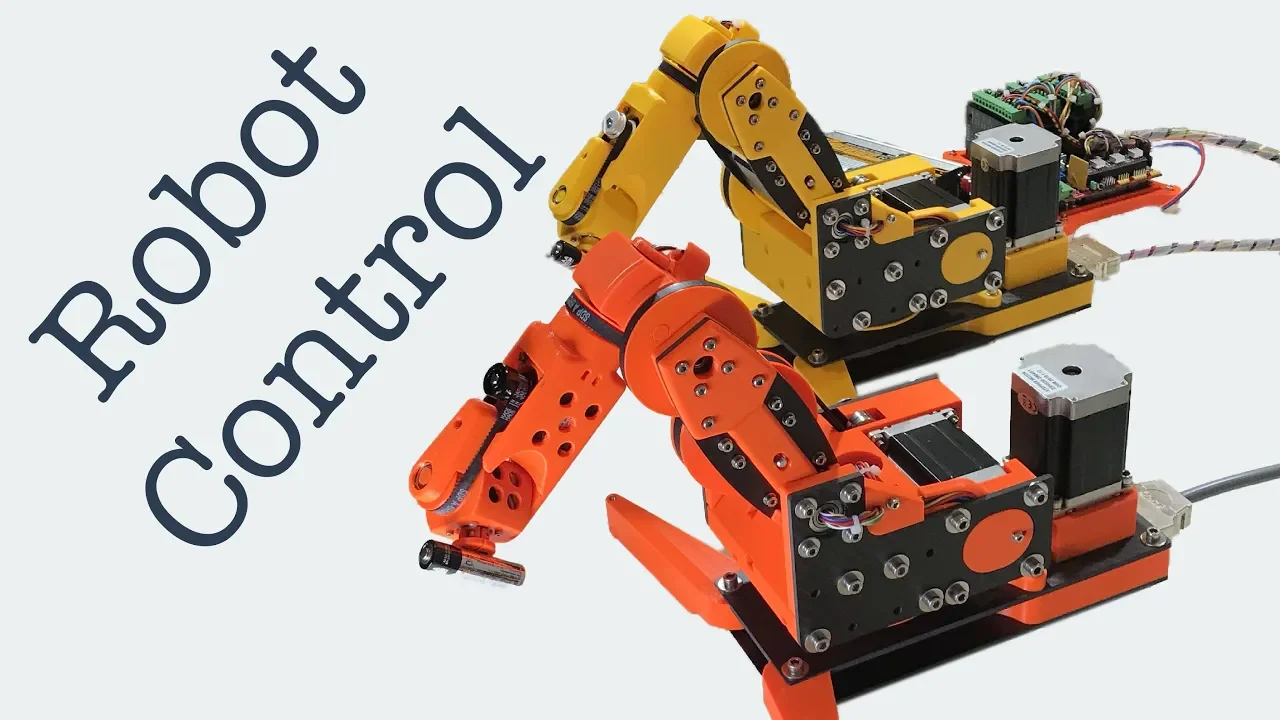

This video demonstrates the inverse kinematics solution for a three-degree-of-freedom articulated manipulator by analyzing both top and side views, using geometric relationships including the Pythagorean theorem and law of cosines to derive joint angles theta_1, theta_2, and theta_3 from the end effector's X, Y, and Z coordinates; the solution involves identifying useful triangles (right triangle for horizontal positioning and non-right triangle for vertical positioning), calculating intermediate distances r1, r2, and r3, and systematically solving for each joint angle through trigonometric relationships.
Inverse Kinematics of Articulated Manipulator: Step-by-Step Guide
Added:Basic trigonometry and geometry, specifically the Law of Cosines and the two-argument arctangent function (atan2).
Fundamentals of Forward Kinematics and how joint parameters map to end-effector position.
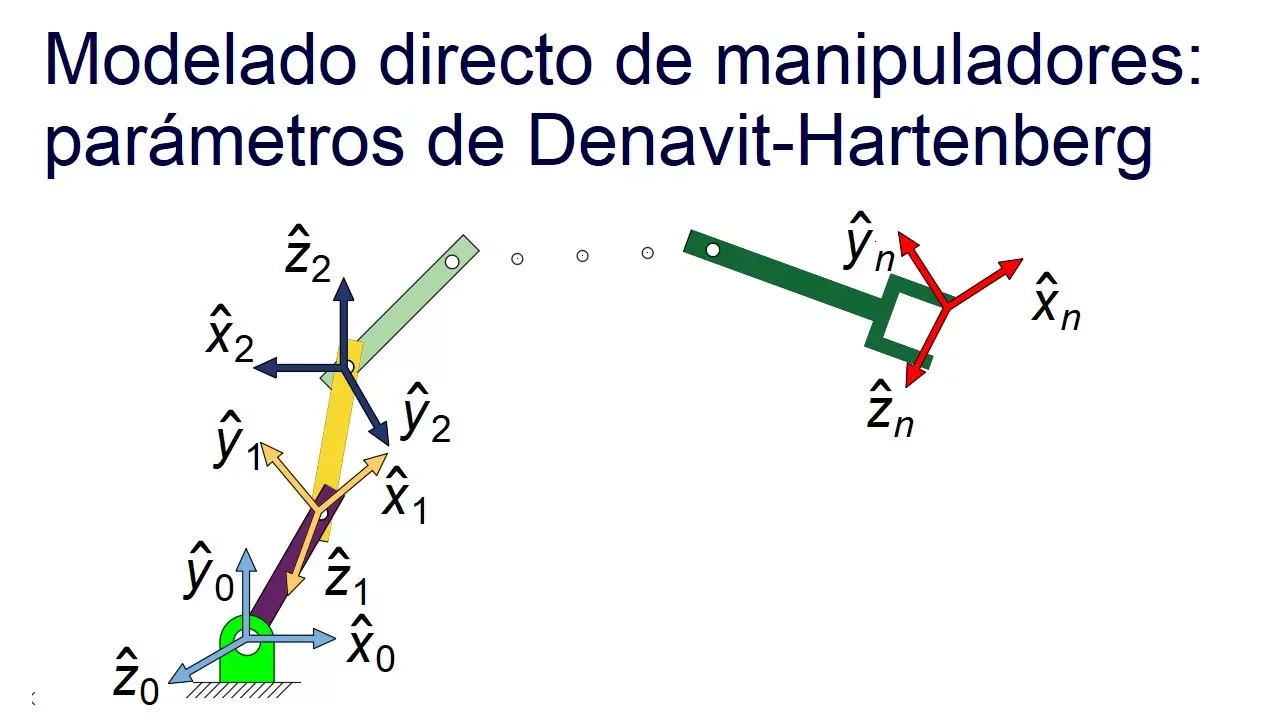
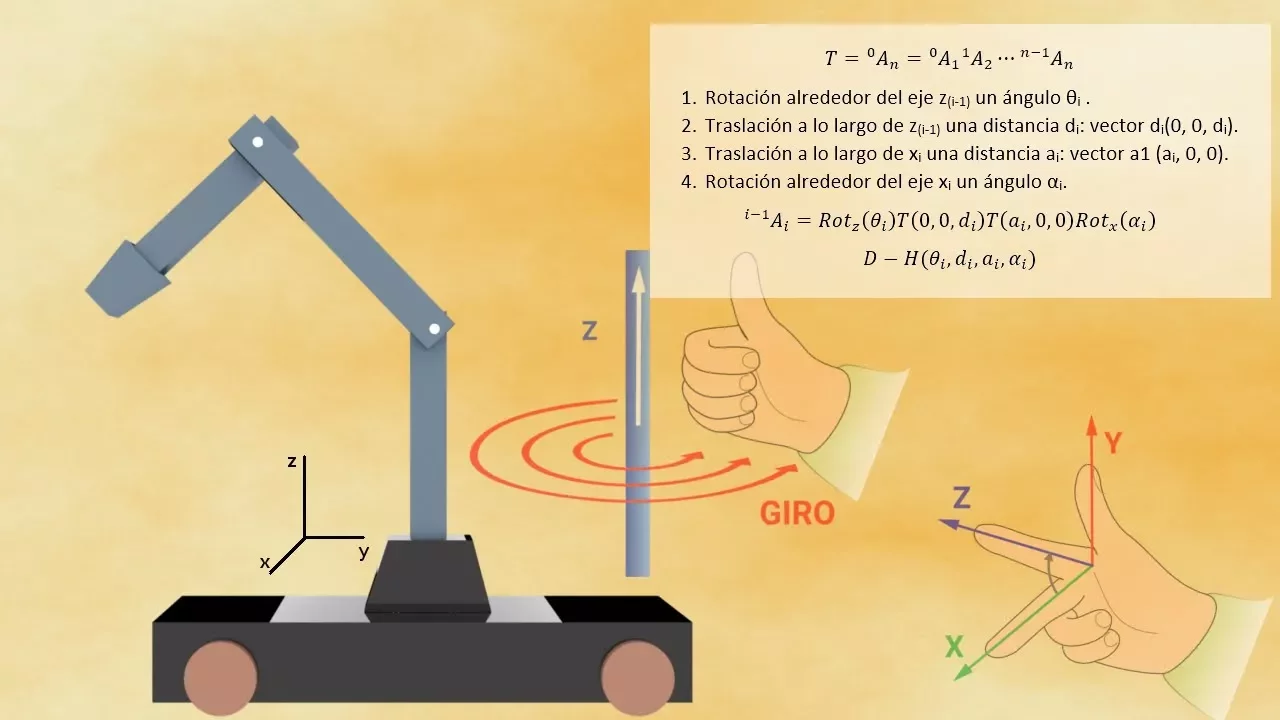
Understanding of coordinate frames, spatial transformations, and Denavit-Hartenberg (D-H) parameter notation.
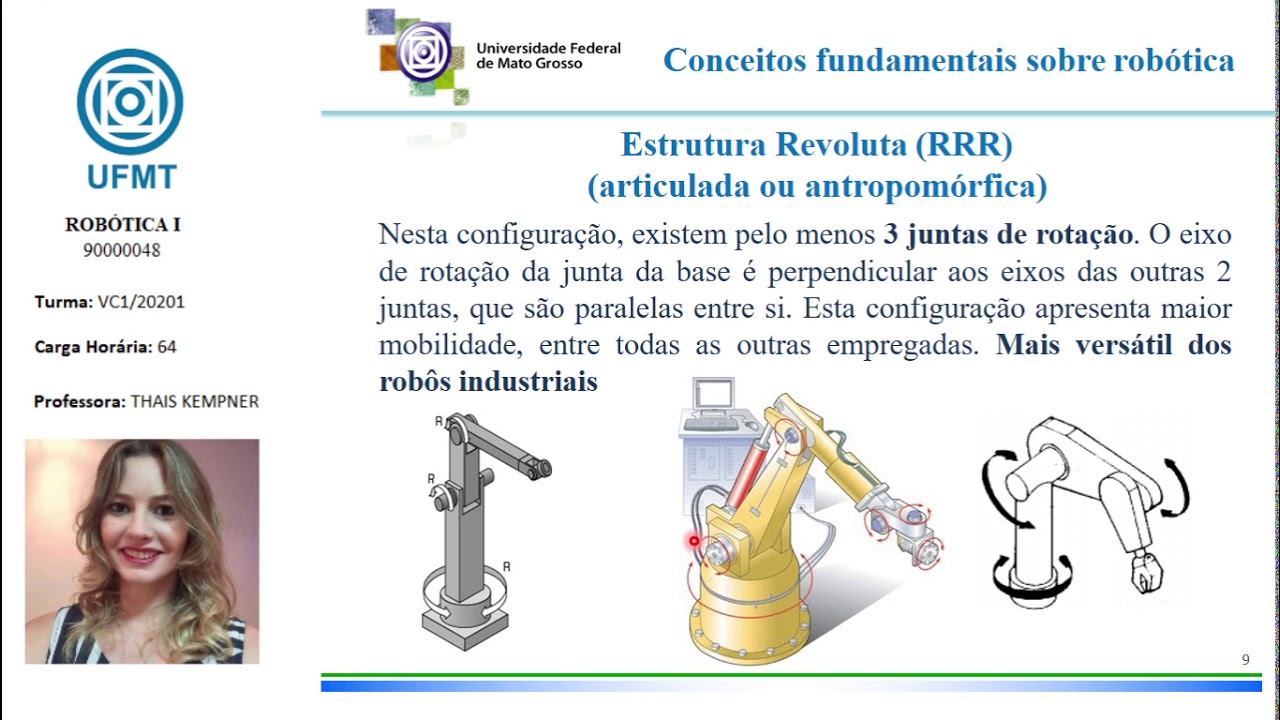
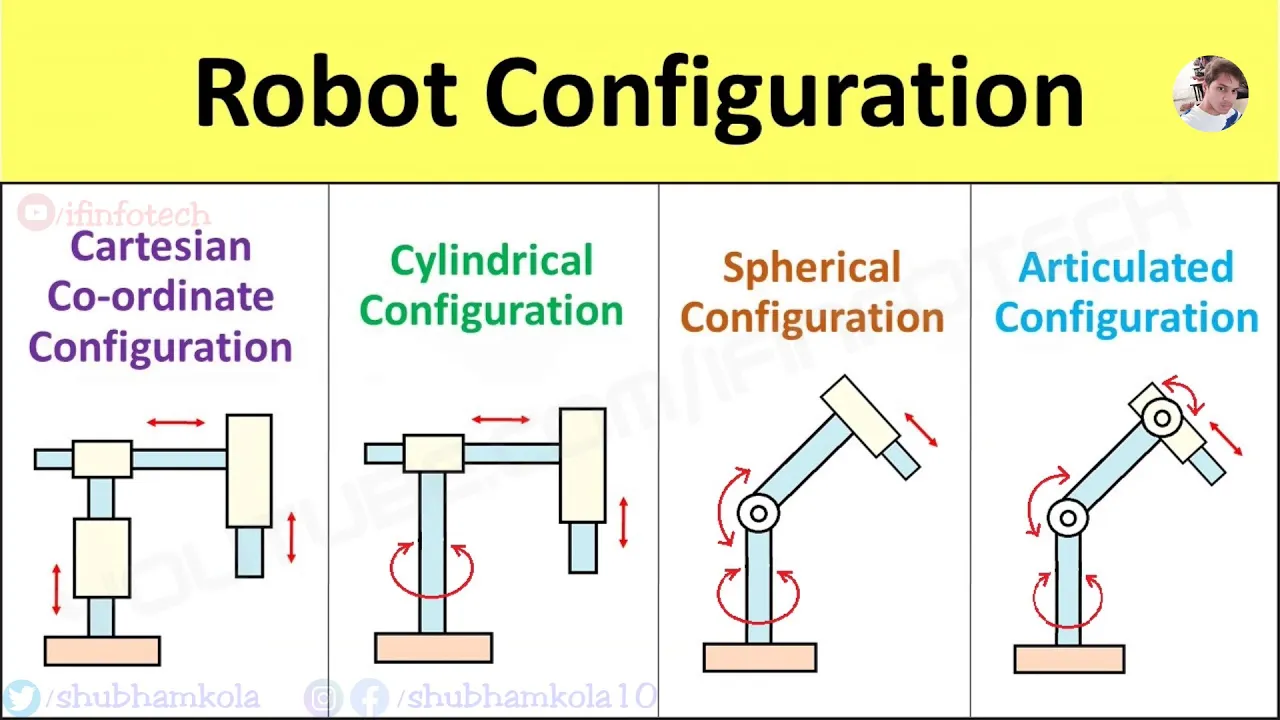
Structural anatomy of an articulated robot manipulator (specifically the RRR configuration with waist, shoulder, and elbow joints).
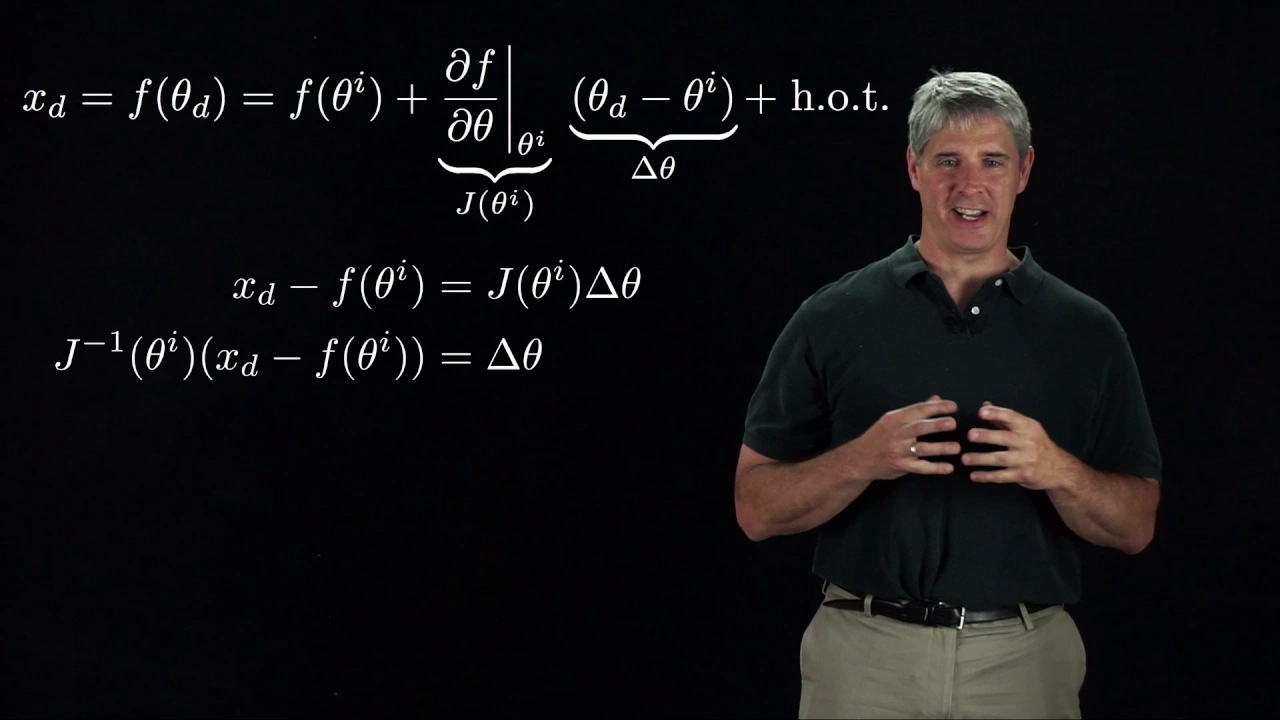
Differential kinematics and the Jacobian matrix to map joint velocities to Cartesian velocities and identify kinematic singularities.
Trajectory planning algorithms to smoothly interpolate paths between coordinate points in both joint space and operational space.
Numerical inverse kinematics methods, which are crucial for resolving redundancy in manipulators with 7 or more degrees of freedom.
Robot motion control and feedback loops (such as computed torque control) to physically drive the motors to the calculated inverse kinematics solutions.
89.9K views1.4Klikes13:29Original Release: 2017-09-19
here I'm showing you the kinematic diagram for an articulated manipulator and we're going to do the inverse kinematics for this manipulator we'll start here by looking at the top view from the top view my first joint just looks like a circle and I see the X and y axis pointing off to the right and up like this then the second joint is right on top of the first and I'm going to draw this as if theta 1 is not equal to 0 so kind of looks like this this whole distance here is the Y position of the end effector so I'll call it y 0 3 and this distance here is the x position of the end effector these are our inputs in inverse kinematics and this is theta 1 now besides being able to identify what different distances are it can also be very helpful to you in doing inverse kinematics to be able to identify what distances are not for example this distance right here looks like it's the distance a2 but that's actually not true the reason why this is not a 2 is because the joint theta 2 might be rotated so that this link is pointing up towards us or down away from us and what we're actually seeing is the projection of the link a 2 on the XY plane since this distance is the projection of a 2 on the XY plane the distance from here to here is not actually a 2 so likewise it also appears that this distance here is a 3 but that also is not true because the joint variable theta 3 might be rotated either towards us or away from us and so this distance is actually the projection of the link a 3 on the XY plane at the moment I don't really care what these distances are if I need that later on we'll go back and fill it in but for now the only joint variable I can see from the top view is theta 1 so we're going to write an equation from this view for theta 1 and we can get that from the tangent so theta 1 is the inverse tangent of Y over X the 2 the XY position of the end effector all right now I'm going to scroll down a little bit and we're going to take a look at the side view from the side my first joint now just looks like a rectangle and the second joint looks like a circle and I'll draw theta 2 not in the zero position and theta 3 not in the zero position now I have a couple of options for how I could draw this I drew this manipulator in the elbow down position we could have drawn it the other way around so that theta 3 was negative and the a 3 link was pointing down in the elbow up configuration and if we did that our equations would come out a little bit differently so in this example I'm going to be showing you the elbow down configuration so I have the z-axis pointing up here and from the side view that's the only axis I can pay attention to this distance here is the Z position of the end effector let's label a couple of other things that we know in this picture this distance here is the length length a1 this distance here is the link length a2 and this distance is the link length 8/3 now it's important to note that this distance here is actually not the exposition of the end-effector the reason for this is that we've already said that this length here is a 2 and this length here is a 3 but the joint theta1 could be rotated in any angle so it may not be that this arm is lined up with the x axis and that's why we can't say that this distance is the X distance that's only true when theta 1 is 0 and we have to write these equations to be true no matter what the value of the joint variables are so I can't call this X 0 3 now I need to label my joint variables here I can see theta 2 and then this angle over here is Theta 3 it's important to note that theta 3 is not Devon defined from the horizontal so I didn't - a horizontal line here and define theta 3 from that theta 3 is defined from an extension of a 2 so this dashed line that I put here is extending the link a 2 and theta 3 is defined as the angle between this extension of link a 2 and the link a 3 ok so the next thing I'm going to do is identify the triangles in this picture that are going to help me derive the inverse kinematics and there are two triangles that are really useful to me the first is a right triangle which I'm drawing in purple here and then the other triangle that's going to be really useful is this orange triangle the ability to see which triangles are going to be useful to you is a skill that you'll develop with practice but in general it's true that almost always a right triangle that identifies the position of the end-effector will be useful and then a non right triangle where one of its links or one of its sides is the same as the hypotenuse of the right triangle that you drew are almost always two triangles that are going to be useful to you so that's why I picked this purple and orange triangle here now I'm going to label some of the angles and sides that will be useful in my derivation this angle I'll call theta 1 this angle which is a part of the purple triangle I will call theta 2 and then I'll label one more angle in the orange triangle this one right here I will call v3 so I've got fee 1 V 2 and V 3 as new angles that I can now use in my derivation also I'll call the two legs of this purple triangle r1 and r2 and the hypotenuse which overlaps between the purple and the orange triangle I'll call that one r3 so let's start by finding our two joint angles theta 2 will be V 2 minus V 1 so if I can find equations for fee two and fee one then I'll have theta two let's start with fee two part of the purple triangle that one is simply the inverse tangent of r2 over r1 so now I need to find equations for r2 and r1 let's start with our two because I think that's the easier one r2 is the Z position of the end-effector minus the link length a1 to get R 1 we have to look back up at the top view this distance here is r1 r1 is the projection of the entire arm on the XY plane so I can find it from the top view by using the Pythagorean theorem I'll square root the squares of the X&Y positions of the end-effector I'm going to start labeling my equations right away here so I know what order I have to put them in my code in order for this to work so equation one I can do that one right away equation two I know everything on the right hand side of that equation then I already know everything on the right hand side of this equation so that'll be three and then once I have r1 and r2 I can now do equation 4 now I still need to get fee 1 before I can get theta 2 so let's try and get fee 1 V 1 is an angle in the orange triangle which is not a right triangle so I'm going to use the law of cosines to get that okay so I just used the law of cosines oh and this is supposed to be fee one not fee three let me fix that right away okay and then I need to solve this equation for fee one so I'm gonna write it out solved for fee one I subtract a 2 squared from both sides and I subtract our 3 squared from both sides and then I divide by negative 2 a 2 R 3 and then I take the inverse cosine of that whole equation and I'm just writing out the result here ok so let's call that equation 5 oh but I can't that can't be five because I haven't yet found our three let's go back and put in an equation for our three I can use the Pythagorean theorem to get our three so we'll do that here and then we'll call this equation 5 ok now that I have our 3 I can do this as equation 6 and then now that I have fee 1 and fee two I can solve for theta 2 as equation 7 now all I need is an equation for theta 3 let's see if we can get an equation for theta 3 theta 3 is equal to 180 minus V 3 so I need an equation for fee 3 and fee 3 is an angle inside the non right orange triangle so I'll use the law of cosines almost always when you're trying to find a part of an on right triangle you're going to use the law of cosines okay and then I'll solve this equation for fee 3 and we'll give it a number so I don't forget what order I need to do these equations in this is equation eight and now that I have fee three I can do equation nine solving for theta three and here we go we're done we have we have equations for all the joint variables and everything else is known so we're done
Up Next
14:24
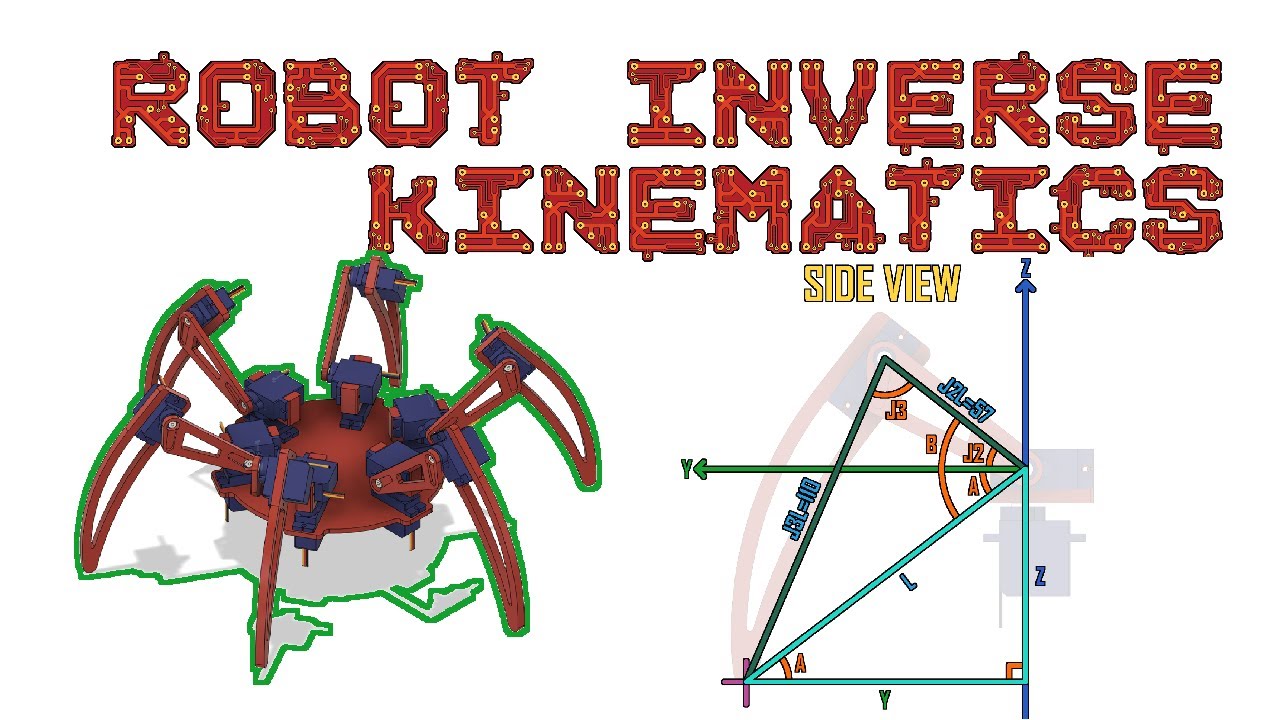
Robotic Inverse Kinematics Algorithm for Hexapod Leg Design and Control
@JustAnotherMakerChannel
111.5K views•2023-05-24

58:25
MathWorks Virtual RoboSub Simulation Environment | Webinar 2026
@RoboNationInc
209 views•2026-03-10

17:01
Rotation Matrices in Python | Robotics Kinematics Computation
@asodemann3
58.6K views•2017-06-11

25:22
Micromouse: The Fastest Maze-Solving Robots on Earth
@veritasium
23.5M views•2023-05-24
Related Study Plans & Knowledge Roadmaps
Structured learning paths in Robotics
robotics
Building Delta Robots: Kinematics & Pico
01Foundations of Delta Robots & Mechanical Design
02Electronics and Microcontroller Setup with Pi Pico
03Delta Robot Kinematics and Coordinate Math
+ 3 more learning modules
65h6 modules
Explore Roadmap
robotics
Building Ballbots: Dynamics, Kalman & LQR
01Embedded Electronics & Omniwheel Actuation
02Ballbot Kinematics & Rigid Body Dynamics
03IMU Sensors & Kalman Filter State Estimation
+ 2 more learning modules
42h5 modules
Explore Roadmap
robotics
Micromouse: Hardware, PID Control & Flood-Fill
01Electronics & Teensy Microcontroller Basics
02Sensors and Actuators: Motors, Encoders & IR
03Precision Movement: Implementing PID Control
+ 2 more learning modules
35h5 modules
Explore Roadmap
robotics
CDPR: Kinematics, Arduino & Winch Control
01Foundations of Arduino & Basic Electronics
02Stepper Motors and Winch Mechanics
03Kinematics of 2D Cable-Driven Robots
+ 2 more learning modules
28h5 modules
Explore Roadmap