![ปูพื้นฐานการใช้ Python ร่วมกับ NumPy | สำหรับงาน Data Science [FULL COURSE]](https://i.ytimg.com/vi/MDA8SbfdLKA/hqdefault.jpg)
![[TUTORIAL] PYTHON para Análise de Dados - Aprenda do ZERO](https://i.ytimg.com/vi/FZODEbfcDwU/maxresdefault.jpg)




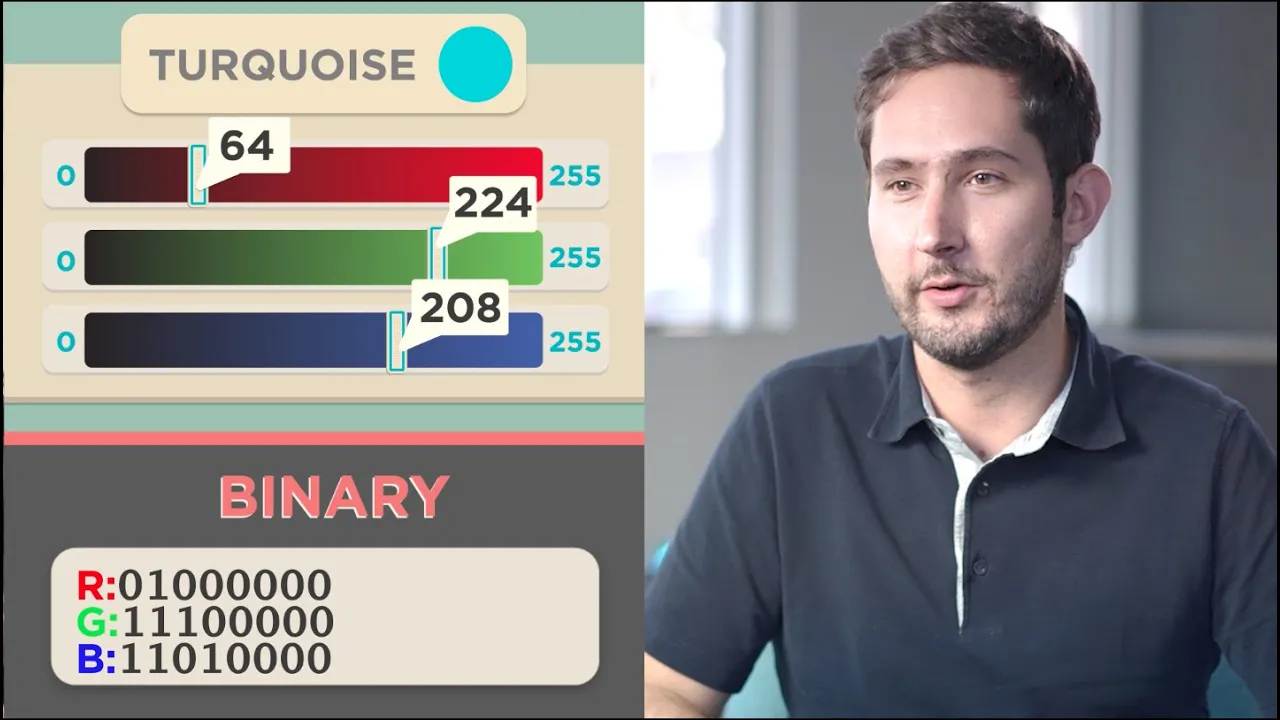














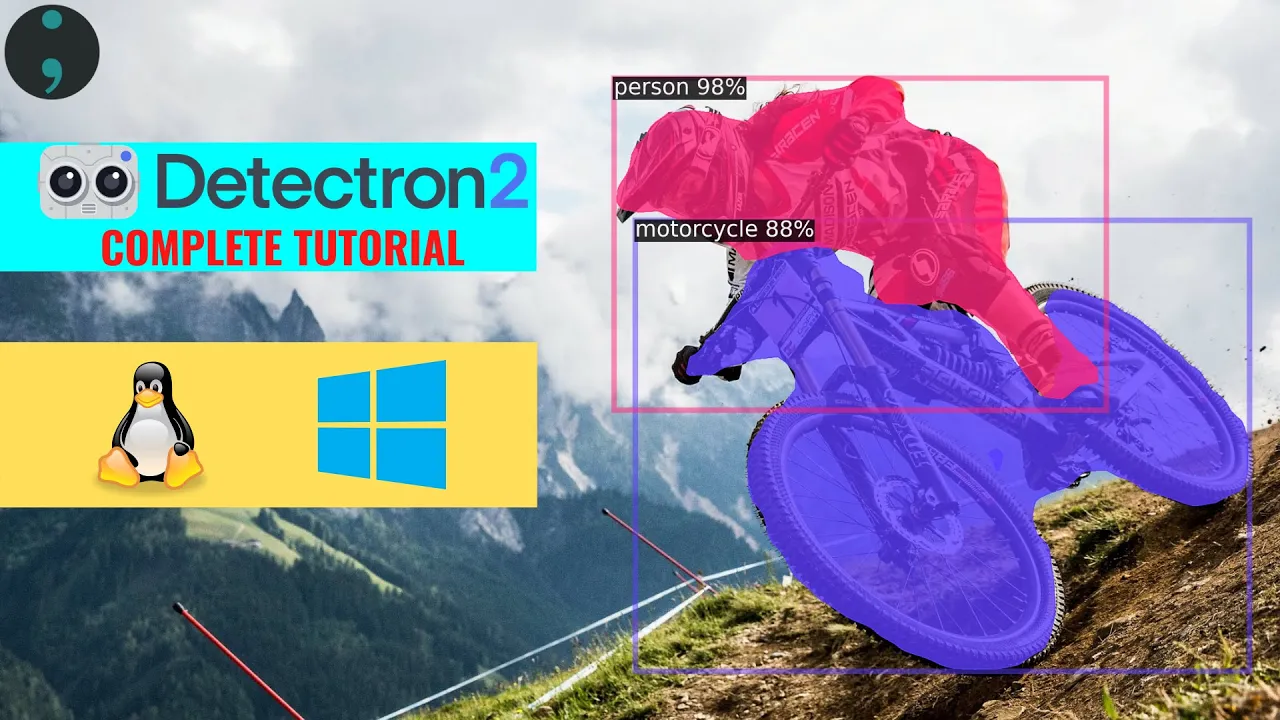



This tutorial demonstrates how to implement image classification using pre-trained deep learning models in Python with TensorFlow. The process involves loading images using four methods (IPython.display, TensorFlow/Keras API, OpenCV, and PIL/Pillow), then using pre-trained architectures like MobileNet v1 and v2 to classify images. The workflow includes resizing images to 224x224 pixels, converting them to NumPy arrays, expanding dimensions for batch input, and applying model-specific preprocessing. Finally, predictions are decoded into human-readable labels using utility functions, allowing users to classify any image by simply providing it to the pre-trained model without needing to train the network from scratch.
Deep Learning Image Classification Tutorial for Beginners (TensorFlow GPU)
Added:Basic proficiency in Python programming, including familiarity with data manipulation libraries like NumPy.
Fundamental understanding of machine learning concepts, particularly supervised learning and the concept of training vs. testing datasets.
Basic knowledge of neural networks, including concepts like layers, weights, activation functions, and loss functions.
Conceptual understanding of how digital images are represented as numerical data (pixels, RGB channels).
Advanced transfer learning and fine-tuning techniques to adapt pre-trained models (like MobileNet) to specific, custom datasets.
Building and optimizing custom data input pipelines using the tf.data API for high-performance training.
Exploring more complex Convolutional Neural Network (CNN) architectures, such as ResNet, EfficientNet, or Vision Transformers (ViTs).
Deploying trained image classification models to edge devices or mobile applications using TensorFlow Lite (TFLite).
Transitioning from image classification to advanced computer vision tasks like Object Detection, Image Segmentation, and Keypoint Detection.
170K views3.2Klikes42:36Original Release: 2020-09-21
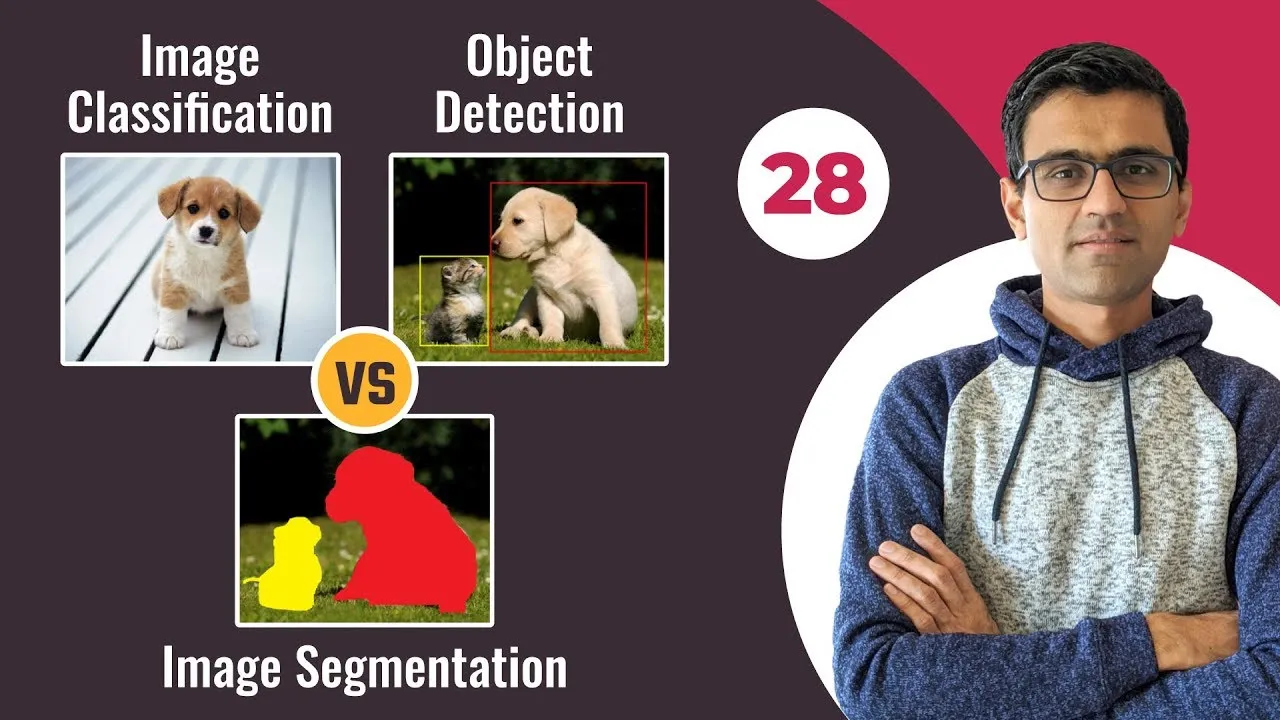
hello everyone i'm shawn allah i'm a phd student at enhan university south korea my major is computer vision and deep learning uh and today in this video we will be covering image recognition and classification algorithm uh based on deep learning architectures how deep learning architectures resolve this image recognition and classification problem so in this regard we will be using python and in python we will be using the deep learning library which is tensorflow so before diving into actual um coding it's better that we should have some brainstorming so what is image classification and recognition so based on saline feature for example this is a dog image sorry this is a dog image right so we do have a grass and some background as well but the most salient feature in this image is obvious obviously it's a dog right and similarly the most promising and most salient feature in this image is a fish and in this image it is a dog and in this image it's elephant obviously so if we provide this image to a deep learning architecture it will definitely classify this image as a dock and in this image as a fish this image as a dog and this image as an elephant but how to do it so uh let's get back to some history so in 2012 alex net uh beat the in uh image classification challenge in 2012 um alex not beat the human capacity right so and that in this regard uh deep learning architecture has become really famous and uh since then we are using and we are checking uh i mean we are really surprising day by day by the deep learning architectures they are performing very well all right so we have some famous uh deep learning algorithms for image classification such as alex nut google not and mobile nut and mobile and is also by google and the tensorflow is also by google so uh okay so a mobile land is uh i guess in 2017 it was the first version and now it has three versions in 2008 it has second version 2 and in 2019 it has third version as well so we will be using mobile net and other algorithms as well for this particular problem such as image classification or recognition and in this regard we will be using the imagenet data set which was the part of a challenge right so but again uh i mean we can start now uh the coding of the image classification but you might have heard a lot of other words similar to image classification or recognition such as object detection so for example in this why we need object detection for example so what is the how to classify this image because the both of them are salient feature right so it's unfair if we classify this image as a cat or a dog right so because both of the candidates have sail same sealant feature right so in this regard we can solve this problem using object detection so object detection actually the background is based on classification as well but in this object detection we also localize the image as well such as in this picture or image the dog is also localized and we have covered some boundary and we have shown that this is the dog at this location right so similarly the caron dog is separated like this and this is a real world problem uh of m i mean for example uh it's a traffic it can be traffic signal camera as well in this regard we all know that what's happening over here and every object possibly is has been classified and multiple objects have been detected right and the in this regard we will be using two algorithms right like mobilenet and with ssd as well single shot multiple multi-box detector but this is not the main topic of our this presentation if you want to learn more about how to implement object detection you can check our other videos about object detection but in this video we will be only covering image recognition but why we are have we have added object detection because you might have heard a lot of these words so that is why the first goal was to clarify that what is the difference between uh image classification and object detection so in the object detection image classification classification is the base and then we added some another feature like localization and then this is how we perform object detection and similarly you might have heard about image segmentation so definitely image segmentation is again uh based on these algorithms but definitely we will in the image segmentation we have to classify each pixel right rather than object we have to further classify each pixel uh this is semantic segmentation as well so we have instant segmentation and some semantic segmentation these are some typical example of image segmentation so now that we are clarified that what is the difference between image segmentation object detection and image classification our today's topic is image recognition or classification so let's dive into the implementation and the ingredients uh for cooking something definitely we need some ingredients so in this regard today's uh we our lecture is about python implementation will be purely based on python and if you're using windows 10 so you're lucky that we have anaconda which is a package of multiple libraries and ids so you can have jupyter notebook spider vs code and others and then later after installing anaconda we can install these libraries such as tensorflow for deep learning implementation numpy for some areas and other calculations uh opencv for image loading and showing your image and similarly for same uh goal like a pip install pillow we can install it and i will show you how to install these things as well okay uh and that ends for the some brainstorming let's dive into the uh implementation so the best thing is that if you want to install anaconda the best thing is just write on a google download anaconda after you write you will have some links and you if you open first link you will have some different uh uh different exe files to download right such as it's based on python the latest 3.8 version as python 2 is almost obsolete so 64-bit and based on your computer specification or your operating system you're using you can just download okay so i have already downloaded and installed this anaconda and it's super simple in windows just next next next as you already uh thanks to windows it's a user friendly thing so user friendly operating system so we can easily install so after installing uh over here you can observe that some of them have launch button and some of them have installed so in this tutorial i will be covering uh the ide i will use is jupyter notebook okay for programming i will use jupyter notebook and i have already installed so for example if you um install anaconda it will not be installed so all you need is to just click install button and it will be installed soon okay so now i assume that you have already installed an account on your computer and then jupyter notebook in your computer so it's always better to manage everything in folder so for example i believe that if you have some uh created your folder just copy the link of the folder so and just go to your search bar and press the anaconda prompt okay before that you open an account navigator for installing things but now you can go to anaconda prompt now that you have opened the anaconda prompt let me zoom it okay now that you have uh already open it so it's better that you copy and sorry i've already opened yeah so you just paste the uh okay you p you can just paste the path but it's better that you write the cd so that we can go to that um location now that we have already entered in that location just write jupiter notebook after you have installed the joker notebook okay so i'm sorry it's my multiple uh window option so it will be automatically open in the um your explorer right so then you can just uh write new and python and then you will have a you will you can open it right so let me separate it for you guys so that we can only uh enjoy it so um after opening it so i assume uh that you have already installed uh all the dependencies but if not let me show you how to do it for example again you can go for anaconda and this time you just right click and run on as administrator right and give that permission to it and just after you install uh i mean after you open as administrator you can just write uh pip install flow okay all you need is to just write pip install tensorflow and just enter it it will be installed okay so and make sure that uh diving into the opening the jupyter notebook you must have the same environment right in my case it's base environment so just uh create an environment first okay so now i assume that you have only installed the tensorflow okay so uh after being installed uh i can write import tensorflow as tf okay so my spelling was wrong i guess so now that i can do like import tensorflow as tf okay so i can just write if you have not installed you right click the anaconda run as administrator and just pip install tensorflow okay so as it's a beginner level um tutorial so that is why i'm explaining everything okay so that you should you guys should be with me okay so after writing this uh let me copy some of the command to save the time okay so you can import uh numpy as on pi np so what i'm doing actually i'm just pressing over here for every command i'm pressing shift plus enter if you shift plus do if you press keep the shift uh keep the shift uh key pressing and uh press shift and enter together so you will be go to next like shift enter like this okay so now that we have imported these two so let's let me have um okay so like file name is equal to image data so actually inside my and where i'm working it's the image data folder and i have multiple images over here okay as i have multiple uh images i want to for example i want to load this image right so i have name check the name and secondly i have checked the uh what's the extension that's jpg okay so in other case it's uh some of them are jpeg okay so make sure that you have written the correct uh the correct uh format of the image okay so now uh you can just write it so now the file name is only as a string right so now we have not loaded it yet so over here uh as it's a beginner level uh tutorial so i would like to uh teach you or show you some four different methods how to read an image right so definitely before diving like uh presenting this um image to deep learning architecture that and to ask deep learning architecture that what is it is it a dog is that a cat or what type of image it is to classify the image definitely first we need to load it all right so for example before uh loading it uh okay you the the best thing why i like jupiter notebook you can make your notes very uh brilliantly okay it's very good to use uh let me show you for example first as we have four method i will teach you in this video so first method to load an image okay so shifting there but this case i can go to cell and cell type i can change mark down okay and then again shift enter you see this become as a text so you can write all your you can separate your text and your notes this is the best thing about the notebook jupyter notebook okay so first method to load image is using ipython so okay so from ipython it's a uh i hope that if you install jupiter notebook so ipython will be automatically loaded okay so if not then you can just google it and i hope you can find similar command like pip install and you can just execute these commands in the anaconda uh the command window as i showed you before so for example again shift enter i did and now you you see i can just successfully load this image and just i'm just checking that this is the image uh i'm just i just uh displayed okay so uh the the reason why i have the targeted size is 2224 224 is because most of the deep learning uh algorithms are trained on 224 224 uh size okay so by three as well so this is rgb image 224 224 and three okay this was first and second is a good i love the first thing about the jupiter notebook second method to load an image okay and again just you can just go to cell and mark down and then shift and enter second method to load an image okay so what's the second matter so second method i'm going to teach you guys is keras using tensorflow and keras so chaos is basically a tensorflow based api it was before um a few years back it was a separate uh deep learning library uh written in python but keros was so amazing that i guess tensorflow or google bought it and now keras is a part of tensorflow so once you install tensorflow keras will be automatically installed okay so it's the good thing so now you'll be using the keras api to load an image okay that our target size again is 2 2 4 2 4 but in this case over here the second thing is that uh so far although we have uh loaded the image but we have not um showed or displayed it over here in order to display it the best tool uh in the jupyter notebook or any other is just like if you guys are familiar with matlab so in matlab uh we can display images using plot commands so in python we have for plotting the famous uh library is matplotlib okay so if you have not installed just kinda install like i have written the command and you can just follow the instruction and just like previously you have you guys have installed using anaconda command prompt and you can just run this command and hopefully it will be installed in your computer shift enter my plotlib is now installed so plt dot i am show okay so as i have this image so let me copy this image um execute you see i have i achieved two to four and two to four image okay so the best thing about the ipython was in order to display although these images are exactly similar why because the size is two to four into two to four but this looks uh more good why because it is using ipython which is a part of a jupiter notebook as well okay so that is why but don't worry uh as for as far as the deep learning is concerned everything is fine so far so now we have learned two methods uh let's um start our third model learning thermal third uh third method sorry turn method to load an image okay okay knock down and this is third meta method to load an image and the third method over here i'm teaching you guys is um i'm learning as well okay so it's best rather that you learn and teach together so okay so uh the opencv is uh the c plus base or c based uh um you can say image processing kind of library initially it was only with the provided for c plus plus and c but now but not now but since uh many years uh it is now also available in python as well so now uh you can just install pip install opencv python and it will be all automatically installed and then after being installed you can just import it using import cv2 command okay it's super simple okay once uh that i think it's the most uh most uh famously used uh for image processing like loading image image resizing and other things other tasks okay so i can just uh see right like cb2 dot i am read file name file name is already you see if you can notice over here file name is already there right uh in over here i should have also not written but anyhow it's okay so over here i'm using file name and now i have read the image but uh if i over here plt dot i am sure like this i am gg if i do like this you can see over here this image is not as the colors there are something terribly wrong in the colors right so the colors are different and second thing you can notice that the size is different why because we have not targeted any size rather than two to four to four we have just targeted the original size but the problem in this is it's not rgb actually it's gbr okay so uh in order to execu in order to do it best i think the best thing is that let's change the size okay and let's execute the command again so the size is still uh it's changed but uh the color uh is still uh not changed right so in order to change the color uh the command is we used as i told you that it's bgr so it's better to convert it into rgb right so this is the command now you can see the color combination of this and this image is almost same okay so uh now we have learned three methods one is from one is using ipython uh second is tensorflow keras third method is cv2 like opencv and let's learn our last method okay fourth method to load an image okay so although this is not a part of the image recognition but definitely you can choose any of the four so while i was covering one of the method so i thought i should inform you guys about all of the methods so it's better whatever you like so you can go for it okay so it's the kind of learning things right so it's better that we learn and we should know about different methods okay fourth method to load an image okay so what is it what is what is it okay so the fourth method is python uh uh library which is p i l p i l is uh python imaging library so for small things you know the best one among this so far is actually opencv in opencv you can do a lot of things right but um as long as only as long as only loading an image and resizing it and small kind of filtering is concerned you can use any of the four but if you want to dive into real image processing definitely opencv is the best but uh this is also a good method and why i'm uh i mean teaching you all these things because sometimes in the embedded system i'm using the xavier and the other embedded systems sorry for the out of topic thing but sometimes you don't have all of the installations available in your computer or hardware system or embedded system so you can go for any pre-installed thing so it's better so i think most of the time pill is the most like light one and it is very easily installed with a python so sometime it's already installed but if it's not then pip install pillow is the command okay so again uh we can just do it like this okay again just like open cv while the loading the time at loading time we don't specify the target image size and then later we can just like open cv we can resize it but you can see over here while we're performing opencv we said cv2.resize and over here we said i am the image name dot resize into two to four into two to four and now we can just execute the command okay so now we have so now we have learned four different methods uh for loading an image now that we have loaded image still it's a raw image before that it was in hard disk now it's in your ram it's uploaded uh as a as a as a variable right now we have image in our variable but uh it's not um we haven't done anything with it okay so let's uh load uh the the deep learning model okay again i will write like this hash and space and cell and so type and mark down and like this it's really bad that you can make your notes and you can save it and later you can check you don't need to execute right so this is best best when i check later when i open it everything will be same okay so this is best you can track record your previous history and that everything is around okay it was running in a good way okay so for deep learning model definitely as i told you in the start that sorry for moving fast so i loaded this import tensorflow sdf already okay so let me define some for example mobile okay it's my variable name and i will say that tm dot keras okay dot it when i say and when i type tab uh when i press tab it will be automatic completed then mobile as i told you mobile net is the famous one so in 2017 mobile net one was the most lightest one then in 2018 it was mobile net 2 and 19 it was mobile version 3. so we have three versions but unfortunately version 3 is not actually very easily available version 1 and 2 is obviously available so what is mobile and those guys those who don't know about mobile net mobile ad is a deep learning architecture for image classification so the good thing about tensorflow keras api is that the deep learning architecture are already being trained so all of the weights and the weights of the networks is already uh pre-trained and they are set all you need is to just deploy it okay so uh the deep as long as the deep learning is concerned uh first initially definitely we have to teach a deep learning architecture that what is cat what is dog right so in this video as it's a beginner level video we are not performing any kind of training rather we are using a pre-trained uh deep learning architecture okay so thanks to keras uh and tensorflow api uh keras api that it's already available okay so let me select mobile nut and then dot mobile again mobile net and then call it like this okay so uh i have already executed this command actually so that is why it's it's just executed but in in your case when you will be doing it will be start downloading it okay because in the in the fresh start you will not have uh mobile and these weights already trained mobile net uh model is not trained in your computer so in this regard first when you execute the command if it do not exist it will automatically download don't worry all you need is to just execute this command okay so now that we have a model so simple now we have a variable such as mobile is a variable in which we have all the weights of the mobile net version one that's really good okay this is a deep learning model weights or architecture already gets pre-trained okay we have pretend okay now as we have a pretend uh architecture already so now uh okay so we have uh actually we have four faces four phases again in the deep learning so the first phase is actually training okay but not training i would say creating a model okay actually uh if we don't use a pretender or then it's creating a model then after creating a model training a model okay when we have to train it and then after training we have to test or validate it okay okay and test and after test and validation that everything is fine the final stage is predict okay in the prediction what's the difference difference between test and predict is in the test case we also provide labels okay label means uh before the train uh while we are training definitely in the training part we teach the deep learning that this is cat this is dog so in the supervised learning we have to teach that it's uh for example it's a cat or dog or what is it okay so in the predict the best thing about predict is you can download any type of image from internet as long as it is two by two to four and two to four you can just predict your classification algorithm okay you can just check it you don't need any label let ah let's ask the deep learning architecture that what is it okay so the best thing is about predict so as this image do not belong to the imagenet dataset i have downloaded this from an inter from internet okay so you can download any image okay that's the beauty of the prediction so in this regard we will be doing prediction okay okay let's start the prediction okay for prediction oh my god for before prediction we have to do pre-processing of the pre-processing of the image okay we cannot just pass this two to four directly into the deep learning article okay so i think uh it's better to change it into our notes okay now that we have to change into notes so pre-processing what kind of pre-processing we have to do no so let me uh copy the best method again so actually uh i'm using this okay okay you have to verify which one it is actually it's a tensorflow one right uh this one i'm using it again okay like from tensorflow channels pre-processing image and aiming okay so let me copy again these commands and then paste it again over here okay so let's execute it this now uh till that point at this point we already checked and let me check the image is is it uh like uh like a plt dot i am kind of show okay so we do have image so we have displayed and now let's perform some uh pre-processing okay so there are actually technically three kind of image uh i mean there's some pre-processing okay so actually uh as you can see over here if i check okay actually this is a resized image okay resize image it's converted to array so let me check the resized image dot shape okay so you see two to four two to four into three so actually rgb is our three channel right so we have three channel uh red green and blue rgb channels and each has two to four two to four dimension but for deep learning architecture we need the fourth dimension as well so that is why we are using numpy array as i told you that i did let's go back i did numpy as np already so now i'm doing it using it for my like a final image is equal to nb dot expand dims i'm extend expanding them if i check the shape of this image you see i have one more extra dimension okay so after having one more extra dimension we need to pre-process this image like final image here or keras application mobile and pre-process input okay so now i i think our pre-processing already finished but almost finished not the completed one uh we need some utils okay why we need utils uh okay i i think we should cover this utils thing after it okay so oh okay sorry this is mobile okay so for example this was our variable mobile which we just in this we have deep learning weights of the mobile net okay for image classification so for example i can perform on this final image my prediction okay so this prediction is already performed but now uh if we check uh if we check print predictions so it has a lot of things stuff like that we don't know about it okay so it's a huge stuff and we actually don't know what is it okay because we did not uh uh provide them what are the labels okay uh move it okay so as we have not provided him the labels so the best thing uh to check whether your answer is okay or not so again we are using some utility such as from tensorflow.com application import image net utils okay so now if we you can work your this predictions into decoding decode production now if you print your results okay so these are your uh results okay so now this it can let me plt dot show ah i'm sure is img i guess yes this is img okay let me check my image again okay so this was our image okay so it has five or a top actually it has five top predictions right so uh and based on the some confidence level like uh it's a forty percent confident uh the probability is 40 percent confident that there's a street car it in it okay and it has police fan okay and third it's a garbage truck obviously not and we have a mini bus maybe it's saying mini boss and a cab obviously we do have a cap okay but this was all it was based on the mobile net version one which is 2017 algorithm and it was more lightweight but its accuracy was 70 percent so it's better that we use 70 not this it's better that we use another algorithm okay so um okay let me copy on the okay over here let me add the this is the beauty of the jupiter notebook okay mobile let me give it same uh keras oh sorry keras dot applications dot mobile in this case now i can choose mobile and version 2 okay dot mobile version 2 and now we can do like this okay now my mobile version is changed it's now become mobile version two which is more accurate than mobile and version one okay so now uh let me uh i should not remove these lines and i should predict again okay let me predict again okay and i have performed prediction again and let me check my results again oh and i should print my results again let's just copy and paste okay you see this now it's uh in the top a minibus street car ambulance okay now it has predicted the ambulance okay now we are going some good and you see the traffic light as well and a cab as well so now we have a very good thing although this algorithm is basically designed only for one object as i showed you in the in the in the beginning like as first simple image cat and dog but the good thing about it it can give you five top five uh uh possibilities okay or top five peaks okay um i'm not going into the deeper uh deep concepts because if it's for beginners definitely you guys might not understand what what our peak of the algorithms okay so you can say that five top predictions that can be minibus it can be street car ambulance traffic light and cap okay so you see that it's a more mobile and version two is more accurate and the best thing about this architecture our architecture is that you can use over here the best thing about the chaos is that you can use any of them okay where is our loading part over here just let me click okay so i can have for example uh let me annie anyone anyone is equal to tr dot caros sorry cameras dot appley applications dot now that i press tab there are a lot of options like dense net inception okay mobile and version 2 and nas net and a lot of them resonate vgg net so you can try any of them okay and it's super simple you can try the keras thanks to karas api that it has provided us many of the algorithms already available in the market and it's pre-trained and you can perform your prediction on any image you can just download your image from the internet and you can just load this image uh by using my method that i taught you in this lecture and you can use any of them and gen and you can get your predictions that's the best thing and then you can display it as well and you can perform a lot of other uh activities you can just perform okay so any it was a complex you see this was a complex object but if you give if you provided a cat or a dog or a very simple image it's really easy for example okay for you guys i'm doing it again so let's change the okay let's let me change this side uh the image okay okay i think this was the one okay so let me change the file name ah that's okay i will write the file name again that's okay with my file name okay let me write it over here no no no no no or let me write it over here okay that's a good thing not over here okay this was my image name file name is equal to here and that's here so i might think it's better to copy the command okay this is the this was the one and now make sure that you do you give it the actual dimension ah where is it this one okay let me copy it over here and thus let me copy it over here but actually it is gpeg okay if you can see like these images are jpeg file and it was a jpg file okay so make sure that you are providing them uh the actual one okay ah it's amy file name file name okay like this let's it's very super simple uh shift enter shifter now it's uh it's a different thing right it's a different object so let me perform all of these steps again again and again shift enter shift enter super simple shift enter that's all so when i perform shift enter you can see that this is point ninety five percent accord that is caught in this hand but if i change algorithm let me change the algorithm again for example this was version one let me execute this command shift enter now we have mobile and version one which is less accurate than version two okay guys so let's predict only because our input image is not changed all we have changed is only algorithm right if you perform a prediction again you can just check over here it was some different let me print again okay separately so that we can just check the difference you see this mobile learner this is mobile net version one oh mobile not version one of 2017 actually and this is mobile net version 2 of 2018 actually okay so latest one latest one is version 3 but it's not available in the chaos although you can download your the trained architecture from their website but uh it's not available in the keras tensor tensorflow version too so you see over here which one is less accurate the data right is a bit confusing and the first peak is hen or the second peak is called so the but the the exact answer is this one okay so it's 95 percent accurate that it's a okay uh another one is and some other animals like that will sure i don't know what is it okay so the best thing is you have to decide which version you're using so the more simple image the best results you will get but if you have complex images a like like like i have just like this so you can have different images uh okay thank you so much this is all for image recognition part the implementation of the image recognition in the tensorflow if you want to learn about object detection and image segmentation and other deep learning tools and programming it and first we i think we will start from brainstorming as i'm a pg scholar so i'm performing my phd so definitely i will try my best to put all of my effort what i'm learning so i'm a student as well right so i'm learning as well and i'm trying to teach as well so it's the good uh technique to teach others whatever you learn so okay thank you so much for this and stay tuned and please keep watching the videos in my channel thank you so much soon as if you
Up Next

20:31
YOLOv8 Object Detection: Train on a Custom Dataset
@Roboflow
491.1K views•2023-01-10

12:54
Triumph of Orthodoxy Icon: Byzantine Art & History Explained
@BenCallan
2.1K views•2024-08-06

9:49
FastAPI vs Flask vs Django: Choosing the Right Python Web Framework
@TechWithTim
302.5K views•2024-05-26

1:42
Game of Thrones Opening Credits: A Cinematic Analysis
@gameofthrones
46.3M views•2011-04-18
Related Study Plans & Knowledge Roadmaps
Structured learning paths in General & Interdisciplinary Studies
general-studies
Elevator Engineering: History, Physics & Cities
01From Hoists to Safety Brakes: The Dawn of Vertical Lift
02Hydraulic vs. Traction: The Engineering Physics of Elevators
03Modern Speed, Safety, and Algorithms
+ 2 more learning modules
12h5 modules
Explore Roadmap
general-studies
Rubber: Material Science, History & Geopolitics
01Origins of Natural Rubber & Mesoamerican History
02The Chemistry of Natural Rubber & Vulcanization
03The Geopolitics of the Rubber Boom & Colonization
+ 2 more learning modules
12h5 modules
Explore Roadmap
general-studies
Containerization: Evolution, Logistics & Trade
01Ancient Trade & Bulk Cargo: Amphorae to Barrels
02The Industrial Revolution & Cardboard Packaging
03The Containerization Revolution: Malcom McLean
+ 2 more learning modules
12h5 modules
Explore Roadmap
general-studies
Textile Tech: Evolution, Labor & Global Impact
01Pre-Industrial Textiles: Handloom & Cottage Industry
02Mechanization: The Spinning Jenny to the Power Loom
03The Factory System & Global Labor Transformation
+ 2 more learning modules
10h5 modules
Explore Roadmap