
![[Imersão IA] Masterclass: Primeiros Passos com Python para Usar IA no Dia a Dia](https://i.ytimg.com/vi/Ez80tsAUCMo/maxresdefault.jpg)









![Neural network for image classification | Computer Vision from Scratch series [Lecture 4]](https://i.ytimg.com/vi/uLLjjjiBMcc/maxresdefault.jpg)


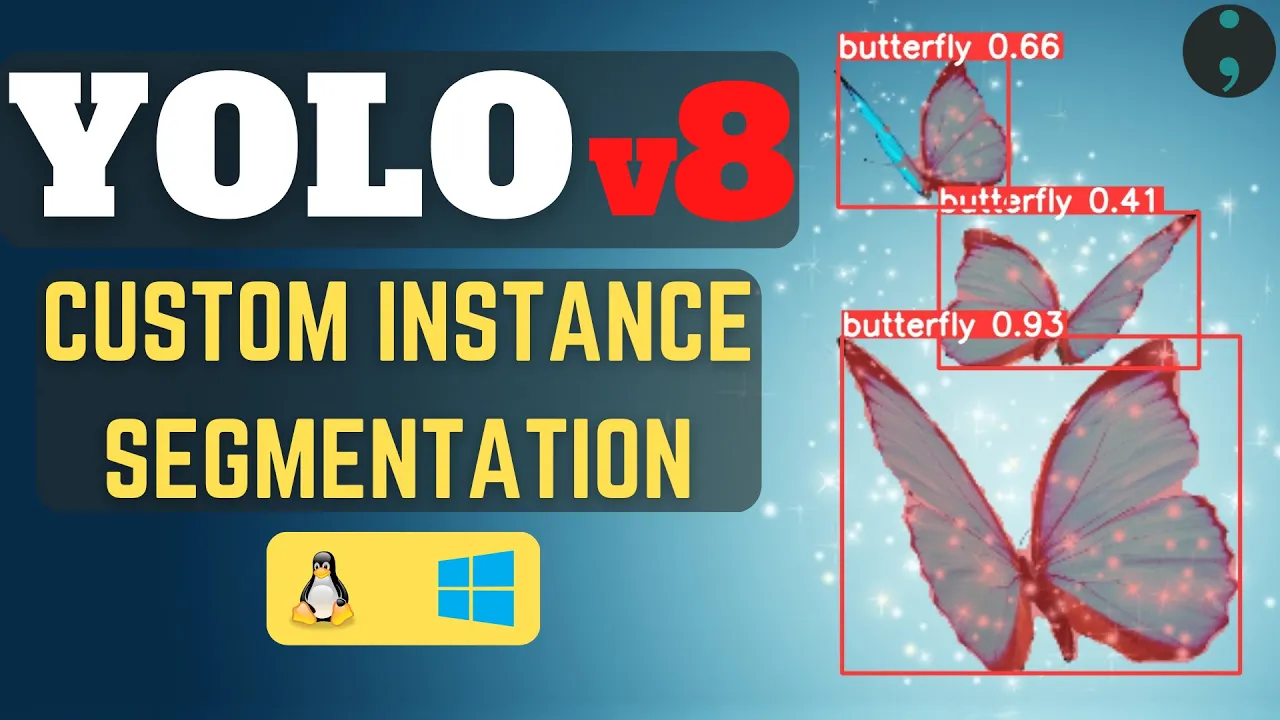





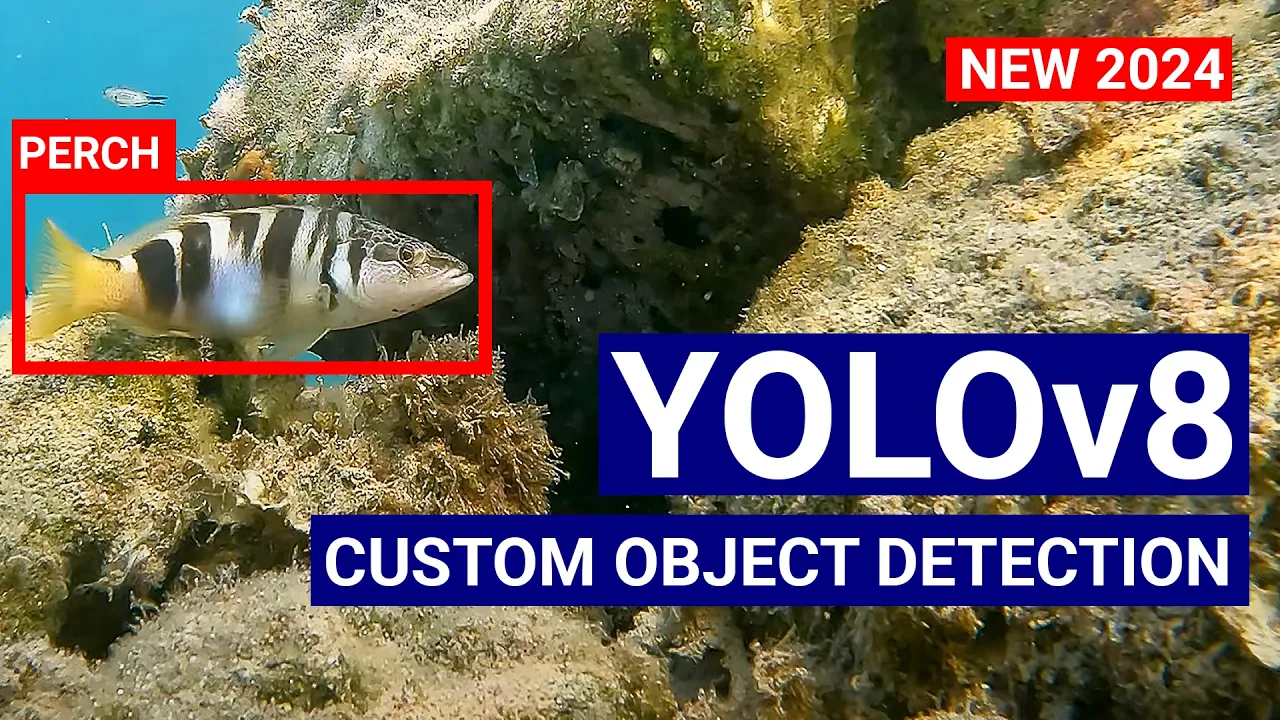
This tutorial demonstrates how to train a custom YOLOv8 object detection model using the Roboflow platform and Google Colab, covering the complete workflow from installing the Ultralytics library, preparing the dataset using Roboflow Universe, training the model with CLI or Python SDK, evaluating results through confusion matrices and loss curves, performing inference on images and videos, and deploying the model via hosted API.
YOLOv8 Object Detection: Train on a Custom Dataset
Added:Basic proficiency in Python programming and familiarity with cloud-based development environments like Google Colab.
Fundamental concepts of Computer Vision, specifically the difference between Image Classification and Object Detection (e.g., bounding boxes, class labels, and confidence scores).
An introductory understanding of Deep Learning and Convolutional Neural Networks (CNNs) which form the foundation of the YOLO architecture.
Core concepts of dataset preparation, including data labeling, annotation formats (like YOLO .txt format), and splitting data into training, validation, and test sets.
Hyperparameter tuning and optimization techniques, such as adjusting learning rates, batch sizes, and image resolution to improve model accuracy.
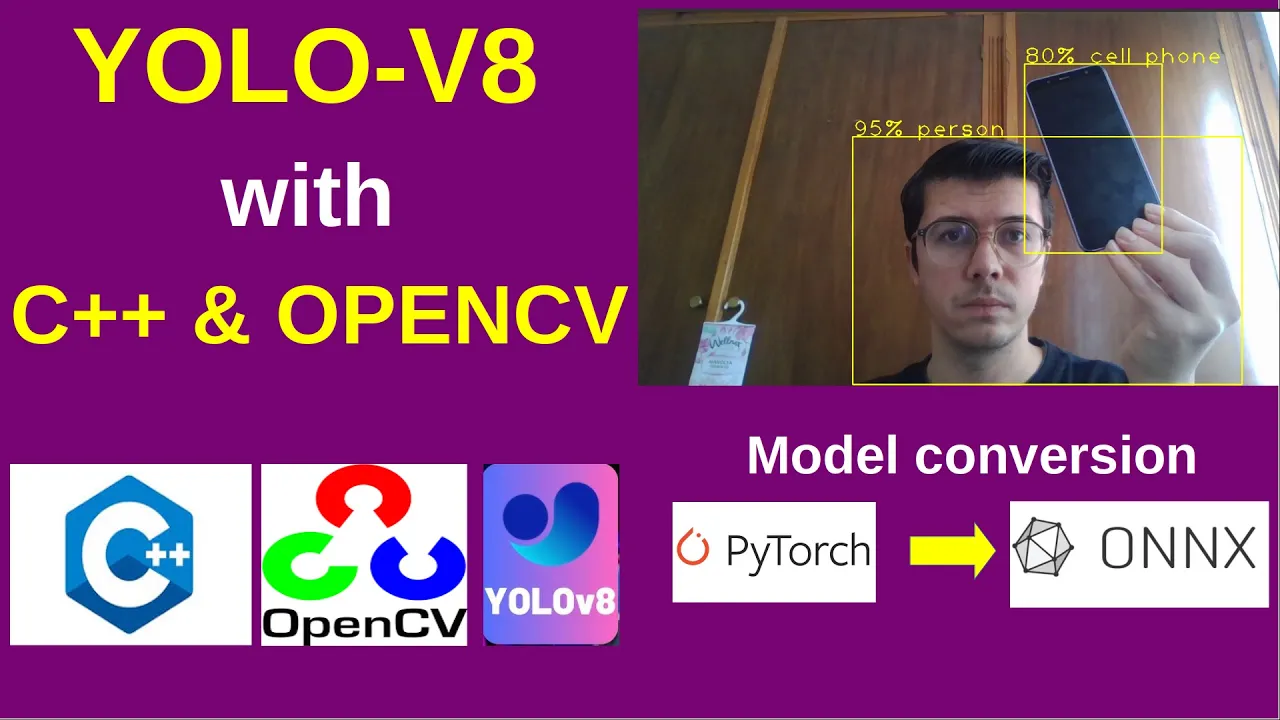
Model deployment and serialization, including converting YOLOv8 PyTorch weights (.pt) to inference-optimized formats like ONNX, TensorRT, or TFLite for edge devices.
Integrating the trained model into real-time software pipelines, such as video stream processing with OpenCV or building web APIs using FastAPI or Flask.
Exploring advanced computer vision tasks supported by YOLOv8, such as instance segmentation, keypoint detection (pose estimation), and multi-object tracking.
491.1K views6.5Klikes20:31Original Release: 2023-01-10
YOLO V8 is out.
Latest installment of highly influential you only look once algorithm has just been released and the team behind it claims that this new sot when it comes to object detection in real time. I guess we just need to wait for paper with code to confirm that. However, internally we measured YOLO V8 against YOLO V5 and YOLO V7 using our Roboflow 100 data set and the results suggest that the model fine-tunes much faster than its predecessors. So, if you want to stay on the bleeding edge of computer vision, sit down, relax, and let me show you how to train YOLO V8 object detection model on custom data set. And if you want to learn more about Rooflow 100, click the link in the top right corner or in the description below.
In this video, I will take you through the process of training your own YOLO V8 model on custom data set. This time, we'll focus only on object detection.
But no worries, instance segmentation and classification videos are coming quite soon. Maybe by the time that you watch that video, they are already there. If that's the true, you most likely see the card in the top right corner. If you want to be up to date with those videos, make sure to like and subscribe. This way you will know first when the new video gets released. I will show you how to train, validate, predict and deploy the model. And we will use football player detection data set available at Roboflow Universe to do all of that. So if you are here mostly to learn about the training process, feel free to use the chapters in the description to navigate to the part of the video that is most interesting to you. But apart of talking about the model itself, we will also talk a little bit about the changes that were introduced in the codebase because let me tell you it is most likely the biggest engineering jump since the migration from darknet to pytor. No more train.pies, no more forking the repository to make it work with any tracker. Apparently from now on we'll be using CLIs and SDKs and we'll take a look at that new API in just a second.
YOLO V8 is created by Ultralytics team the company behind YOLO v3 and YOLO v5 two repositories repositories that collectively have almost 45,000 stars on GitHub on the day of recording.
So pretty serious contributors to open source if you ask me. Of course, both of those projects had their issues. Lack of paper that irritated large part of data science community. Lack of peep package that make it really hard to deploy the model that irritated large part of engineering community. Apparently, both of those issues will be solved in YOLO V8 project. Time will tell. But in the meantime, let's just jump into the code and train some models.
Before we start, just a quick disclaimer here. The whole library feels a little bit underbaked. So I fully expect some small API changes to be rolled out in upcoming weeks or months. The materials that we prepared for YOLO v8 video series however are part of Rooflow notebooks repository and we will update them after any major change will get released by YOLO V8 team. That's why if you see any difference in the API between what you see on the video and in a notebook, keep in mind that the video was released right after the launch and the notebooks are updated on a daily basis. Without further ado, let's jump into the code. Here we are in the notebook and let's start by just confirming that our runtime is GPU accelerated and indeed that's the case.
Uh so to just confirm that let's run Nvidia semi command. If indeed we have access to the GPU we should see similar result after that command is being run.
The ineneralization takes a little bit of time but yes we have the access to the GPU Tesla T4. We are ready to go.
Now let's create a small helper variable called home that will allow us for easier management of paths to data sets and other images. And at this point we are basically ready to install the actual YOLO v8 package. According to the documentation there are two ways to do that. We can either use peep as I said this is the first iteration of YOLO that have official peep package or we can go the usual route by just cloning the repository and installing the dependencies. I myself select the first one. So we are going for pip install ultralytics but in a notebook you can do whichever you want. Just make sure to comment the first one and uncomment the second one if you go for g clone just to make sure that you don't run both of those cells in a single environment. Now we can simply import yolo from ultralitics. So let's do that now. And if we don't see any exceptions everything works properly. As I always say, the best way to make sure that everything was installed properly is to run inference. We can use pre-trained cocoa model to do that. And it's actually a great opportunity for us to get used to the new API that I was talking about in the intro. Like I said, we have two new ways to interact with YOLO codebase. We have CLI and we have SDK. CLI is quite similar to what we are used to in the sense that we are running that from the command line from the terminal but instead of running the Python script directly right now we have the tool that we can run at basically any directory that we want previously that was possible but it was a little bit of a headache and like I said we have the SDK SDK is the pyonic way of using YOLO so typically we will just import YOLO from Ultralytics create the instance of the model and do something with it. Let's compare those two APIs using prediction as an example. Let's start with the CLI. It has a concept of task and the mode. And this is very important because that's how they compact everything that was a separate script previously into a single command.
First, we select task and task is basically detection or segmentation on classification. So for this tutorial we select detection and the mode. So this can be train validation or predict. And for this particular example we'll use predict. The next thing is obviously to load the model. Uh you can do that by providing a path to weights that you want to use. In this particular example we are using YOLO V8N model. The rest is quite typical. we provide confidence and all other hyperparameters that we would like to use and at the very end the source. I'm using a typical image from my private uh gallery which is me and my dog. So let's try to run that command first. As expected the first thing that is happening it's downloading the image.
Then it's downloading the weights. Now we load the model into the memory that can take few seconds and after that it displays what was detected and the results are saved into the runs directory. This is exactly how it was happening in the case of Python scripts.
So you can see over here we have runs detect predict and over there we will be able to find our result image. So now I can basically load that image and display the result. The name of the image in the results directory is the same like it was in the source directory. So I'm just clicking shift and enter and we can see the results.
Now we can get exactly the same result using the Pyonic API. So we already imported the YOLO a few sales before.
Now we can create an instance of the model and run prediction on the same image. And like before the model is loaded into the memory and the results are being displayed and we can compare the results. One person, one car, one dog and over here one person, one car, one dog. Cool. Let's switch the topic a bit and discuss the data set that you need to have to train YOLO V8. Uh latest iteration of YOLO is supporting exactly the same data format as YOLO V5. So if you already have the data set that you used previously and you would just like to retrain the model uh feel free to use that. But if you don't, let me quickly show you how can you create that data set using Roboflow. Let's go to roboflow.com.
If you don't have account, obviously you need to create one. If you have it already, just sign in. Let's create new project. In the first dropdown, we select object detection. Now let's say that we will detect football players.
And the name of the project, let's call it football players detection.
The license can stay as it is. And let's create public project. Now if you have both images and annotations feel free to drag and drop them over here. I have annotations but for the sake of example I will just drag and drop images and we will go through part of the annotation process together. Now we can press save and continue button and that will result in uploading all of those images to the server. Let's use the magic of cinema and just move forward. Now after a few minutes depending on your internet connection and the size of your data set you will end up on this screen. From here you can assign labeling tasks. If you are independently like myself you have no other choice. You need to assign it to you. If you have friends uh you can invite them into the workspace and they can help you out with annotation.
Like I said, in my case, I just select myself and click assign images. When the labeling job is created, you will get redirected to this screen. And from here, you just click on the first image and just start labeling. The annotation process itself is pretty straightforward. You just draw bounding boxes around the object that you would like the model to detect. The work is pretty tedious, but the good news is that you don't need to annotate the whole data set. You just can annotate part of that, train the model, and use that model to annotate the rest of the images. With every iteration, the quality of predictions should get better and better. And we already have tutorials on how to do that. So, you can look for the links in the description below and in the card in top right corner. When the annotation process is done, you just submit your images for review.
And here you can approve or reject the annotations. Right now I have all my images annotated. So I'll just approve them all and add them to the data set.
Now I'm ready to generate the first version of the data set.
So I got redirected to generate new version tab. And over here I can apply all sorts of transformations. For example, resizing.
Now let's add augmentations. I don't want to go too hard. So I'll just add a horizontal flip for the images.
I press continue and generate.
And after just few minutes, my data set should be ready. As we already have the data set, there is nothing else for us to do than just download it into our environment and start training. Now, we can use one of the features that we added specifically for YOLO V8 launch.
We can press that button over here and that will generate a code snippet that will allow us to download our freshly created data set in YOLO V8 format. We can just copy it and paste it into the notebook. So let's do it right now. I can just highlight that text, paste it here, press shift enter, and the downloading will start immediately. Keep in mind that that code snippet contains your API key. It is not visible in the UI, but when you paste it, it will be in plain text. So just watch out. Make sure not to commit that accidentally into your repository, especially if that's a public one. Looks like the download of the data set has completed. And now the only thing that is still left to do is to execute the training itself. Uh let me just adjust a single hyperparameter.
Limit the amount of epoch from 100 to maybe something around 25. This is pretty large data set. So that will take like an hour to complete. Shift enter and the training can start.
All right, the training has completed and now the time has come for us to review the results of the training. So the first thing that we'll be doing is to take a look at some charts produced by YOLO V8 that are saved into the runs directory that will tell us a little bit more about the training process and the expected accuracy of our model. First let's take a look at the confusion matrix. So confusion matrix is a chart that shows us how our model handles different classes. So for example, if we talk about goalkeeper, 74% of the time it's detected correctly and it's classified as a goalkeeper. However, 26% of the time we get the bounding box, but the goalkeeper is incorrectly classified as a player. On the other hand, in case of the ball, which is quite small object and it's hard for the model to detect, we only detect it 26% of the time.
However, 74% of the time when the ball is there, we are simply not detecting it. All classes apart of ball are detected correctly most of the time. And given the fact that we only trained for 30 to 40 minutes, I am more than satisfied with the results. Now, let's take a look at the charts displaying key metrics tracked by YOLO V8 object detection. So over here I'm usually mostly interested in box loss and class loss for train and validation data set.
We see that the behavior is correct. The model is converging and it's clear right now that the training could take even longer and we would get even better results. And the curve on those charts is still pretty steep. That means that we still would be able to get a lot more from those models. Usually the sign that you are training for too long is very flat part at the end of the chart. That means that you just burning time on your GPU but your metrics are not improving.
And the last image contains example of model predictions on the validation batch. Those images are not used strictly for training. So it's always nice to take a look and kind of like visually confirm that the model is behaving how you expect. Now we can take our freshly trained weights and use them to validate the model. So similarly as before we will use CLI to do that. The difference is however that this time we are using mode val contrary to mode detect or mode train and validation script is using the part of a data set that was not used before the test data set and those are the true map metrics that we should care about. Finally, let's take our model and just use it for inference. I will use the same test subset of our data set. But this time I just want to see the results. So as usual the model is being load into the memory and because we are using GPU the inference is pretty fast. And over here we can plot few of those images to see how the model is performing. So this particular result looks really good. The referees are being detected. The goalkeeper is being detected. The only thing that I don't see over here is the ball, but that may be for the reason it's getting terribly occluded by one of the players. Obviously, you can use YOLO V8 not only to run inference on images, but also on videos. So, I decide to upload one of the videos that I had on my machine and just run the inference on it. The only difference between this command and the previous command is that this time I passed the path not to the images directory but to a MP4 file. The rest is exactly the same. I'm just pressing enter and shift. And we just need to wait for the inference to complete. As Google Collab is notoriously terrible at displaying videos in UI, I decided to download the result. And here you have it, a short snippet of what is possible with YOLO V8. Keep in mind that that model was trained only for 30 minutes and it is actually one of the smallest architecture YOLO V8s. If we would optimize for the accuracy, most likely we would select a larger version of YOLO. However, if you take a look in the logs, you will see that inference on a single frame takes between 12 to 13 milliseconds. That means that the inference at around 80 fps is well within our reach. Now, before we wrap it up, let me show you one more thing, which is how to deploy your freshly trained model and use it to infer over the API. And all of that magic can happen with just a single line of code.
After we trained our model, we just do project version deploy. We pass the model type and the path to our train directory. Hit shift enter and that will basically upload our weights to the server. Then after the upload in the Jupyter notebook is completed, we can go into our Roboflow account and next to the version of the data set that we are using, uh there will be a green check mark that basically is here to let us know that the model was successfully uploaded. And the best thing about it is that now when I go into the deploy tab, I can use that model to infer using our hosted API. One of ways that I can do it is basically by drag and dropping the image into the browser. Let me do that right now. But besides that, I can now infer using the API from my codebase. We provide plenty of snippets in different languages or I can even spin my own inference server for example on Nvidia Jetson. That's all for today. Uh this video is just the part one of the whole series that we plan to release about YOLO V8. So if you are interested in instance segmentation classification or in general comparing YOLO V8 to previous object detection models, stay tuned for our future videos. And obviously the best choice is to like and subscribe.
This way you will get notified about those videos as soon as they will get released. My name was Peter. See you next time. Bye.
Up Next
26:11
Object Detection, Tracking, and Counting with YOLOv8, ByteTrack, and Supervision
@Roboflow
184.8K views•2023-01-20

12:54
Triumph of Orthodoxy Icon: Byzantine Art & History Explained
@BenCallan
2.1K views•2024-08-06

9:49
FastAPI vs Flask vs Django: Choosing the Right Python Web Framework
@TechWithTim
302.5K views•2024-05-26

1:42
Game of Thrones Opening Credits: A Cinematic Analysis
@gameofthrones
46.3M views•2011-04-18
Related Study Plans & Knowledge Roadmaps
Structured learning paths in General & Interdisciplinary Studies
general-studies
Elevator Engineering: History, Physics & Cities
01From Hoists to Safety Brakes: The Dawn of Vertical Lift
02Hydraulic vs. Traction: The Engineering Physics of Elevators
03Modern Speed, Safety, and Algorithms
+ 2 more learning modules
12h5 modules
Explore Roadmap
general-studies
Rubber: Material Science, History & Geopolitics
01Origins of Natural Rubber & Mesoamerican History
02The Chemistry of Natural Rubber & Vulcanization
03The Geopolitics of the Rubber Boom & Colonization
+ 2 more learning modules
12h5 modules
Explore Roadmap
general-studies
Containerization: Evolution, Logistics & Trade
01Ancient Trade & Bulk Cargo: Amphorae to Barrels
02The Industrial Revolution & Cardboard Packaging
03The Containerization Revolution: Malcom McLean
+ 2 more learning modules
12h5 modules
Explore Roadmap
general-studies
Textile Tech: Evolution, Labor & Global Impact
01Pre-Industrial Textiles: Handloom & Cottage Industry
02Mechanization: The Spinning Jenny to the Power Loom
03The Factory System & Global Labor Transformation
+ 2 more learning modules
10h5 modules
Explore Roadmap