


![3. Instrument Handling [Basic Surgery Skills]](https://i.ytimg.com/vi/eICH1xWKCUY/hqdefault.jpg)



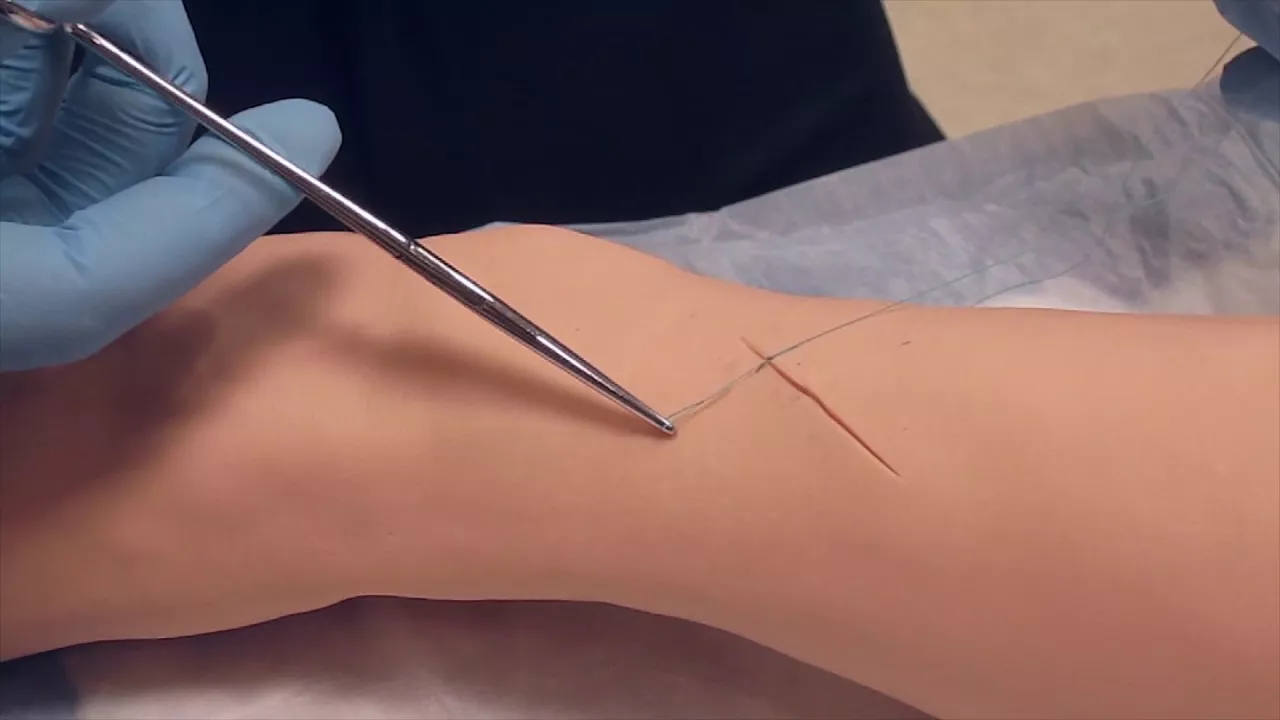
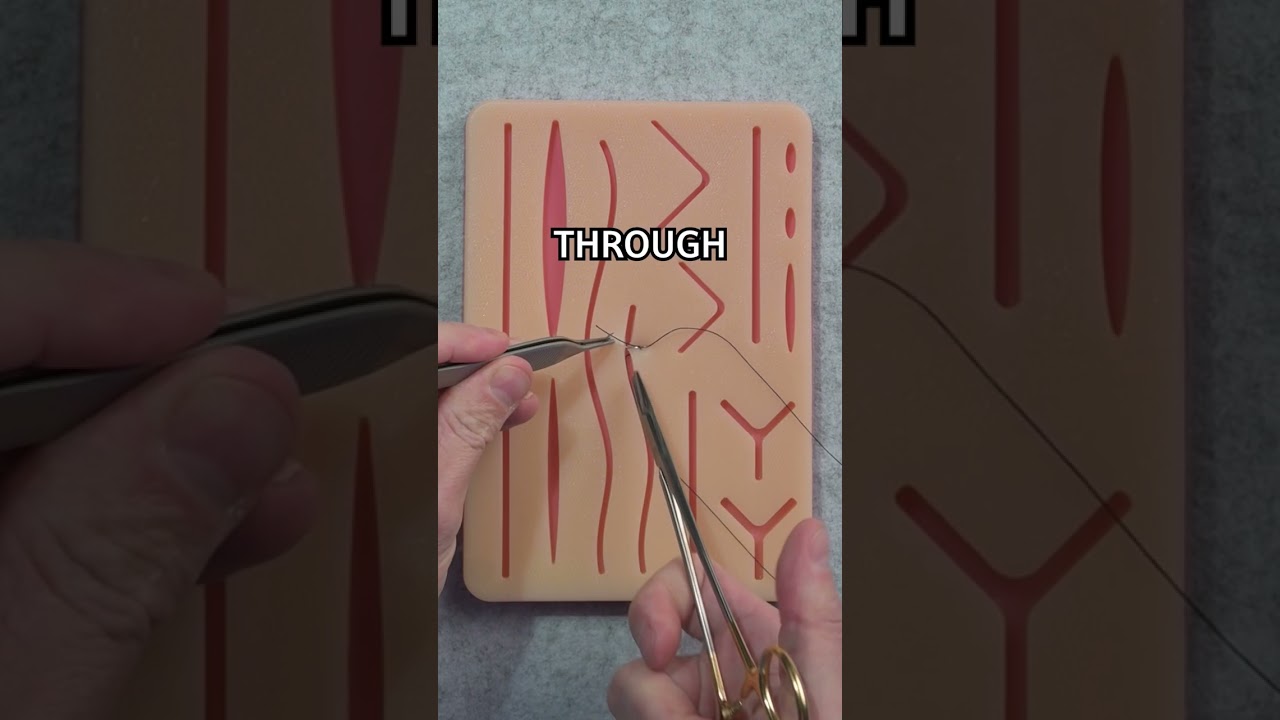

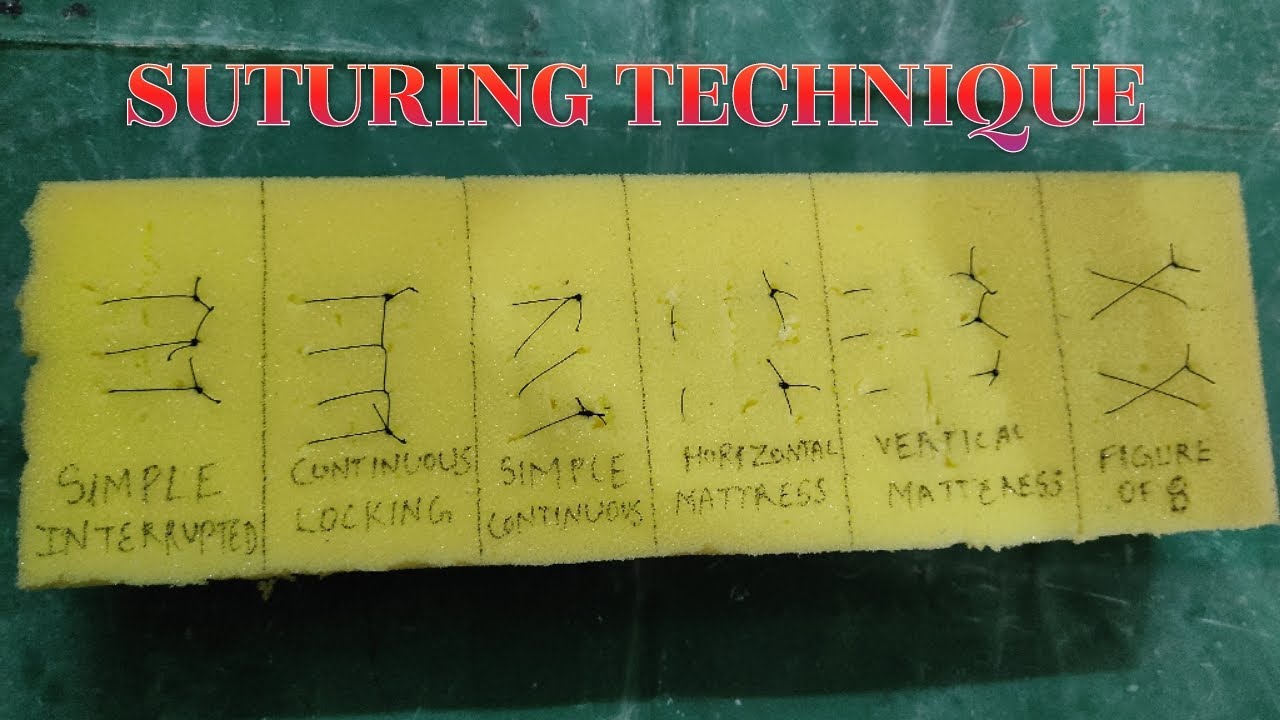

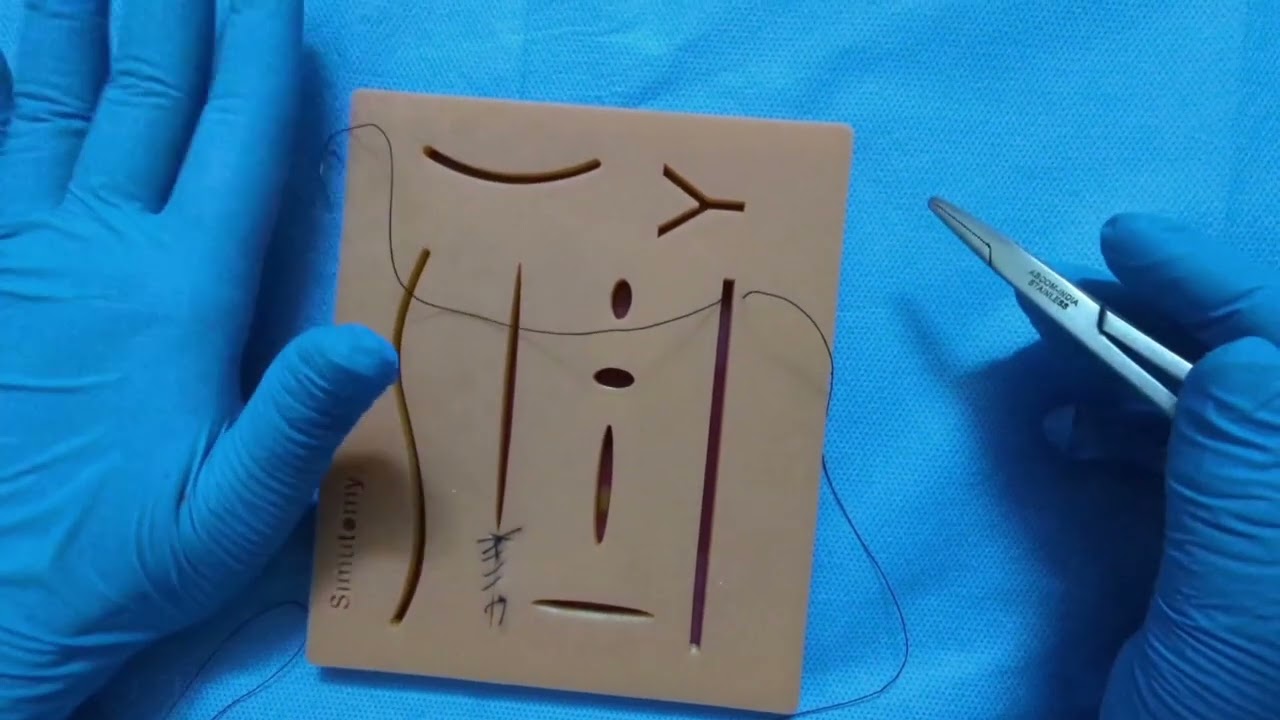

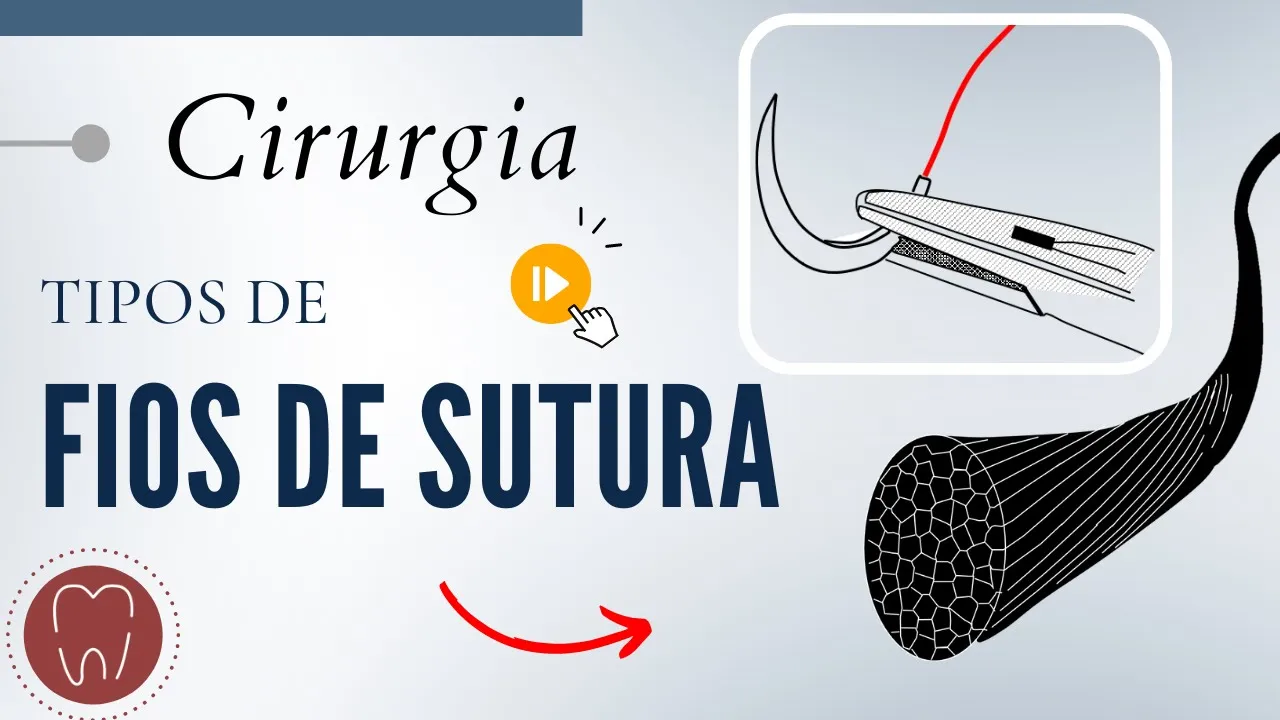






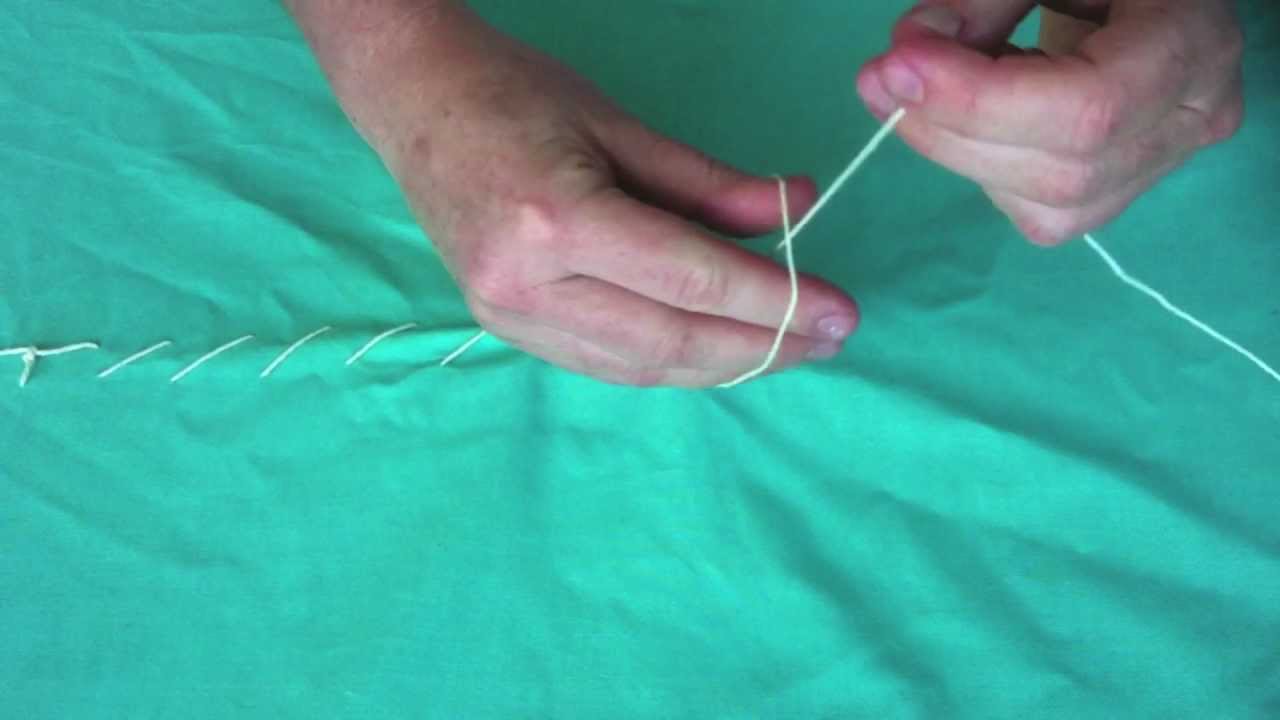
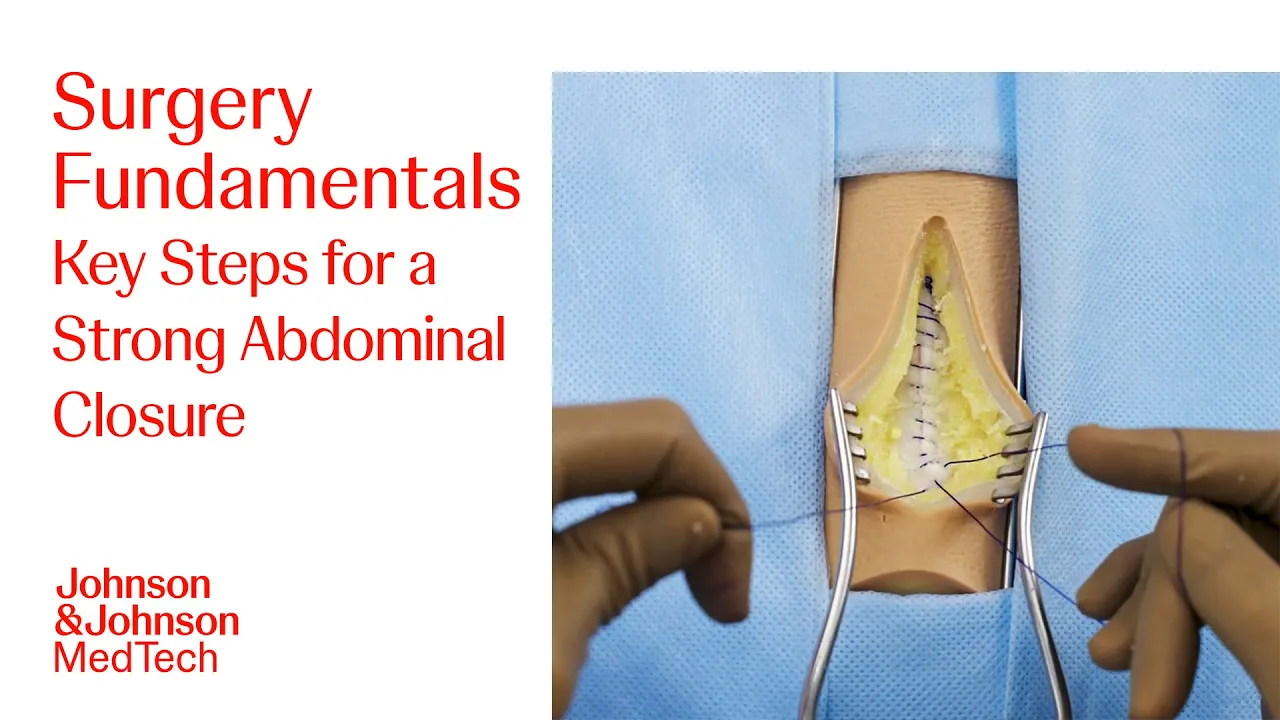


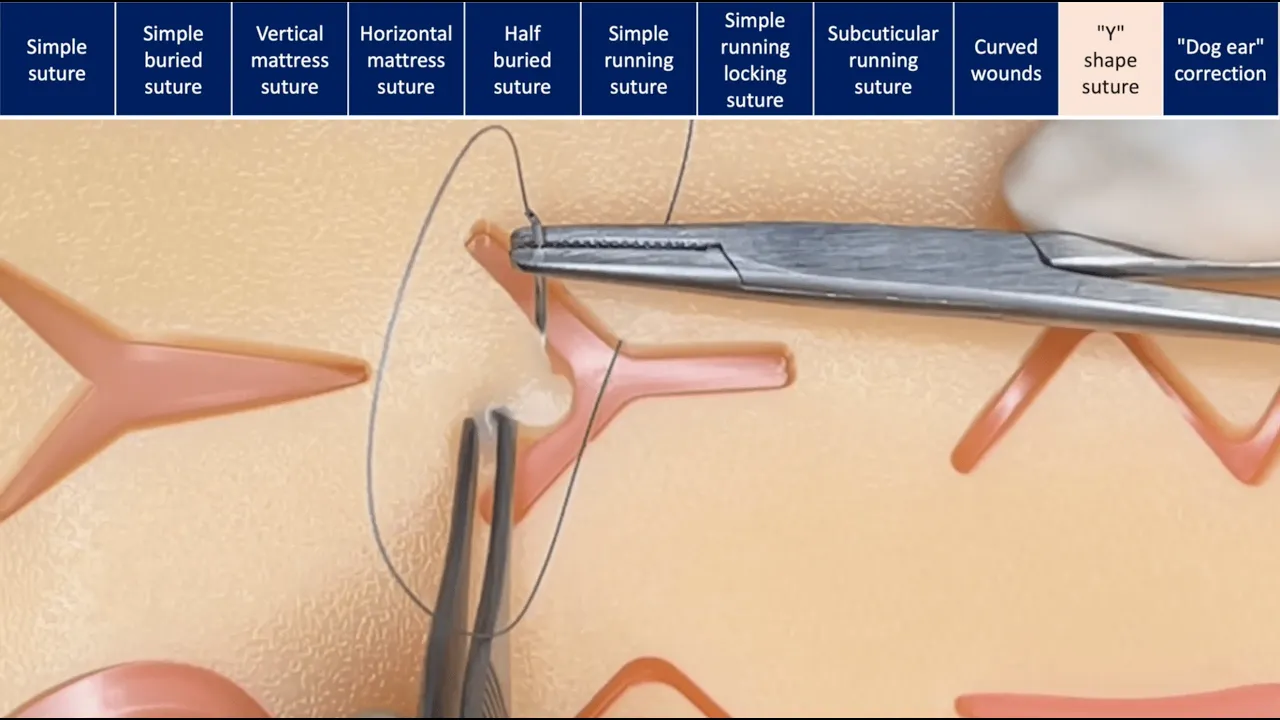

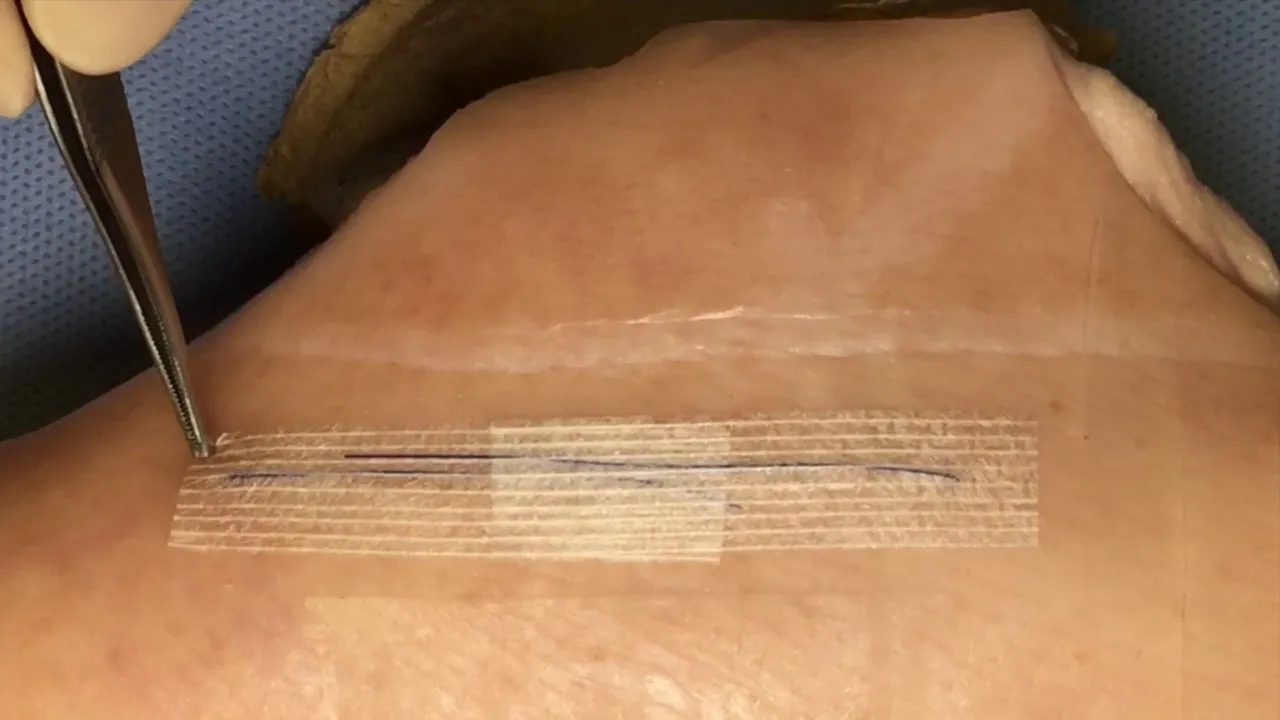





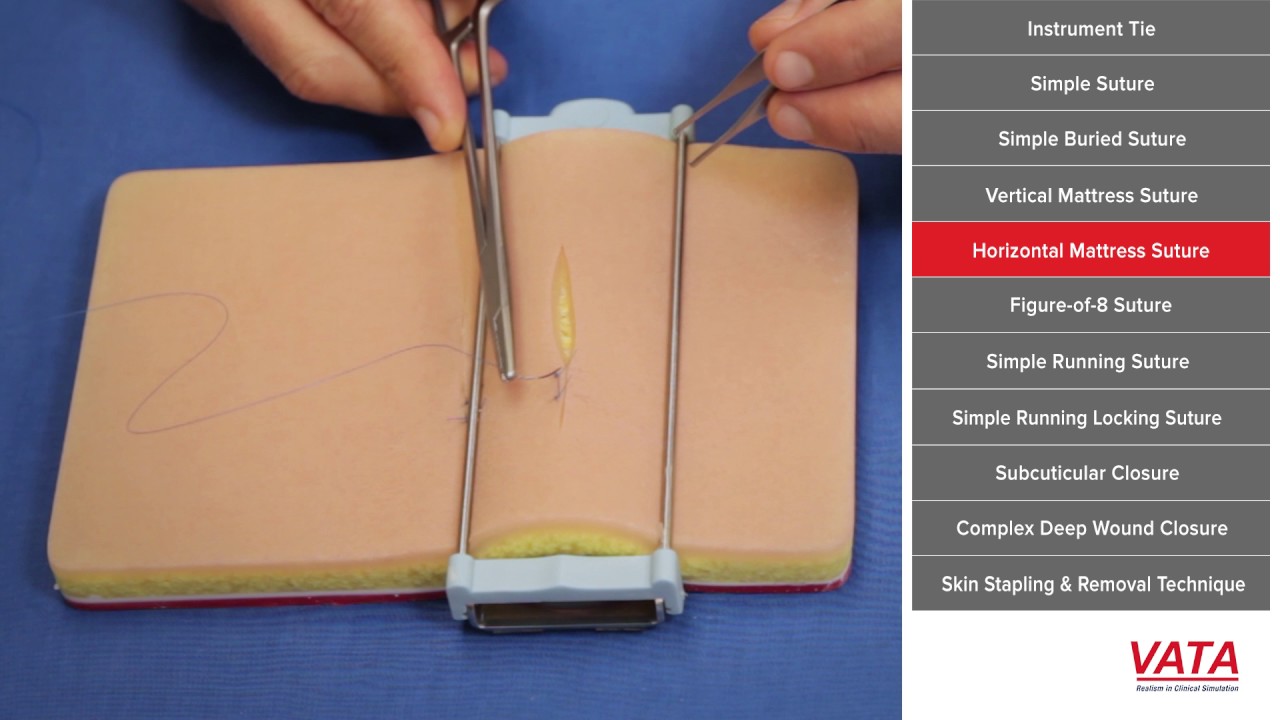


A subcuticular running suture is a continuous, buried suturing technique that places the entire suture line entirely beneath the epidermis using absorbable suture material (such as Monocryl), ideal for small, well-approximated lacerations or incisions to minimize scarring; the technique involves anchoring the suture deep within the tissue, passing the needle just underneath the epidermis in a zigzag pattern across the wound, making perpendicular passes to avoid pulling the skin at angles, and finally burying the knot by threading it through the tissue to ensure complete absorption without visible external knots.
Subcuticular Running Suture Technique: Step-by-Step Guide
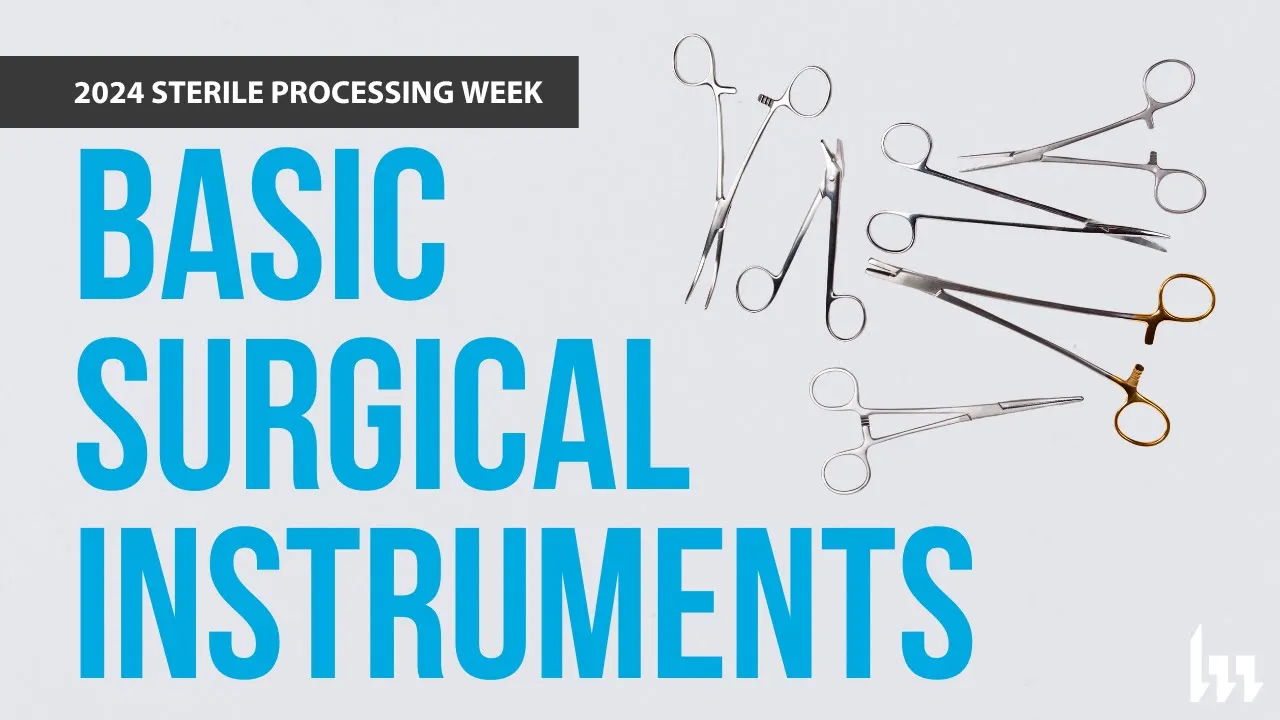
Added:Basic surgical instrumentation, including proper handling of the needle driver, tissue forceps, and suture scissors.
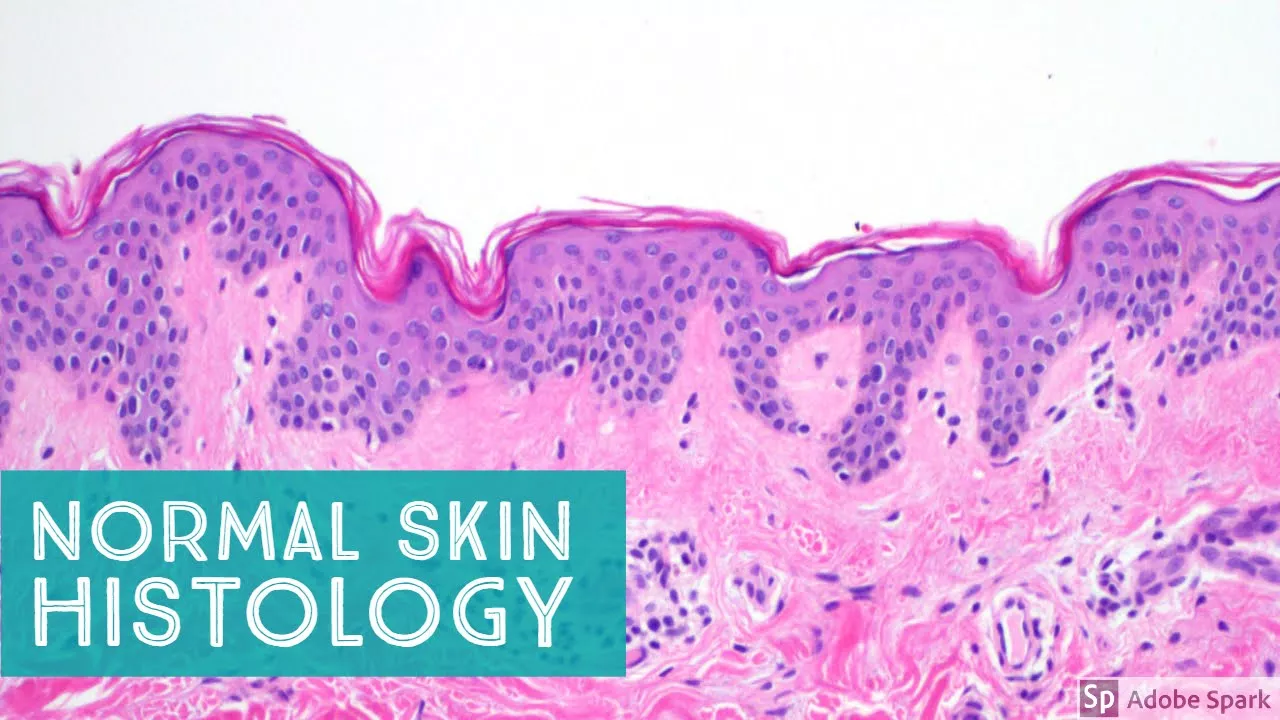
Skin anatomy and histology, specifically distinguishing the epidermis, dermis, and subcutaneous tissue layers.
Fundamental suturing techniques, such as the simple interrupted stitch and basic instrument knot tying.
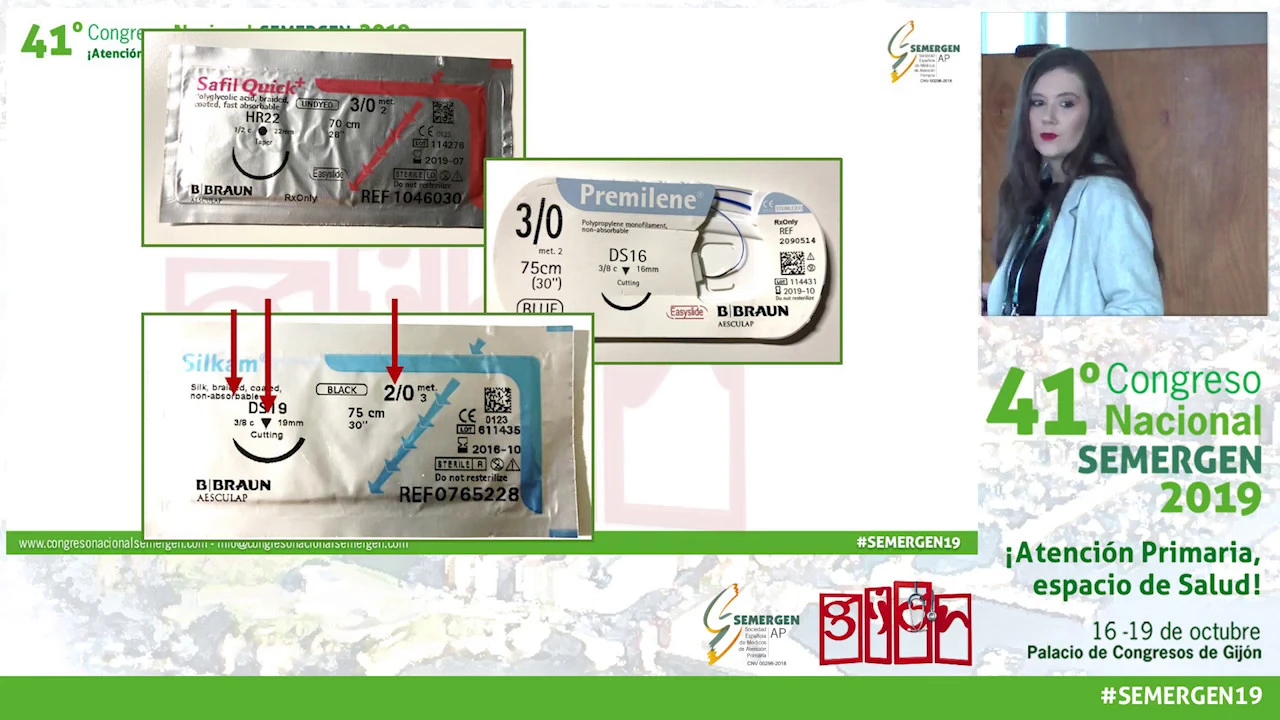
Knowledge of suture materials, particularly the physical properties and degradation rates of absorbable versus non-absorbable sutures.
The principles of wound healing and wound assessment, including identifying appropriate tension levels for primary closure.
Advanced anchoring techniques for running sutures, such as the Aberdeen knot or burying the final knot.
Deep dermal suturing techniques to relieve wound tension prior to placing a subcuticular cosmetic closure.
Suture removal protocols for non-absorbable subcuticular runs and long-term scar optimization strategies.
Complication management, including addressing surgical site infections, suture extrusion ('spitting'), and wound dehiscence.
Comparative analysis of subcuticular closures versus surgical staples, skin staples, and topical skin adhesives (e.g., 2-octyl cyanoacrylate).
3.2M views28.7Klikes12:17Original Release: 2016-07-19
hi everyone I'm going to demonstrate for you a subcuticular suture now often times when we're suturing you know the skin we're going to be in this kind of an angle with our with our patients laceration or incision but when we're doing a subcuticular it's much easier to be in this uh kind of an angle working uh cuz we're going to work from right to left okay um the subcuticular suture is entirely underground uh and the suture that you use needs to be an absorbable suture and and most commonly we're going to go with a a monil now monoc curl is a great suture for this and uh often and because it's this suturing technique is used when we're dealing with small or you know simple well approximated lacerations or incisions uh to avoid scarring then um we're we're going to want to use a a 5 or a 60 monoc now on this this model today that I'm going to be using I've got it set up in the tension base so that it's open so that you can see better what I'm doing however please realize that when you're using a a subcuticular suture it's best to be doing it uh in on a on a laceration or an incision that has the edges well approximated but so that you can see what I'm doing I put it on the tension base so that you can get a feel for it so you'll see what I mean when I get going so um I have chosen to use a larger uh black suture today rather than a 50o monocryl monocryl is a clear suture that's difficult to see it it's like very small fishing line but anyways to start this off we need to Anchor our our suture now to Anchor the suture um anywhere within the depths of that uh laceration or incision is just fine um Lots of uh providers are going to do it in different ways you know they might start by Reaching Across and grabbing some of the sub subcutaneous fat they might uh uh anchor it in different ways than I'm doing now and that's just fine because the main purpose of this first throw is simply to create an anchor deep within the laceration or the incision that now as we move uh our uh suure is tied somewhere okay and so you're going to cut the tail very uh small leave the tail very small so that as you as this closes up your tail isn't poking out of the out of the skin you want it to stay buried okay and so we're going to uh let me get my needle loaded back up now on this next pass um I think it's important to uh get uh to load your needle backhanded because we're going to try to get back near to the Apex at a very subcutaneous up just underneath the epidermis and so I'm going to come across since my anchor is more on my side my neck suture is going to be on the opposite and so I'm going to reach across in a way and then come up out of this uh tissue just under the epiderma see where that came through so I'm going to let that come out there and pull that across now I'm ready to jump across to this other side so our because this subcuticular suture is a continuous suture basically what we're going to do is make a zigzag back and forth so because I'm right here that means my next placement needs to be right here okay and so and and our suture is going to continually go back and forth like a a curving s shape all the way down and as we're throwing our our suture rather than going from skin to skin we're going to be going underneath the epidermis in a plane and popping out again underneath the epidermis then Crossing into the same position on this side and back like this okay so that's our and as it goes we tighten it up and it will approximate the skin edges so you'll see as we go so again I like to pull that across to see exactly where I should probably be going with my next throw and the positioning is such that we're going to now with my little tripod being a little bit in the way this is a hard position but you're going to go just underneath the epidermis and it's going to be just under just under and then passing through just popping out just underneath the epidermis see there how that's done so let me grab we'll pull that through okay so it's going to pull that Apex close together now I'm going to load it again like normal and because I've another suture I can see okay well I need to enter on that other side exactly across perpendicular remember that when we're suturing we never want to our pass to be going at an angle because then it's going to pull the skin at an angle so you want to be going straight across so I will be moving straight across here starting subcutaneous just under the epidermis rather staying just under the epidermis and then exiting here a little further down on the laceration or the incision and notice how when this pulls together see how my my suture now went straight across it was perpendicular so as I pull this it's going to pull the skin together like this okay but I'm going to leave it open and gaping so that you can see it as we go this is one that we can tighten as we go or we can tighten it towards the end and this one if you're doing this in the operating room or you've got somebody with you that uh can act as a a third third hand for you then this this one becomes very nice to be able to uh have somebody follow with you as you uh as you go okay so again i' like to see okay well I need to be coming in at about right there so with this one again my tripod's kind of in the way here so let me the angle hard now you want to make sure that you don't do what we call Button Hole which is where you actually come out of the skin on accident and then go back in because then your your absorbable suture is now just exited the skin so make sure that you're staying underneath the epidermis and but staying pretty superficial so now watch as I pull this across again my cross piece is perpendicular with the laceration and I'm going to go again across the other direction but making sure that I'm coming across at that right spot okay staying superficial but not button H holding the skin there we go and there we go perpendicular to the laceration okay and you continually do this as you come down the skin now I'm going to leave myself some room at the end because I don't want I want you to be able to see what I'm doing when we close it uh but again coming right there stay in superficial and there we go so let me let me pull on this a little bit to show you how it starts to close and so as we give this a little snug I sometimes will reach up with my hands and and and pull it together so it approximates appropriately but see how it's it's pulling the skin together it's the skin edges are being a little bit everted now it's kind of opened up down here because my uh my first throw actually pulled through uh the the tissue here I've used this so many times uh for making these videos that the actual subcutaneous fat on this model is is starting to die on me but won't happen that way with your patient's skin so uh let me throw one more throw here and then show you how we tie these so tying this is very similar to the way we do any continuous suture okay where we tie it to itself but uh we need to make sure that our knot can be buried so going to one more throw here and coming out near the end now I don't want to pull that up inside that Loop otherwise it will lock it so you got to be careful there okay across like that and then I'm going to uh with this next one be ready to tie it so because it's my last throw I'm actually going to want to go uh keep my exit right near this so that when when uh when I make that tie it doesn't Bunch it up so I'm going to take a smaller bite there okay now because I want to tie this I'm going to be able to tie it just like a little instrument tie here but tying it to that Loop okay so as I do that now I should have pulled it a little bit tighter so that this closed it a little more I was uh focused on my knot rather than focused on making sure everything was tight oh and actually my knot just uh came through that subcutaneous tissue like I told you my my my model's starting to die I've been using it too too much for these videos but let's say I had finished that off everything came together nicely rather than pulling out like on my dying model here and now this is a knot that is deep now I need to bury that knot so when you're closing this the way you bury a knot in a subcuticular suture is we're going to cut the the one set of tails off like this but I'm going to leave my needle end attached because I still need to do one more throw to throw that knot down and bury it okay and let me show you what I mean by burying the knot because again we need this is an absorbable suture so we need that knot to disappear so I lift up on this end and pulling it towards this far Apex here and then what I'm going to do is I'm going to throw my needle in on this upper side of it go deep in the tissue and then I'm going to pop out down outside of the suit outside of the laceration or the incision okay so as I do that I'm going to pull this out and notice that because that Loop was up above it's going to flip my my knot down inside see and how my knot just disappeared okay it pulled and tugged the knot down into uh the incision and now I can pull up on this with some tension knowing that my knot is now buried and I'm going to cut this right at the skin and then kind of massage it so that works its way down into the subcutaneous fat but now my knot is buried all of my suture is underground and will dissolve well now because this is on the tension base and because my model is starting to die on me a little bit uh the skin edges aren't quite as well approximated as I would like um but I I think the the point came across my my goal with this video was to show you that now you can kind of see actually there that the this what it ends up doing is being this zigzag across that pulls the skin edges together and notice how everything is underground now everything is is under the skin and my monocryl is going to dissolve over the next C next few weeks now after you've placed a subcuticular suture it's always good to use uh some uh some mol and some stere strips to give it some added strength because again the monocl uh subcuticular suture is not a strong uh way to close the skin it's a a way to close a very a very simple uh small little laceration or incision in a way to minimize scarring so I hope this has been helpful the subcuticular suture is is a is a tricky one that can uh that's not that easy to perform so good luck and and uh let me know if you have any questions through the comments thanks
Up Next

4:36
Removing Simple Interrupted Sutures: A Step-by-Step Guide
@drDavidKeegan
205K views•2015-03-11

12:54
Triumph of Orthodoxy Icon: Byzantine Art & History Explained
@BenCallan
2.1K views•2024-08-06
5:15
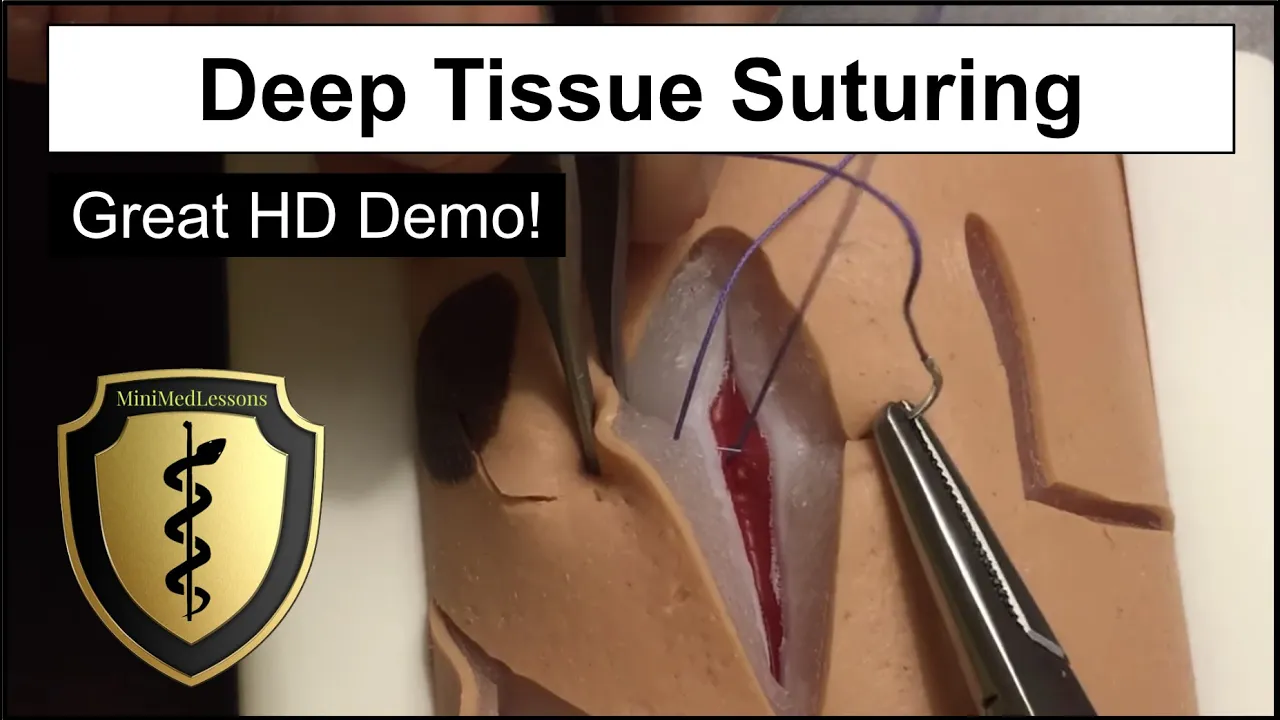
Deep Tissue Absorbable Suture Technique: Inverted Simple Interrupted Tutorial
@minimedlessons
504.3K views•2016-07-19

1:42
Game of Thrones Opening Credits: A Cinematic Analysis
@gameofthrones
46.3M views•2011-04-18
Related Study Plans & Knowledge Roadmaps
Structured learning paths in General & Interdisciplinary Studies
general-studies
Elevator Engineering: History, Physics & Cities
01From Hoists to Safety Brakes: The Dawn of Vertical Lift
02Hydraulic vs. Traction: The Engineering Physics of Elevators
03Modern Speed, Safety, and Algorithms
+ 2 more learning modules
12h5 modules
Explore Roadmap
general-studies
Rubber: Material Science, History & Geopolitics
01Origins of Natural Rubber & Mesoamerican History
02The Chemistry of Natural Rubber & Vulcanization
03The Geopolitics of the Rubber Boom & Colonization
+ 2 more learning modules
12h5 modules
Explore Roadmap
general-studies
Containerization: Evolution, Logistics & Trade
01Ancient Trade & Bulk Cargo: Amphorae to Barrels
02The Industrial Revolution & Cardboard Packaging
03The Containerization Revolution: Malcom McLean
+ 2 more learning modules
12h5 modules
Explore Roadmap
general-studies
Textile Tech: Evolution, Labor & Global Impact
01Pre-Industrial Textiles: Handloom & Cottage Industry
02Mechanization: The Spinning Jenny to the Power Loom
03The Factory System & Global Labor Transformation
+ 2 more learning modules
10h5 modules
Explore Roadmap